
Rather than spending a cool grand or two on a new Custom Shop or topline American Stratocaster, many guitarists opt to find a solid Mexican or Japanese Fender Strat and trick it out. Often my clients ask me how they can upgrade one of these instruments to make it gig-worthy. There are several ways to customize a budget Strat without spending a fortune. Replacing key components—such as the pickups, string nut, and tuners—can turn a workhorse guitar into a killer axe!
The Project
To illustrate this process, we'll use a 2004 Fender Mexican (MIM) Strat. When it landed on my bench, it was in great structural condition, but I knew some mods and a good setup could make it a pro-level instrument.
My first step was to sonically evaluate the guitar. Though it played well, it didn't have a lot of sustain and the stock tuners tended to drift out of tune. The single-coil pickups sounded weak and too bright, and I decided to begin the transformation by upgrading them.
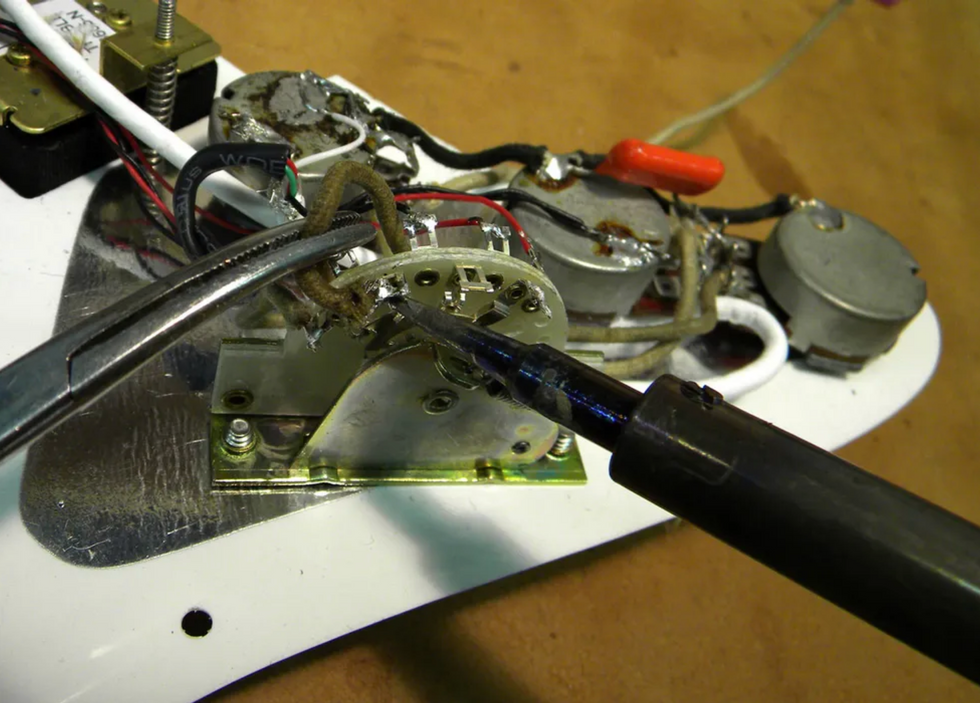
Install new pickups.
The owner wanted to stick to a traditional single-coil configuration. There are dozens of great options made by independent pickup makers, as well as excellent upgrades from Fender. Based on feedback from other clients, I chose a set of Seymour Duncan Five-Two single-coils, which employ a combination of alnico 2 and alnico 5 magnets. The three treble pole pieces are made from alnico 2, which produces a warmer sound. This reduces that "ice-pick-in-the-ear" tone when you play a solo. Conversely, the three bass pole pieces are alnico 5, a magnet known for producing a bright, clear tone. This is perfect for adding clarity to rhythm parts and chord voicings. Duncan Five-Twos sound louder than traditional Strat pickups, but when adjusted properly, they offer excellent tone and balance.
Whenever I replace a trio of single-coil Strat pickups, I use a reverse-wound/reverse-polarity (RW/RP) middle pickup. In position 2 or 4 (the combined neck/middle and middle/bridge settings) of a 5-way switch, the paired pickups become humbuckers. The benefit? You cancel the 60-cycle hum that plagues single-coils, but still get that traditional Strat tone we all love.
Adjust pickup height.

Fig. 1: Measuring the gap between the pole piece and the 6th string on a Strat.
This is commonly overlooked during a setup. It's important to set the pickups at the right distance from the strings. If the pickups are adjusted too close, you can lose sustain and run into intonation problems because the magnets are pulling on the vibrating strings. But if the pickups are too low, you'll end up with a weak signal.
To adjust the pickups, I fret the 1st and 6th strings at the last fret. Then, using a 6" metal machinist ruler, I measure the gap between the top of the pole pieces to the bottom of the 1st and 6th strings (Fig. 1) Carefully turning the screws on either side of the pickup lets me raise or lower its height to my preferred measurements:
- Bridge pickup: 2/64" 1st string, 3/64" 6th string
- Middle pickup: 3/64" 1st string, 4/64" 6th string
- Neck pickup: 3/64" 1st string, 4/64" 6th string
These measurements are starting points, but I wouldn't recommend adjusting Strat pickups any higher. If a pickup is too loud relative to its mates, lower it to balance its volume. Don't bring the quieter ones closer to the strings.
Upgrade the tuners.
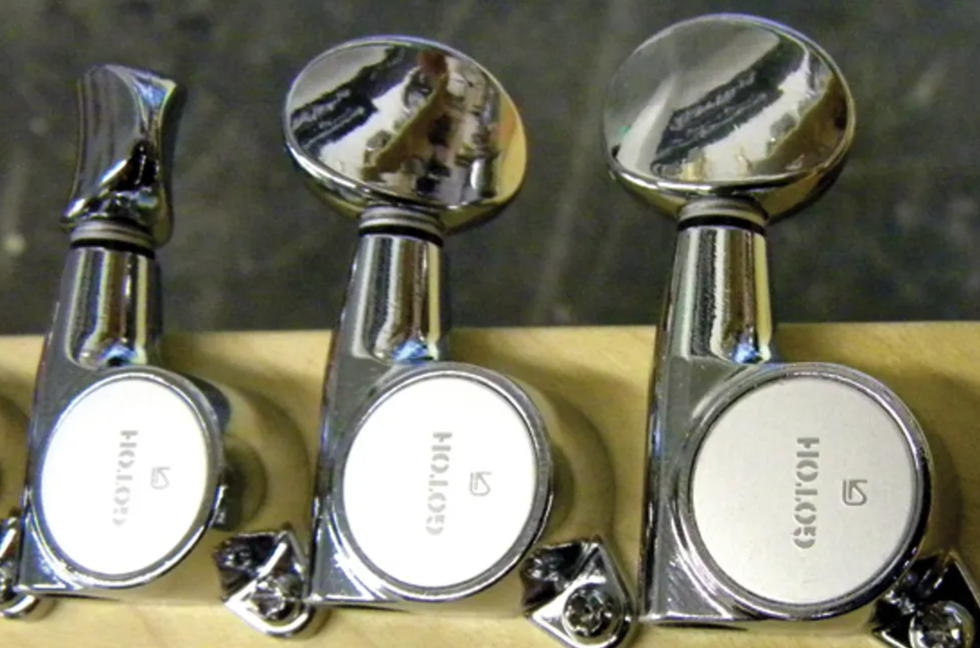
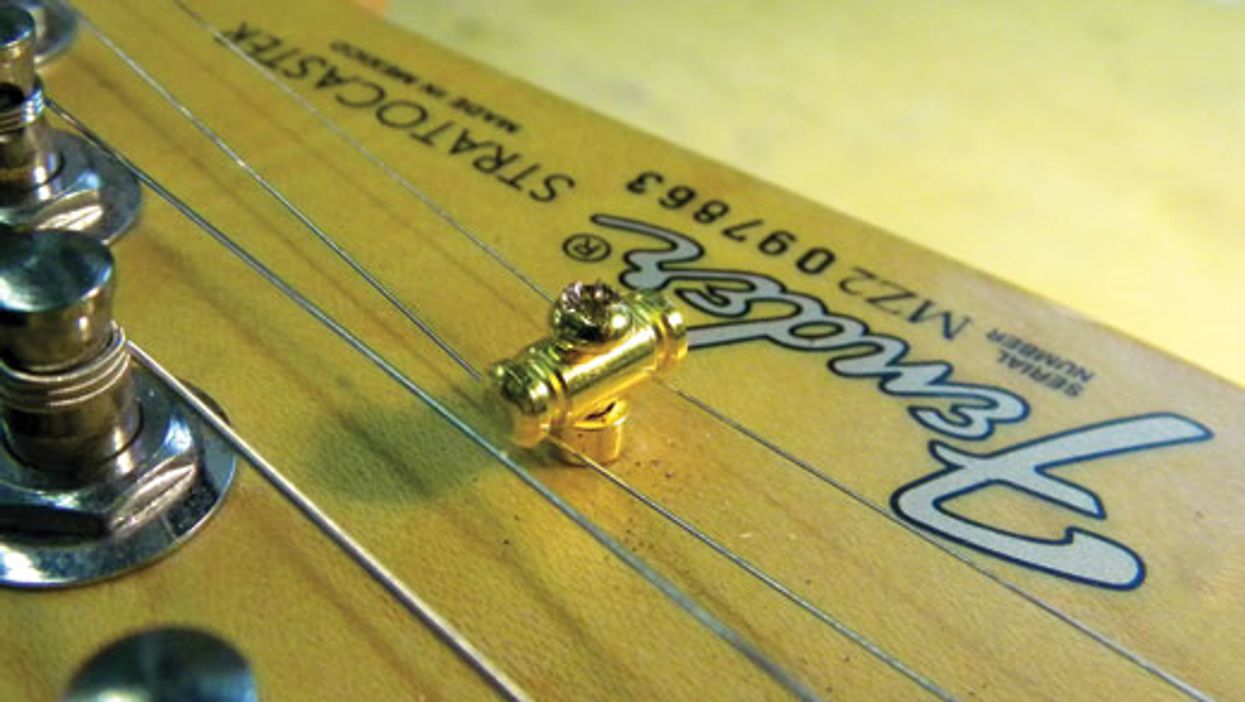
Fig. 2: Replacing vintage-style tuners with a set that has a higher turning ratio, like these 16:1 keys, can make it easier to tune a string quickly and accurately.
Upgrading your guitar's tuning keys requires some research. There are many excellent brands available that will retrofit a Strat, and it's important to explore all the options before you drop cash on a set that doesn't fit.
In the case of our Fender MIM Strat, I had to find a quality set that would retrofit the existing holes in the neck. The owner and I decided to use sealed Gotoh keys with a 16:1 turning ratio (Fig. 2) This ratio determines how many times you have to completely turn the button in order for the post to make one full revolution. The higher the ratio (i.e., 16:1, 18:1), the finer the tuning. Most vintage keys have a 12:1 or 14:1 turning ratio. Keys with lower turning ratios can make it frustrating to tune a string because it's so easy to jump past the desired pitch as you approach it.
Replace the string nut.
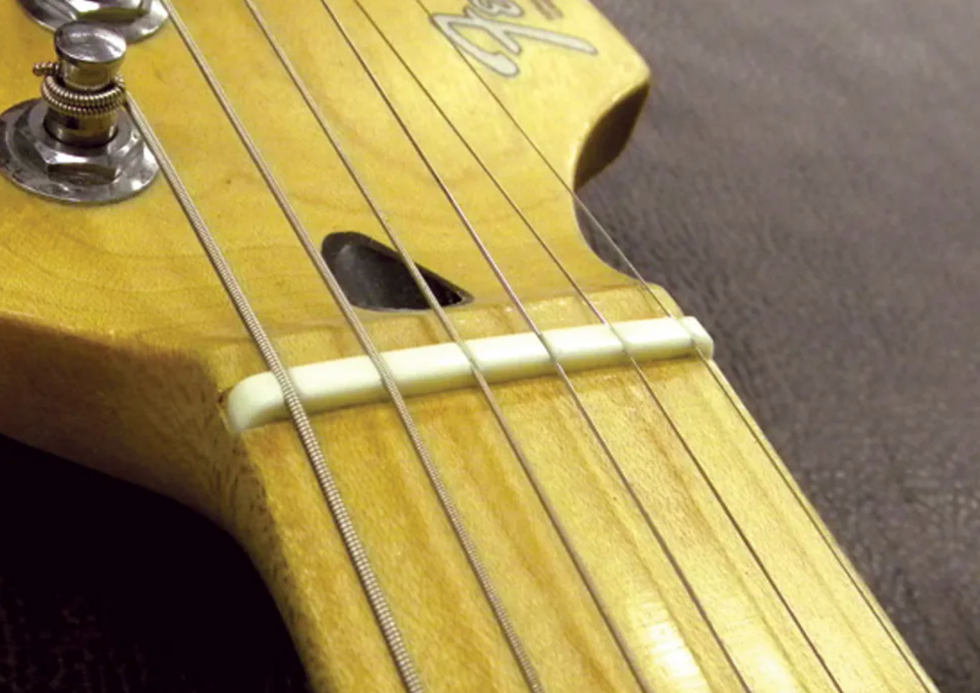
Fig. 3: The string nut plays an important role in a guitar's sound and performance. Most guitars sport a stock plastic nut, and replacing it with a bone nut can yield sonic benefits and improve tuning stability.
Believe it or not, the nut material makes a noticeable sonic difference. Most guitars come from the factory with a plastic string nut (Fig. 3) Plastic is easy (and cheap) to install, but it insulates the guitar from string vibration and thus negatively impacts tone and sustain.
Other materials I've seen used are graphite, bone, ivory, brass, and aluminum. Each has specific tonal properties and varying sustain, and based on years of working with guitars, here's my take on these materials: Graphite is great for keeping your guitar in tune (especially if you use a tremolo) because strings slide easily through the nut slots, but it sounds rather dead. Bone has excellent sustain and broadens the dynamic range of virtually any guitar. Ivory has good sustain and produces a warmer tone. (Of course, there are serious conservation and even legal issues surrounding the use of ivory, but that's beyond the scope of this column.) Brass and aluminum produce a bright tone but have little sustain.
Bone is always a good choice for string nuts—it's very hard, it lasts longer than plastic and graphite, and produces a sweeter tone than metal.
For this project, we decided to carve a new string nut from bone. Bone is always a good choice for string nuts—it's very hard, it lasts longer than plastic and graphite, and produces a sweeter tone than metal. You can buy pre-slotted string nuts, but I find the spacing is never quite right. I prefer to use a "Stratcut" bone blank from Allparts or Stewart-MacDonald.
Caution! When replacing a string nut, be aware that they're often glued into the nut slot from the bottom or they may be lacquered in. You want to avoid damaging the end of the fretboard facing the tuning keys when removing the nut. If you're not sure how to safely remove a nut, take your guitar to a qualified repair tech or luthier.
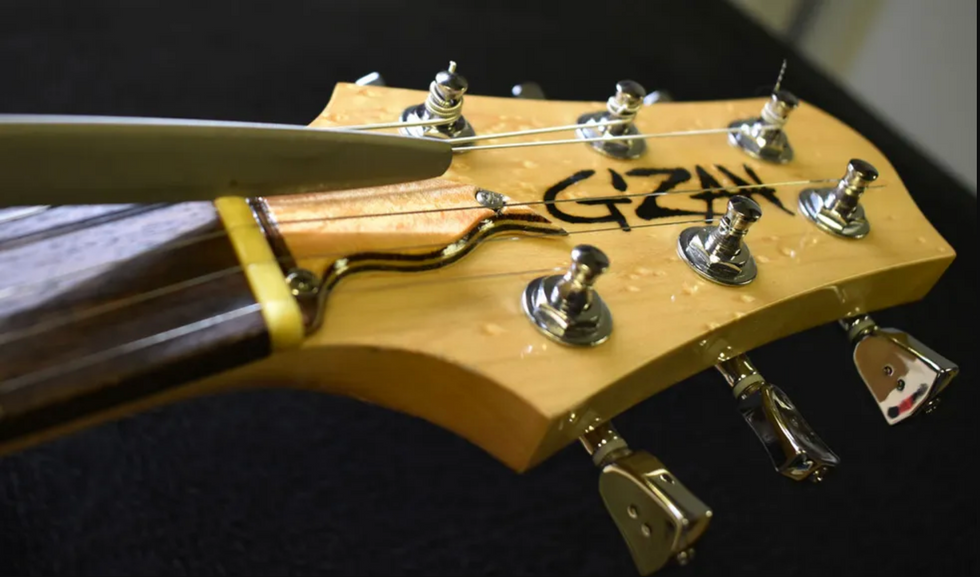
Carve a bone nut.
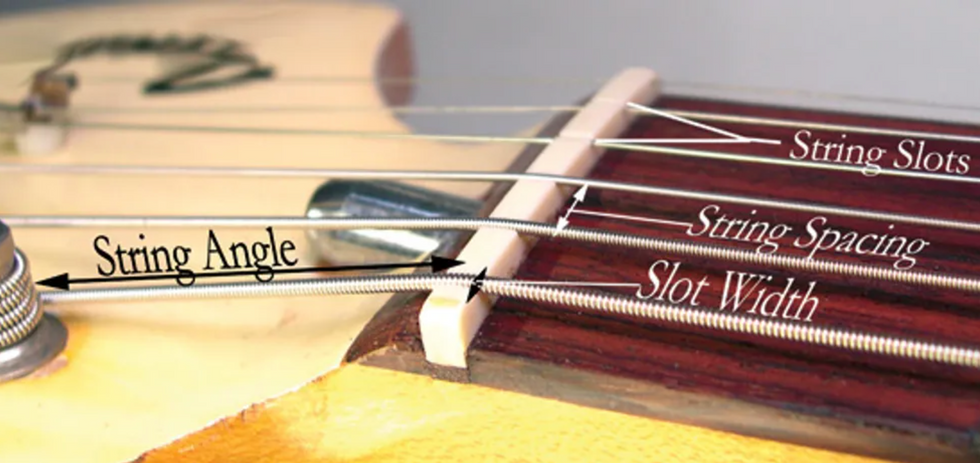
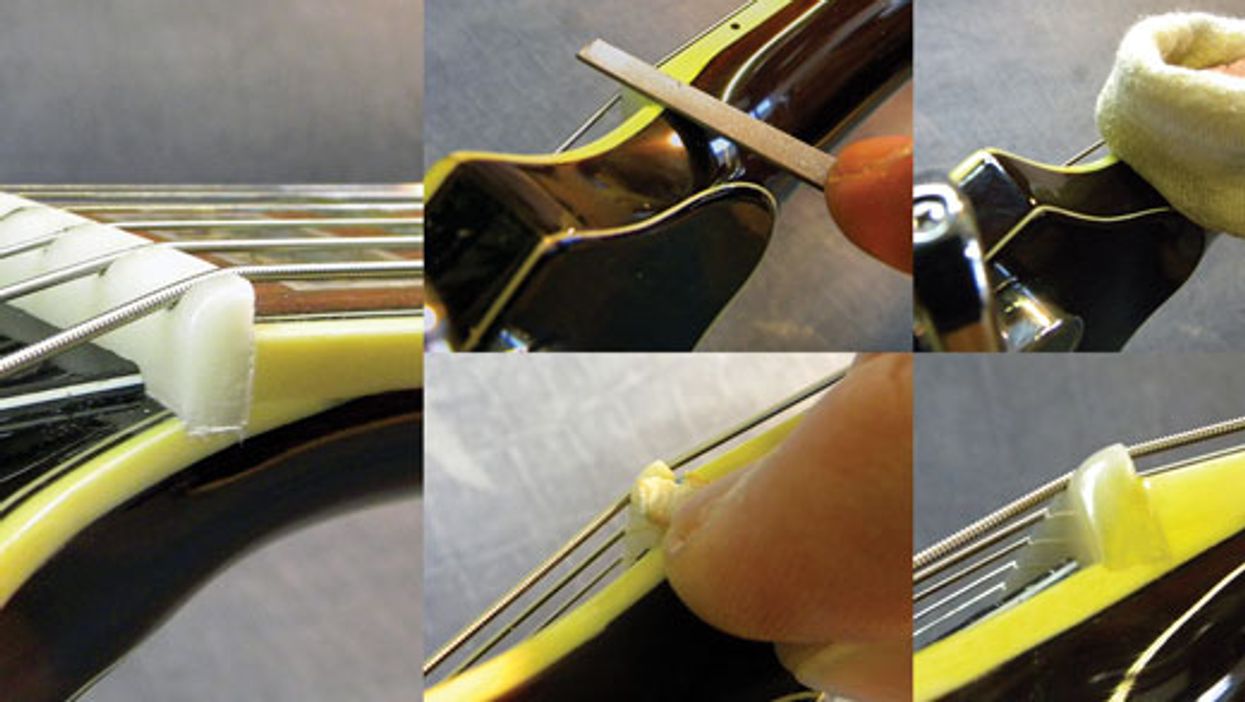
Fig. 4: Carving a new nut is an art. You need to consider string spacing, slot width and depth, and the string angle over the headstock.
Carving a string nut requires skill and patience (Fig. 4) One cut too far and you'll have to start all over again with a new nut blank. If you don't have the proper experience, training, and tools, turn this part of the project over to someone who does.
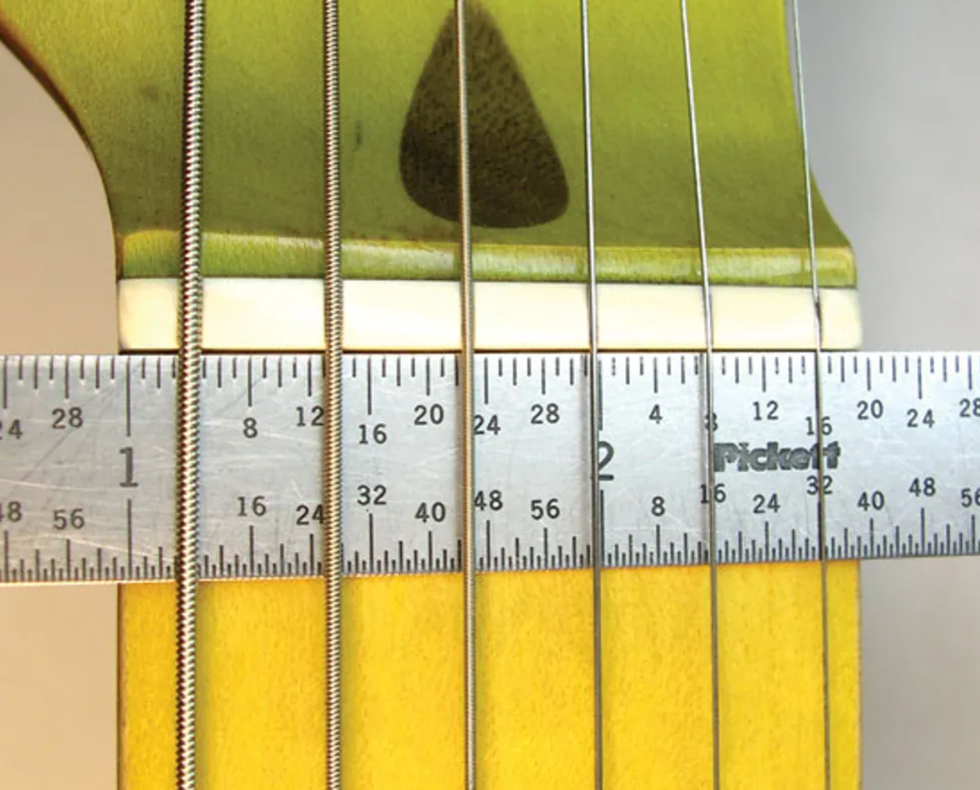
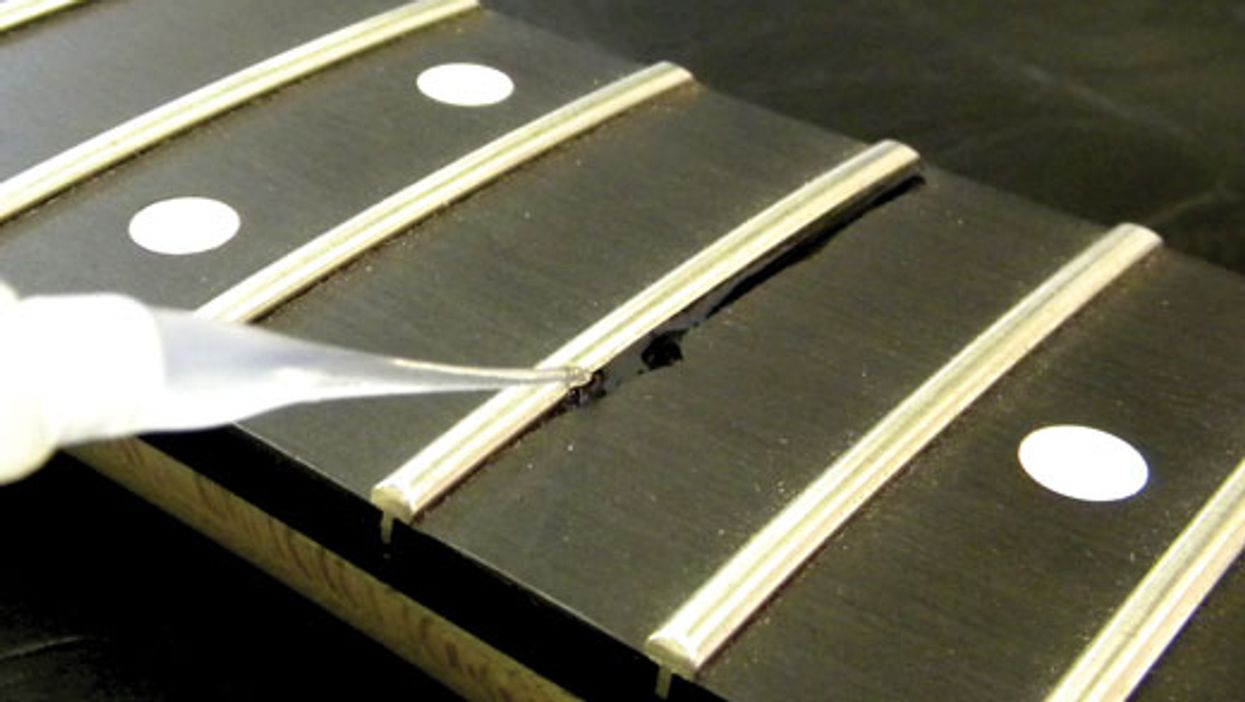
Fig. 5: The saying "measure twice, cut once" certainly applies to getting the correct string spacing on a new nut.
To see photos and read a detailed explanation of the process I use to cut a bone nut and what tools are required, read the March 2012 feature "How to Convert Your Axe to a Baritone."
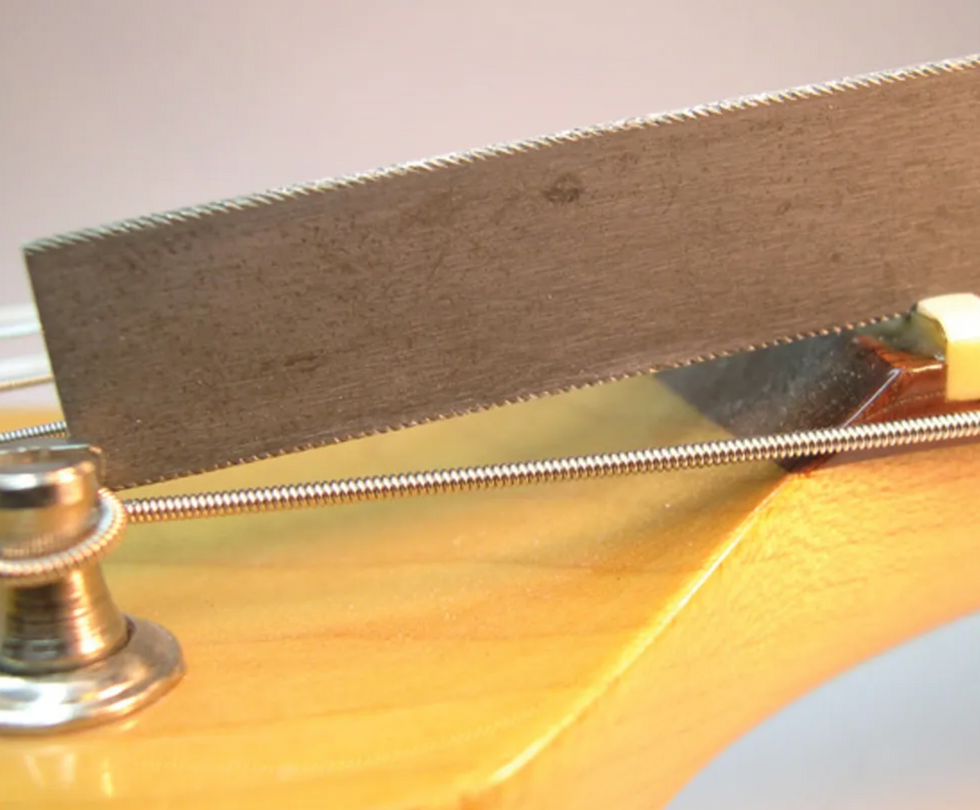
Fig. 6: A nut slot needs to angle down toward the tuner, and its highest point must be right at the leading edge where the nut meets the fretboard.
Step 4 in that article explains how to carve a nut, measure string spacing (Fig. 5), and cut the string slots (Fig. 6).
Consider your moves before you make them.
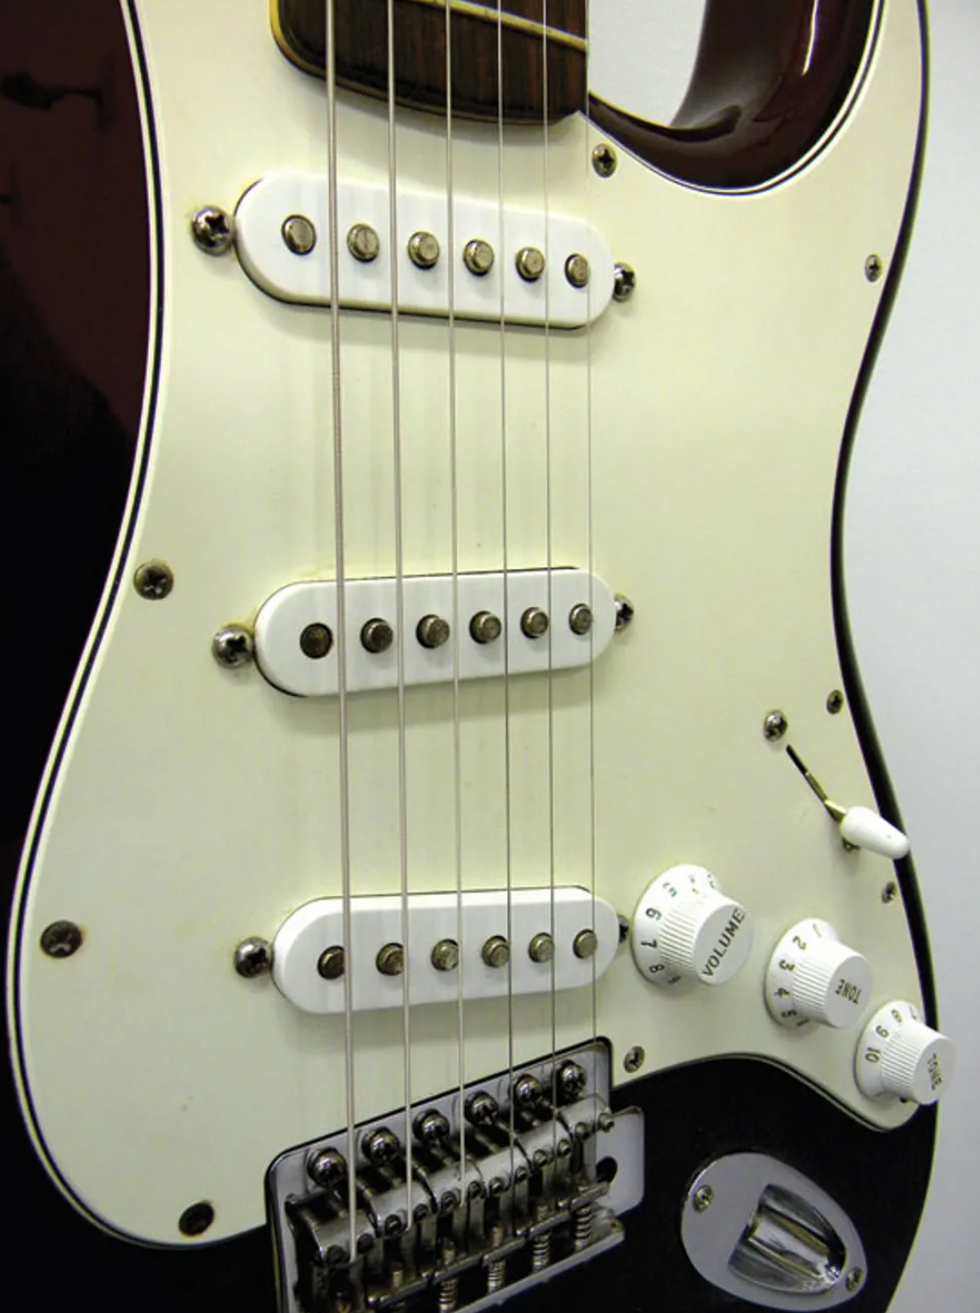
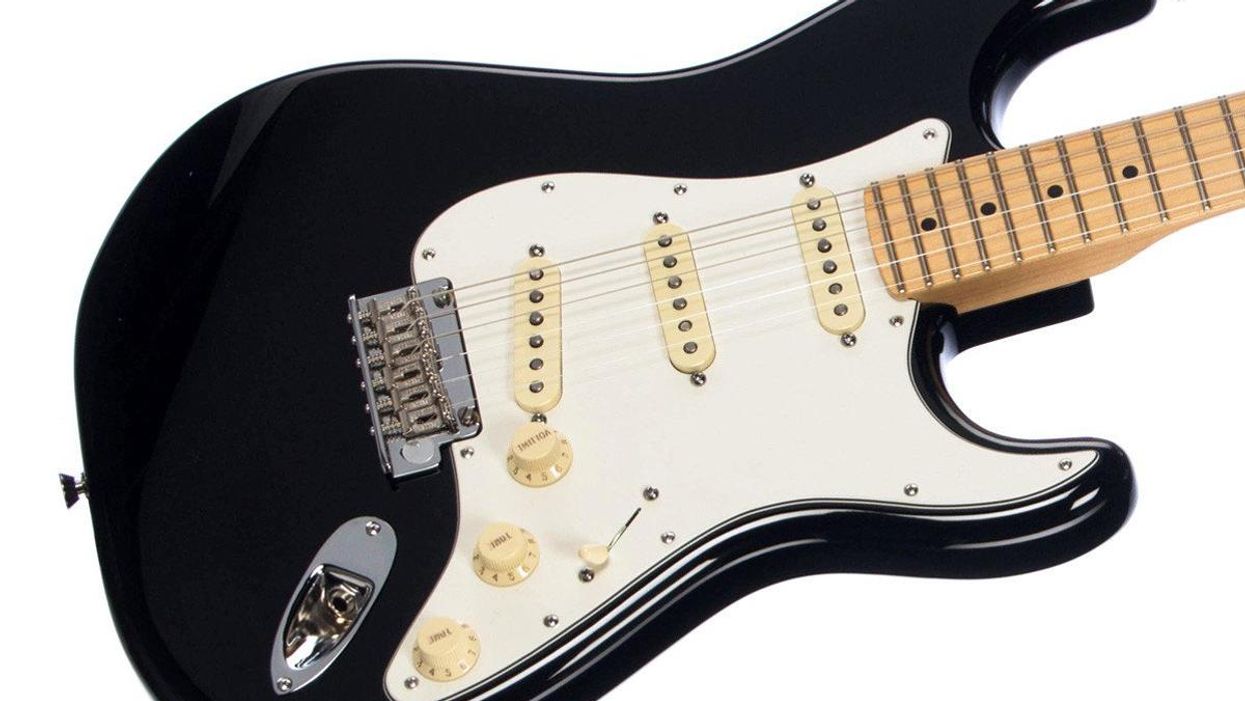
Fig. 7: Gig worthy! Tricked out with 16:1 tuners, a new bone nut, and a rockin' set of replacement pickups, this imported Strat is now ready for prime time.
When upgrading the parts on your guitar, always buy quality hardware that can be installed without any major modification to your instrument. In other words, if you have to route out the body or drill new holes, it's best not to do it. The more holes, routing, or finish work you do, the less your instrument is worth. Keep the upgrades clean, simple, and reversible.
[Updated 10/13/21]