Digital recording has been a boon to music in innumerable and immeasurable ways. And the ubiquity of hi-tech devices in our daily lives today—as well as the incredible rate at which sophisticated features trickle down to the masses—has only compounded the effect. Today, it’s affordable and remarkably convenient for just about anyone to make high-quality recordings on the run, in home project studios, and at rehearsals and gigs.
But while the possibilities are nearly endless with this new technology, that doesn’t mean creating a great recording is simply a matter of having a kick-butt computer, smartphone, or dedicated recorder. Technology only gets you so far. Now, more than ever, you have to know what you’re doing to get great results—because it’s just as easy to make a bad digital recording as it is to make a bad analog recording.
To that end, we’ve compiled this list of 10 must-know tips for digital recordists to keep in mind no matter what platform or interface you’re using. Armed with this knowledge, your guitars, your platform of choice, and an impeccable set of ears, you’ll soon be cranking out digital recordings that are clean, clear, fat, full, and ready to capture the hearts and minds of listeners everywhere. Let’s dive in!
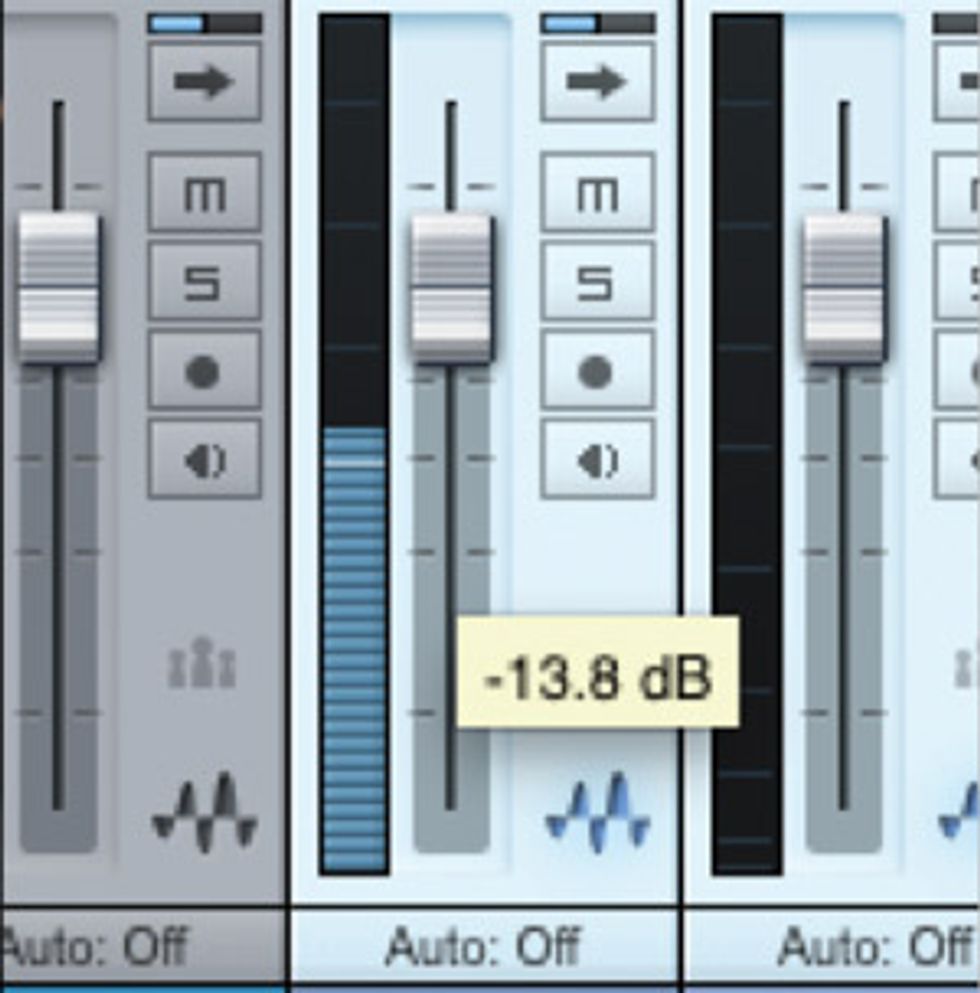
Turn it down. For the best fidelity when tracking, keep levels between −18 and −14 dB on the meters.
1. Turn it down!
In the analog tape days, the goal was generally
to get the hottest signal down to tape
as possible, just short of distortion. When
presented with high levels, analog tape
responds with soft compression and gentle
saturation that sounds great, especially on
drums and other percussive instruments.
But digital doesn’t work that way. It’s not
forgiving of peaks, and if you push it too
hard you run the risk of digital distortion,
which sounds awful. For this reason,
and to allow plenty of headroom for later
processing and mixing, it’s proven best to
record signals to digital at levels in the −18
to −14 dB range on the meters. This allows
plenty of headroom for peaks and for later
work on the tracks. Some audio interfaces
have built-in peak “over” protection, but
do yourself (and your tracks) a favor: keep
the signals in that −18 to −14 dB range,
hard as it may be to resist the temptation
to light up those meters! Your reward will
be cleaner tracks, better dynamics, way
reduced danger of digital distortion during
recording, and easier mixdowns.
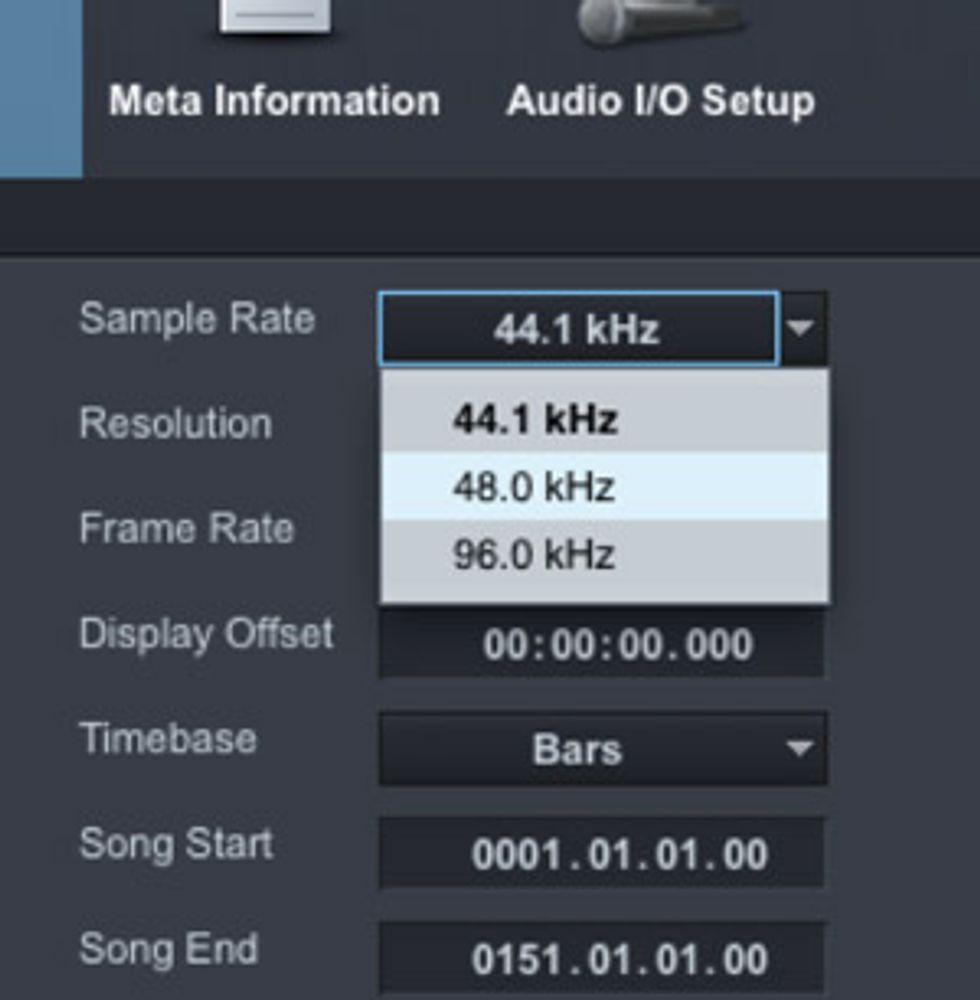
sample rates matter. or not. Unless you have a compelling reason to use a higher sample rate, 44.1 kHz is optimum for most productions.
2. Sample rates matter. 0r not.
The sample rate determines how many “snapshots” of your
audio signal are taken in a second. Sample rate determines
just one thing: the frequency response of the system—in other
words, the highest frequency the system can record. Today’s digital
gear is capable of working at 192 kHz sample rates (or even
higher), which provide frequency response up to 96 kHz—nearly
five times the highest frequency the human ear is generally
credited with being able to perceive. There may be situations
where those super-high frequencies are worth capturing. Some
“golden-ear” listeners claim to hear a difference when those
ultra-sonic frequencies are present, but this assumes the music is
being delivered to the listener on a DVD or some other medium
that supports sample rates over 44.1 kHz. Some recording
engineers also feel that certain types of input filters and plug-ins
work better at higher rates. But for most of us operating in lessthan-
perfect bedroom and basement studios, there are few reasons
to use high sample rates. A big drawback is that you have
to get that high rate converted down to 44.1 kHz to deliver it
on CD, which can potentially impact the audio quality. Another
is that high sample rates dramatically increase the size and computer
load for a project. If you have a full-on Pro Tools HD or
HDX system, that’s no big deal. But if you’re running a native
digital audio workstation (DAW), then that extra load can be a
problem. Personally, I record at 44.1 kHz if the project will end
up on CD or MP3. I rarely work at high sample rates.
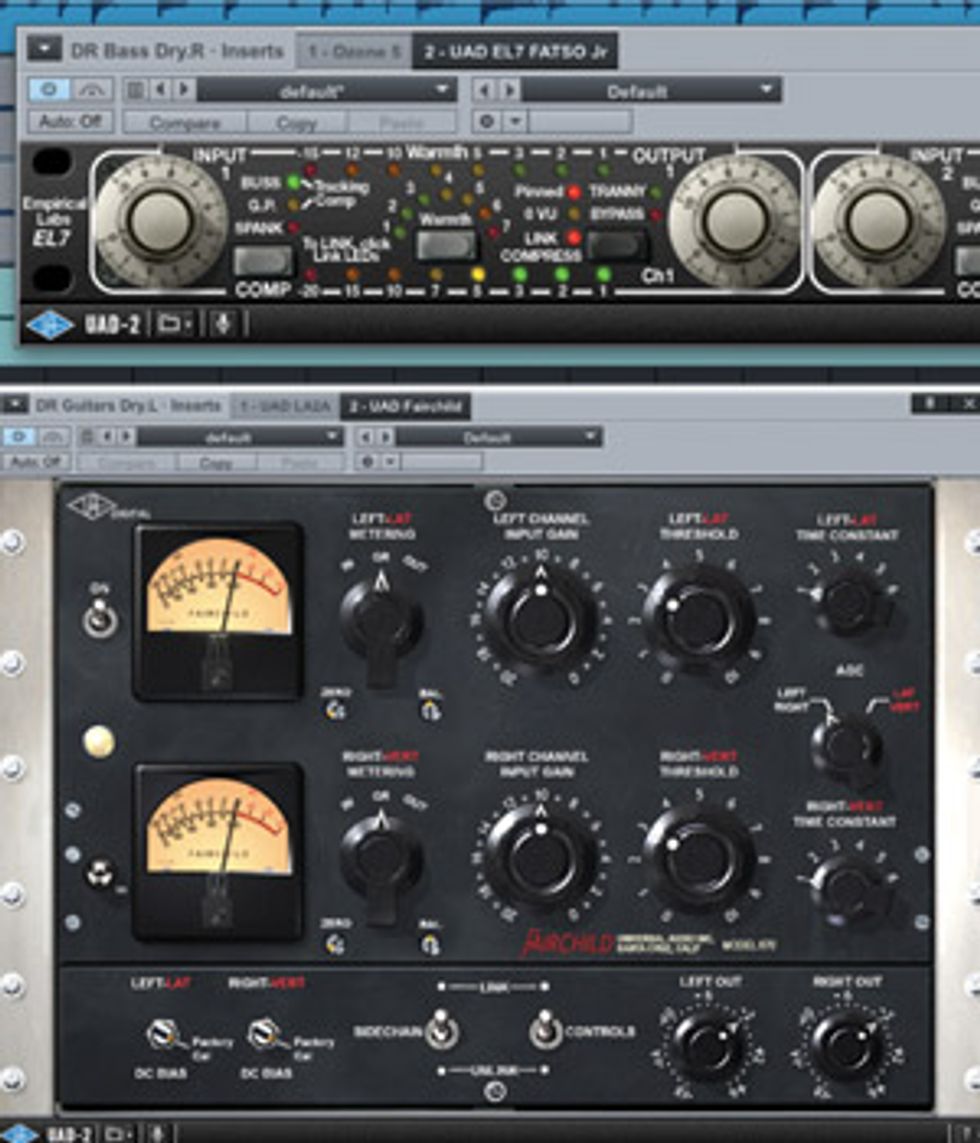
(Top)Watch plug-in gain. Even if your mixer channel meters seem okay, it’s possible that you are overloading them from inside one of your plug-ins. (Bottom) Choose where the color comes from. Many plug-ins that model or emulate the sound of vintage hardware units—such as the Universal Audio Fairchild limiter plug-in shown here—can contribute nice colors to your mixes.
3. Bits matter.
The number of bits in a digital
signal affects its resolution and
dynamic range. Each additional
bit doubles the resolution of
the signal. The difference is
dramatic. A 4-bit signal has 16
steps of resolution to “measure”
and represent the signal—sort of
like using a tape measure only
marked in one-foot increments
to measure something. Moving
to eight bits gets us 256 steps.
Sixteen bits get us 65,536 steps.
And 24 bits jumps us to a whopping
16,777,216 steps! That’s
like using a ruler marked off in
100,000ths of an inch—we’re
talking super-fine measurements.
For this reason, it’s best to track at 24 bit, then convert to 16-bit for CD or to MP3 as the last step in the process. Having all that resolution also allows us to record at conservative levels (see number 1, above) while still having plenty of resolution and dynamic range to make a great recording. If you have a 24-bit system and you record at −18 dB, you’re still getting 21 bits worth of dynamic range (each bit adds 6 dB of dynamic range) and 2,097,152 steps of resolution. That’s plenty for excellent quality.
4. Watch plug-in
gain.
It’s so easy to drop plug-ins onto
a track to EQ, compress, or otherwise
process a signal. But be
careful—many of those addictive
little software processors
can change the gain or level of
the signal, which often leads to
clipping (distortion) that’s easy
to miss in the heat of mixdown.
Be sure to double-check the
meters and clip indicators inside
each plug-in to ensure that no
overloads are slipping past you.
Boosting the gain in the plug-ins
too much can also force you to
have to pull down the channel
and master faders later, which
isn’t good gain staging and can
impair the audio quality.
5. Choose where the color comes from.
Analog tape and processors color your recording signal in a slightly different way—that’s part of their
beauty. Today, we can emulate a lot of those colors with modeling software that recreates the sound of the
original gear, including the coloration it provides. By selectively choosing the modeled processing you use,
you can carefully add analog-style coloration exactly where you want it and where it can be most useful.
Drums, for example, often benefit from analog-tape-style or analog-compressor-style coloration. Delicate
acoustic guitar, on the other hand, may not fare so well if you hit it with a highly colored processor.
6. Get it right at the source.
Just because we can do so many things with digital
audio, doesn’t mean we should—it doesn’t relieve
us of the responsibility to capture great sounds at
the source. Life is so much easier, projects come
together so much faster, the process is far less painful,
and the final product is so much better when
the original tracks are in tune, are tonally solid, are
recorded well, and aren’t plagued by background
noise. “Fix it in the mix” is just as much of a negative
with digital as it was with analog.
7. Upgrade the right stuff.
I’ve been covering this in recent installments of my Guitar Tracks column here in
Premier Guitar, but it bears mention in this space, as well. Upgrading or improving
certain things in your signal path will make more difference than others. For
example, I’m a firm believer in having the best monitors you can afford. You hear
everything through those speakers or headphones, so you have to be able to trust
them. I’m also a firm believer in capturing with the best quality possible at the
source. This means great mics and preamps. And a few key pieces of processing
gear, such as a nice analog compressor, can go a long way toward making the later
digital representation of many of your signals that much better.
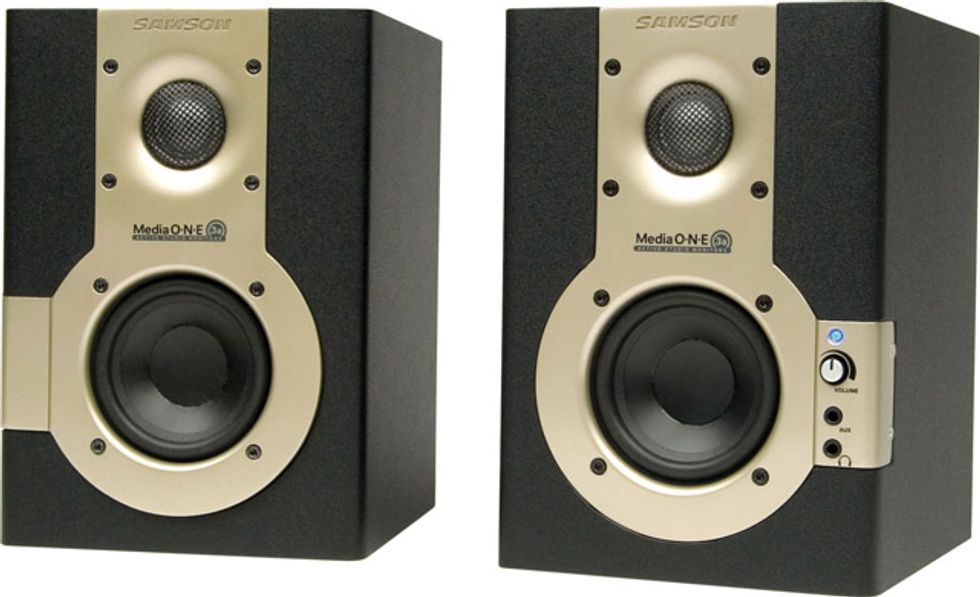
Monitor Speakers
Under $300
Samson MediaOne 3a pair $99 street
M-Audio AV 40 pair $149 street
Alesis M1 Active MKII pair $239 street$500 to $1,000
Tannoy Reveal 601a pair $499 street
Focal CMS40 pair $790 street
Dynaudio BM 5A MKII $998 streetOver $1,000
JBL LSR4328P $1,559 street
Neumann KH 120 $1,499 street
Sonodyne SM 200Ak $1,590 streetMicrophones
Under $250
Shure SM57 dynamic $99 street
Audio-Technica AT 2035 large-diaphragm condenser $149 street
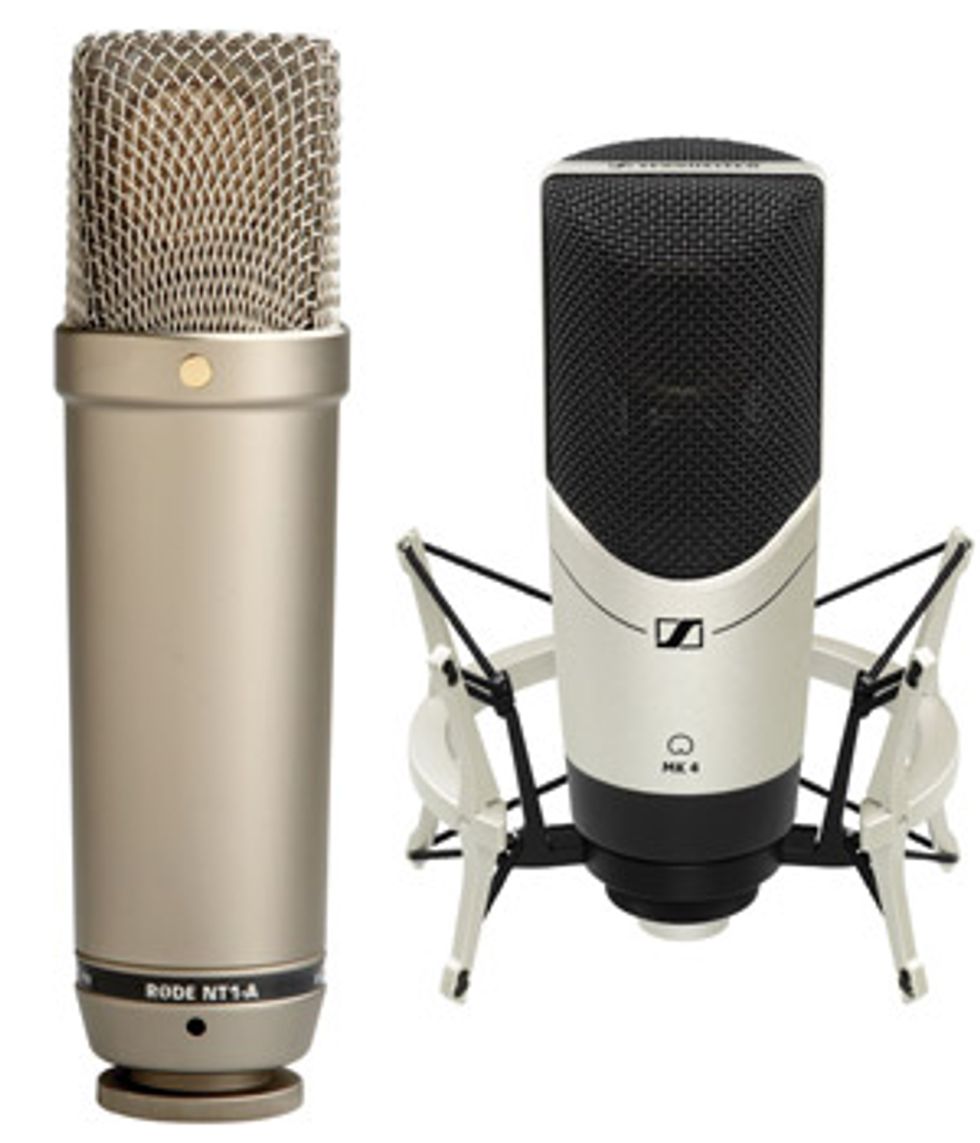
Rode NT1-A large-diaphragm condenser $229 street$250 to $500
Sennheiser MK 4 large-diaphragm condenser $299 street
Blue Microphones Baby Bottle large-diaphragm condenser $399 street
Shure KSM32 large-diaphragm condenser $499 streetOver $500
Mojave Audio MA-201fet large-diaphragm condenser $695 street
AKG C 414 XLII large-diaphragm condenser $999 street
Neumann TLM 103 large-diaphragm condenser $1,099 street
Compressors
Under $150
Behringer autocom pro-XL
mdX1600 $109 street
alesis 3632 $149 street
dbx 266xs $149 street$299 to $500
art pro-VLa ii $299 street
dbx 160a $429 street
drawmer mXpro-30 $497 streetOver $500
Chameleon Labs 7720 $535 street
aphex model 240 $699 street
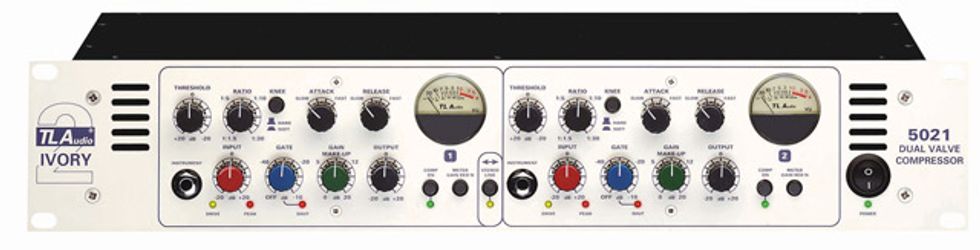
tL audio 5021 $999 streetPreamps
Under $150
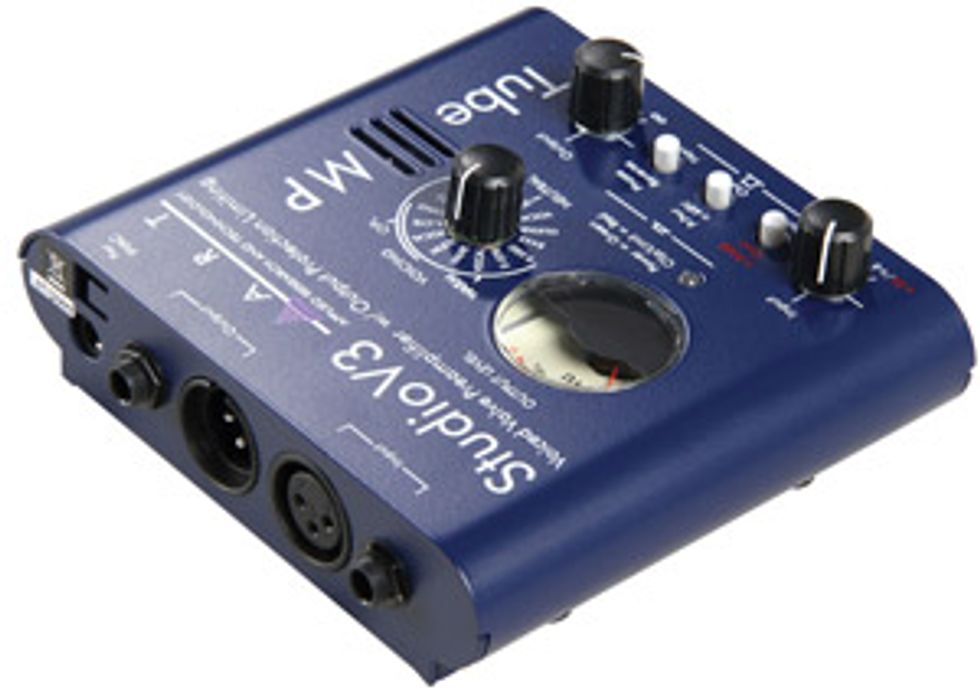
Art Tube MP Studio V3 $69 Street
PreSonus TubePro $129 Street
Studio Projects VTB1 $149 Street$150 to $500
dbx 286s $199 Street
ART Voice Channel $399 Street
Focusrite ISA One $499 StreetOver $500
Grace Design m101 $565 Street
Chameleon Labs 7602 MKII $719 Street
JoeMeek twinQ $949 Street

the room still matters. The iconic drum track from Led Zeppelin’s “When the Levee Breaks” has been sampled innumerable
times over the years, and a huge part of its classic vibe is due to where it was recorded. In this scene from the
2009 documentary It Might Get Loud, Jimmy Page stands in the foyer of Headley Grange, the East Hampshire, England,
home where Zep recorded tracks for four of their most famous albums. Photo courtesy of Sony Pictures Classics
8. The room
still matters.
This is a corollary to item 7: One of
the best investments you can make
in your digital tracks is to acoustically
treat your recording and control
room. You’d be surprised how
much the sound of the room affects
what you do, and digital captures
all that roominess with perfect clarity
… so make sure the space you
are working in is doing the job.
9. Hygiene is key.
In the analog days, you had to
demagnetize tape heads, clean the
tape path, wind the tape for proper
storage, and perform other routine
maintenance tasks at the beginning
and end of every session. The same
is true with digital—the tasks are
just different. Lots of takes and
edits can result in a ton of files
scattered around your computer
and slowing down your system.
Unused mixer channels and plugins
can end up hiding in the system,
weighing down the project,
and eating up CPU and memory
resources. Lots of small apps running
in the background on your
computer will also sap it of precious
processing resources. Keep it
clean and organized, and your system
will always perform its best.
But basic maintenance extends beyond this to installing current versions of software, having plenty of space available on your recording drive, installing plenty of RAM in your computer, and otherwise optimizing your system for maximum performance. However, don’t do those things the night before a critical session— give yourself plenty of time to learn and test new versions of software or plug-ins before you put them to work for real.
digital data is fragile. Saving multiple versions of a project under new names provides some protection against corrupted fi les—and it’s a great organizational tool—but for real protection, you must back up your work regularly.
10. Digital data
is fragile.
The virtual ones and zeros that
make up digital data are not robust.
One small mishap and your hardwon
tracks can vanish. For this reason,
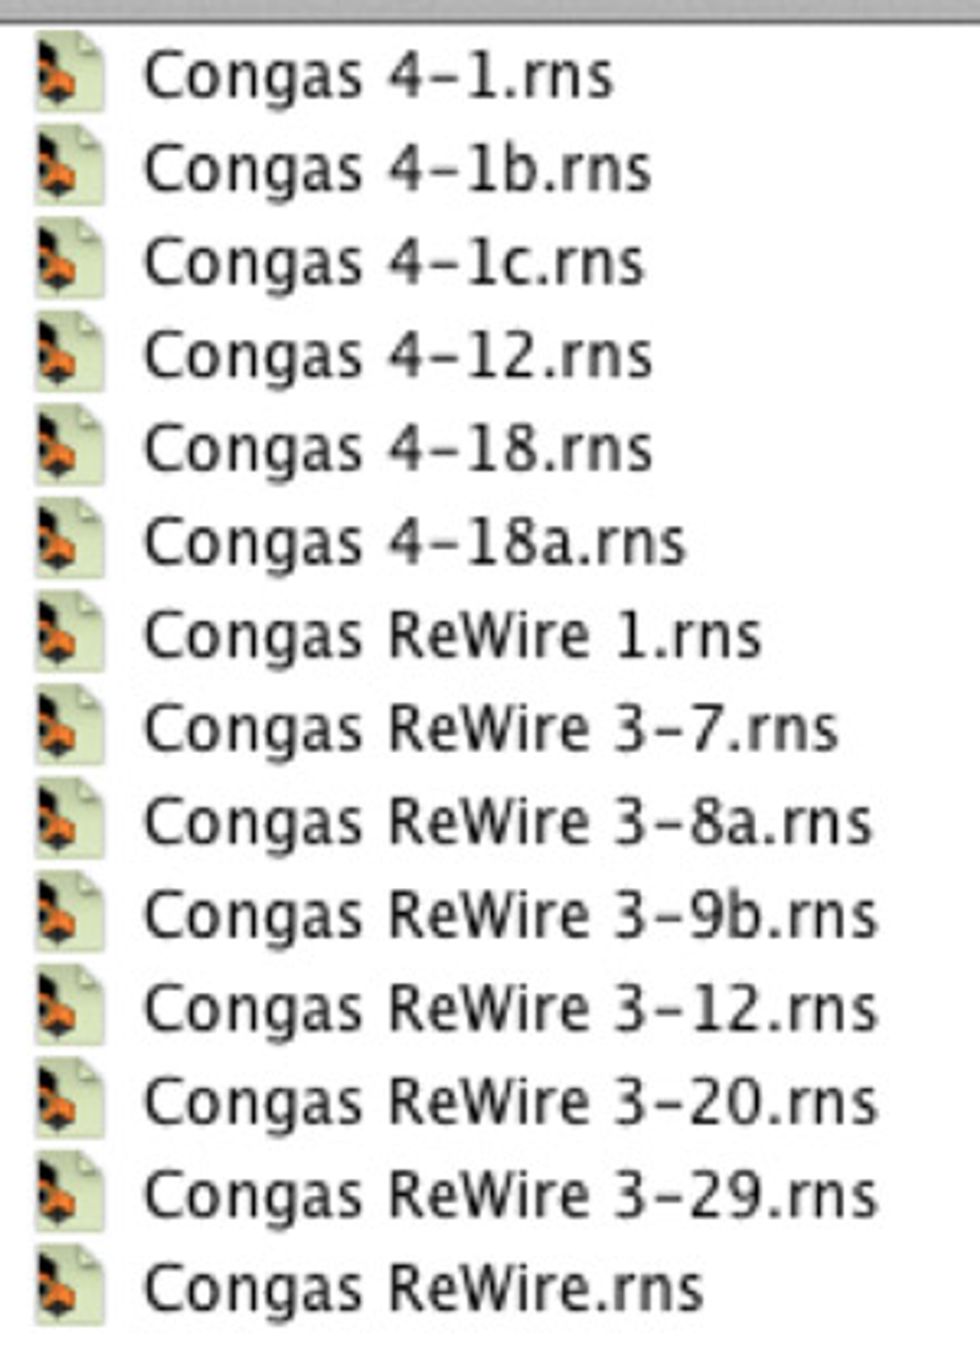
it’s imperative that you save and
back up your data constantly. By
habit, I hit the save command in my
DAW every time I make a change.
And when I’ve made a significant
number of changes, or I’ve gotten
to the point where it would be
extremely painful to have to recreate
my work, I save a new copy under
a different name. (Project 1, Project
1a, Project 1b, Project 1c, and so
on.) This way, if a project file gets
corrupted, I can always step back to
the last version and work forward
again without losing everything.
Likewise, at the end of every work session, I back up the project to a separate hard drive. That way, if the hard drive in the computer goes down, I’ve still got my work on a second drive and can quickly recover and begin working again.
It’s all about the outcome.
Digital has been a true godsend for musicians who want to capture and distribute pro-quality recordings without waiting for some major label
to finance the dream. It’s made super-powerful recording tools available to pretty much anyone. But it’s about more than just the tools. Keep
these 10 simple tips in mind during all your future recording adventures, and you’ll be pleasantly surprised at how much the quality of your
digital projects improves as a result of such straight-ahead measures. More than that, you’ll find they make studio life easier and less stressful—
which can only portend good things for your creativity and performance quality. Good habits are good habits, whether you’re working with
analog or digital, and in the studio, good habits lead to great recordings!
- Recording Dojo: How to Fix Ice-Pick-in-the-Forehead Tone, Pt. 1 - Premier Guitar | The best guitar & bass reviews, videos, and interviews on the web. ›
- Gain Staging Pedals for Tracking - Premier Guitar ›
- Tracking guitars? Get a Room! - Premier Guitar ›
- Three Steps to Varispeed Magic - Premier Guitar ›
- Master the Art of Learning: Harnessing the Beginner's Mind - Premier Guitar ›
- The Wide World of Decibels ›