Last time around we looked at waveforms and talked about how they can help you perform fast, effective edits. This month we’ll go through the editing process step by step. You folks at home can play along too! Click this link to download the audio clips used here so you can try these moves on your own DAW.
The Sad Story So Far
Last month I recorded Clip 1, a nylon-string guitar passage with a filthy, nasty flub near the end. In the waveform view, I’ve enclosed the bad notes within a yellow box of shame (Image 1).

Image 1
I tried another performance [Clip 2], which I didn’t like as much as the first, though I managed not to screw up the ending.
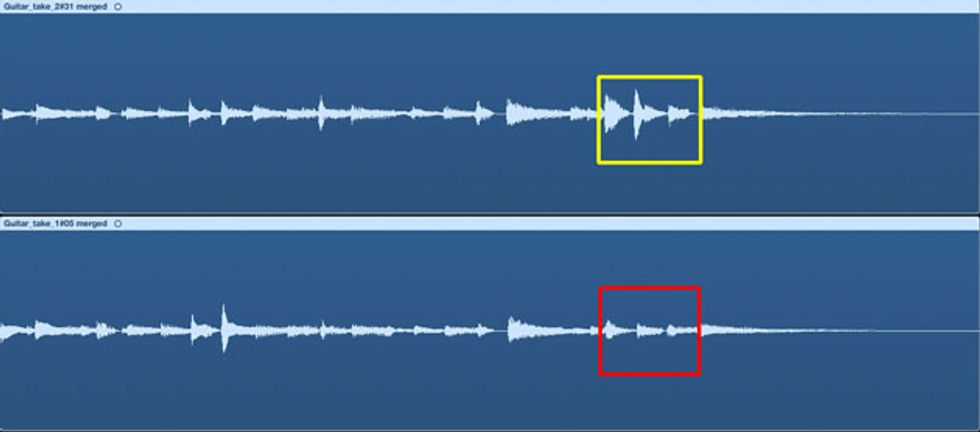
Image 2
Image 2 shows the two performances side by side. (A red box of honor marks the improved Take 2 notes.) Our mission is clear: replace the bad yellow notes in Take 1 with the good red notes from Take 2.
Digital Nip and Tuck
Ladies and gentleman, sharpen you scalpels! Find your DAW’s cutting tool, which may actually resemble a scalpel, though the tool in my DAW, Logic Pro, looks like a pair of scissors. (Also, your DAW may refer to the task as splitting or slicing rather than cutting.)
Zoom in on the notes in the red box. With your cutting tool selected, click at the edges of the target notes. Try to cut close to the first note’s attack. (At the leftmost, flat edge of the little isosceles triangle that indicates each note, as explained last month). Make the second cut just before the note attack after the highlighted section. You don’t have to make absolutely perfect cuts, though, as you’ll see in a moment.
Making these two cuts splits the Take 2 recording into three parts—or at least it seems to. (These subsets are usually called regions.) Keep in mind that when you cut, copy, and paste these segments, you aren’t actually altering the underlying recordings. These edits merely tell your computer which parts of the original audio files to reference when you press play.
Select the newly created region and copy/drag it at the same position in Take 1. If you drag without copying, Take 2 will look as if it’s missing a chunk. However, the underlying file is still on your drive. (Most DAWs make it hard to lose your original files—you usually have to go out of your way to permanently delete them.) Image 3 shows Take 1 after the region transplant.
Image 3
And how does it sound? Meh. The new notes are roughly in place, but you hear an awkward clump at the beginning and end of the edit (Clip 3). It feels like the guitar hits a speed bump. That’s because the two performances weren’t exactly in time. When I dragged the new audio onto Take 1, tiny bits of note attack from the original Take 1 performance remained.
Image 4 is a close-up of the edit’s start point. See the note attack before the edit point? That’s the stuttering sound you hear. (Depending where exactly you make your cut, your results may vary.) Anytime you see a note with one edge amputated that way, expect to hear a click, pop, or stutter.
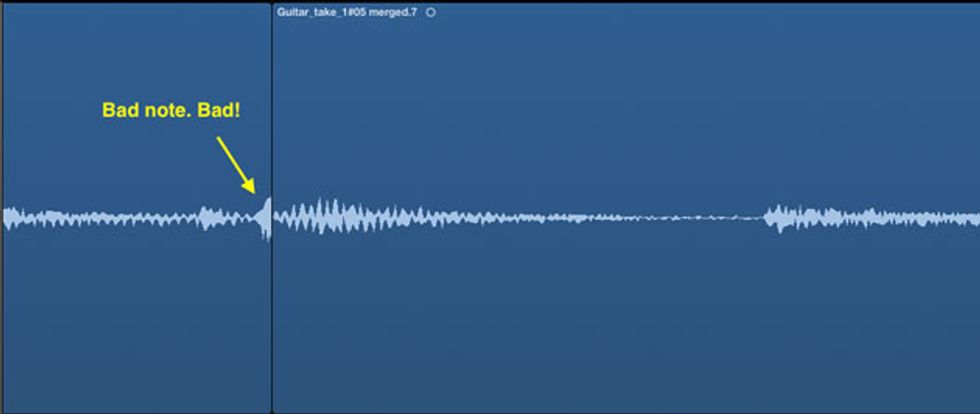
Image 4
Smoothing Rough Edges
Remember, cutting and pasting the new section didn’t delete anything. You can drag the region boundaries of the left or right, stretching or shrinking the region length. If you were to drag the left and right edges of the newly transplanted region all the way to the beginning and end of the song, you’d have the entire Take 2 where Take 1used to be. But the adjustment we need is far smaller.
On most DAWs, you stretch or shrink regions by hovering your cursor over the region’s left or right boundary till a trimmer tool appears. Like Image 4, Image 5 shows the left-side boundary. The only difference is that I’ve dragged the left edge of the new region just far enough to cover up the unwanted partial note.
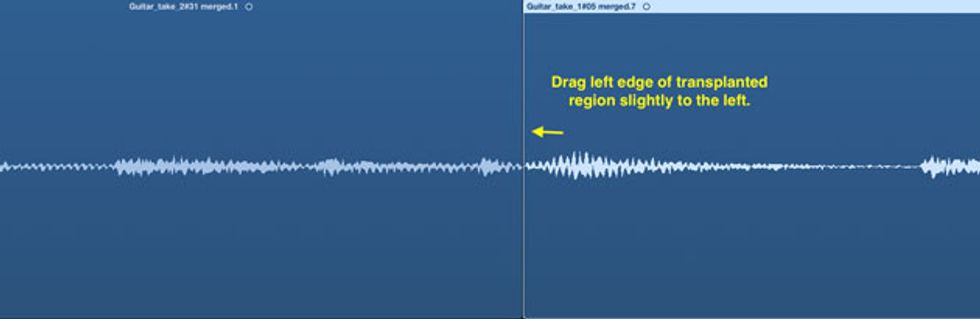
Image 5
The edit sounds fairly smooth at this point—but we’ll make it even smoother with a function called crossfading. In a crossfade, the two regions overlap for an instant, the old one fading away as the new one fades in. This removes any lingering clicks or pops.
Every DAW has crossfading, though the function name and tool appearance may differ. In Logic Pro, for example, you hover the cursor at the top corner of an audio region. A crossfade tool appears. The length of the crossfade depends on how far you drag the crossfade tool. You might do a long DJ-style crossfade that lasts several seconds, with the two sections audibly overlapping. But note-to-note edits like this usually call for shorter fades, just a few milliseconds to smooth the transition, as seen in Image 6. Experiment with various crossfade lengths. Remember, all your editing is non-destructive. (That’s another way of saying your original recordings are still there, no matter how much you slice and splice.)
Repeat the same moves at the right edge of the new region. Now you should have a smooth splice like in Clip 4.
Finally, you might want to glue all three regions together as a single audio file. There’s no need to do that sonically, but it makes for a cleaner onscreen appearance, and it’s easier to export edited files as a single clean file if, say, you’re collaborating remotely with another musician on another DAW. In Logic Pro the glue tool looks like—wait for it—a little glue bottle. Your DAW might not use the term “glue,” and the tool appearance may differ. But there’s probably a similar function.
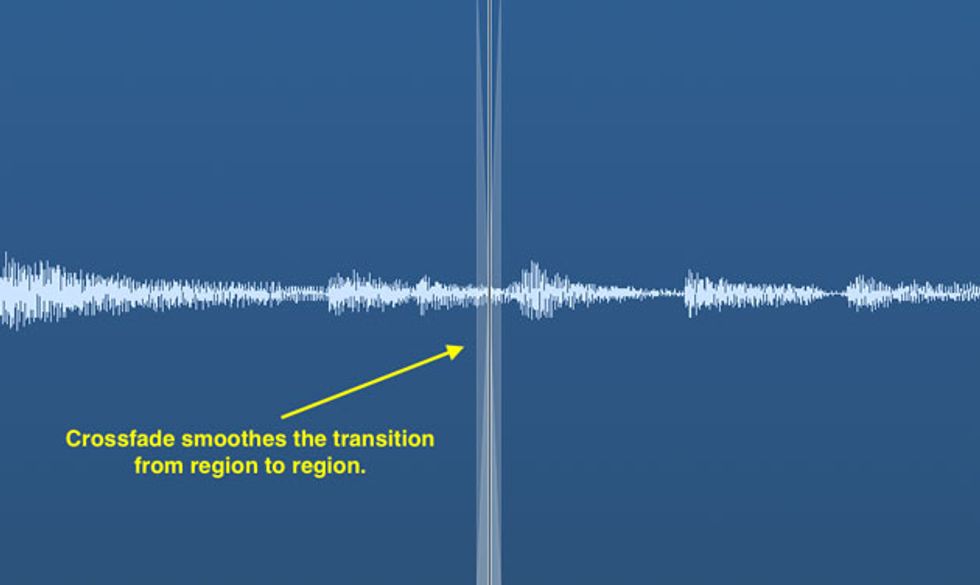
Image 6
For practice, go all Doc Frankenstein, transplanting regions from one audio file to another. Before long, smooth edits will be second nature—and you might stumble upon cool sonic surprises.