Toto’s legendary guitarist can move from ear-twisting triplet licks to soaring bends at the flick of a pick.
Theory: Intermediate
Lesson Overview:
• Learn how to add chromatic passing notes to your phrases.
• Decode Lukather’s unique bending technique.
• Develop funky rhythm parts over static harmony.
Click here to download a printable PDF of this lesson's notation.
Released back in 1982, Toto’s IV album yielded two chart-topping hits, “Africa” and “Rosanna.” This remarkable band and album featured a dream lineup centered around guitar legend Steve Lukather. For this lesson, I had the pleasure of breaking down some key aspects of his rhythm and lead playing on IV and then working them into my own example, which I’ve nicknamed “Joanna.”
Get the Tones
I’ve divided the example track into three main guitar sections: a solo, dirty rhythm, and some clean overdubs. I attempted to get as close to the original sounds on the album as possible using Positive Grid’s Bias FX plug-in. For the overdriven sounds, I used an amp based on a Mesa/Boogie Mark IV with a very light slapback delay and a room reverb. All the dirty rhythm examples are double-tracked and panned hard left and right to create a wider stereo sound. For the lead tone, I put an Ibanez TS808 in front of the amp with the drive turned down, but the level slightly boosted to increase sustain. I also added a fairly large hall reverb and a tape-style delay to create ambience. Combined with some chorus, these really expand the lead tone in a classic ’80s way. For the clean overdub sounds, I used a basic Twin-style combo with an MXR Dyna Comp in front of the amp, plus a little slapback delay after the amp to create space around the part. For the ambient clean sound, I added a large hall reverb and tape echo delay at the end of the signal chain, and then placed a studio-style compressor on the output to let these ambient effects really bloom.
YouTube It
You’ll hear that “Joanna” is a homage to “Rosanna,” which features drummer Jeff Porcaro’s addictive and groovy shuffle. For my example, I used ToonTrack’s EZdrummer 2, which offers some “Rosanna”-style grooves that I modified. For this groove, we can feel every pair of eighth-notes as a quarter-note and an eighth-note in the space of a single triplet. Describing it makes it sound a lot more complicated than it really is—listening to the track and counting eighth-notes will highlight this time feel in a more intuitive way.
Luke’s Licks
In Ex. 1,we start off near the end of my track with the main guitar solo. This solo is based over three chords: G for eight measures, Em for four, and finally a Csus2 for the last four. Over the G chord, I’m playing notes from G Lydian (G–A–B–C#–D–E–F#). I start the solo by ascending through a G major triad (G–B–D) before landing on a bend that highlights the 7 (F#) and 9 (A).
Luke is a master of off-kilter triplet runs, so I tried to cop some of that vibe. In measure seven, I start a rather long triplet run that uses chromatic notes and slurs. Pay close attention to the hammer-on and slide markings on the tab to ensure smooth execution of this line. Runs that use chromatic notes are very typical of Lukather’s unique playing style. Here, I’m visualizing a Bm7 arpeggio (B–D–F#–A) starting on the 3rd string in 14th position. Since Bm7 is diatonic to G Lydian, it implies a Gmaj9 tonality.
In measure nine, we move to an E minor tonality. This is still diatonic to G Lydian, but now we can open up some E Dorian (E–F#–G–A–B–C#–D) sounds. We start with some expressive bends in bars 11 and 12 that feature another of Steve Lukather’s signature moves. There’s a tricky bend in measure 11. Use your third finger to bend the B at the 17th fret up a whole-step. While still holding the bend, use your pinky to reach over one fret to add a half-step to the bend. This is a really cool trick for getting gravity-defying bends!
Another triplet phrase pops up in measure 13, but this time I’m thinking of an E blues scale (E–G–A–Bb–B–D) to fill in the gaps. The solo then moves around to a Csus2 tonality, and this time I’m thinking in terms of C major.
Click here for Ex. 1
Ex. 2 features two separate parts double-tracked to create a more expansive stereo sound. Gtr. 1 has a funky syncopated octave motif starting on the “and” of beat 3 every two measures. This part fills in the space when the ambient clean overdubs and piano take a brief pause on a chord. It’s a subtle way to add more groove to the track.
To get a nice, slow attack on this part, I palm-muted the notes on the 6th string while digging in quite hard with a flexible .70 mm celluloid pick. Gtr. 2 plays different chords over the A bass note to create a bit of movement over this harmonically static groove—something that can be heard in a lot of Toto’s music. I strum each chord quite slowly and softly around the guitar’s bridge area to let the chords bloom into the sonic picture. Like all these double-tracked parts, I made sure each side was executed identically, thus adding to the size and depth of the sound.
Click here for Ex. 2
Let’s move to Ex. 3, which features double-tracked rhythm guitars over the verse. I stick to big chunky power chords to highlight the big changes and single-note lines that accent the triadic movement of the static groove. When double-tracking these guitars, I chose a slightly less saturated sound for each guitar and focused on keeping the articulations the same on each track. When done right, these double-tracking techniques can make a simple guitar part like this sound huge without getting in the way of the other instruments in the recording.
Click here for Ex. 3
Get some slippery-sounding bends without reaching for the bar.
Chops: Intermediate
Theory: Beginner
Lesson Overview:
• Create simple and meaningful blues phrases in the style of B.B. King.
• Understand how to emphasize chord tones over a blues progression.
• Learn how to use repetition to build tension in your solos.
Click here to download a printable PDF of this lesson's notation.
To my ears, string bending is what defines the sound and expressiveness of the electric guitar. I’ll take any chance I get to bend, pre-bend, or release a note. While I’ve always liked hearing a whammy bar in action, I strangely never enjoyed using it myself. I wasn’t able to develop a taste for the whammy bar early on, mostly because of a frustrating introduction to it on my first real electric guitar, which was equipped with a bar and a locking-nut system, but also came with many tuning and string breakage issues. I quickly unscrewed the bar and gave it up altogether.
As years went by and I started playing professionally, I stuck to my stubborn decision to just not use it unless I absolutely had to—in recording sessions for a really specific sound like dive bombs or over-the-top vibratos. But in recent years, I’ve been working on a few Broadway musicals where the guitar books would require the use of the whammy bar, whether for a slight “rock flavor” or for a full-out “rock-God” effect. While experimenting with the bar during soundchecks, I’ve come to enjoy some of its more subtle, bend-like qualities ... so much so that I’ve started emulating those sounds on my whammy-free guitars. I’ve been incorporating these new techniques in more creative, improvisational situations, and they have become part of my guitar vocabulary now. They offer interesting, alternative ways of using traditional bending techniques.
To this day, I opt not to screw the bar into any of my floating bridge guitars, and this has prompted me to discover new tricks for faking my favorite bar effects.
Here’s what I‘ve come up with.
First, get familiar with bending using your first finger, or rather, pre-bending, as most of the concept is based around that technique. Also, get familiar with identifying the closest note below the one you want to hit. In other words, know which note you will be pre-bending from. You’ll notice that the pre-bend doesn’t have to be strict—aim for a sound that is in between bending and pre-bending. Ex. 1 will help you with those ideas, going up a C major scale (C–D–E–F–G–A–B) on the 3rd string.
Click here for Ex. 1
The following lick (Ex. 2) builds on the note repetition that’s present in the previous exercise, an effect that gives the phrase almost a stuttering quality. It introduces a technique you’ll find in subsequent examples, which requires pre-bending (still with your first finger) immediately from the note you’re pulling-off to, then releasing. It’s a quick, but effective combination. Check it out!
Click here for Ex. 2
Let’s take the same idea, but move the bend around to different strings (Ex. 3).
Click here for Ex. 3
In Ex. 4, we mix and match by implementing half-step pre-bends, whole-step pre-bends, and note repetition on different strings. This works great in blues situations.
Click here for Ex. 4
Now that you have a good grip on the technique and the sound in your head, let’s look at another emulation of the bar that’s going to require some sliding before the pre-bending. It usually works great to slide dramatically and create a phrase with wide intervals. Additionally, you won’t have to use your first finger for bending, as this is closer to a traditional bending technique. I favor bending with the third finger, with the second finger right behind it for support and extra strength. Ex. 5 uses an ascending slide before pre-bending three half-steps, releasing it, then sliding up some more to a whole-step pre-bend and release.
Click here for Ex. 5
Ex. 6 includes a descending slide with a whole-step pre-bend and release, and then throws in a final first finger pull-off/pre-bend/release for good measure.
Click here for Ex. 6
For the grand finale, here’s a mashup of all the approaches we’ve discussed wrapped into one gigantic lick.
Click here for Ex. 7
Limitations are often inspiring, and these techniques are a prime example of hearing a sound and reproducing it with only the tools you have—or the tools you allow. I predict that your first finger is going to suffer a bit initially while you build new calluses, particularly if you use heavier string gauges. (I play an .011-.052 set, and I still have to earn it.) Have fun exploring those new territories, and try to incorporate these tricks into your playing. Maybe they’ll inspire you to search for other roundabout ways to replicate interesting sounds.
And no, I still don’t own a guitar with a Floyd Rose.
Such studio masters as Jimmy Page and Robert Smith are known for weaving multiple guitar parts into compelling sonic tapestries.
Chops: Intermediate
Theory: Beginner
Lesson Overview:
• Learn how to combine different versions of the same chord.
• Create single-note riffs that outline a chord progression.
• Understand how to juggle rhythms and timbres to avoid cluttering up the sound.
Layering guitar parts is a skill every guitarist should explore. Whether you’re recording an album, looping live onstage, or are lucky enough to compose for a multi-guitar ensemble, knowing how to stack lines, figures, and phrases without cluttering up the music is equal parts art and science. In this lesson, we’ll discuss how to keep all the parts distinct by using different registers and rhythms, as well as variations in timbre and attack.
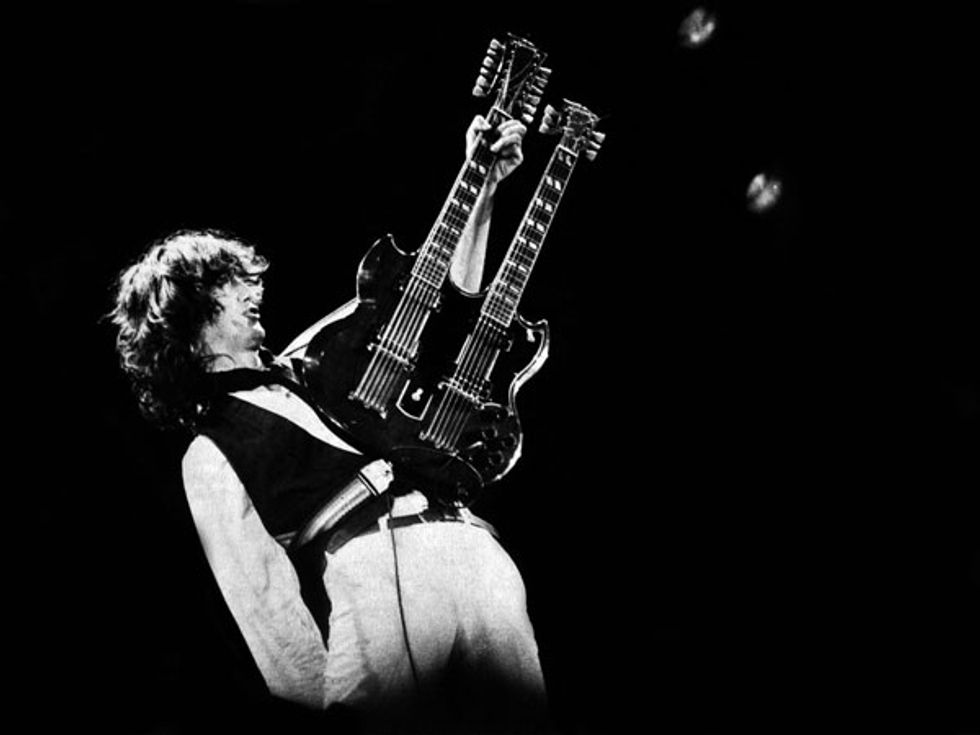
Let’s start with something simple: two guitars playing the same chord progression but using different voicings (Ex. 1). This is a common practice of Led Zeppelin’s Jimmy Page, who not only doubles the progression with two different parts, but then duplicates and layers those two parts several more times. Often what sounds like one fat, fabulous chord is in reality as many as 12 guitars playing the same thing! Ah, the magic of multitracking.
Click here for Ex. 1
Ex. 2 demonstrates an approach used throughout the ’80s and ’90s by such Britpop bands as the Cure. The example contains four parts that build the intensity and energy of a simple four-chord song. (You can isolate and audition each part by clicking the headphone icon in Soundslice.) This example also works great in live looping situations.
The example is in the key of F# minor, and each part has a unique role. Guitar 1 is the basic rhythm part that holds everything together—a simple strumming pattern. The syncopated single-note pattern in Guitar 2 plays off various chord tones, and Guitar 3 is a melodic phrase in a higher register that’s enhanced with a few color tones. I’ve added some light distortion to Guitar 4 to help those double-stops stand out in the mix.
Click here for Ex. 2
In Ex. 3 we find a layer of distorted power chords, a second layer of chorused cowboy chords, a phaser-filled hook, and a distorted melody. The tone and timbre of the guitars create an aural landscape that’s full, yet orderly. There’s a place for everything and everything is in its place.
Click here for Ex. 3
Finally, Ex. 4 is something radically different—a string quartet-inspired orchestration. There’s a lot of melodic information packed into these eight measures that complement, overlap, and support. Think of the parts as dancers on a stage, at times moving solo and other times coming together as couples before finally holding hands to rally together to the ending.
Click here for Ex. 4
After working through these examples, I hope you can see the secret to layering lies in having each element stay out of the way of the others. The trick is to use space to give each part its own sonic environment.
Whether you use a multitrack recording device or enlist guitarist friends to play different elements, there’s a way for you to experiment with layered guitar parts and move past the tired “You play rhythm, I’ll solo” mindset. Give it a shot!