Mod Garage Reduce, Reuse, Recycle, Repair: Sustainable DIY Guitar Workshop Helpers Dirk WackerMay 27, 2025
Photo courtesy Neutrik company (https://www.neutrik.com) Mod Garage Tipping Your Cap: Simple Mods for More Capacitance in Your Signal Chain Dirk WackerApr 26, 2025
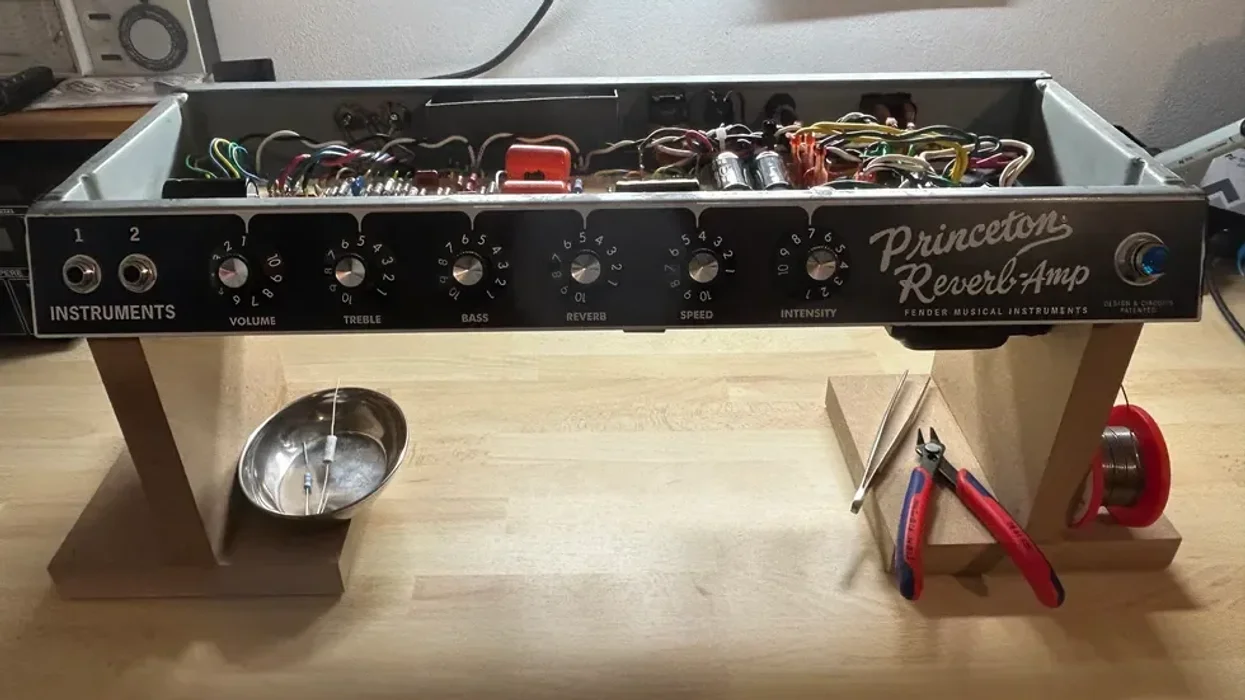
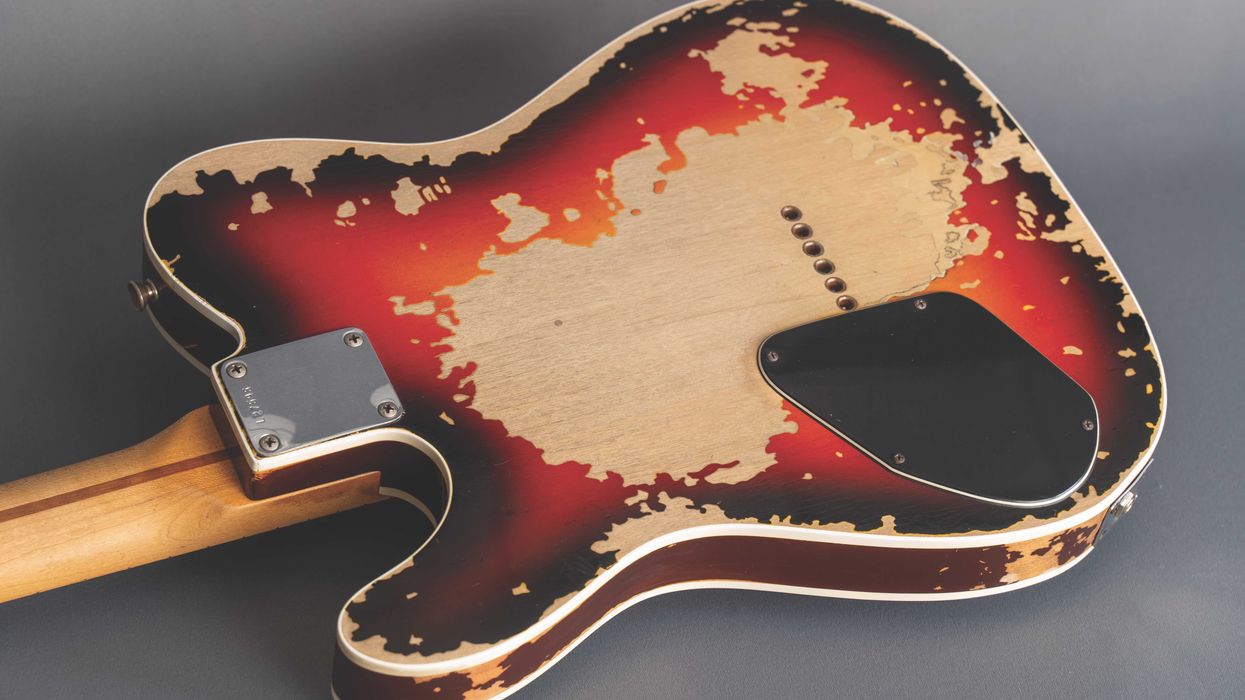
Silver & Black The Best Fender Amps That Never Existed What if you could have the best of both—or multiple—worlds? Our columnist investigates.Jens MosbergvikApr 04, 2025
Bohlsh*ttin' Judas Priest's Richie Faulkner Opens Up About Mental Health Struggles John BohlingerApr 04, 2025
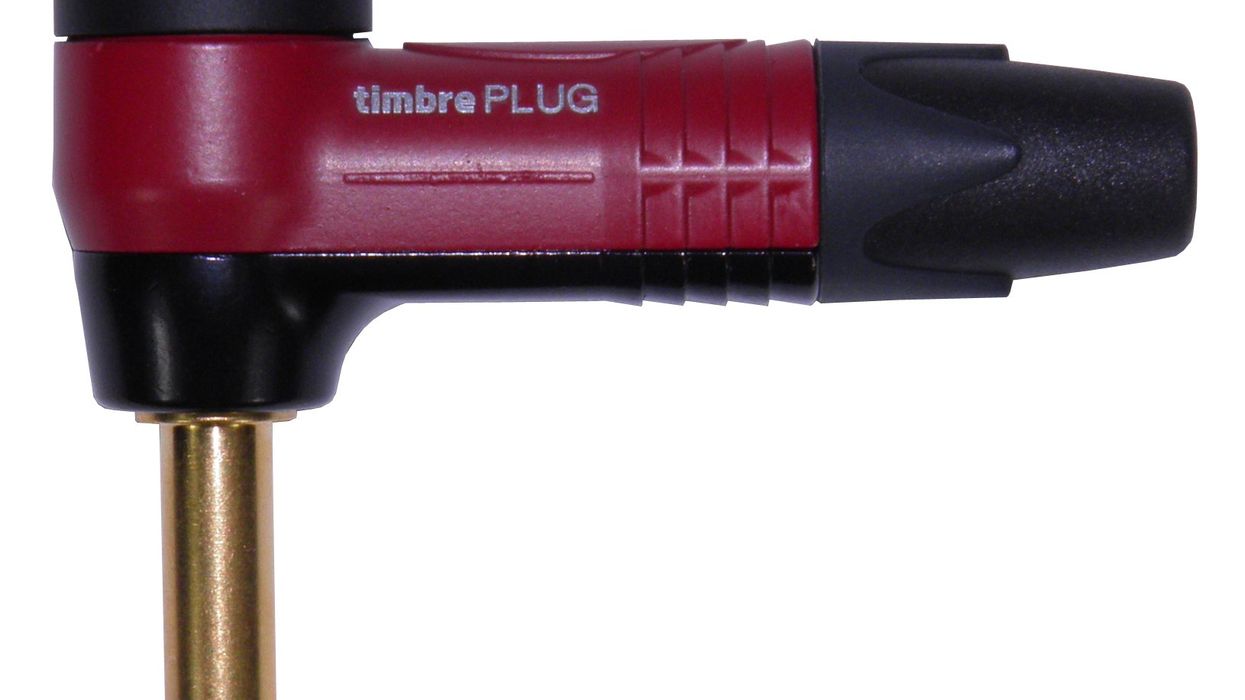
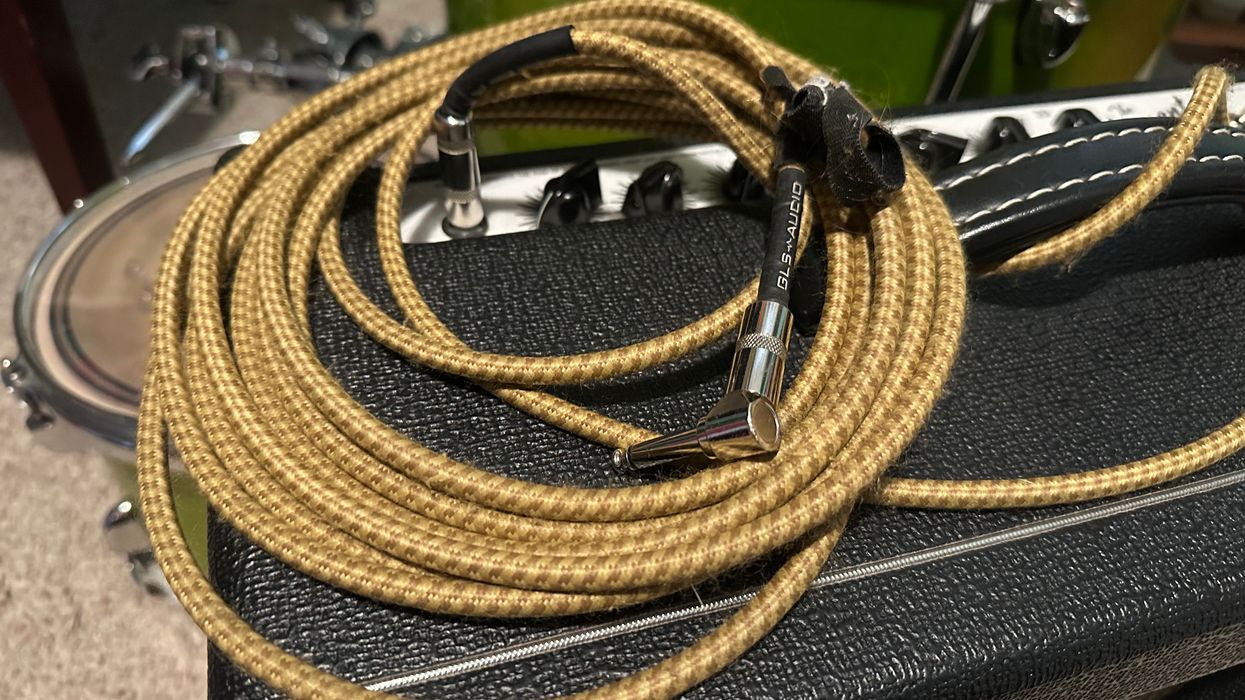
Mod Garage Are You Using the Right Guitar Cable? The least exciting piece of your rig can impact your tone in a big way. Here’s what you need to know.Dirk WackerMar 29, 2025
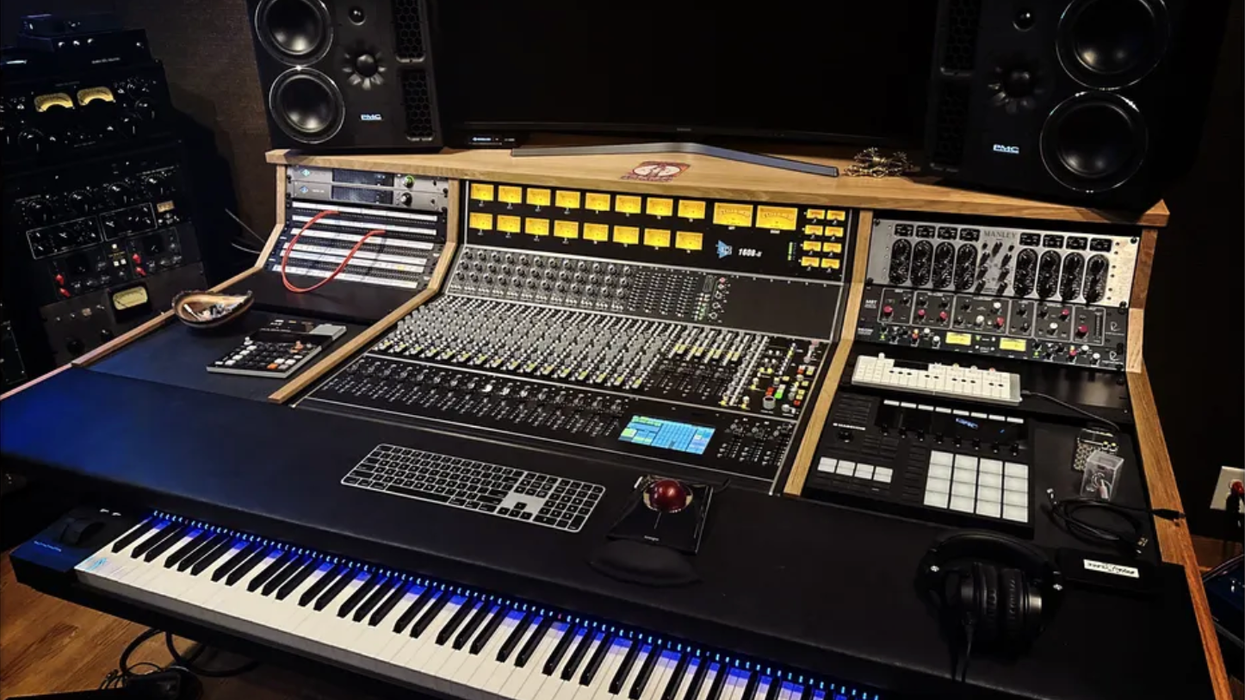
Recording Dojo How to Use a Summing Mixer For anyone serious about mixing their own recordings, it’s a tool worth considering.Bryan ClarkMar 08, 2025
Mod Garage The Andy Summers Telecaster Wiring, Pt. 2 We’ve covered Andy’s iconic guitar and what makes it so special, so now we’ll get to building our own.Dirk WackerFeb 26, 2025
Recording Dojo Improve Your Recordings: How To Import Your Samples Into Common DAWs Bryan ClarkFeb 06, 2025
Mod Garage Andy Summers Tele Wiring The Police guitarist’s go-to guitar is the source of a few mysteries, so let’s crack the code.Dirk WackerJan 27, 2025
Recording Dojo Organizing Your Sound Library A well-organized sample library is crucial for musicians, producers, and sound designers. It enables smoother workflows, saves time, and nurtures creativity by providing easy access to the perfect sounds. Bryan ClarkJan 19, 2025
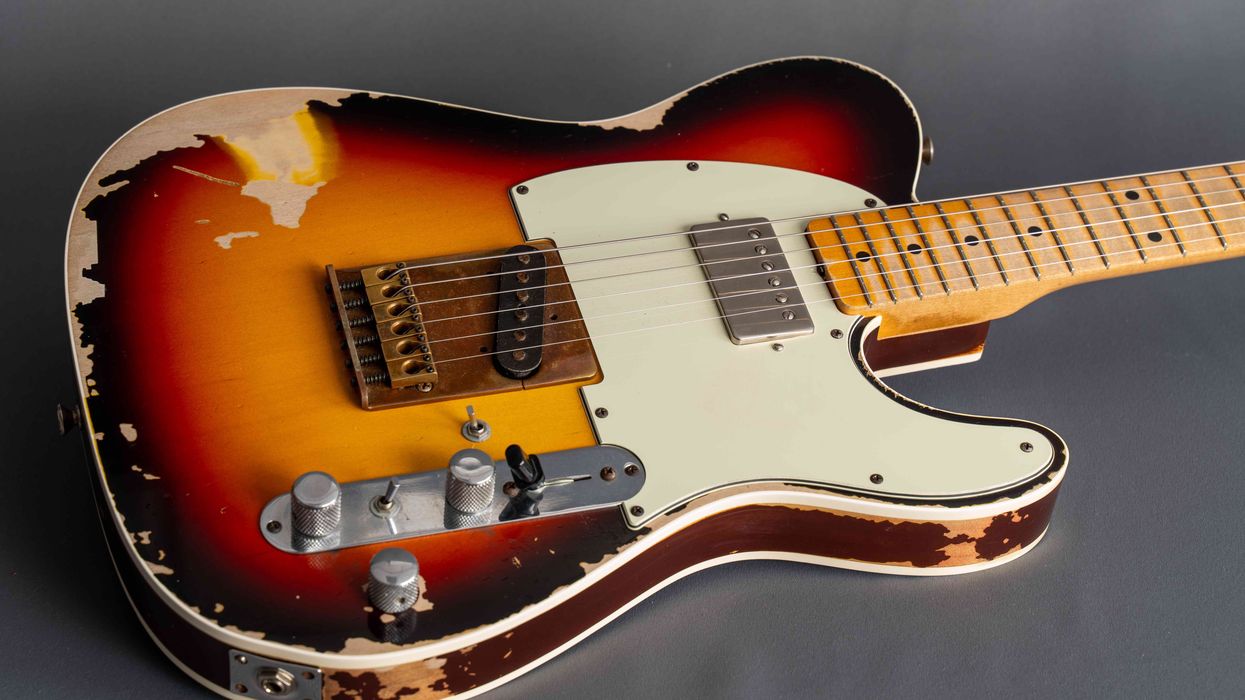
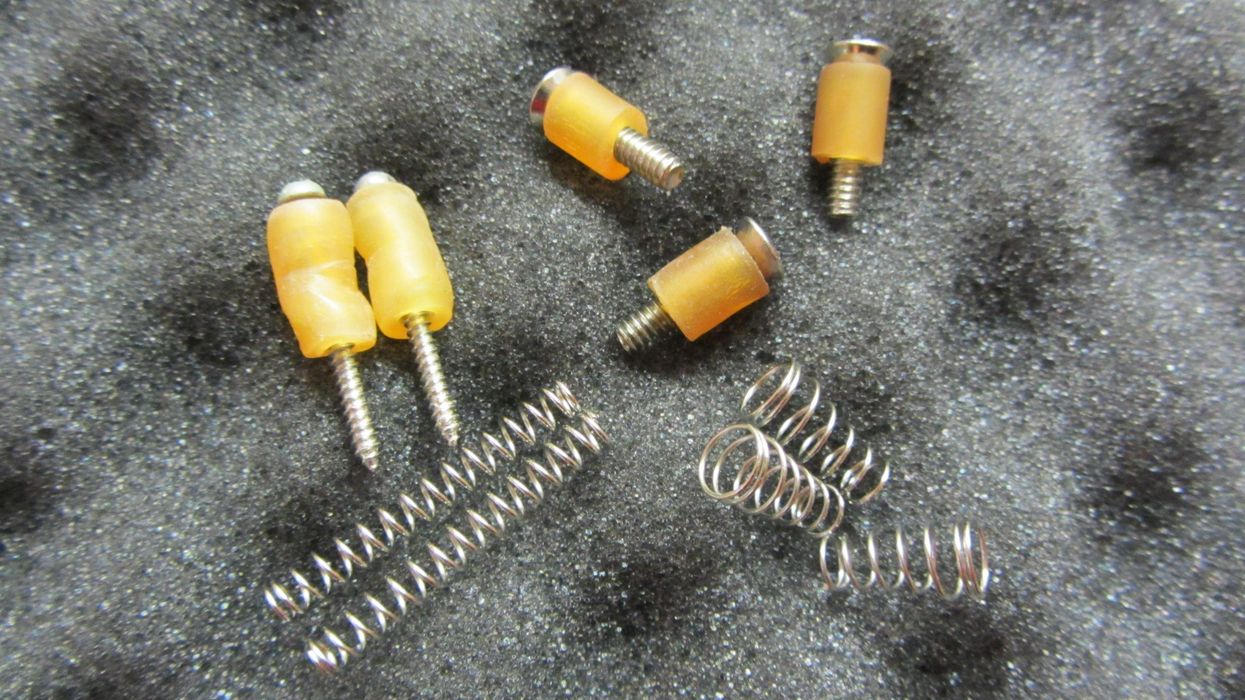
Mod Garage Fighting Feedback on a Telecaster If you’re used to cranking your Tele, you may have encountered a feedback issue or two. Here are some easy solutions.Dirk WackerJan 11, 2025