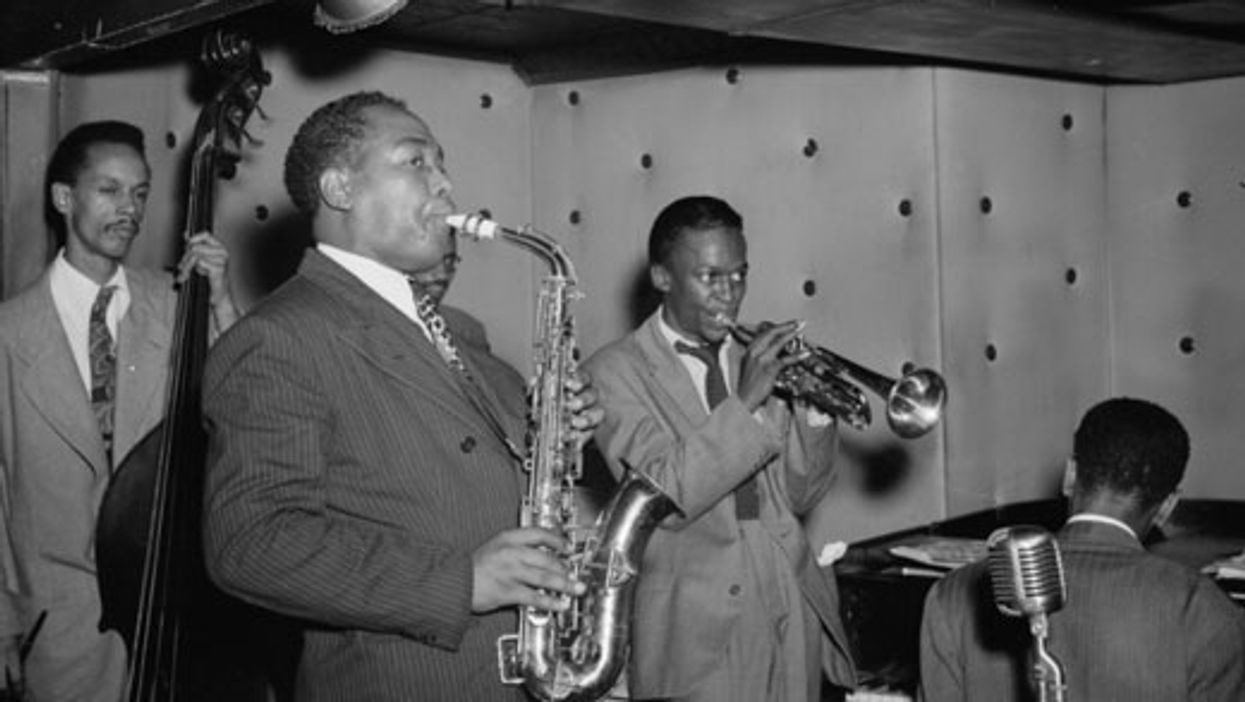
Saxophonist Charlie “Bird” Parker’s challenging version of a 12-bar blues is one of his most enduring contributions. Learn how to navigate these tricky changes by combining bebop and blues.
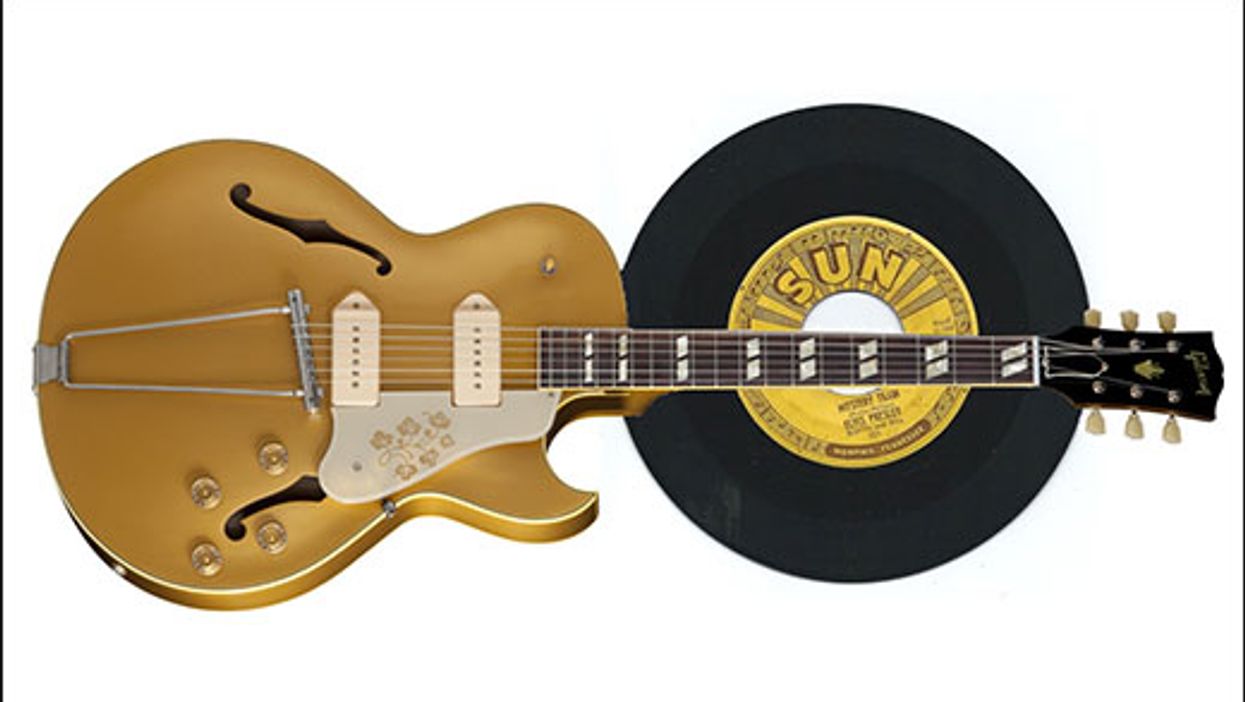
The legendary Elvis sideman was a pioneer of rockabilly guitar, and his approach to merging blues and country influenced generations of guitar pickers. Here’s how he did it.
Progressive metal’s most influential guitarist combines immaculate picking technique with aggressive tones to create the most technically demanding licks around.