Through working in the studio, I've really become aware of just how much microphones affect your guitar tones. A microphone is a filter of sorts, and I think what mic(s) you use on your cab and where you place them can have just as much effect on your tone as switching guitars, amps, or speakers. It’s important to have a working knowledge of mics and mic placement.
The Overlooked Microphone
I'm often amazed at how carefully and methodically engineers (both in the studio and live) will place microphones on drum kits, and what little time they will spend placing them on guitar amps! Often, in a live setting, if the mixing engineer asks me to turn down the treble on my amp, I’ll ask if he or she minds if I move the mic on the cab instead, especially if it’s an SM57 placed close to the center of the speaker. Moving the mic further towards the edge of the speaker will tame the top end and “fizz” considerably, especially on a mic with an aggressive upper mid peak, like an SM57. Which isn’t to say I don’t like that upper mid-peak! The tried-and-true 57 has become a staple for mic’ing guitar amps for a reason—it makes the guitar cut through the mix, with little or no EQ!
Combining two or more microphones on your amp can really open up options. Sometimes it's tough to get the tones you are after from just one mic, and blending two together can help achieve the results you desire. This goes for live applications as well as the studio. It’s commonplace these days on bigger tours (where the mixing desks can accommodate more inputs) to use multiple mics on the guitar cabinets, usually a dynamic like a 57 (for that aforementioned upper-mid cut) and a large diaphragm condenser, or less commonly, a ribbon mic (for warmth and/or fullness).
Of course, as technology advances, more options exist for getting different mic’d tones without the mics themselves. Using impulse response technology is one of these options.
What Are Impulse Responses
In recent years, impulse response technology has become a popular alternative for those that want that mic’d amp sound, without the hassle of actually mic’ing a cabinet. An impulse response essentially takes a “digital picture” of a certain speaker, mic, mic preamp, and mic placement. Similar to traditional speaker simulators in some ways, impulse responses go a step further. They capture the “air” around the sound, and also the sound and resonance of the cabinet being mic’ed, as well as the EQ curve and response of the particular speaker, mic, and preamp used during the modeling process.
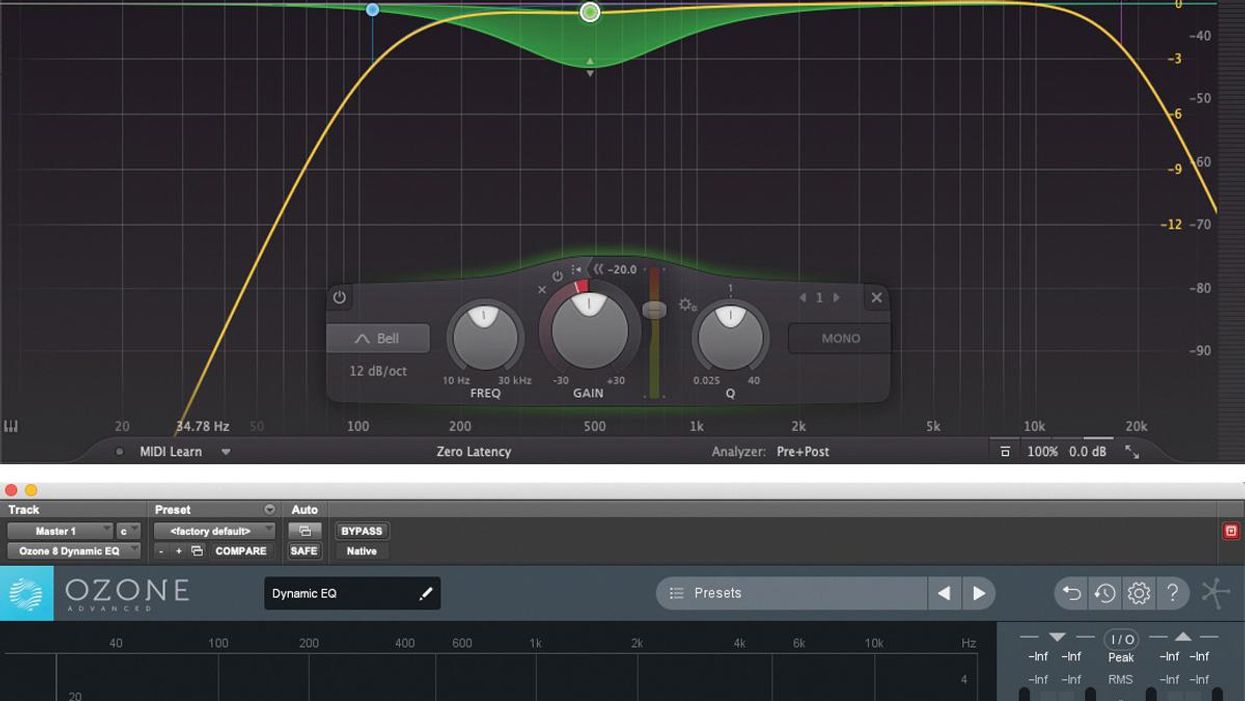
Impulse responses are then used by loading them into a compatible convolution plug-in in a DAW, or into certain hardware-based modelers like the Fractal Axe FX 2 (which I use live with impulse responses). When recording I use Space Designer to load IRs, which is included with the Logic Studio DAW. Impulse response libraries can be purchased from various companies. I use the Redwirez IRs, and recommend them highly.
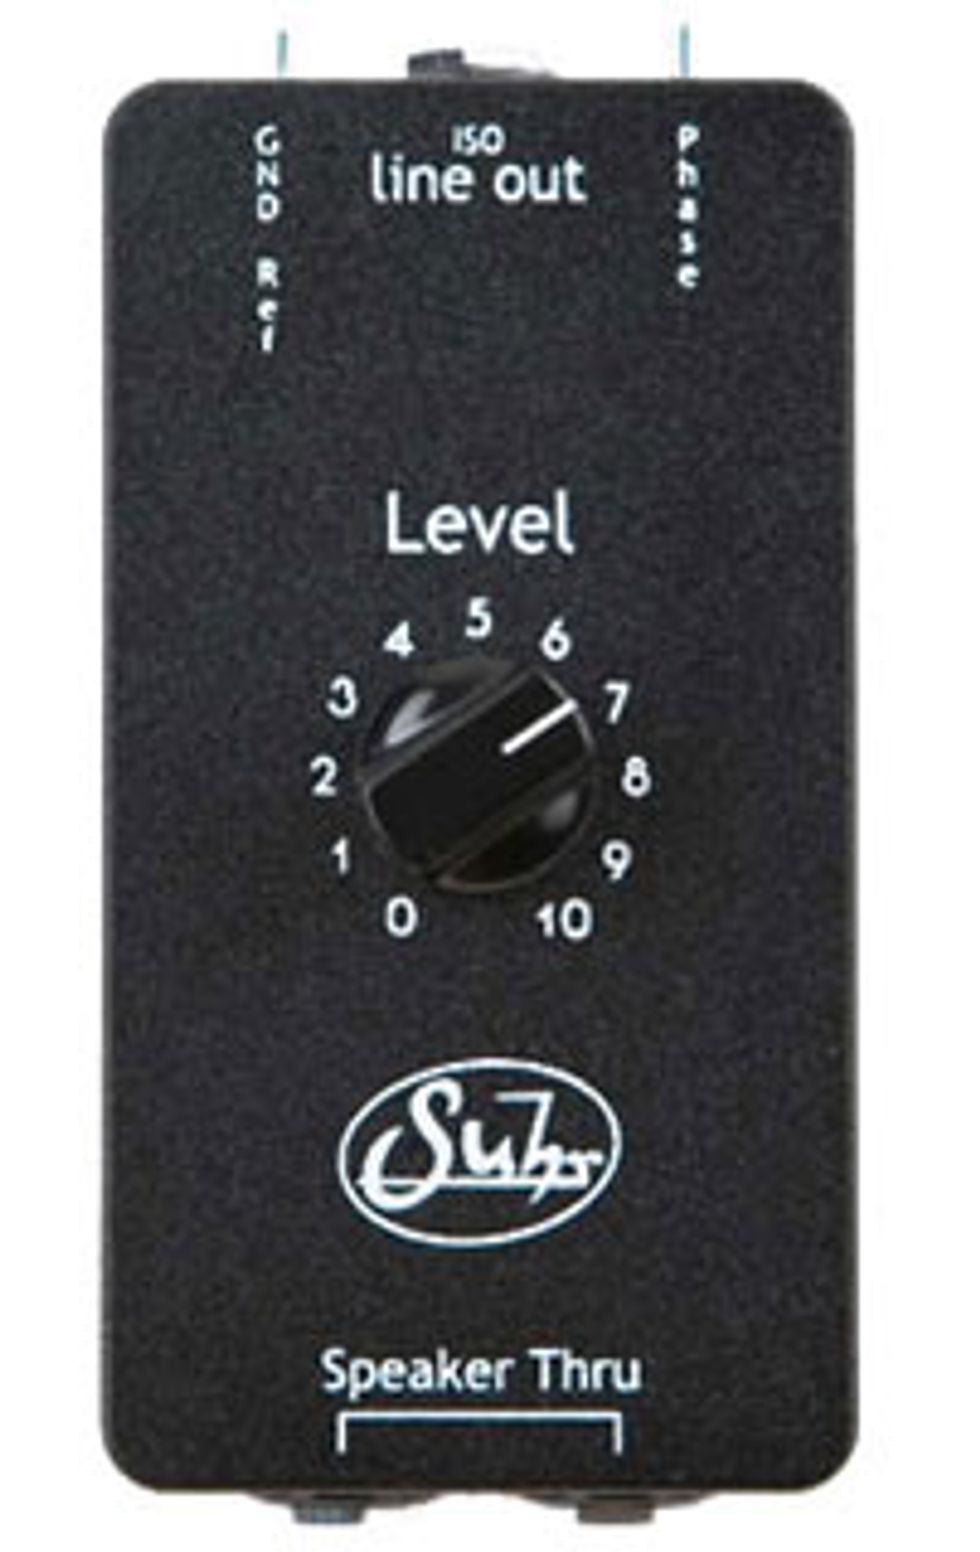 To apply IRs, you’ll need route the sound of your amp into a channel on your DAW, and then you simply load a convolution plug-in and whatever IR you want to use on that channel. To get signal from an amp into my DAW, I use the line output of either an attenuator (I use the Faustine Phantom, which can also act as a load for a tube amp) or a line-out out box (I use the Suhr Iso). A line-out box is a passive box that lets you take a line level tap of your guitar signal off of the speaker out of your amp—you’ll still need to have a cabinet connected in this case, or use a “dummy load.”
Why to Use Impulse Responses
There are a number of benefits from using impulse responses. You don’t need to invest in mics, mic pres, and speaker cabinets to have a huge range of “virtual” mic, cabinet, and speaker models at your disposal. It’s easy to mix and match and experiment to your heart's content.
You can also record silently if you load down your amp using an attenuator or a dummy load. You can crank a 100-watt Marshall at 4 a.m. in an apartment and monitor through headphones—pretty cool. Plus, it’s easy to get a very consistent live tone using IRs.
Still, I don’t see the practice of mic’ing cabs traditionally going away any time soon—it’s always very satisfying to get a great mic’ed guitar tone!
Comparing Mic’d vs. Impulse Response
Now let’s look at (and listen to) a couple examples of common amp mic’ing techniques, then compare them to their equivalents in the “virtual” impulse response world.
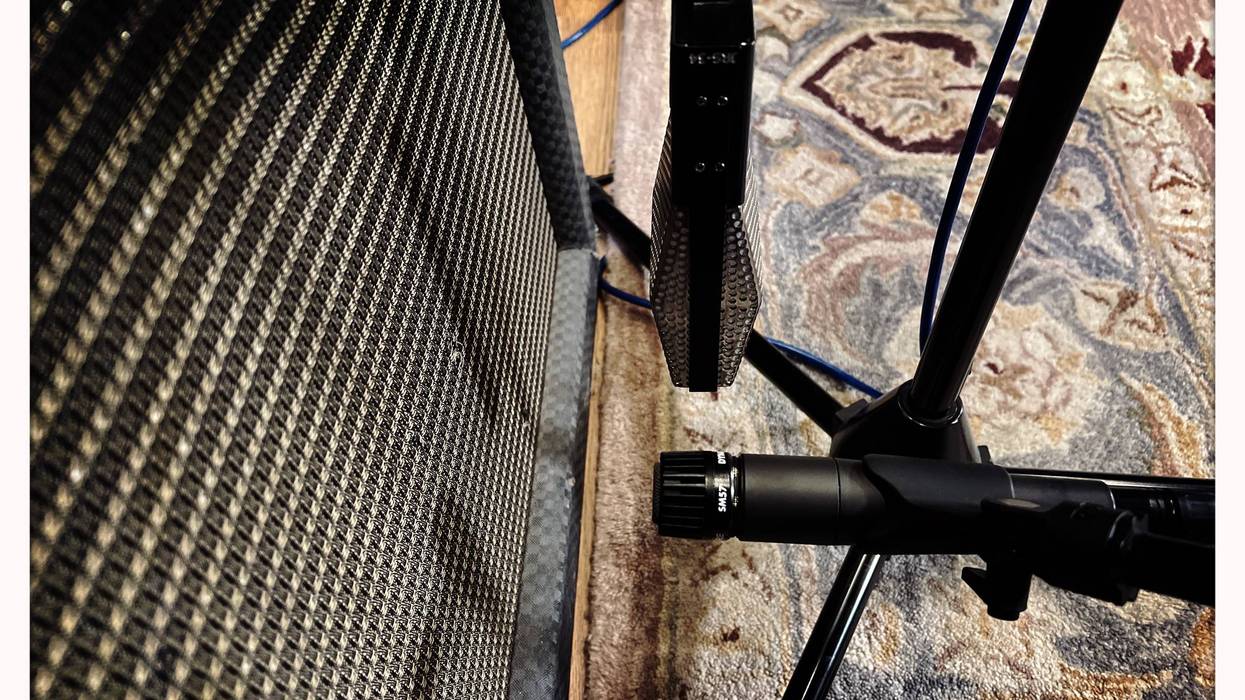
I’ve recorded a simple rock guitar part, using both a Shure SM57 dynamic mic and an AKG 214 condenser mic, each placed about an inch in front of a Scumback M75 speaker. The Shure is the industry standard mic for amps, and the 214 is basically a cardioid-only version of the AKG 414, a very popular condenser mic. The speaker is loaded in a Bogner 1x12” cabinet. Each mic was placed just off the center of the cabinet, at what I call the “cap edge” (where the cap of the speaker meets the cone):
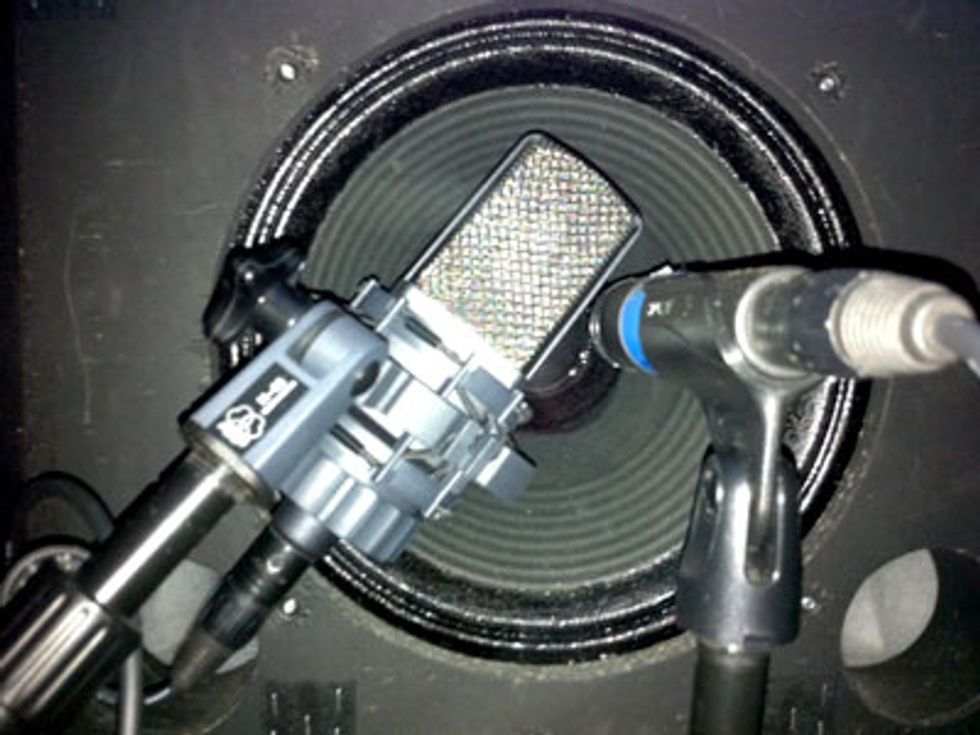
A dynamic mic placed like this will give you a bright, cutting guitar tone, with enhanced upper midrange. The condenser is more “full range” and will have a flatter response. They can be used separately or blended together.
Listen to a clip of the Shure SM57, then AKG 214, then blended:
As you can hear, the SM57 clip has a bright, cutting upper midrange, while the 214 is flatter, full bodied, and not as pronounced in the upper mids—although the presence is more extended. Blended together, the resulting tone is quite pleasing, in my opinion. You get the best of both worlds! And you can vary the level of each until you get the perfect balance of “fat” and “cut”.
Using the Suhr Iso line-out box, I simultaneously recorded a direct feed from my amp while I was recording the mic’ed signal. Once recorded, I duplicated the track and added the Space Designer plug-in. For each track I loaded Redwirez IRs of a basketweave Marshall cab mic’d one inch in front of a Celestion G12M greenback, at the cap edge, with either a Shure SM57 or an AKG 414. In other words, impulse responses similar to my physical mic setup.
Listen to a clip of the Shure SM57 IR, AKG 414 IR, then both IRs blended:
The same tonal characteristics from the physical mics hold true for the impulse responses. The SM57 alone is pretty bright but a bit thin, and the 414 is very full but a tad dark. Blending the two results in a full, rocking tone with plenty of upper-mid cut.
If you’ve got to use just one mic, at least in rock and roll applications, In my opinion the 57 close to the cap edge is tough to beat. Yes, it can be bright and a bit abrasive on its own, but drop it in a mix dense with noisy cymbals, thundering bass, and a wailing lead singer, and that bright quality will help place your guitar forward in the mix!
Whether you are mic’ing your amp traditionally, or using impulse responses to get your mic’ed amp tones, I hope this column has given you some food for thought!
 Pete Thorn is a Los Angeles-based guitarist, currently touring with Melissa Etheridge. His solo album Guitar Nerd will be out in early 2011.You can read more about his career and music at peterthorn.com.


![Rig Rundown: The Black Crowes’ Rich Robinson [2026]](https://www.premierguitar.com/media-library/youtube.jpg?id=66952027&width=1245&height=700&quality=70&coordinates=0%2C0%2C0%2C0)