Modern stomps offer more sounds than ever before, but a laptop can help you delve into an even deeper world of live sonic manipulation. Here’s what you need to know to get started.
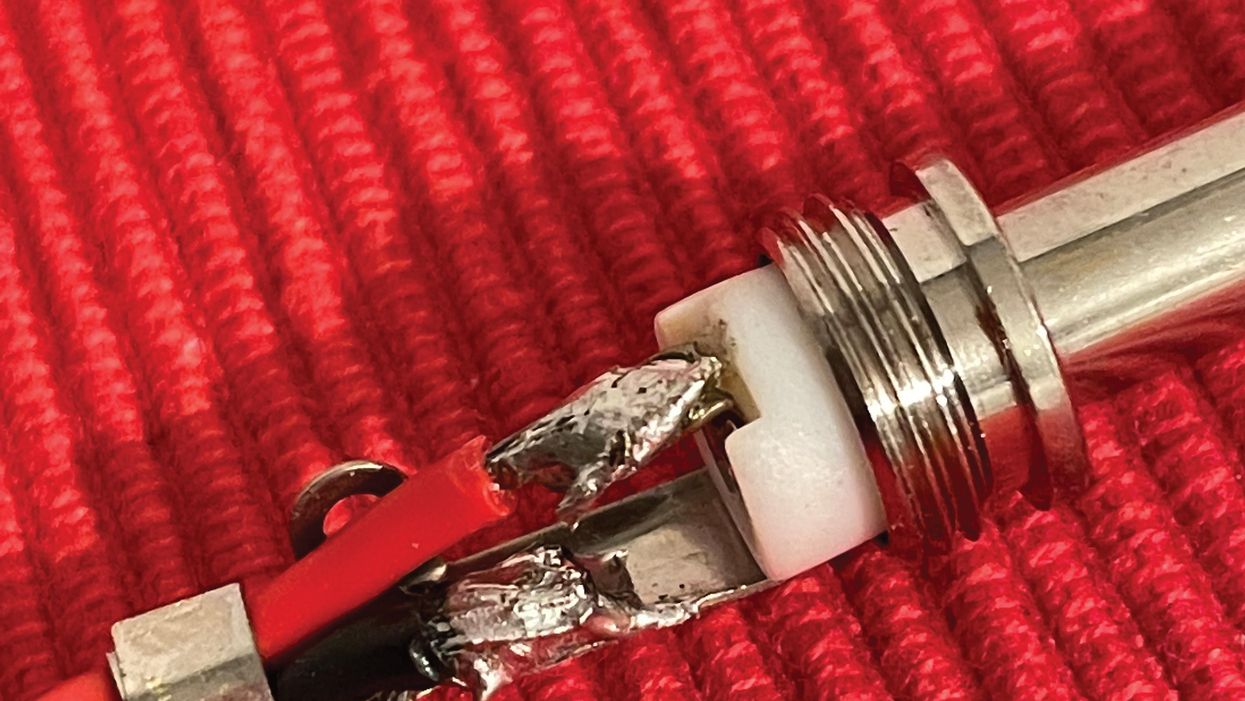
When it comes to cosmic tone, it’s critical to have functional potentiometers. Here’s how to install them correctly and keep them ship-shape afterward.
It's been nearly 10 years since Mod Garage guru Dirk Wacker taught us how to series-wire a Fender Stratocaster. Now he says he's got an even better way.