
Question: What have you DIYed in your rig?
Karla Chubb (SPRINTS) - Guest Picker
A: Besides my entire playing style and mess of a pedalboard? I’d say my Jagstang, which is my main touring guitar. It’s starting to become a bit of a Frankenstein's monster purely due to use (and destruction) on the road. Originally I just modified the bridge, replacing the standard one with a Fender American Pro Mustang bridge. This was supposed to help the strings stop slipping out of tune when I struck them too hard playing live. I have since lost the original tremolo bar (and the screws) so I can’t attach a new one. Instead, I duct-tape whatever Jazzmaster/Jaguar/Mustang one we have lying around on at every show because I’m too lazy to get it fixed. I should really get around to that…
Obsession: My current obsession at the moment is terrible (and rarely not-so-terrible) true-crime documentaries on Disney+/Starz. If what they say about smart people loving reality TV is true, then I must be a genius. From The Secrets of Hillsong to Mr. & Mrs. Murder, there is nothing that helps calm my brain or shut it down more than a terrible whodunnit. I love you, true crime. Never change.
Randall Brown - Reader of the Month

A: My most in-depth DIY so far is a sad tale! I tried to upgrade my very old and beaten-up—but still very playable—Memphis Les Paul copy with new tuners, bridge, and tailpiece. While working the posts in for the new tailpiece, I heard a wooden creak and a snap. My attempt to firmly plant the poles had caused the laminate top to politely separate halfway off the body. I bought wood glue and clamps to do more serious repairs, but I haven’t trusted my (lack of) skills to actually start. If I can’t find just the right YouTube tutorial, I might have to seek professional help.
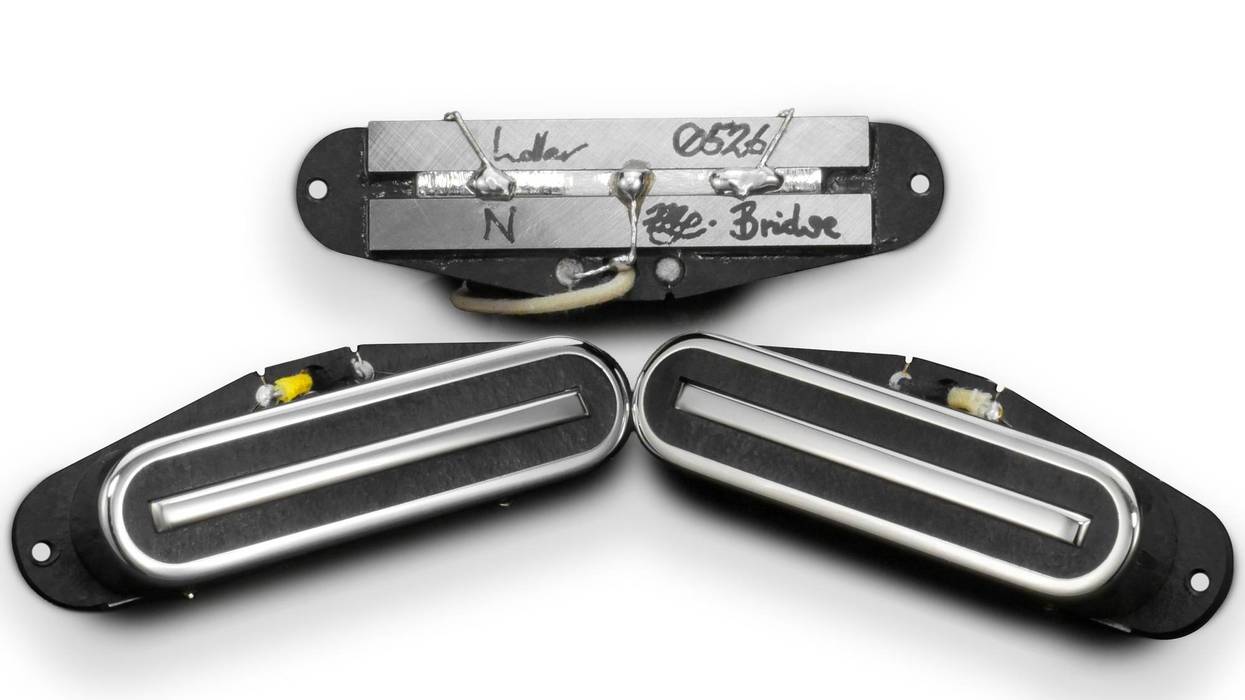
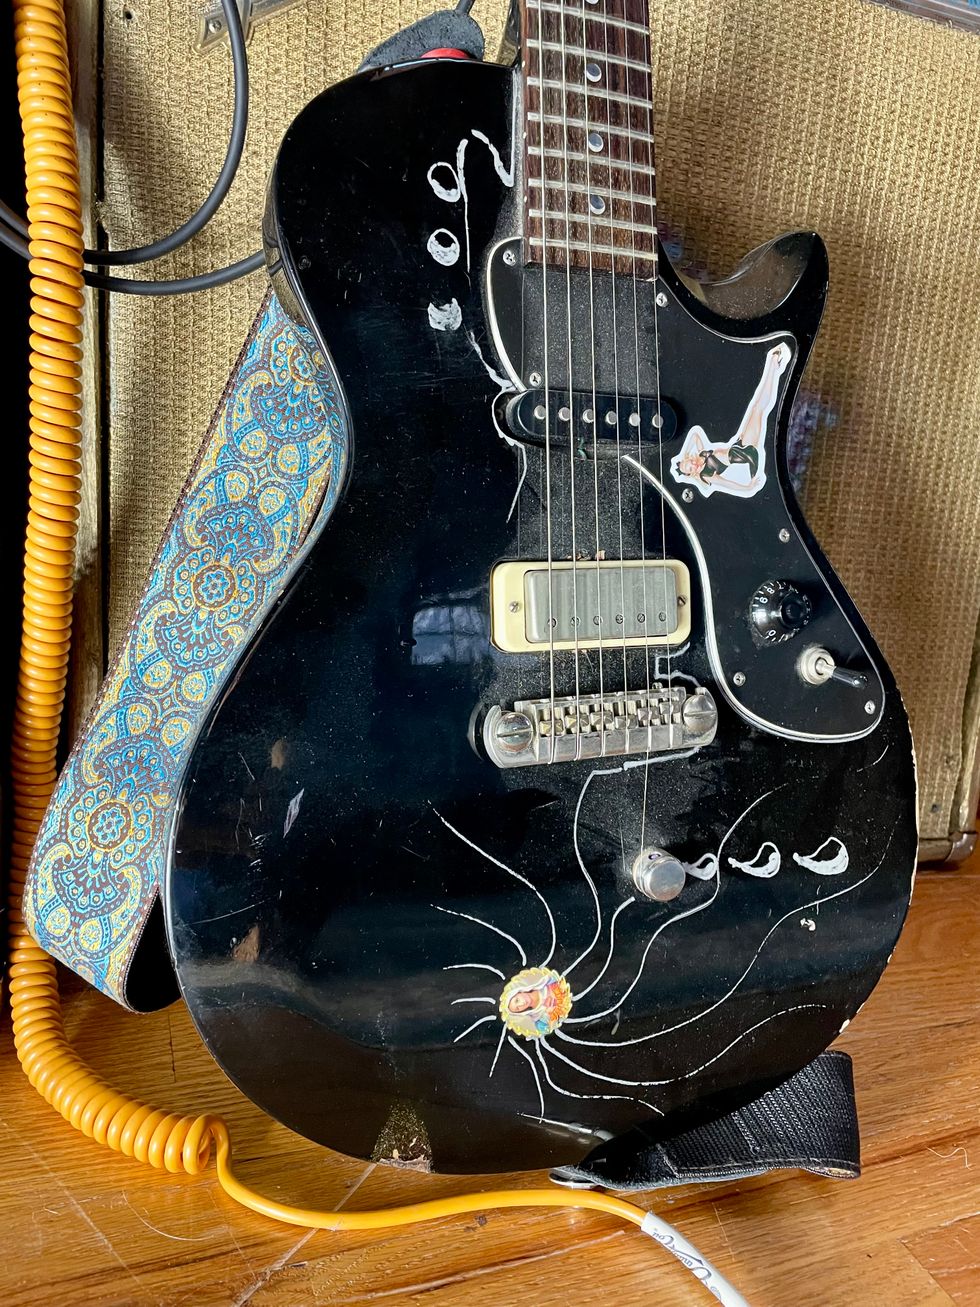
Obsession: P-90 pickups and the music of Osees. I bought a Rivolta Zenyata earlier this year, and its neck-position P-90 has won my tone-heart. I love full-on humbuckers, but when I commence repairs on the old Memphis again, I want to replace its ancient no-name HBs with P-90s. Coincidentally, I’ve been obsessing over John Dwyer’s guitar wildness with Osees, and he gets amazing sounds out of his P-90-packed Les Paul Junior.
John Bohlinger - Nashville Correspondent

A: DIY is part of the guitar’s DNA. From its humble lute origin over 1,000 years ago, players have been altering the instrument ever since to create the sounds in our heads. Les Paul and Van Halen are prime examples of players who reshaped the instrument, and in doing so, reshaped music. I’ve tweaked every instrument I’ve owned, swapping pickups, sanding bodies, adding Bigsbys, adjusting setups, or hiring luthiers to add B-benders. Honestly, many of these DIY tangents have ended in expensive, frustrating, lateral trades. That’s the thing about obsessions: They do not call reason into question.
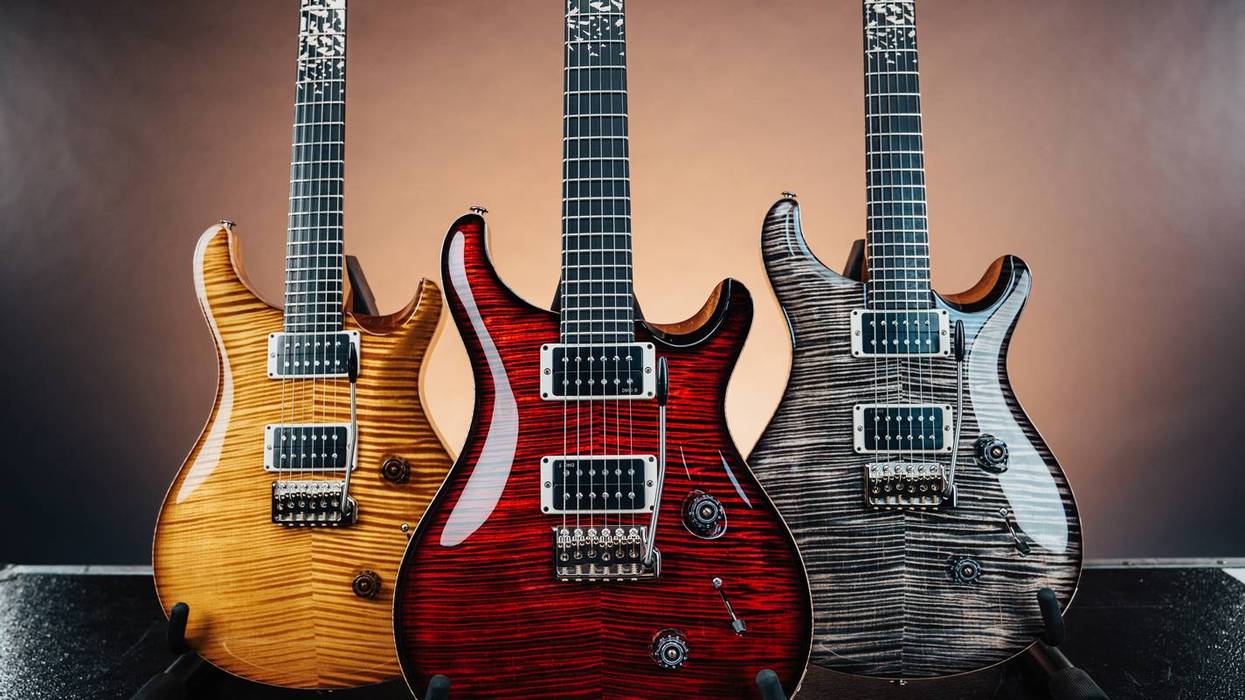
Bohlinger’s heavily modded PRS SE One, with swapped pickups, an added middle pickup and switch, and a B-bender.
Obsession: Of late, it’s working flatted or raised 5ths into solos. It’s fun to shoehorn in the devil’s interval, with its foreboding dissonance, and try to resolve into something sweet.
Luke Ottenhof - Associate Editor

A: I love DIYing stuff in my rig, even though I have little to no idea what I’m doing a lot of the time. Last year, I used an ill-equipped dremel to clumsily carve out space under a small aluminum pedalboard for my power supply, then superglued some rubber feet onto the board for more clearance underneath. A smarter person might have simply bought a board that could accommodate the power unit without mods, but where’s the fun in that?
Obsession: The new Alien: Earth series on FX. The major plot device is so original but totally believable, and the atmosphere is delightful: ’80s sci-fi aesthetics mixed with contemporary special effects and some bizarre, unsettling new creatures. Plus, the awesome needle drops at the end of each episode, featuring classic metal songs. TV can and should be this fun—while also still being very good.