Hello and welcome back to Mod Garage for the second installment of the Andy Summers Telecaster wiring. We covered many of the details of this unique guitar last time, so now we’ll jump right in to assembling your own.
In general, you can use any Telecaster and convert it to Andy Summers’ specs. If you want to stay as close as possible to the original guitar, the way to go is an alder body—just like Andy’s, which is 2-piece—with a 3-tone sunburst finish and white double binding.
The neck should be quarter-sawn, 1-piece maple with a C profile, 21 vintage-style frets, and a 7.25" fretboard radius. Of course, you can choose your own specs here, too. The original guitar has a brass nut rather than bone or plastic, and it should be no problem to find a brass nut blank for a Telecaster. You will need different tools to work on it compared to bone, plastic, or graphite, so keep this in mind. If you do not have the right tools or don’t feel comfortable making nuts, you should leave this task to your local guitar tech. Summers’ guitar has Schaller M6 tuning machines, which are still available from the German Schaller company, and two chrome butterfly string trees. You may not really need two of them—usually one for the B and the high E string will do the trick, especially with a well-made nut.
The original has a heavy brass bridge plate with six individual brass saddles, which will increase overall weight significantly. You can still buy this type of brass bridge from several companies, but there are much lighter bridges on the market.
The stereo output jack is installed in a rectangular chrome plate, like on a Les Paul, which I think is superior to the typical Telecaster jack cup. Interestingly, the plate on Summers’ guitar is only held by two of four screws, but do yourself a favor and use all four to make this spot as strong as possible. You should attach the plate really tight, especially when you use an output jack with a tight grip for the plug.
“Electronically, there is nothing too specialized that you will need for the controls.”
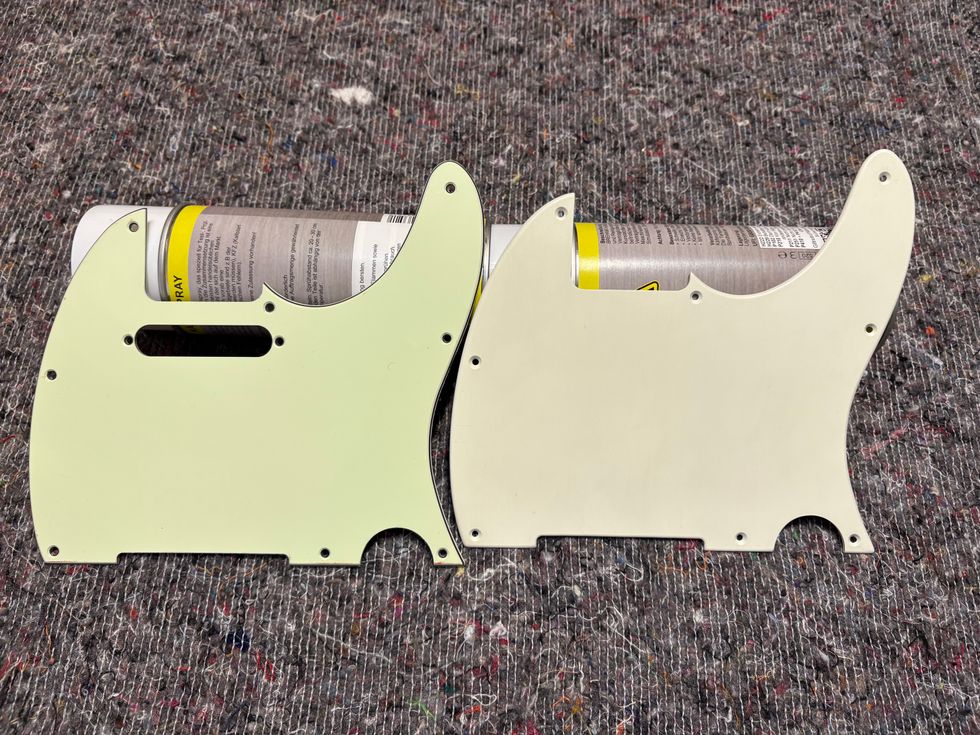
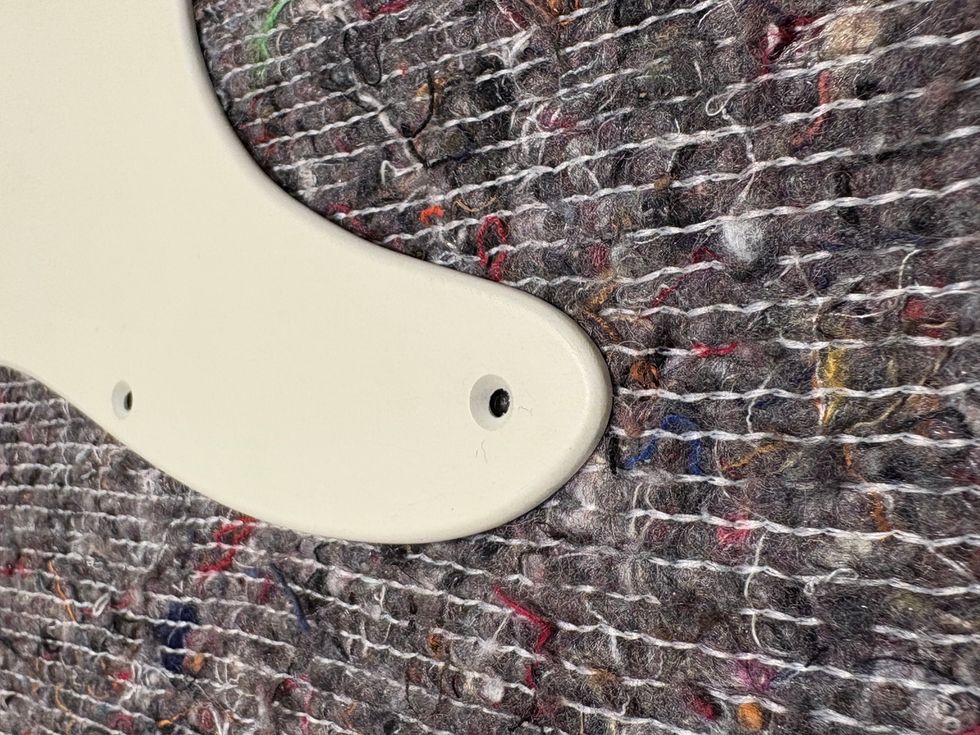
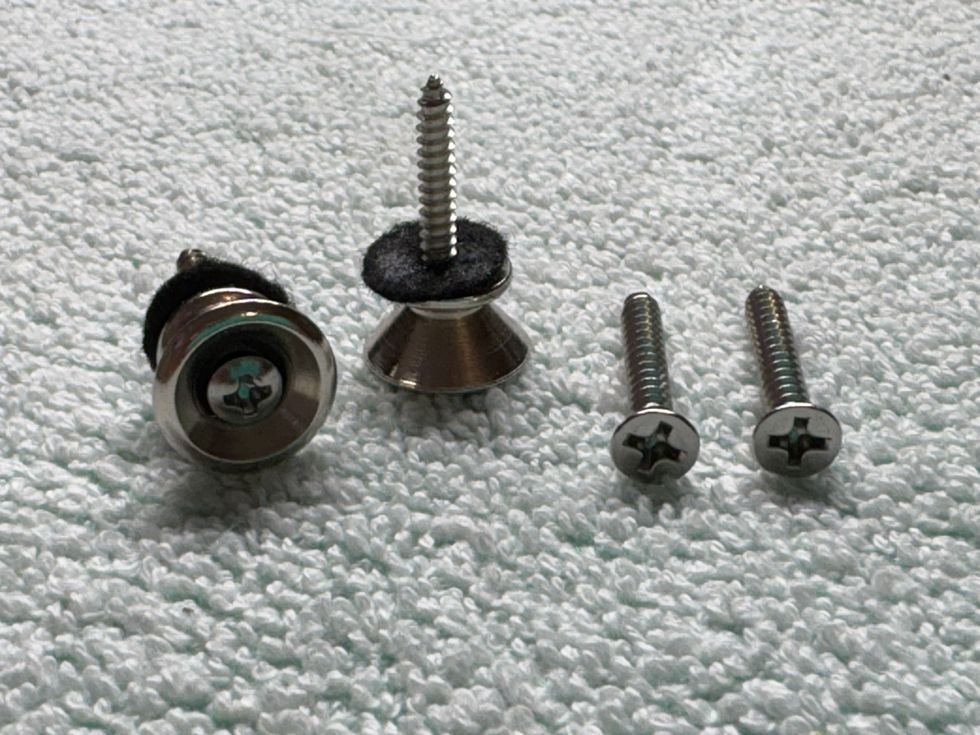
The rest of the hardware is chrome and standard: two regular strap buttons, a standard Telecaster control plate, ’60s Telecaster flat-top knobs, a black ’60s-style top-hat switch knob on the 3-way pickup selector switch, and two flat-lever mini-toggle switches. You should have no problem getting all of these parts from any guitar shop. The pickguard is a 3-ply mint green pickguard with a standard humbucker routing for the neck pickup.
Electronically, there is nothing too specialized that you will need for the controls: a standard 3-way pickup selector switch, two 250k audio pots for master volume and master tone, a gain control pot for the booster, and two additional mini DPDT on-on toggle switches for switching the booster on and off and for the phase control of the bridge pickup. The resistance of the gain control pot depends on the booster you want to use: e.g. for the Fender Clapton mid-boost kit, a 500k type will work great.
For the bridge pickup, there is a standard early-’60s-style Telecaster single-coil pickup, and every pickup company will have something like this in their catalog. Because the bridge pickup is installed to an out-of-phase mini-toggle switch, your pickup will need three conductors, with the metal base plate separated from the pickup’s common ground, and a third wire that connects the bridge plate individually to ground. If you have a regular two-conductor model, you need to break this connection, soldering a third wire directly to the base plate.
Interestingly, the bridge pickup on Summers’ Tele is installed directly into the wood of the pickup’s cavity. I see no reason why you shouldn’t install it the regular way on your guitar.

Here’s a close-up of the bridge on Summers’ historic Tele.
Photo courtesy of Ten-Guitars (https://ten-guitars.de)
In the neck position, there is a ’59 PAF humbucker with a conventional two-conductor wiring installed directly into the pickguard in the standard way, with the open pole pieces facing towards the neck. The choice of late-’50s PAF copies has never been better than it is today. You can buy excellent versions from a lot of companies, just make sure to choose the correct string spacing, which is usually called “F-spacing” or something similar, and is usually 2.070" (52.6 mm). (Gibson spacing, or G-spacing, is 1.930" or 49 mm.)
You’ll need humbucker routing on your body to make it fit. If you don’t have a body with humbucker routing and don’t want to get your Tele body re-routed, you can consider one of the numerous stacked humbuckers that will fit into a standard Telecaster neck pickup cavity. My experience is that there is a noticeable difference in tone compared to a full-sized humbucker, and it will be a compromise.
Next is the active booster. Finding a good booster module and wiring it up is much easier than fitting it into the tight space of a Telecaster body. There are a wide range of available booster options. There are complete DIY sets available that include the PCB and all of the necessary parts to build your own, and there are also drop-in PCBs that are already populated, like the well-known Fender mid-boost circuit kit. You can also find mini-sized booster modules using high-quality SMD parts, which only require a fraction of space compared to the regular PCBs.
“Finding a good booster module and wiring it up is much easier than fitting it into the tight space of a Telecaster body.”
The available options include treble boosters, mid-boost circuits, full-range boosters, etc. Choose what you like best. The problem will be that you need to stuff it into a Telecaster body. As you know, there is not much space inside a Telecaster, and you need to add the booster itself, the 9V battery, an additional pot for controlling the booster, and two additional mini-toggle switches—one for turning the booster on and off, and the other to get the bridge pickup out of phase. This is a lot of stuff! On Summers’ guitar, this problem was solved by adding a large cavity on the back and closing it with a plastic back plate, as on a Gibson Les Paul.

A look inside the cavity for the mid-boost unit.
Photo courtesy of TeleManDon from Vancouver Island, BC (https://tdpri.com)
You can clearly see the two big routings for the booster’s PCB and the 9V battery, plus the additional pot to control the amount of boost as well as the mini-toggle switch to turn the booster on and off. If you are not afraid of routing two big chambers into your Telecaster’s body, this is a suitable way to go.
On a Telecaster, there are not many alternatives I can think of to fit all these parts. One possible way of saving space would be to use a stacked pot with two 250k pots for volume and tone, so you have the second hole in the control plate available for the gain control pot of the booster. Between the two pots, it should be no problem to place the two mini-toggle switches. Or you use a push-pull pot for the gain control to save one of the mini-toggle switches. The guitar will look much cleaner, at least from the front side. But you still have to put the booster PCB and the battery somewhere. A customer of mine did this by completely routing the area under the pickguard. But even with only a regular single-coil neck pickup, it was a really tight fit, so with a regular-sized humbucker, it will be close to impossible. So, you or your luthier will have to be creative, and I wouldn’t be surprised if a company offers Andy Summers Telecaster bodies with all chambers already routed.
Here we go for the wiring. Wherever possible, I tried to keep the diagram as clean as possible. The wiring of the booster is only an example and depends on the booster you want to use, but the basic wiring is always the same.

Here’s a helpful schmatic of the Andy Summers‘ Telecaster wiring.
Illustration courtesy of SINGLECOIL (www.singlecoil.com)
That’s it. Next month, we will take a deep look into guitar cables and wires, what really makes a difference, and how you can use this to reshape your guitar tone. So stay tuned!
Until then ... keep on modding!


