
Hello and welcome back to Mod Garage. A lot of players struggle with feedback issues on their Telecasters. This is a common problem caused by the design and construction of the instrument and can be attributed to the metal cover on the neck pickup, the metal base plate underneath the bridge pickup, the design of the routings, and the construction of the metal bridge and how the bridge pickup is installed in it.
Here is a step-by-step guide on how to eliminate most of these issues. And if you haven’t faced such problems on your Tele, you can still give these a try, and chances are good that you never will. These procedures will not alter the tone of your Telecaster in any way, so it’s better to have it and not need rather than to need it and not have it.
Checking the Pickups
Over the years, I have seen the wildest things coming stock from the factory, especially on budget pickups: unbent metal tabs on neck pickups, loose metal base plates on bridge pickups, bridge pickups only held by the springs, and other crazy stuff.
Let’s start with the neck pickup. Make sure the cover is installed tightly and is not loose in any way. The metal cover is only held by three metal tabs that are bent around the bottom of the pickup, one of them usually connected to the pickup’s ground. Make sure they are tight, holding the metal cover firmly in place. If not, they need to be re-bent. Be careful to not break them.
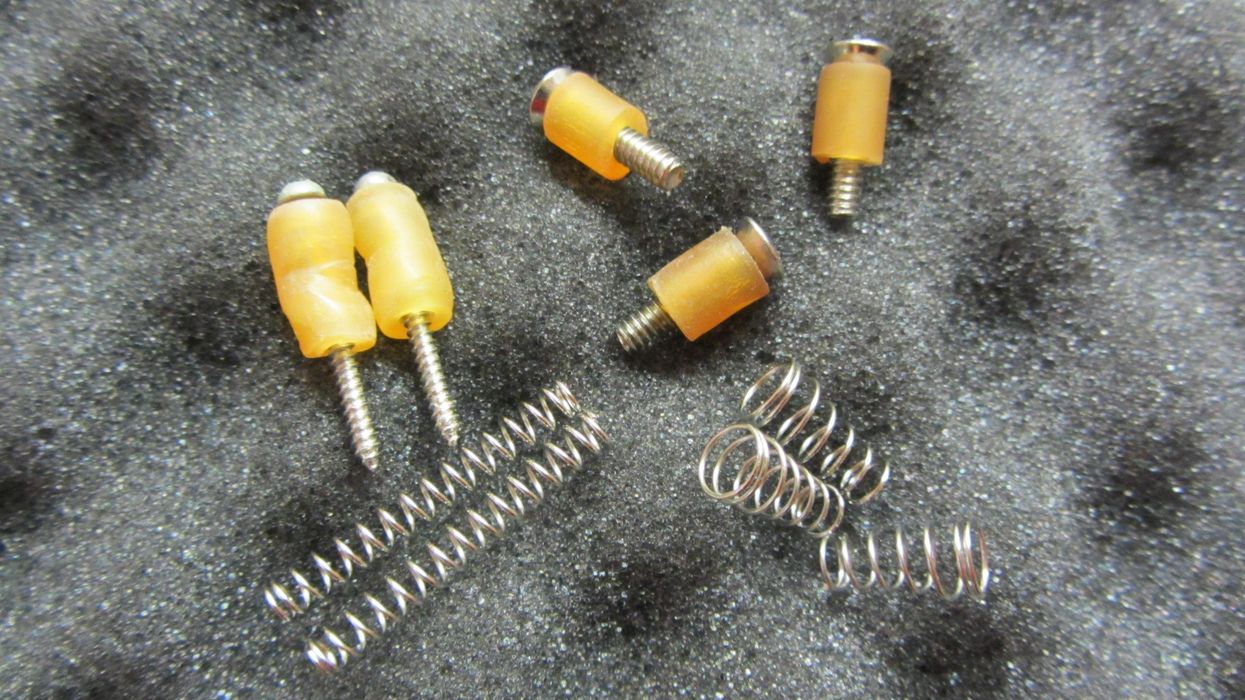
“Often, these small metal springs can cause feedback, and I’m sure Leo Fender had his reasons for choosing latex tubing instead.”
On the bridge pickup, the metal base plate on the bottom needs to be attached firmly. Check with your fingers to see if it can move. If so, even in only one spot, you need to re-glue it to isolate vibration. Otherwise, it will squeal at high volumes. This is easy to do, and the easiest and best way is to completely take the base plate off, clean it, and re-glue it with a thin layer of silicone from your local Home Depot.
While you are in there, it’s always a good idea to convert both pickups to 3-conductor wiring by breaking the ground connection of the metal cover (neck pickup) and the base plate (bridge pickup). Attach a third wire to one of the lugs of the metal cover and another one to the metal base plate, and solder both to a grounding point of your choice, e.g. the casing of one of the pots. This can be helpful for future mods, like any 4-way switch mod, where this is a mandatory requirem
Un-springing the Pickup Attachment
If your pickups are attached with metal springs to enable height-adjustment, you should replace them with some latex tubing. Often, these small metal springs can cause feedback, and I’m sure Leo Fender had his reasons for choosing latex tubing instead of metal springs. This is cheap, fast, and easy to do; you can get latex tubing from any guitar store or online for only a few cents. (See photo at top.)
Cushioning the Pickups
On a Tele, there’s usually a gap between the bottom of the pickups and the inside of the guitar’s body. This open space can exacerbate feedback issues. Luckily, it’s easy to solve with a piece of foam.
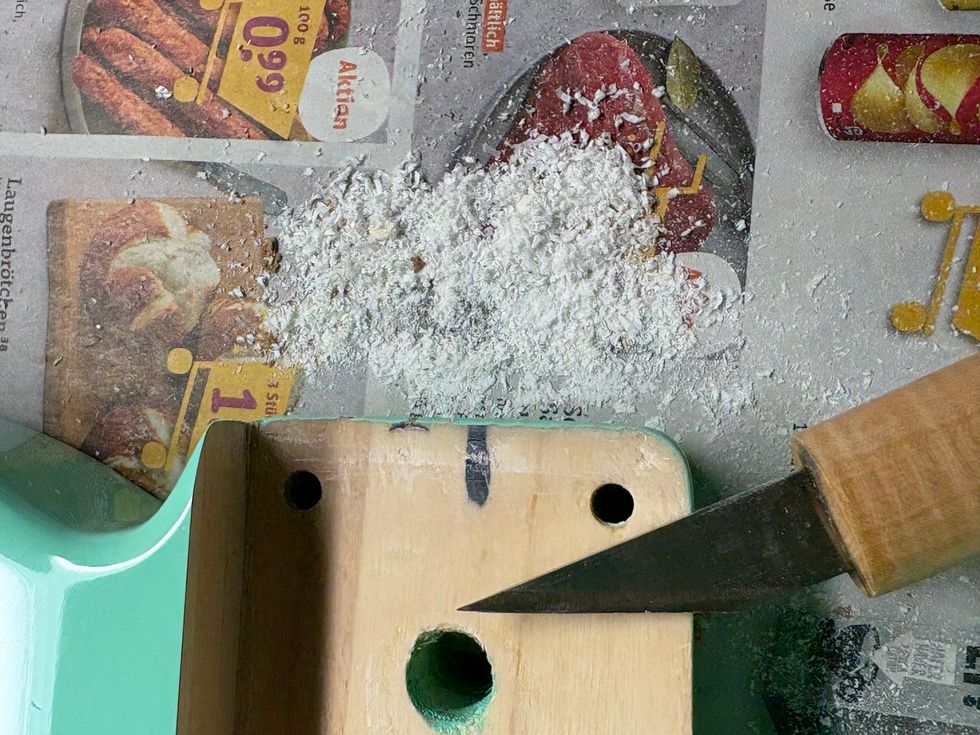
Using a piece of white paper, outline the routing for each pickup. Cut them out as a template for the foam. Then, trim the foam to shape. Place the foam on the bottom of both pickup routings, and you are done. There is no need to glue or attach the foam in any way.
It’s important that the bottom of the pickup is touching the foam so there is no more open gap. I usually use foam that is a little bit thicker than necessary, so the pickup will press on it slightly, making a perfect connection. The type of foam is not important as long as the gap is closed. I prefer to use foam rubber that is easily available in a variety of thicknesses.
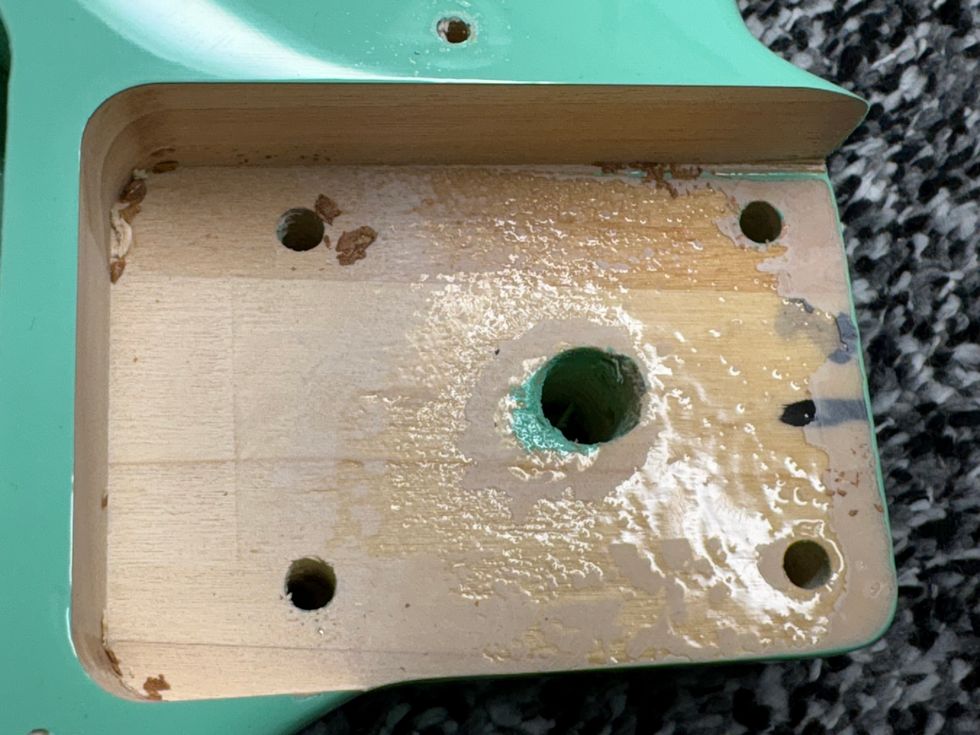
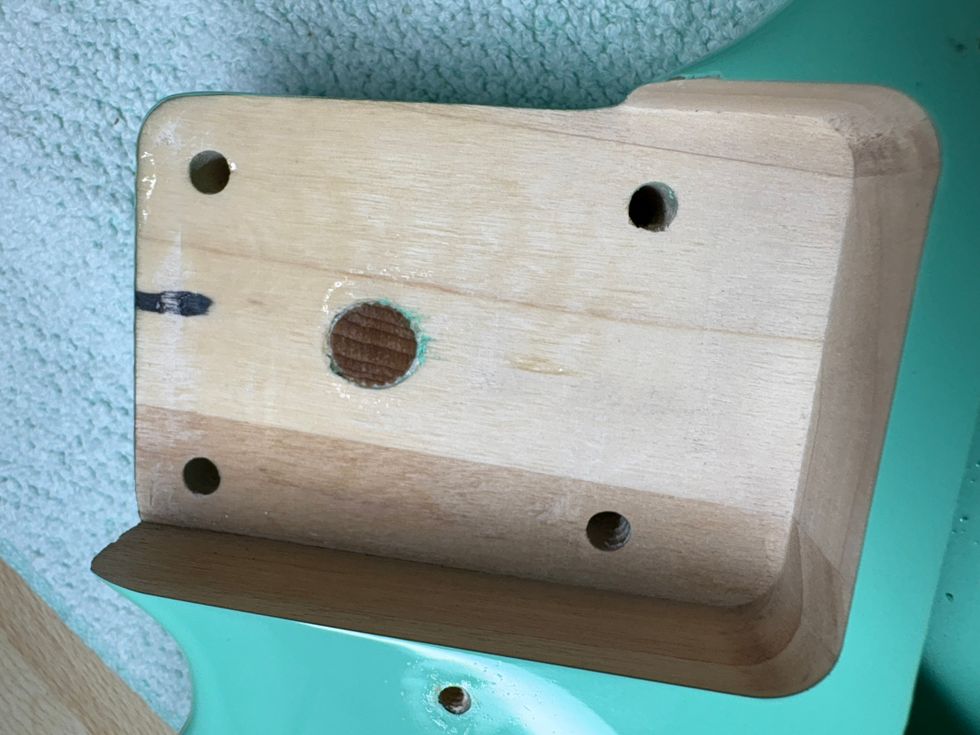
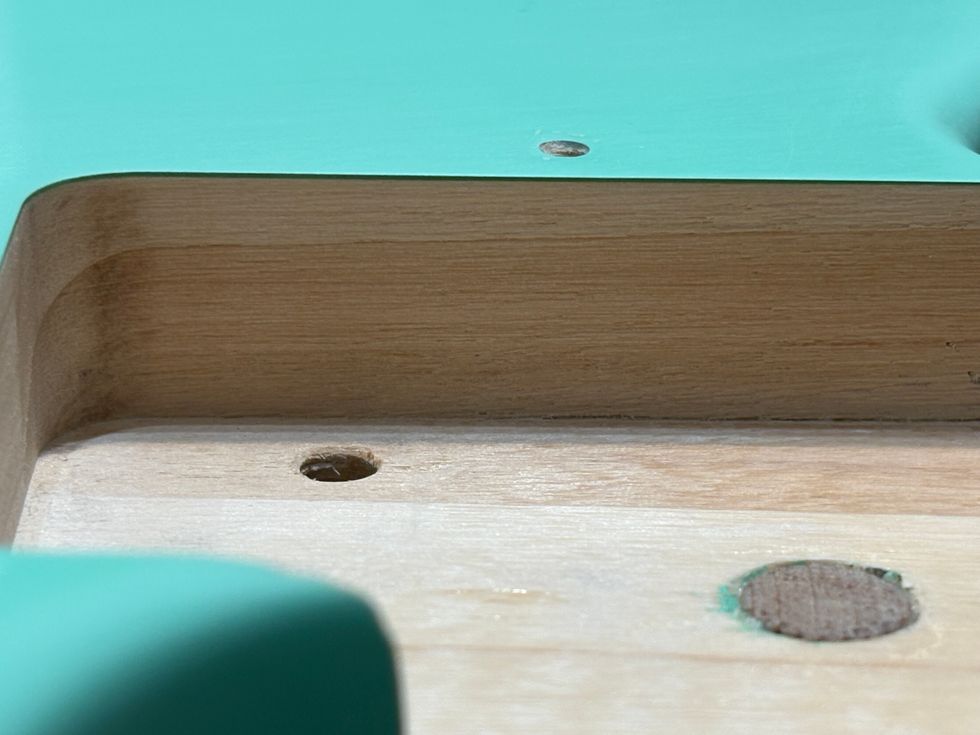
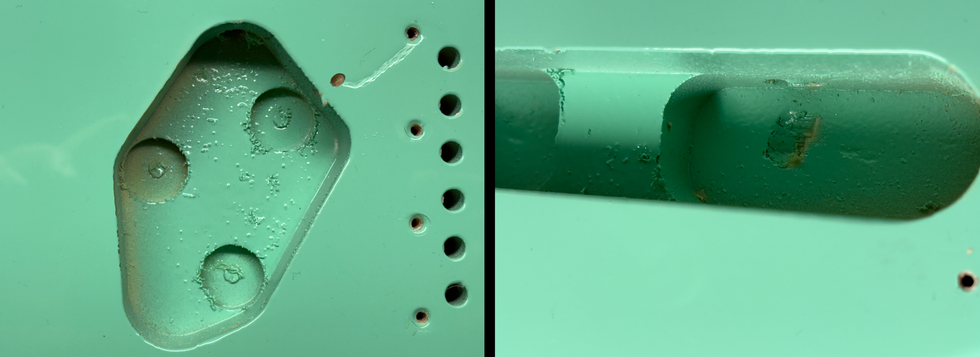
Closing Support Routings
On a lot of Telecasters, you can find open support routings from the neck pickup routing towards the electronic compartment. This is for easier access when running the wires of the neck pickup through the body.

Note the various cavities in this typical Telecaster body.
Photo courtesy of Singlecoil (https://singlecoil.com)
There are two ways of routing the wires of the neck pickup through the body: from the neck pickup routing directly into the electronic compartment or into the routing of the bridge pickup, and from there into the electronic compartment, which is the traditional way. In the latter case, make sure all the wires are running underneath the additional piece of foam. If you have any open support routings on your Telecaster body, put some foam in to close them. You don’t need to attach the foam; the pickguard will hold it in place. The kind of foam doesn’t matter, and you can also use things like a small piece of cotton cloth, cotton wool, Styrofoam, etc. in there.
Addressing Bridge Plate Flaws
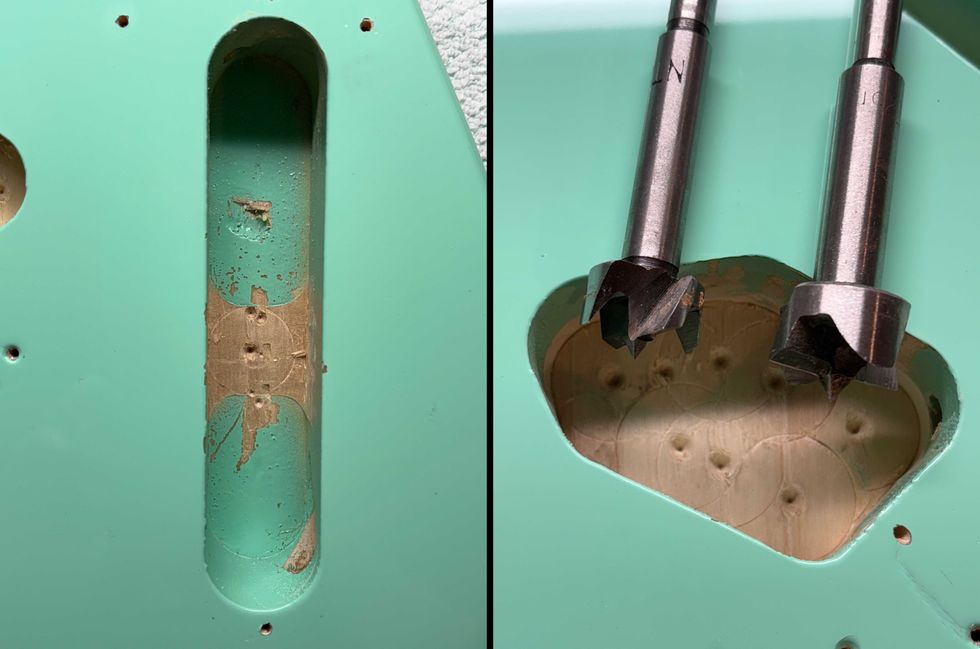
One of the most common reasons for unwanted feedback is the typical Telecaster bridge plate. The Telecaster bridge system was designed in the ’40s by Leo Fender himself and is crude at best. Its function was simply positioning the strings and providing a rough, easy adjustment of the intonation and the string-height settings. It wasn’t long before Fender released the much-improved bridge design found on the Stratocaster.
The current production Fender vintage bridge plate, as well as most budget aftermarket bridge plates, is made from thin hot-rolled steel in a deep-drawn process. Using this manufacturing process, parts can be made very quickly and cheaply, but at severe cost in quality. The steel used must be very soft and thin to allow it to fold and bend in the corners.
A classic Telecaster bridge plate.
Photo and product courtesy of Realistic Relics
Unfortunately, this process creates unusual internal stress in the steel, which can bow the plate so it can’t sit flat on the wooden body. This is a common reason for unwanted feedback on so many Teles. Interestingly, the early vintage bridge plates Fender made used a cold-rolled steel procedure to relieve stress in the material and to avoid this problem. Long live modern mass production!
If you have a Tele with a bowed bridge plate, there are three possible things you can do:
• Change the bowed bridge plate for a straight and even one. (This is the easiest way to avoid any troubles.) There are excellent replacement bridge plates on the market, so you’ll have plenty of choices for materials, designs, finishes, etc.
• Get the bowed bridge plate to a metal fabricator or tool maker so they can try to solve the problem for you. This process will probably cost you more than a new bridge, so this is only an option if it’s a special bridge you want to keep, no matter the cost.
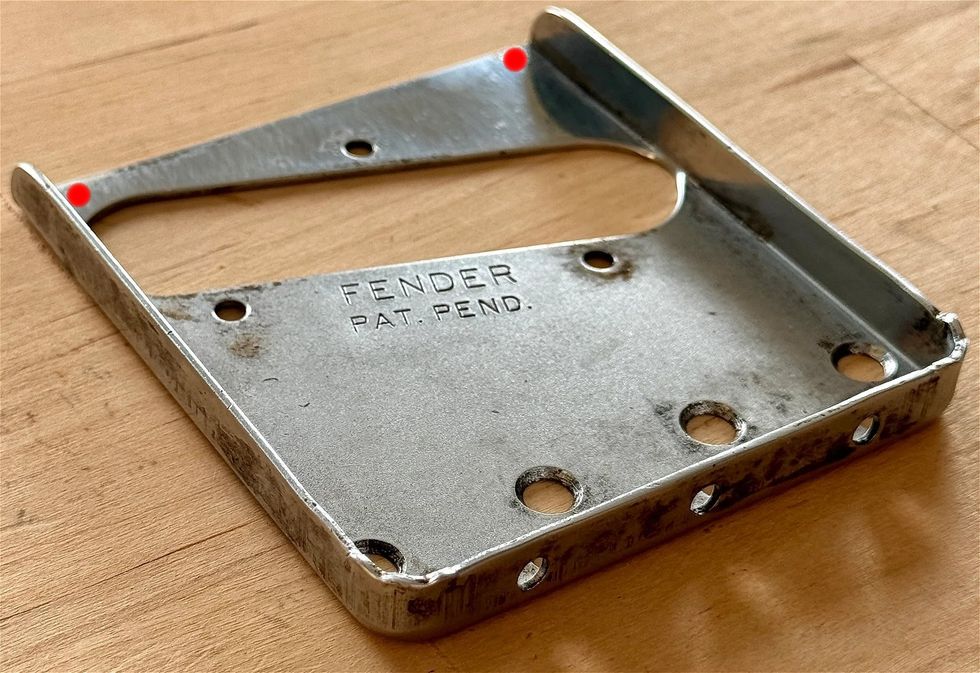
• Drill two small additional holes on the front of the bridge plate, shown as red dots in the picture. After re-installing the bridge plate on the guitar, tightly drill two wood screws through these holes. Often, modern replacement bridges already have these two additional holes. In many cases, this will do the trick, so you don´t have to buy a new bridge.
If you have gone through this entire list and still have problems with feedback, it’s very likely that the pickup itself needs to be re-potted, which a pickup builder can do for you.
Next month, we will stay on the Telecaster subject, taking a close look at the famous Andy Summers Telecaster wiring, so stay tuned!
Until then ... keep on modding!