Search
Latest Stories
Start your day right!
Get latest updates and insights delivered to your inbox.

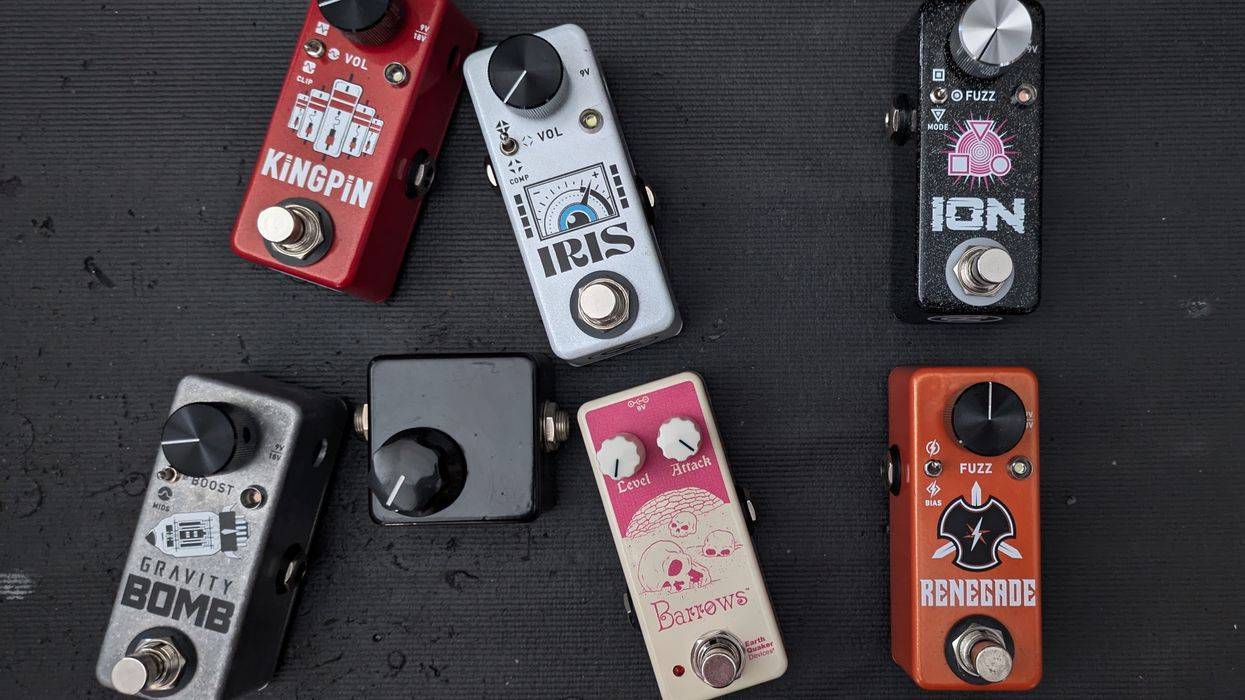
State of the Stomp
A Monthly look at stompboxes


Don’t Miss Out
Get the latest updates and insights delivered to your inbox.
Popular


Recent


load more