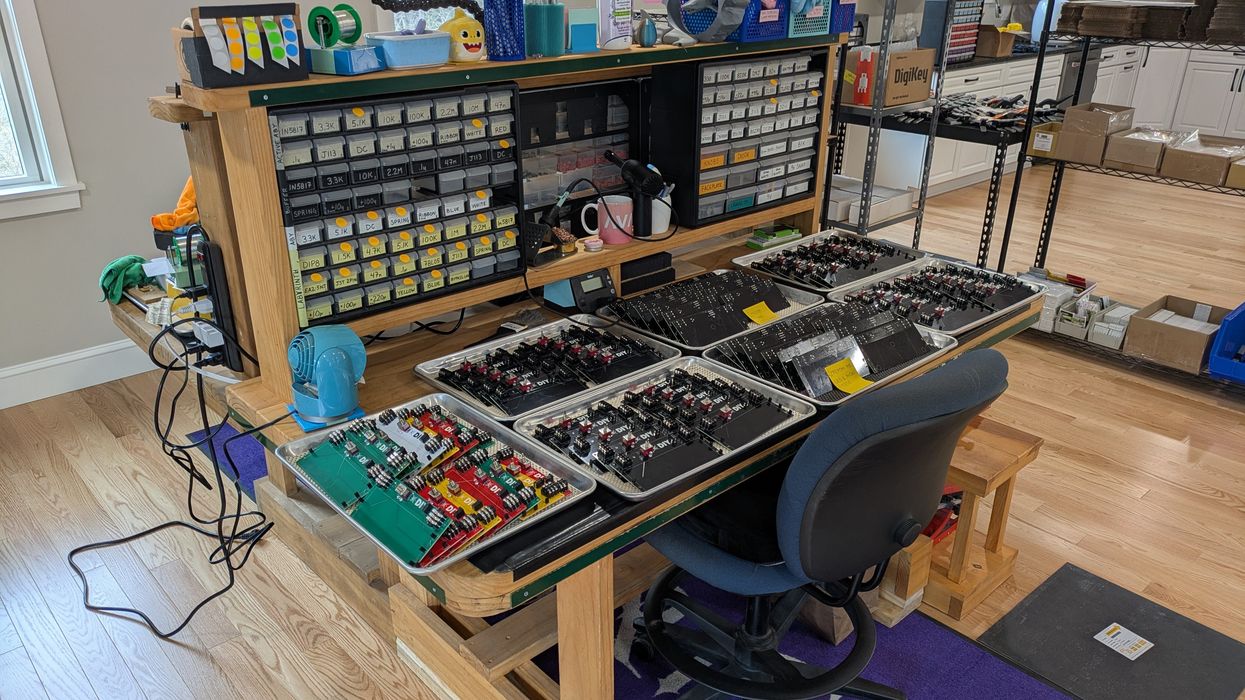
You’ve come up with something special and inspiring on the breadboard and are ready to put the circuit into a pedal. How do you do that? You could hire a contractor, but let’s go full DIY.
You will need a CAD program to lay out the schematic and the subsequent circuit board. Once purchased, you need to learn to use the software to create a digital schematic and PC board. This process is not strictly about understanding the software—you also need to learn PCB layout practices as they relate to grounding, trace length, footprint design, and other common elements. While adhering to these, you also need to layout hardware, like potentiometers and toggles, in specific locations that allow them to appropriately mate with the enclosure that they will be stuffed into.
Now that we have our circuit laid out, we need to create specific file types to send off to a fabrication house so that they can open the files and manufacture the PC boards correctly to our design. Once we’ve submitted the files and they are approved, we wait with excitement, and dread, until they come in. Why dread? Well, we won’t know if the PCB is correctly populated with components that fit the package footprints and distribute power correctly, and if the audio sounds like what we designed on the breadboard, until they arrive. There may also be noise or other issues that we’ll need to track down before we can call the PCB finished. The first PCB that I ever designed came in looking exactly like the digital file, but did not work whatsoever.
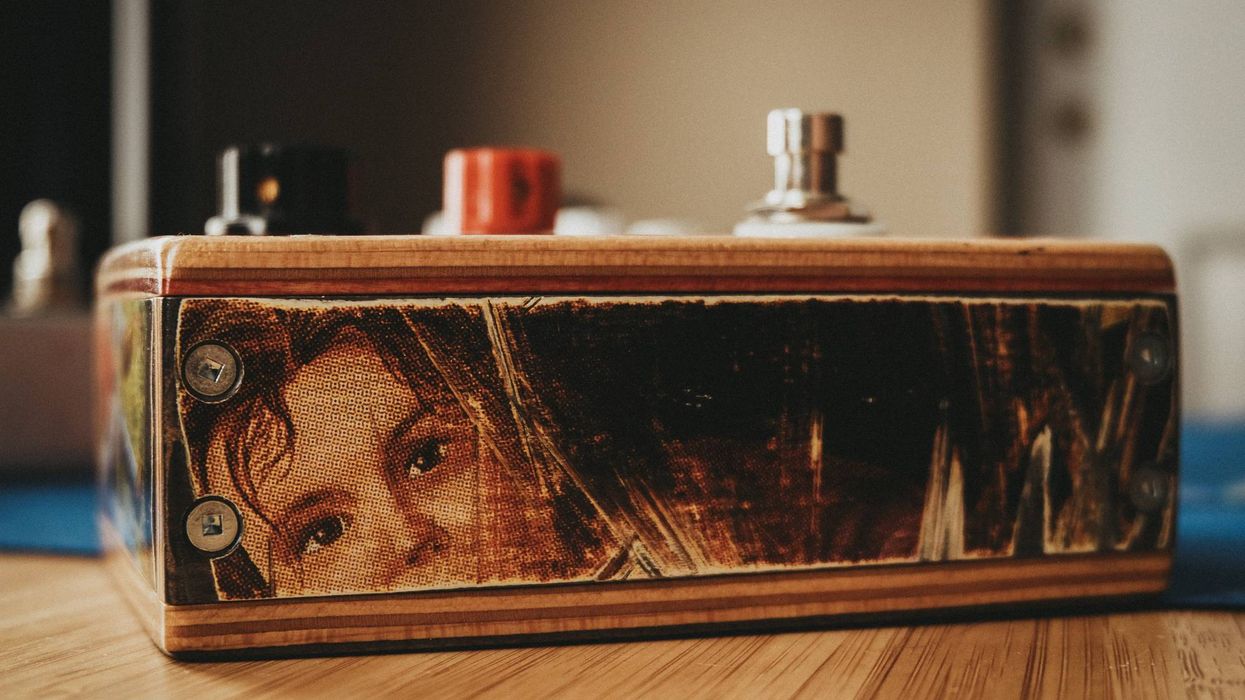
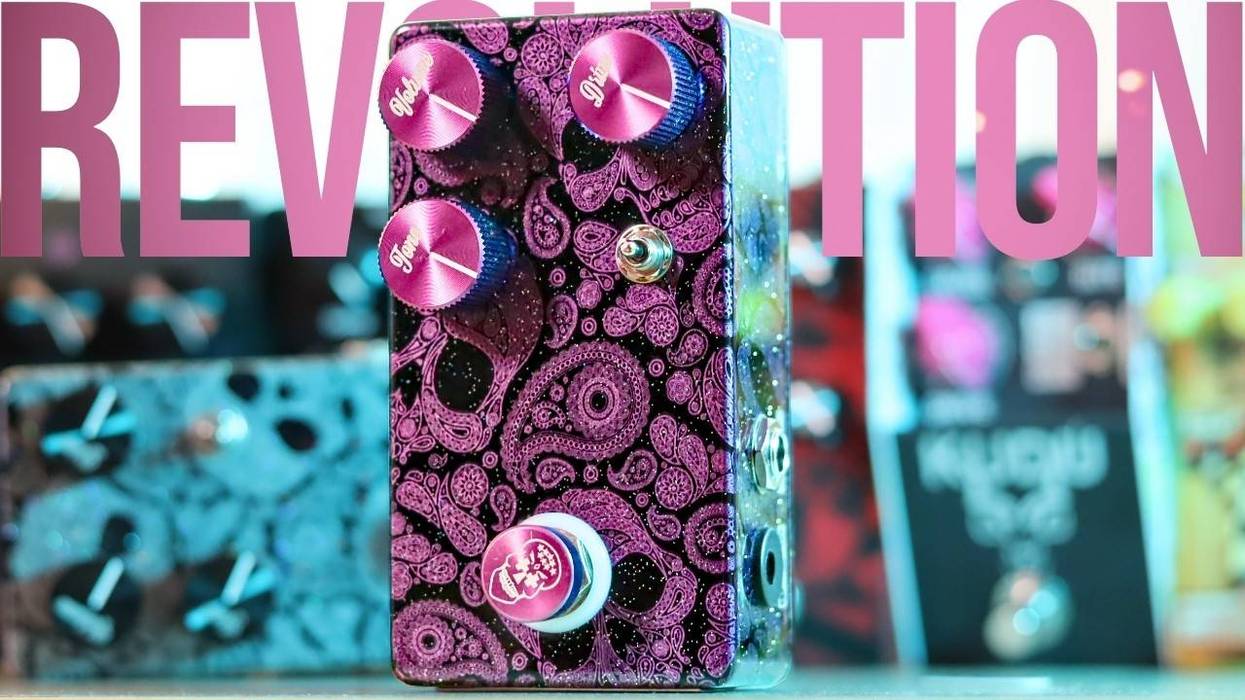
After we’ve debugged the PCB to make it work, we get to a fun and frustrating step: putting the circuit into our enclosure. The enclosure part is fun because it’s the external, artistic side of the product where the builder’s creativity is first seen. An unappealing look could be the deciding factor for a consumer. I’m sure most of us have made a decision on a guitar or pedal before it’s even plugged in.
Trying to squeeze everything into an enclosure can become discouraging. The more hardware that’s affixed to the PCB, the more every measurement counts. This means every knob, toggle, footswitch, audio jack, and DC jack will play a role in making the PCB line up with the drill holes on the enclosure. That’s an aspect we haven’t even covered yet.
“An unappealing look could be the deciding factor for a consumer.”
Most of us in the industry have our enclosures manufactured at one-stop-shop locations. This is because having the facilities and tools to do drilling, powder coating, and UV or screen printing in-house is simply not feasible for most. Once we get a line on an enclosure manufacturer, we need to get them our drill measurements. This includes drill-hole diameters and locations related to each other, and from the edges of the enclosure. Once done, we need to get those measurements into digital form along with any artwork. We also need to pick a powdercoat color from the thousands of colors available. Not all powders adhere the same way to metal and not all powders work well with UV printing. So how do we take our drill measurements, powder color, and artwork to the next step? This is stomping grounds for Adobe Illustrator—another software program to purchase and learn. Crud!
After the enclosure files are sent off, made to spec, and received, we hold our breath and hope the populated PCB fits into the drilled enclosure. If it does, we dance. If it doesn’t, we break out the ruler and calipers and measure the places that we messed up. If the changes are to the PCB, we make them and order new samples. Same goes for the enclosure. While those revisions are being fabricated, we can focus on the packaging for the pedal. This is another fun part, and something that the customer will interact with upon receiving.
This is where I need to leave you. Before doing so, I’d like to point out that we haven’t gone into the remaining aspects of bringing a boutique pedal to life. There are still major considerations like product photos done in a photo area with a nice camera and edited with (more) software. Website construction to display that pedal along with copy and SEO, packaging materials, a label printer, and shipping software that talks to the website.
And at that, I’ve omitted a lot of small and medium steps in the breakdown of bringing a pedal to market. So I ask, are pedals really overpriced?