Recording Dojo Color Coding Your Recording Sessions Can Save Your Butt A few small organizational tricks can set your digital workspace up for success. Bryan Clark Aug 29, 2024
Recording Dojo Everything You Want to Know About Reverb Learning the ins and outs of reverb can help you access a more creative approach to your mixes. Bryan Clark Jun 18, 2024
Recording Dojo 8 Pro Tips to Boost Your Recordings Here are eight tips that will help you to improve the overall quality of your recordings and get them to a more professional-sounding level. Bryan Clark Oct 23, 2023
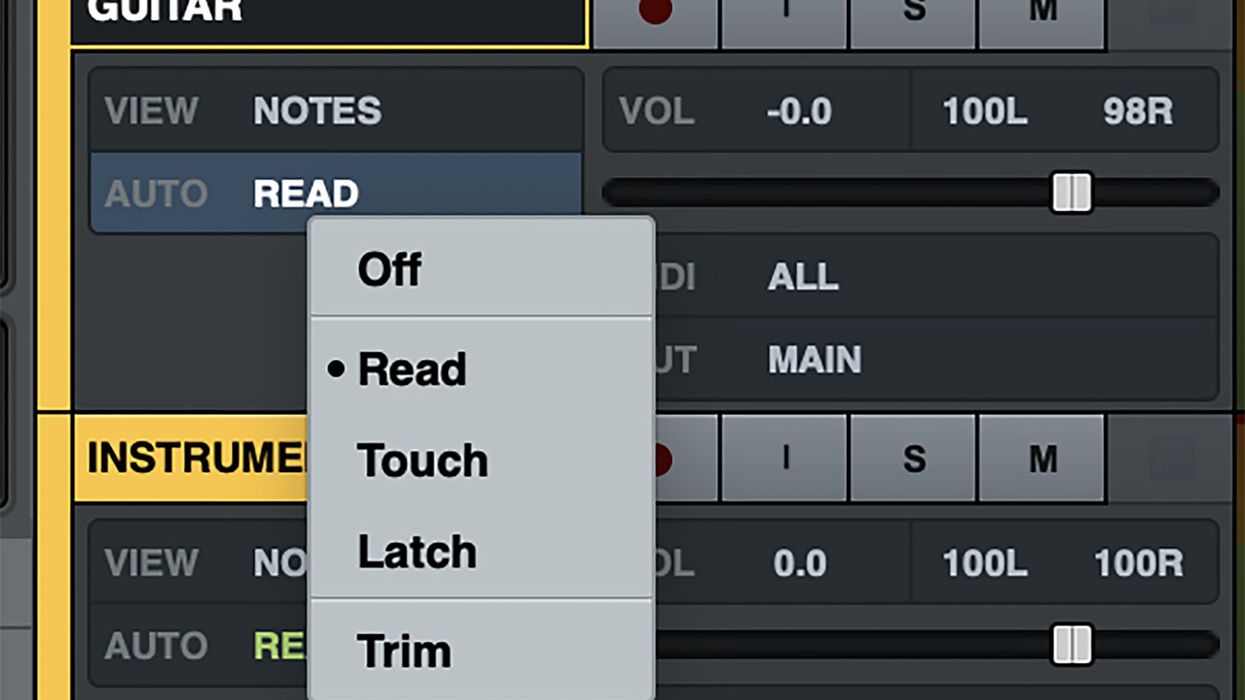
Recording Dojo Mixing Your Recordings with Automation In the modern world of immersive audio capabilities, knowing how to automate mix parameters is essential. Bryan Clark Sep 07, 2023
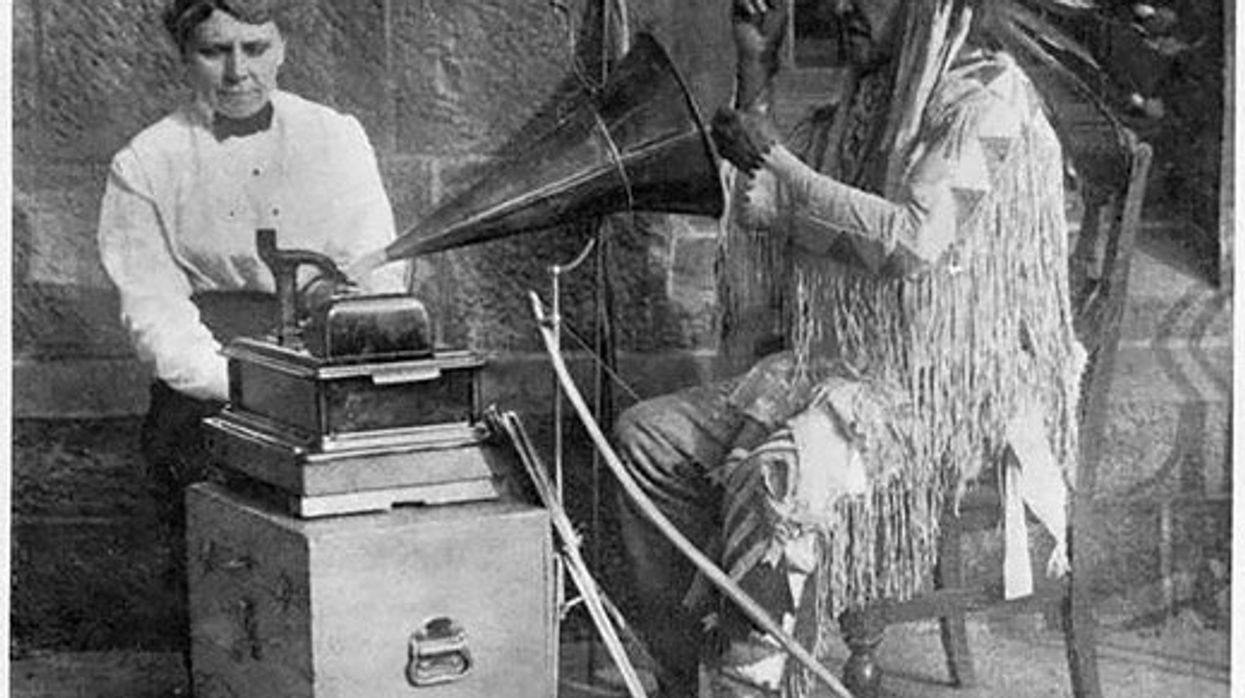
Recording Dojo Capturing the Shine of Sun Records Here’s a breakdown of classic Sun Records recording methods, and a brief guide to matching them in your own studio. Bryan Clark Aug 05, 2023
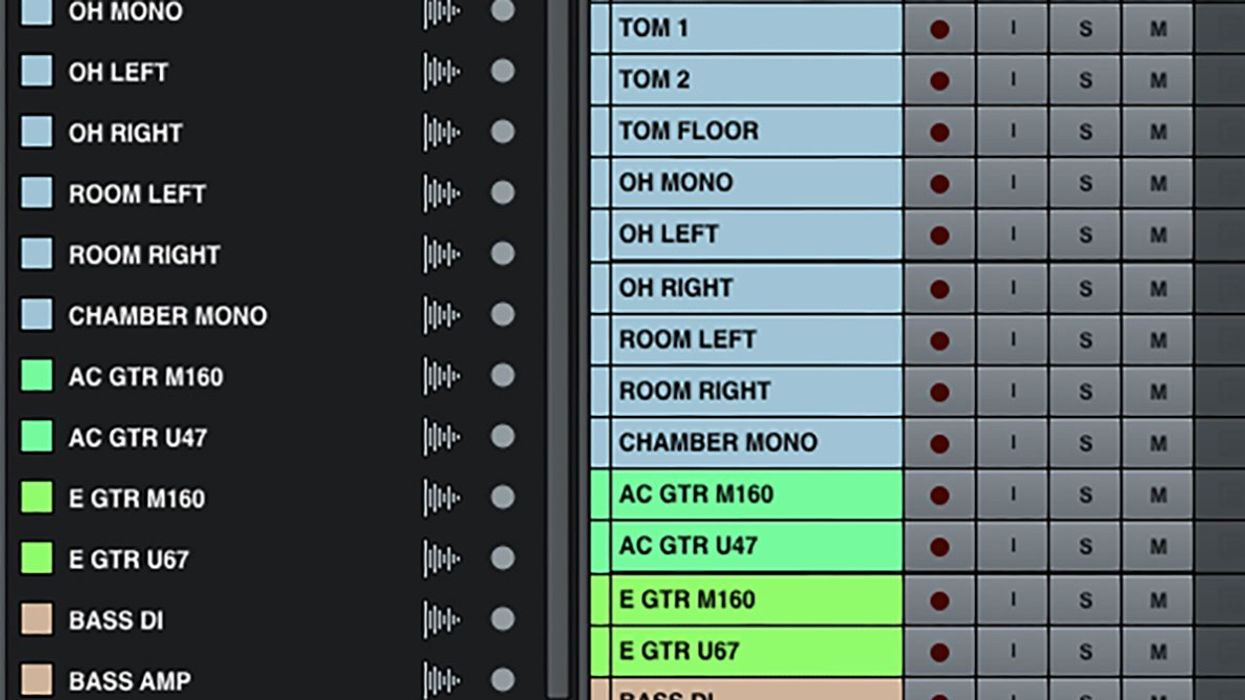
Recording Dojo Getting the Most Out of DAWs, with Templates Using templates when recording makes a big difference in streamlining your workflow, and will leave you more time to get creative. Bryan Clark May 08, 2023
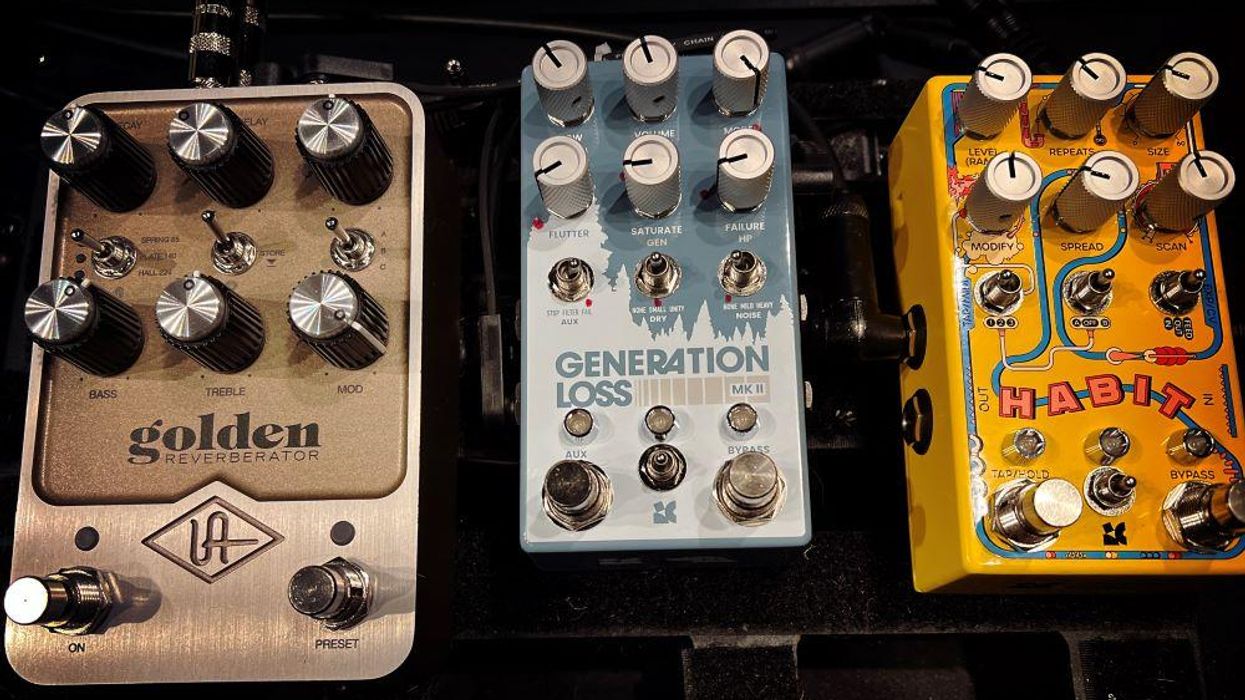
Recording Dojo Using Effects Pedals to Enhance Your Tracks Your favorite stomps are real-time, tactile sound processors. Plug them in and expand your DAW’s options. Bryan Clark Mar 21, 2023
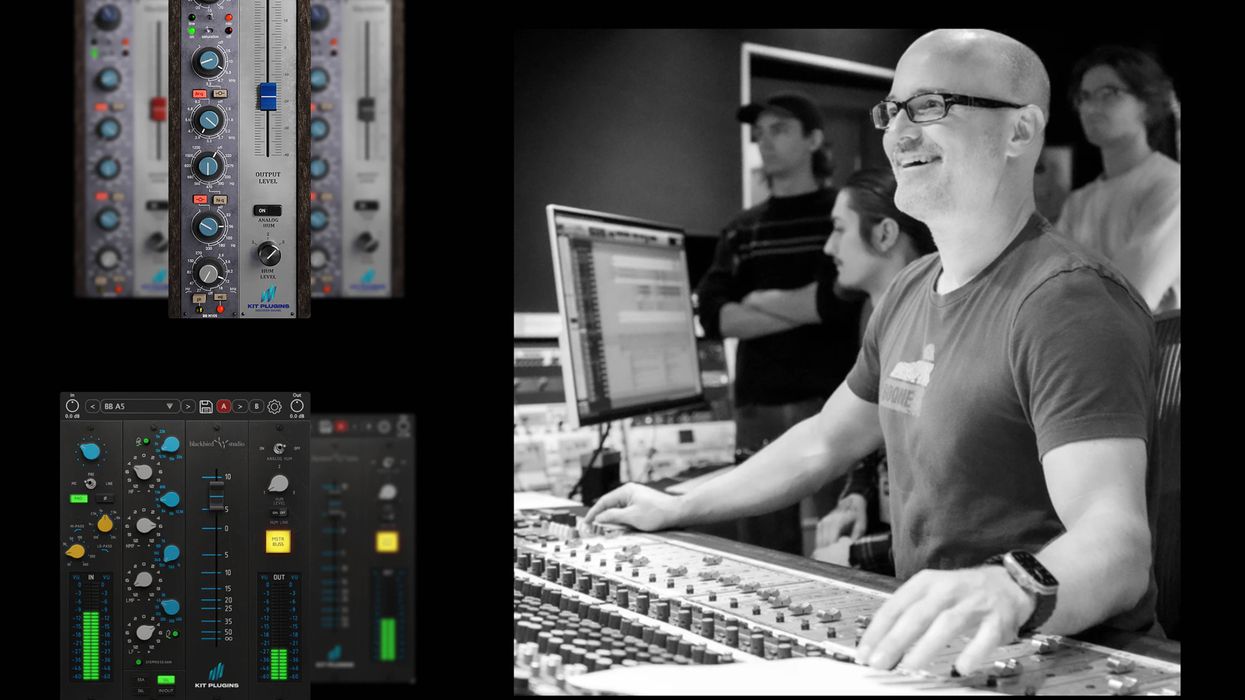
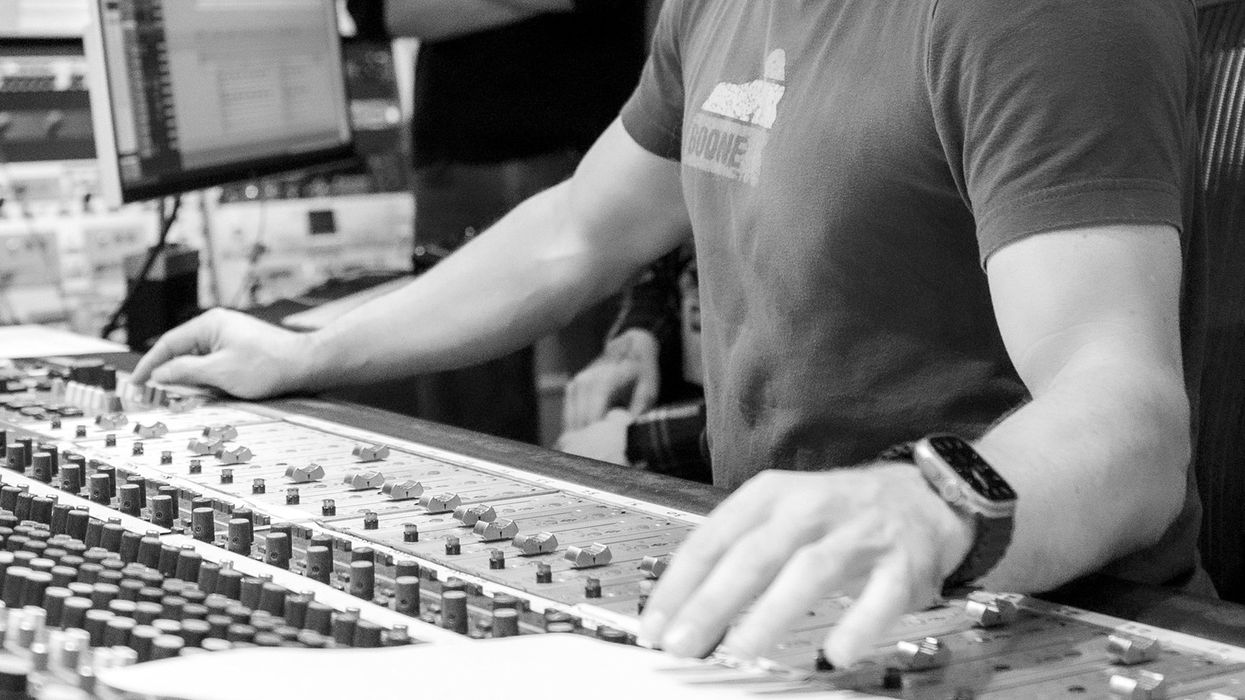
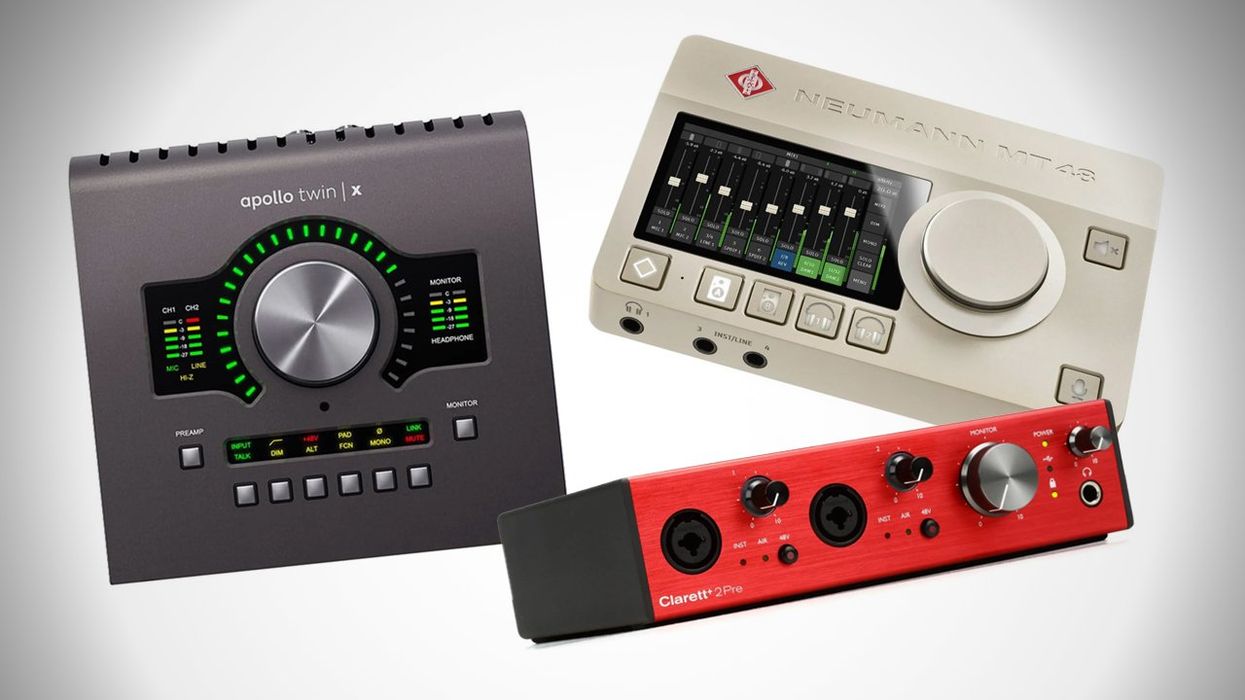
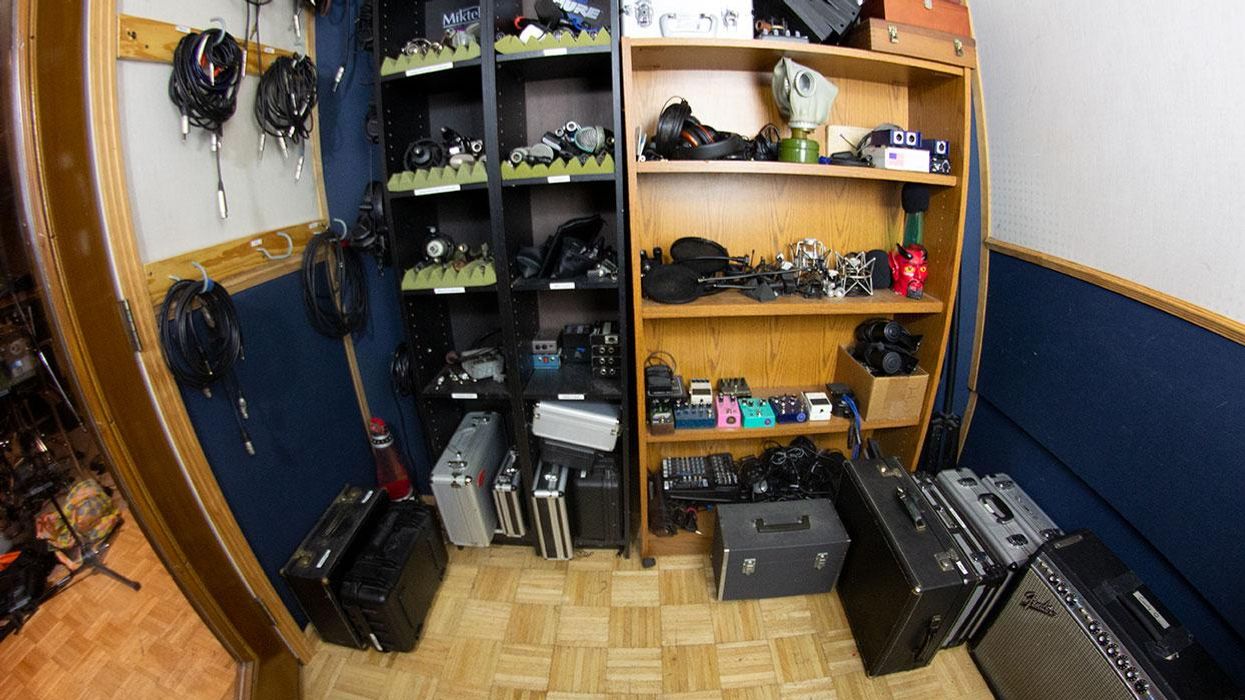
Recording Building a Pro-Level Home-Studio Mic Closet Compare notes with Nashville producer-engineer Mike Purcell, who runs down the essentials of a pro-level home-studio mic collection. Mike Purcell Feb 28, 2023
The Root of It All Tips for Capturing the Best Bass Tone Don’t wait ’til mixing to get a great tone. Record your sound as best as you can to make your tracks shine. Anthony Tidd Jan 26, 2023
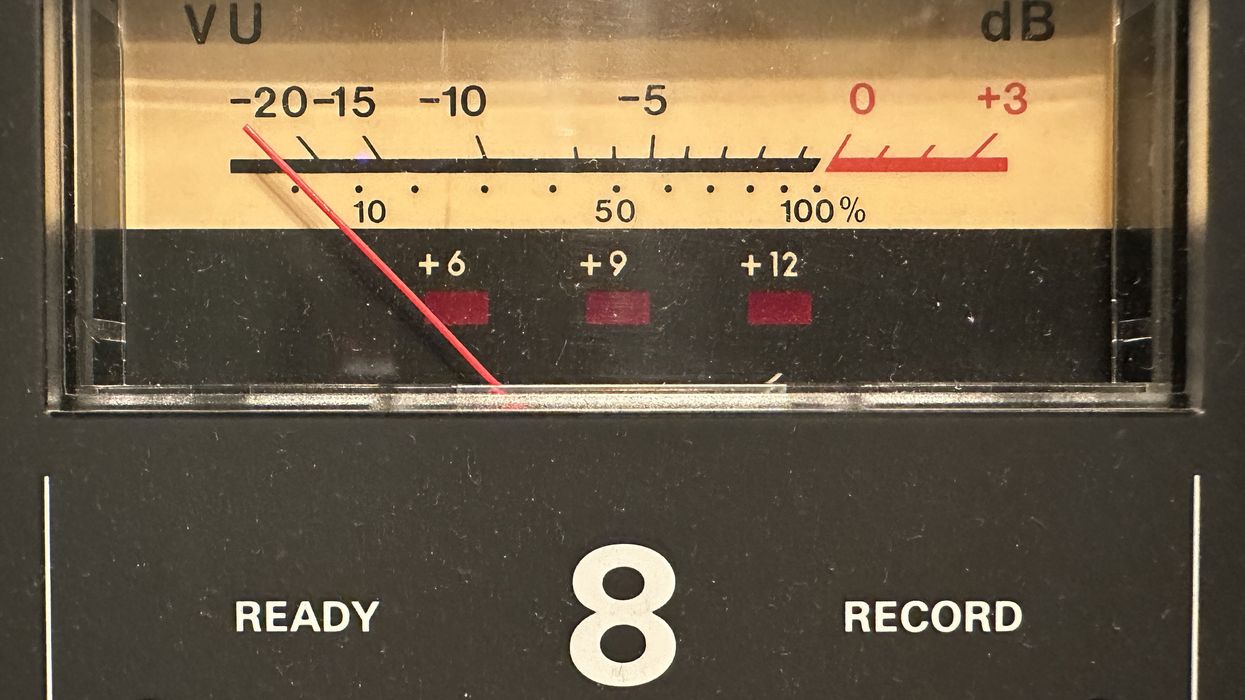
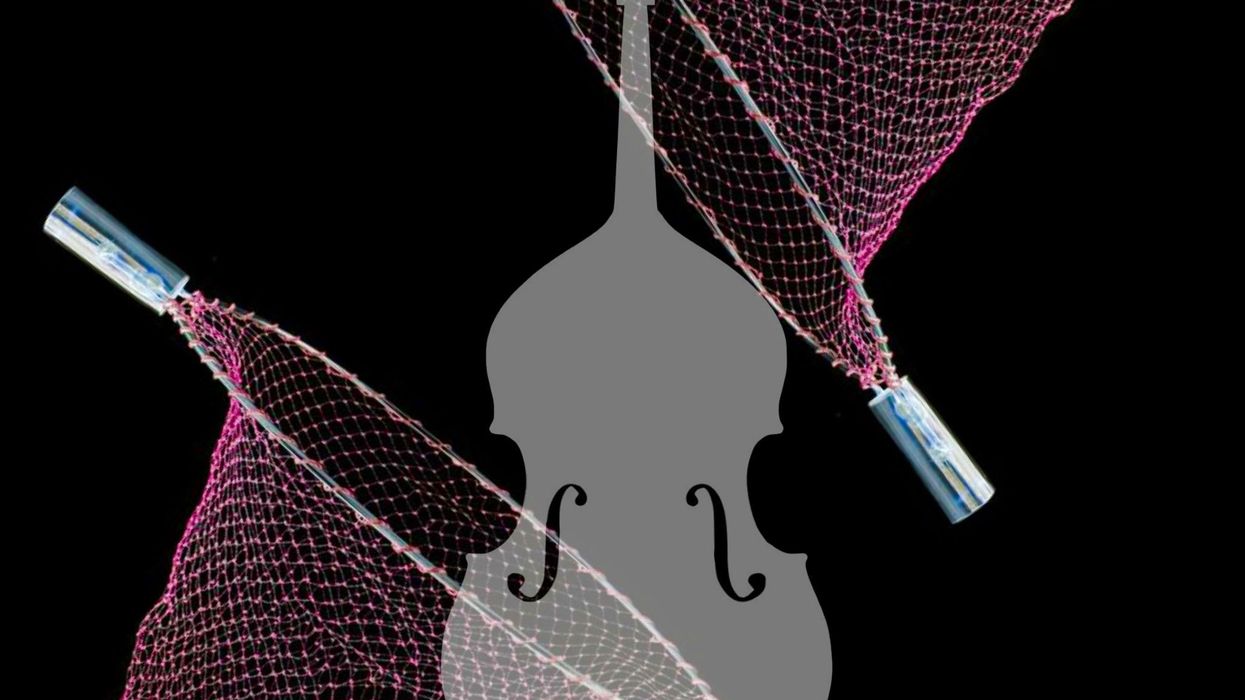
Recording Dojo Why Phase Matters and How to Tame It Keeping sound sources in phase will ensure your recordings sound as full and vital as possible. Here’s where to start. Bryan Clark Jan 08, 2023