Hello everyone, and welcome back to another Dojo! In the last two columns, I’ve focused on bus mixing techniques to get your recordings more on point—and I hope that was helpful. This time, I’d like to place focus in the other direction and give you three tips to capture your best recorded tones yet.
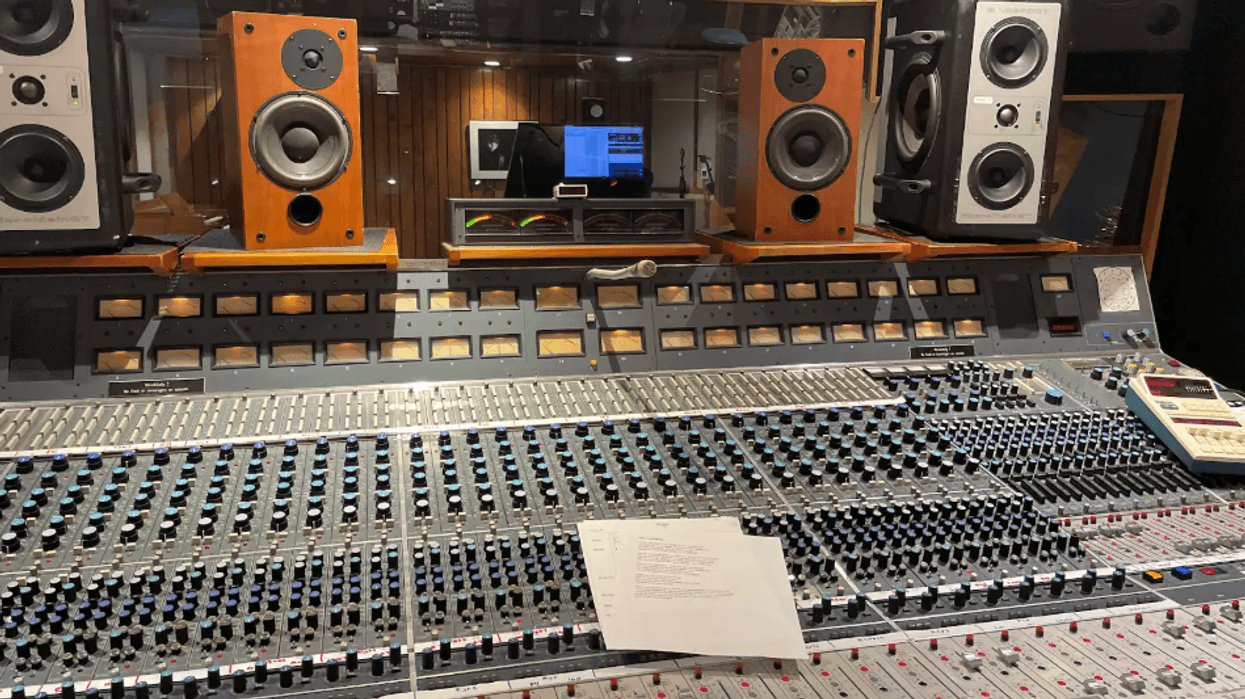
In my experience, the best way to get great recordings begins with getting in tune with your inner ear and the tones you are hearing in your head. This understanding will act as a catalyst for the first important tip: choice and placement of microphones. As simple as this is, we run the risk of listening with our eyes instead of our ears, because we are creatures of habit. How many times have you placed the same mic in the same place on the same amp (or same place at the guitar, for acoustic players)? Did you really explore the possibilities, or was this the best solution at the time and now it has become ingrained? Maybe it’s time to re-think the process and try something new?
Regular Dojo readers are already familiar with the three most common microphones used in recording: condenser, ribbon, and dynamic. Regardless of what mics you have, use your ears and listen to the source you want to record. For example, listen not only to where the amp sounds the best at the speaker, but also in the room. For acoustic guitar, placing the mics near the 14th fret in addition to other locations can yield a wide variety of tones. If you are recording by yourself, make several different short recordings and document the mic placement for each, listen, and then make decisions. The idea here is that you want to get the sound you’re looking for without using any EQ. In short, if you don’t like the sound you’re getting, move the mics until you do!
Once the decision has been made, the second tip for making better recordings is to pay careful attention to your gain structure (aka recording level) and give yourself plenty of headroom. The best way to do this is to set the recording track’s fader in your DAW to unity (zero), and then adjust your preamp’s gain level until the signal meters between -15 and -5 for most DAWs (check your specific DAW to find out which VU metering type you are using). If you’re somewhere in this range, you’ll have good signal-to-noise ratio and ample headroom for loud passages, like when you kick in the overdrive channel for the chorus and solo sections.
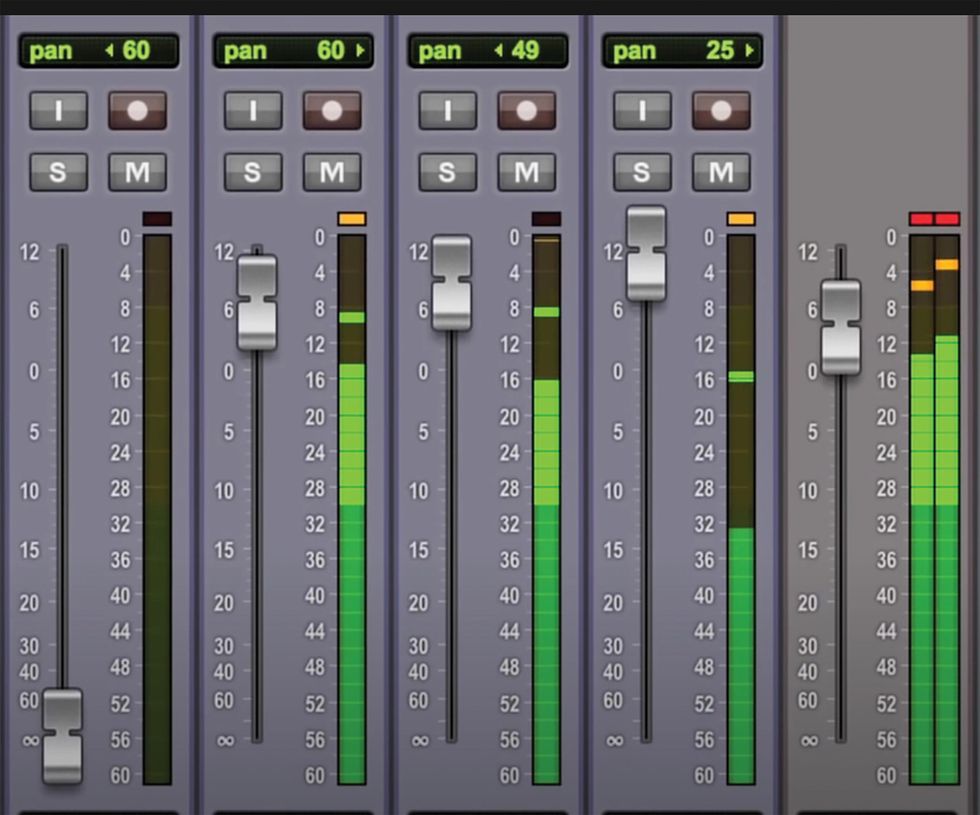
A scenario like Fig. 1 has bad news written all over it. The track faders are pushed near the top of their range and the master bus has already peaked. This can happen quicker than you think if you didn’t set your input levels properly to begin with. If you find yourself in this predicament, you’ll need to recalibrate your gain structure for every track for the entire mix. Ouch!
The final tip is focused on signal processing and preserving the efforts of the first two tips. Once your tracking is completed, don’t be too quick to start adding copious amounts of EQ and compression. The reason for steps one and two was to mitigate the need for EQ and preserve the natural dynamic range of your tracks. Now, when you need to use EQ and compression, you can use it with subtlety and not out of necessity to fix a poorly recorded track.
As always, if you have any questions you can reach me at recordingdojo@premierguitar.com, and I also want to invite you to checkout my new single “Christian Graffiti” on your favorite music platform to hear all of these tips in action. Until next time, namaste.