
We’re huge, and I mean H-U-G-E, Beatles fans here at Blackbird (you can guess where the studio’s name comes from). And for this column, I’d like to give you some ways you can add some old-school Beatles sound to your mixes. Tighten up those belts, the Dojo is now open.
The Beatles’ recording process has been well-documented—instruments, mics, locations within the various studios, outboard gear, consoles used during the tracking and mixing process, etc. Recently, I had a Blackbird Academy student ask me how he could get more of a Beatles “vibe” while mixing his recent recording session. In the not-too-distant past, the best solution was to go to Abbey Road Studios. But now, today’s technology can get really impressive results with plugins that model the timbre and behavior of the original vintage outboard gear.
Original Recipe
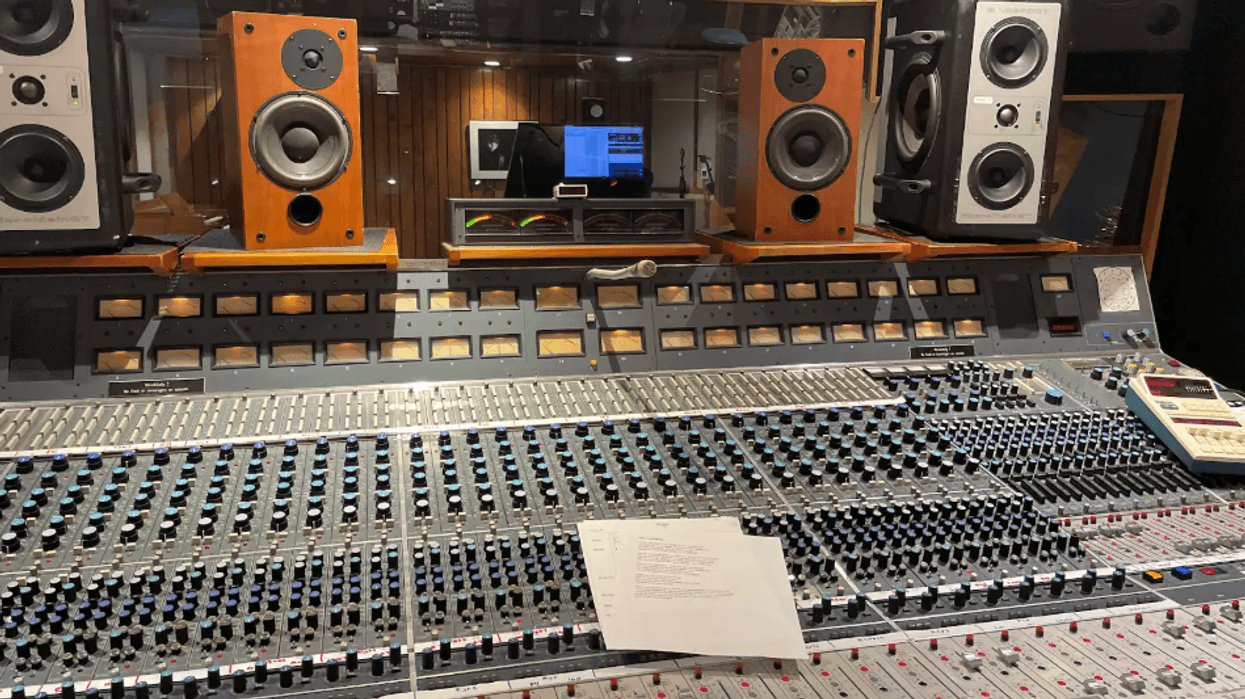
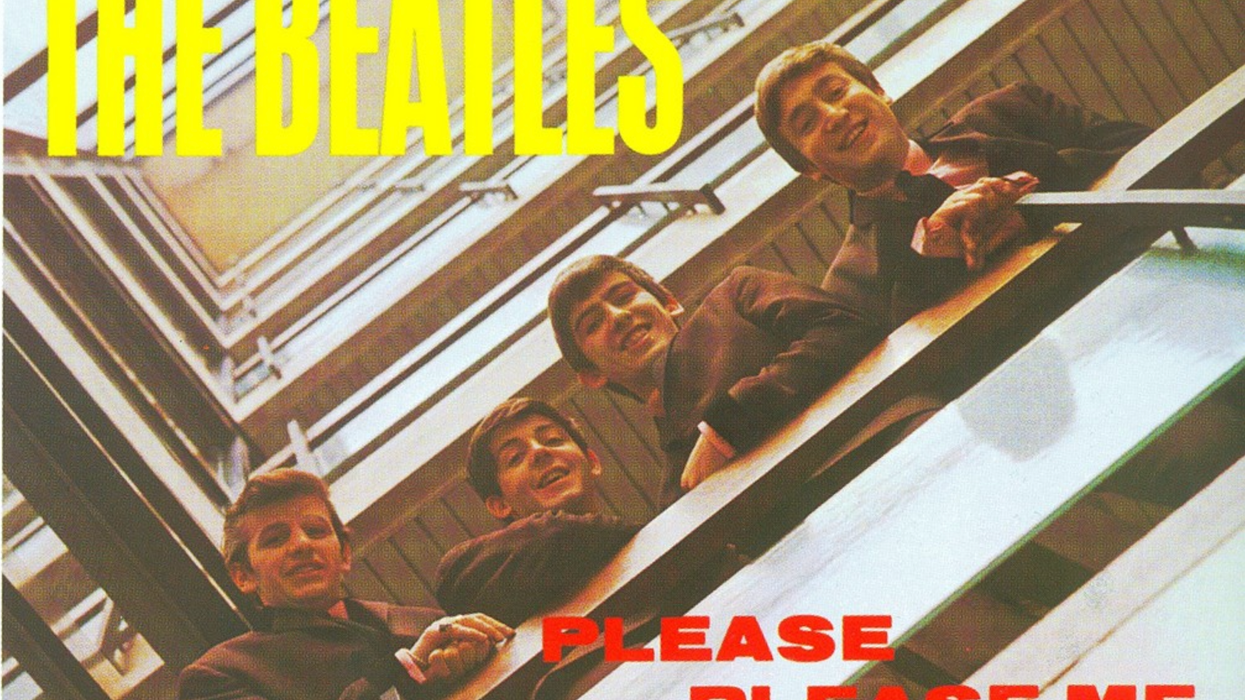
On February 11, 1963, the Beatles recorded their first album. The 10 songs they recorded that day would be combined with their first singles to make up the U.K. LP Please Please Me. After you take into account the individual touch and feel that the Fab Four brought to their instruments—which I strongly believe is the biggest contributor to their sound—the remaining factors consist of the room acoustics (in Abbey Road Studio 2) and all the recording gear.
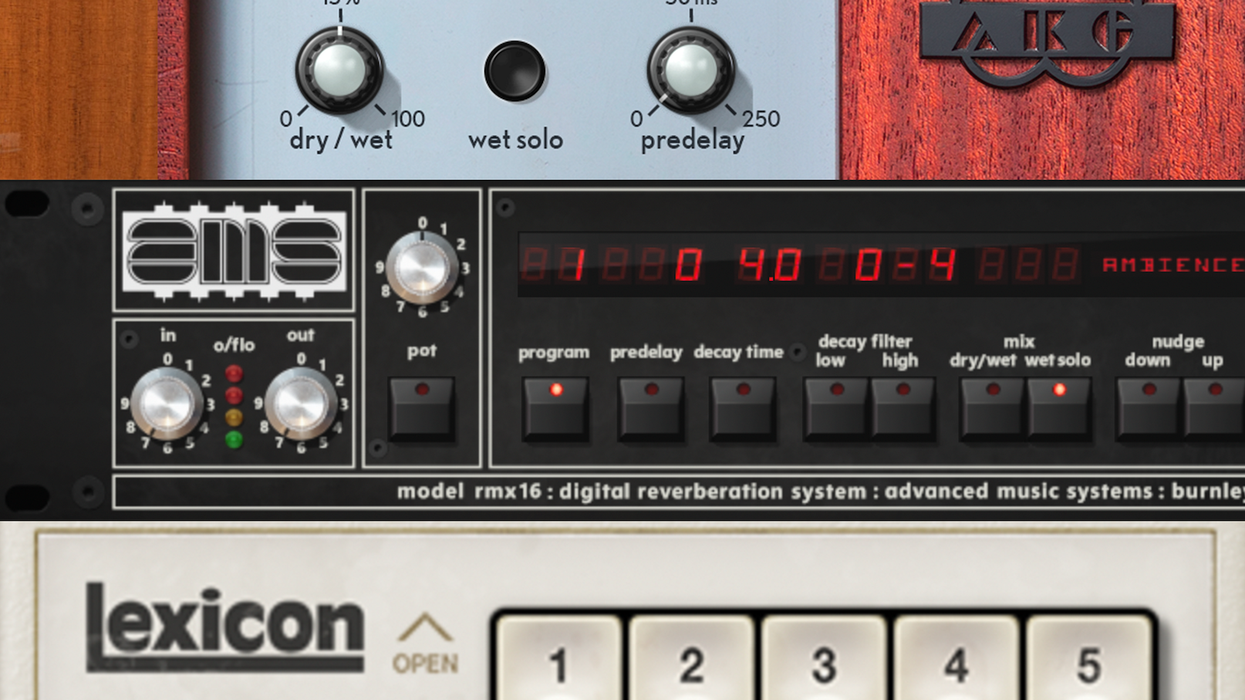
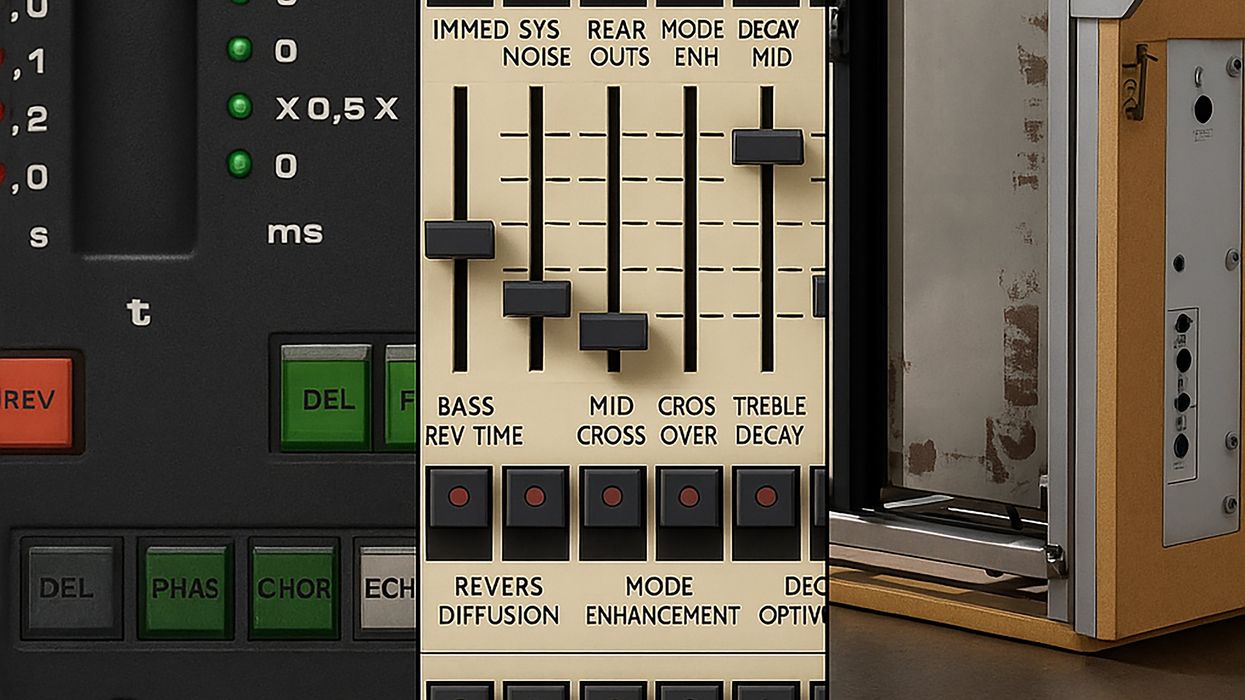
Just like the classic Coke flavor, the early 1963 recordings of the Beatles had a specific engineering recipe with a signal chain that was initially and most notably developed by Malcolm Addey and Norman Smith (Beatles aficionados will note that the legendary Geoff Emerick didn’t come on board until Revolver)—specifically, four pieces of outboard gear. The EMI-designed REDD.37 four-track mixing desk, the EMI RS114 limiter (a favorite of Smith’s), and two American compressors: the Altec 436B, which was so heavily modified by EMI it became the RS124, and the holy grail mono Fairchild 660.
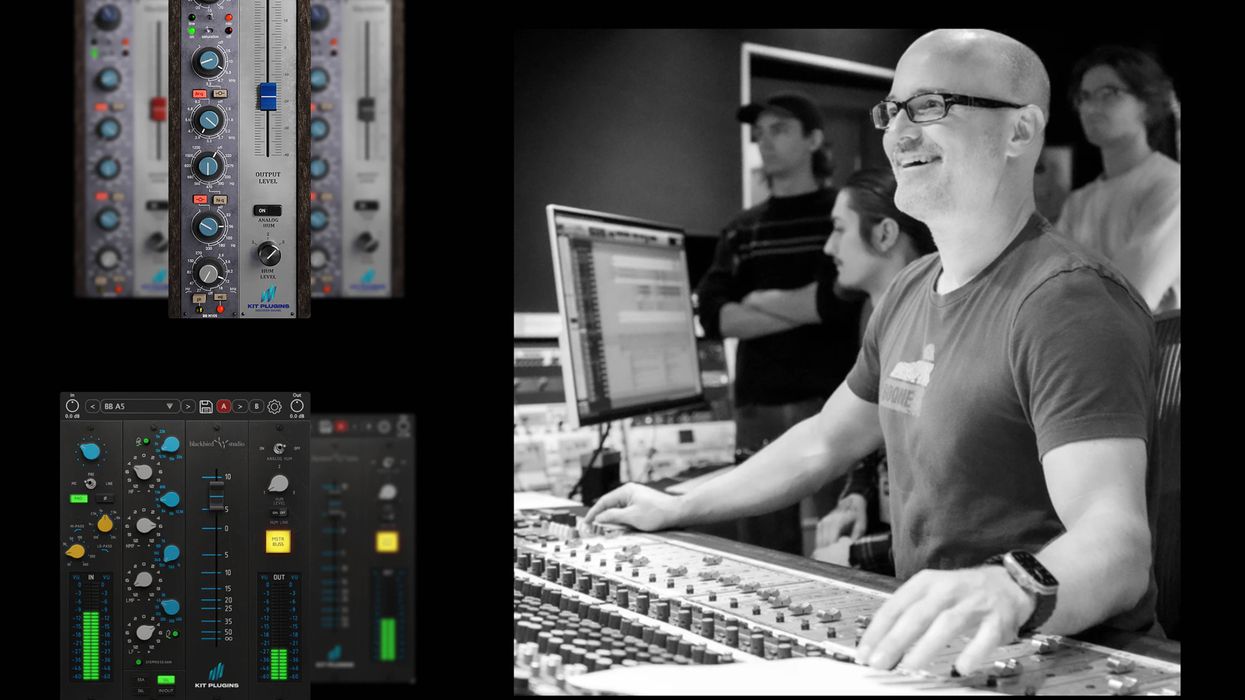
The good news is that most of this gear has been faithfully modeled and recreated as plugins! Checkout Waves’ Abbey Road collection ($229 street) and Universal Audio’s Fairchild Tube Limiter Collection ($89 street). Chandler Limited has faithfully recreated the RS124 ($2,995 street) as well as other legendary EMI/Abbey Road gear for those who may want the analog experience.
Just like the classic Coke flavor, the early 1963 recordings of the Beatles had a specific engineering recipe.
The Process
During these early recording sessions, the REDD.37 desk’s four-track inputs were typically arranged in a consistent way. Track 1 was dedicated to the rhythm section with the Altec/RS124 compressing lightly. Track 2 was dedicated to rhythm instruments (acoustic and electric guitars) and compressed with the RS124 while tracks 3 and 4 were reserved for vocals and individually compressed with the Fairchild 660. Any bounced mixes (i.e. recording tracks 1–3 onto track 4 to free up the previous tracks and allow for additional recording) would also be processed through the RS124s. These compressors were also involved in mixing, mastering, and lathe cutting rooms at Abbey Road as well.
Your Turn
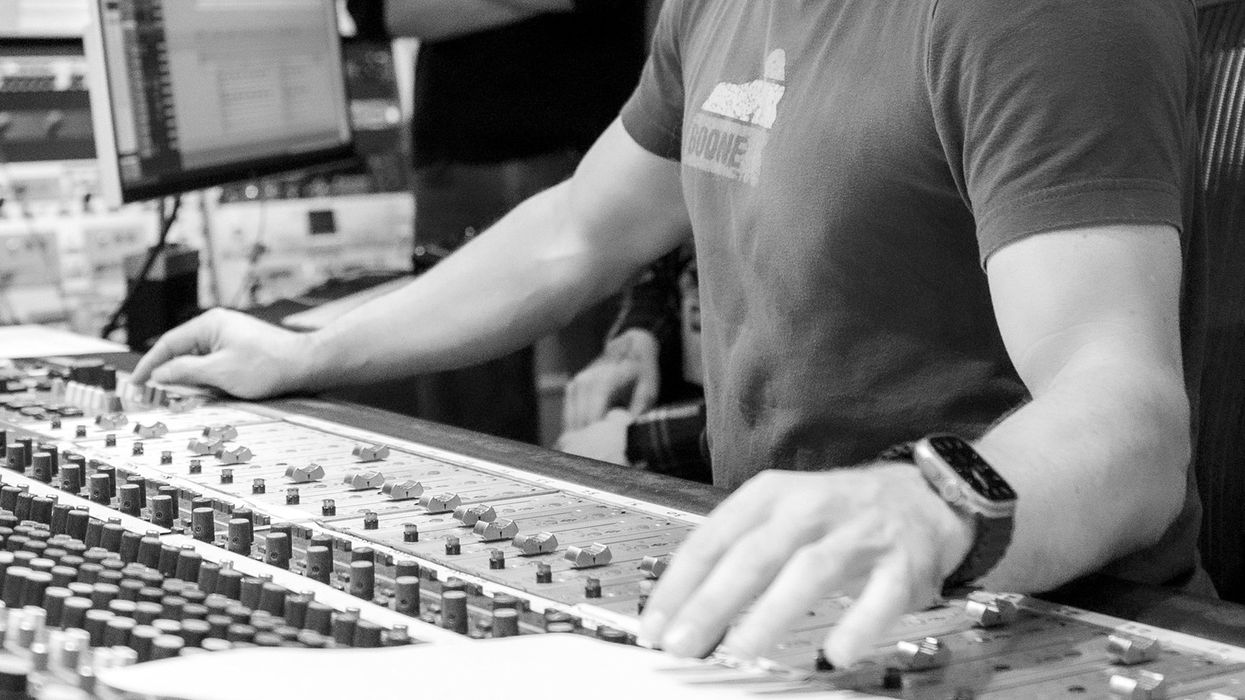
Let’s emulate this approach on a mix by taking a similar approach. Open one of your multi-track sessions on your DAW. Route all your drums, loops, and percussion outputs to a new aux bus and label it “Rhythm Section.” Place an RS124 on this bus and put your recovery on the fast side and try for around 3–10 dB of compression. Use your ears for this and don’t be afraid to go too far and then back off until it feels just right.
Repeat the process for all of your keys and guitars—route their outputs to a new aux bus labeled “KYZ-GTRS,” use an RS124 on this bus, another RS124 set for medium to slow release, and perhaps around 3–5 dB of compression for starters.
Create two other aux busses for your BGVs (background vocals or solos, or both) and one for your lead vocal (or main melodic instrument if there are no vocals). Use a Fairchild compressor for each of these busses. Set the time constant to position 2, and adjust the threshold until you get 2–5 dB of compression. At this point, you’ve reduced your mix to four main elements that you can control and automate as you see fit with broad use of specialized compression targeted for specific elements of your mix.
Finally, add a stereo version of an RS124 or use a Fairchild 670 (also stereo) on your main stereo bus as well as the REDD.37 mixing desk, and listen to the differences. Be sure to play around various subtle degrees of compression levels and reduction, and check out the drive knob on the REDD desks.
Until next time, namaste.