
Hello, and welcome to another Dojo! I want to focus on eight tips to help your recording techniques have more professional-sounding results. Because this subject is so deep, I created a free companion to this article at my website, bryanclarkmusic.com. Tighten up your belts—the dojo is now open.
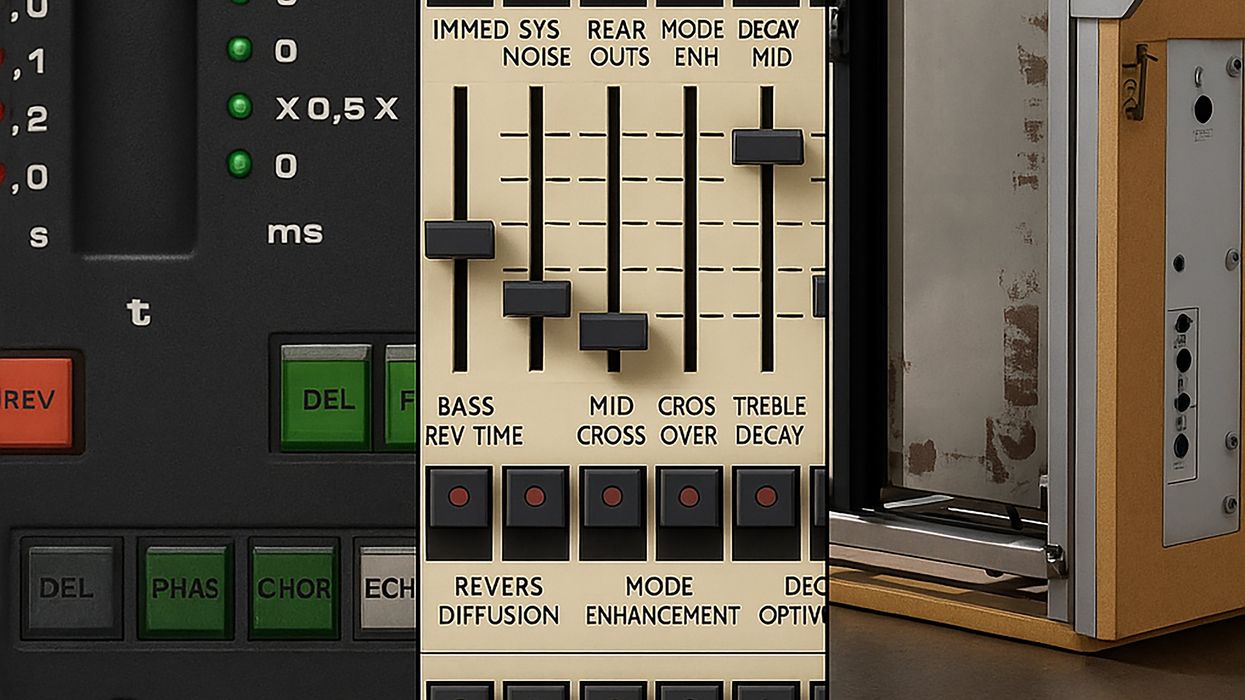
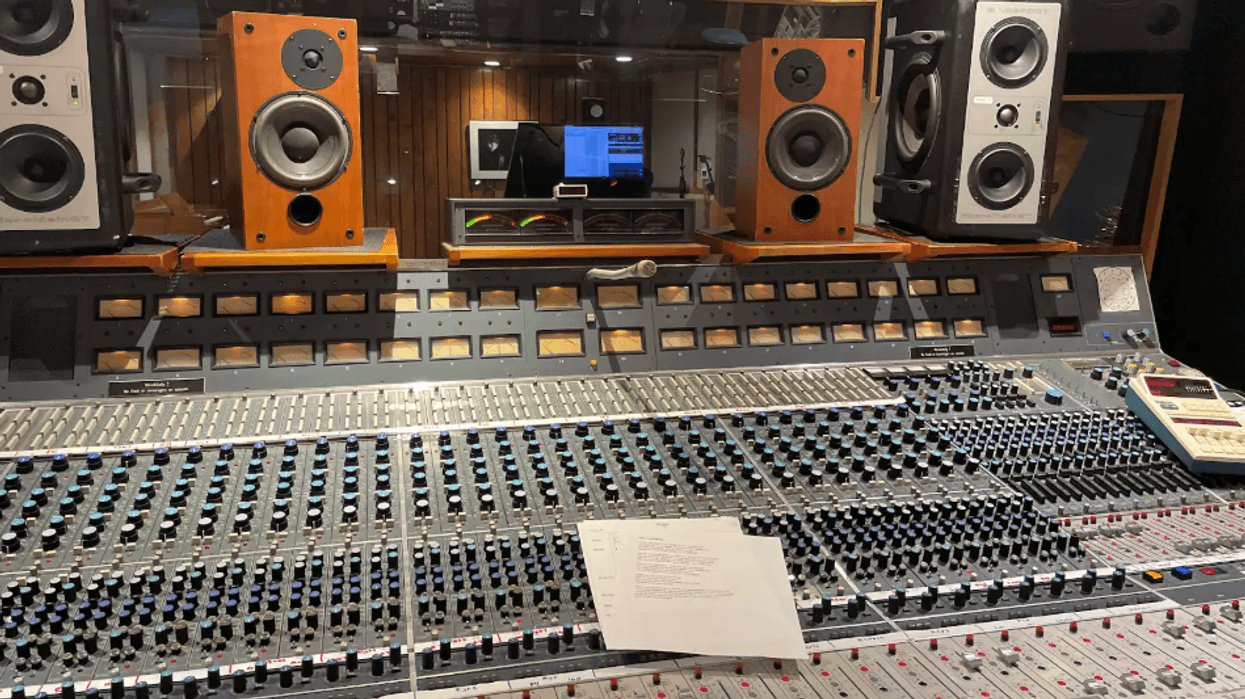
1. The Right Space. The first and most crucial step is selecting an appropriate space for recording. You want to choose a room with minimal ambient noise, good acoustic properties, and enough space for your equipment and instrument(s). Remember that all rooms can benefit from strategic soundproofing via acoustic panels and diffusers that help control reflections and resonance (standing waves), resulting in a more controlled and balanced sound.
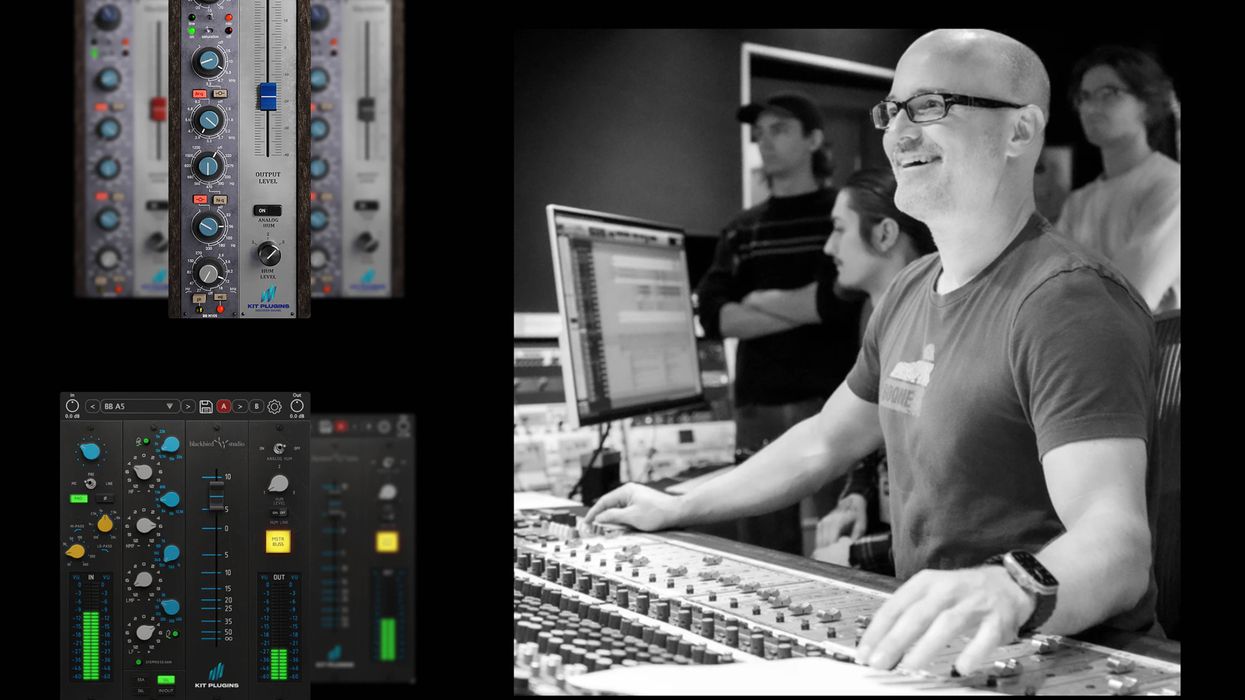
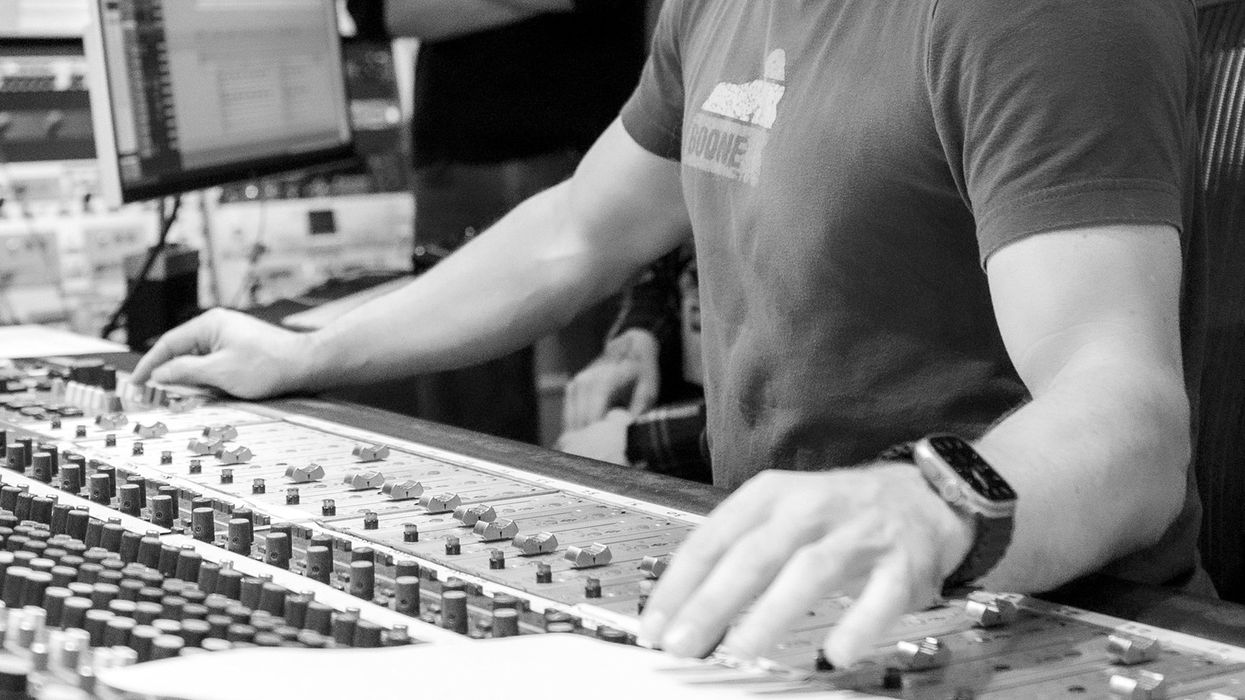
2. Gear. Buy the best gear you can afford because it will make a massive difference (see my September 2020 PG cover story “10 Recording Mistakes Guitarists Make (And How to Avoid Them).”
Microphones: Choose microphones that suit your needs. For vocals, a good condenser microphone is often ideal, while dynamic microphones are better for loud sound sources like 100-watt amps or drums. Also, get a pop filter to reduce plosives in vocal recordings.
Audio Interface: This is the bridge between your microphones and your computer. Invest in a quality audio interface with low-latency and high-resolution capabilities.
Headphones and Monitors: Use studio-quality headphones or monitor speakers to accurately hear the nuances in your recordings. This gear is highly personal yet essential for critical listening.
Cables: Use high-quality cables to connect your equipment. Well-shielded, low-noise cables can reduce interference and maintain signal integrity. (I love Asterope’s XLR to TRS cables, $55–$120 street.)“Sometimes, the most innovative and unique recordings come from pushing the boundaries and questioning ‘rules.’”
3. Optimizing Recording Techniques. Proper recording techniques are the key to professional results. Experiment with microphone placement until you find the sweet spot for your sound source(s).
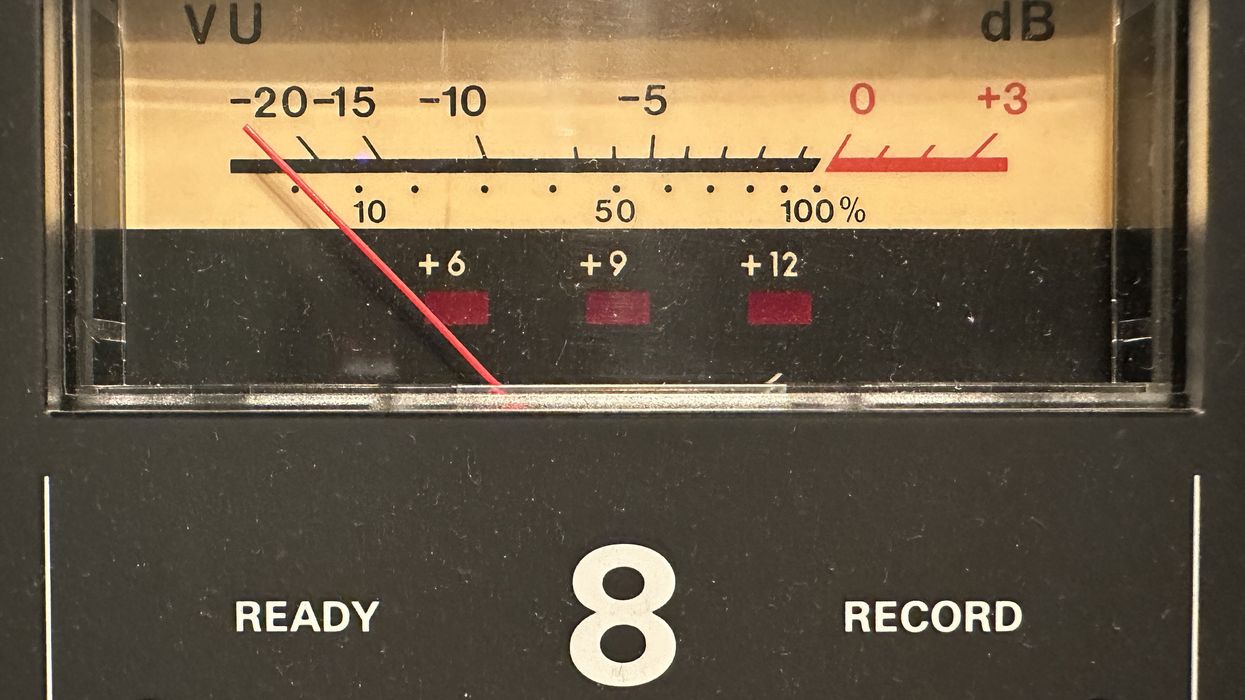
Recording Levels: Maintain optimal recording levels to prevent clipping and distortion. Aim for an average reading of -18 dB to leave headroom for mixing.
Multi-Microphone Techniques: When using two mics on the same sound source, such as a drum kit or choir, or two mics on your amp, etc., make sure all microphones are in phase. Check by first recording for several seconds, then zoom in on the two mics’ waveforms in your DAW to see. If they’re not in phase, move one of the mics either forward or backwards to get better alignment of arrival times.
4. Software and DAWs. Select a DAW tailored to your needs and preferences and invest the time to learn the software’s features and shortcuts. Popular options include Pro Tools, Logic Pro, LUNA, and Ableton Live.
Take advantage of virtual instruments (Arturia, Native Instruments, Spectrasonics) and effects plugins (Waves, UA, FabFilter, Soundtoys) to enhance your recordings. High-quality virtual instruments can replicate the sound of real instruments, while effects plugins offer various processing options for mixing and even mastering.
5. Recording Environment. Minimize background noise by turning off fans, air conditioners, and other noisy appliances during recording. If your room has persistent noise issues, use noise reduction software (Izotope RX), or record during quieter times of the day. You can also control sound reflections by using acoustic treatment in your room(s) to prevent unwanted reverb and echoes. If recording vocals or acoustic instruments, consider using isolation shields or reflection filters to reduce room noise and improve clarity.
6. Editing and Mixing. Remove unwanted noise, fix timing issues, comp the best parts from multiple takes, use EQ and compression (sparingly), and use reference tracks from professional recordings to compare and gauge the quality of your mix.
7. Monitoring. Listen to your recordings on various playback systems (headphones, monitors, car stereo) to ensure they sound good across different contexts. Don’t be afraid to re-record and remix as needed. Improvement will come from learning from your mistakes.
8. Continuous Learning and Experimentation. Finally, the world of audio recording and production is continually evolving. Keep learning and experiment with unconventional recording techniques and/or effects. Sometimes, the most innovative and unique recordings come from pushing the boundaries and questioning “rules.”
I’m always here to help, and remember that improvement takes time, patience, and practice. Until next month, namaste.

Supported by Focusrite
https://focusrite.com/


![Rig Rundown: Russian Circles’ Mike Sullivan [2025]](https://www.premierguitar.com/media-library/youtube.jpg?id=62303631&width=1245&height=700&quality=70&coordinates=0%2C0%2C0%2C0)