A well-organized sample library is crucial for musicians, producers, and sound designers. It enables smoother workflows, saves time, and nurtures creativity by providing easy access to the perfect sounds.
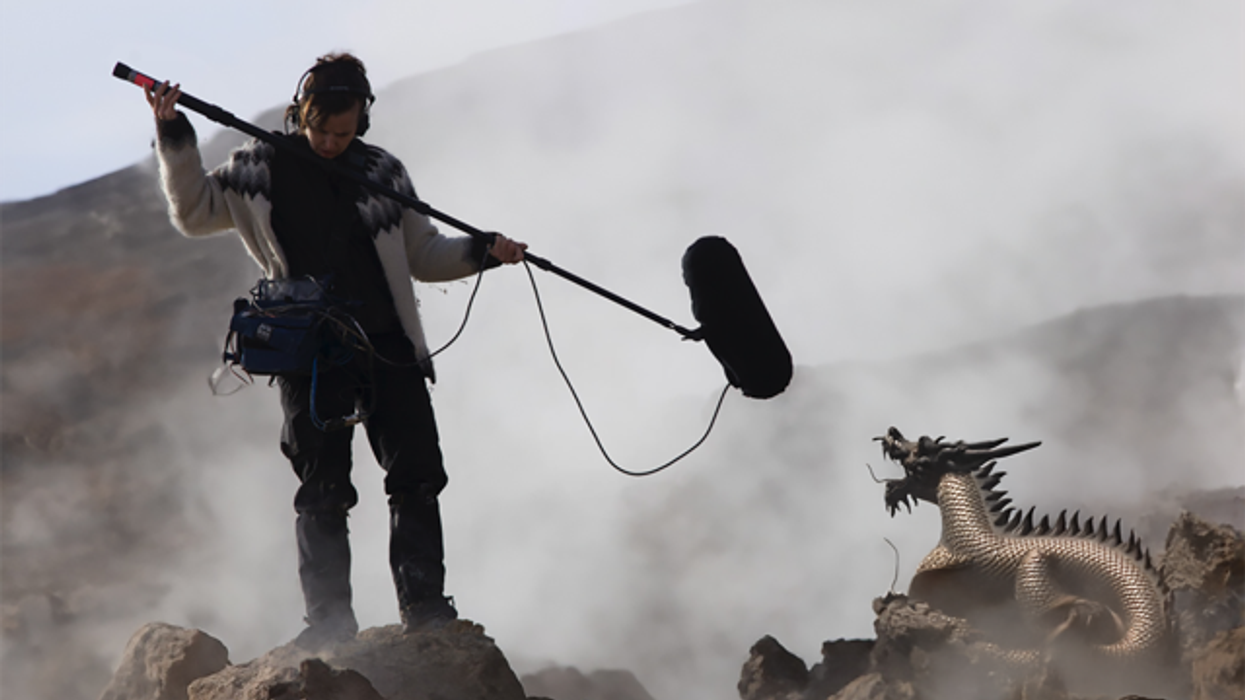
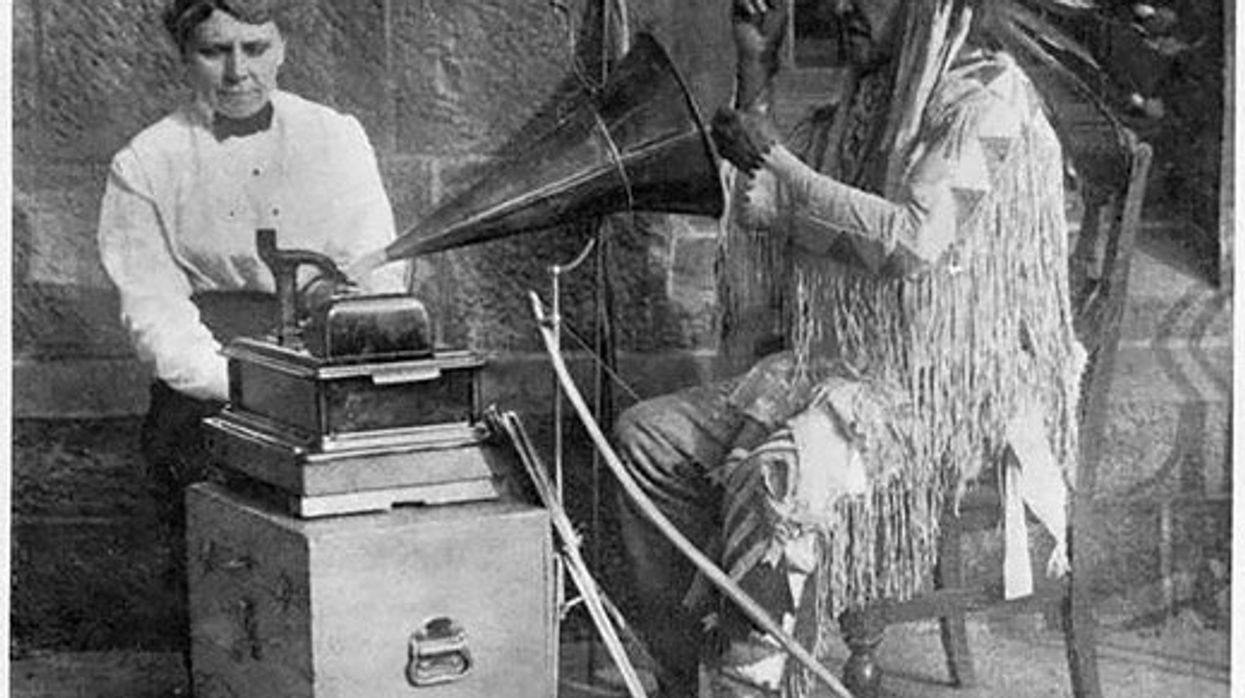
Once used as a way to preserve American indigenous culture, field recording isn’t just for seasoned pros. Here, our columnist breaks down a few methods for you to try it yourself.
Take it from English cyclist Sir Dave Brailsford: With an all-encompassing approach to improving the marginal aspects of your methods, you can get quite the payoff on the quality of your endeavors. And that goes for recording, too.
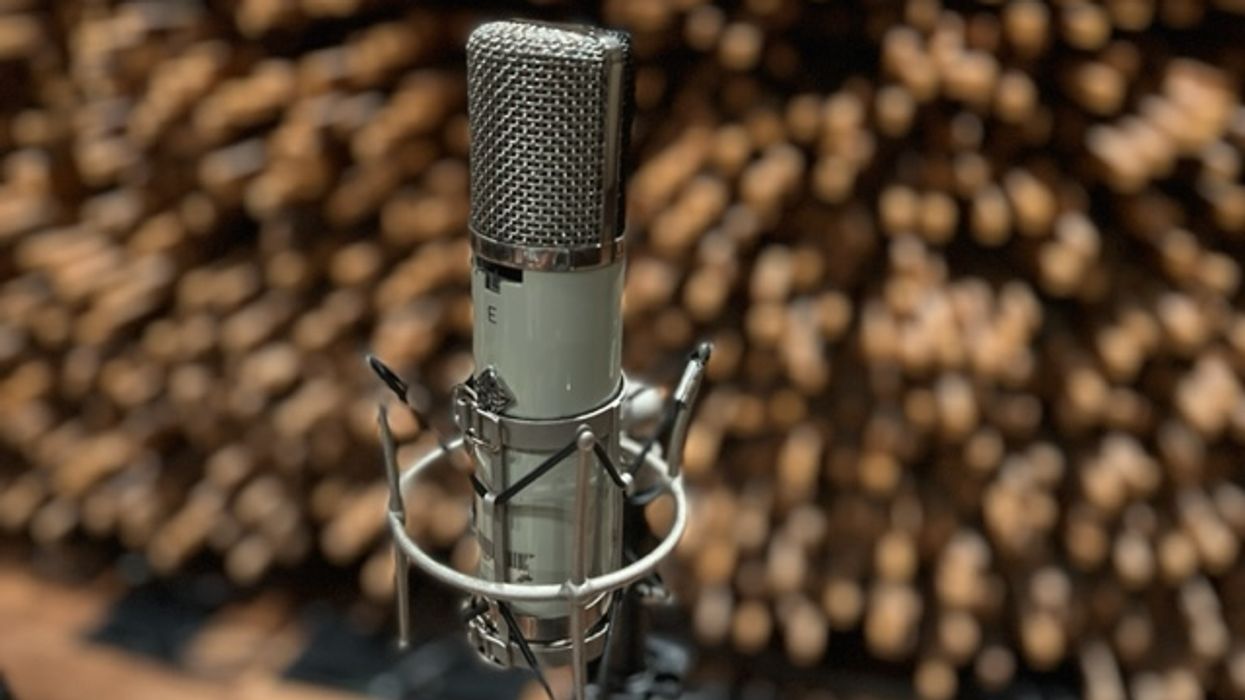
By now, we’re all familiar with the many options out there for amp modeling. Mic modelers are another reliable asset to digital recording tech, and can rapidly grow your inventory with just a few clicks.
Our columnist stumbled upon massive success when he shifted his focus to another instrument. Here, he breaks down the many benefits you can get from doing the same.
Our columnist shares the benefits of recording those moments where you’re just improvising and experimenting with ideas. If you make a practice of it, you’re more likely to strike gold.