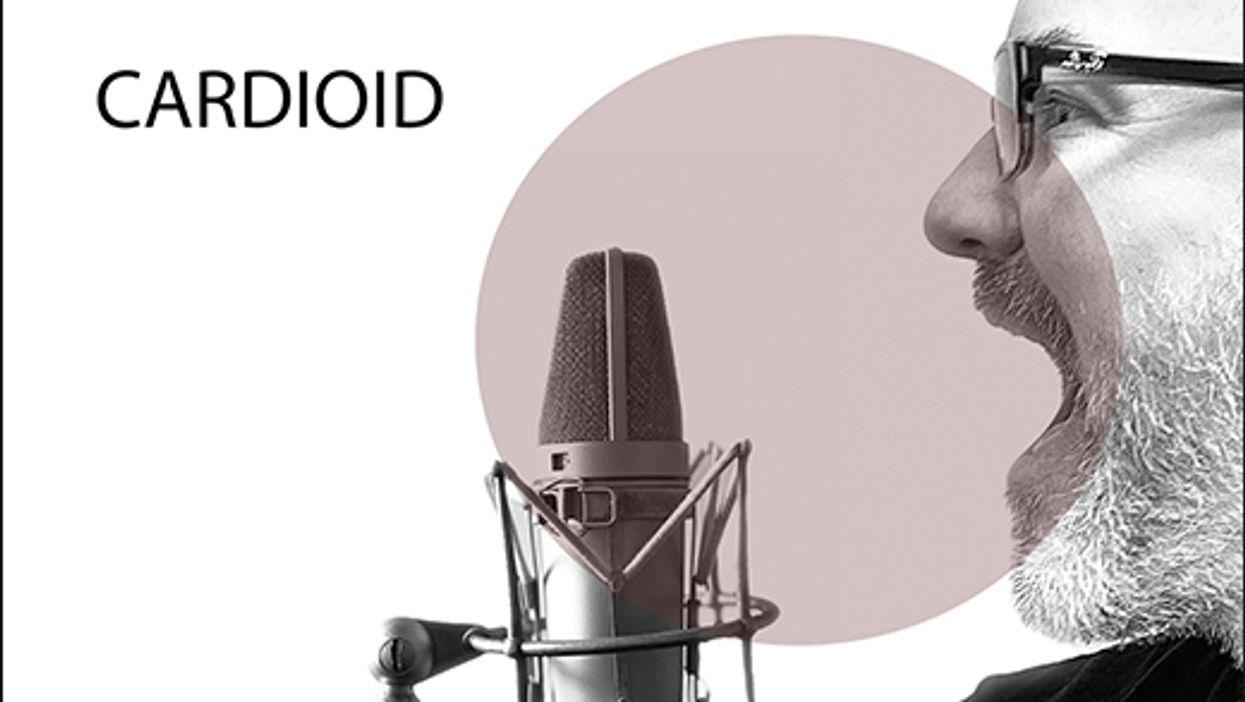
Recording Dojo Recording Dojo: Microphone Polar Patterns 101 How cardioid, figure-eight, and omnidirectional microphones figure into your recording game plan.Bryan ClarkJan 19, 2021
Tuning Up Instagram-Filter Mentality Is Ruining Your Music A wake-up call for guitarists as we use quarantine time to develop our studio chops.Shawn HammondJan 12, 2021
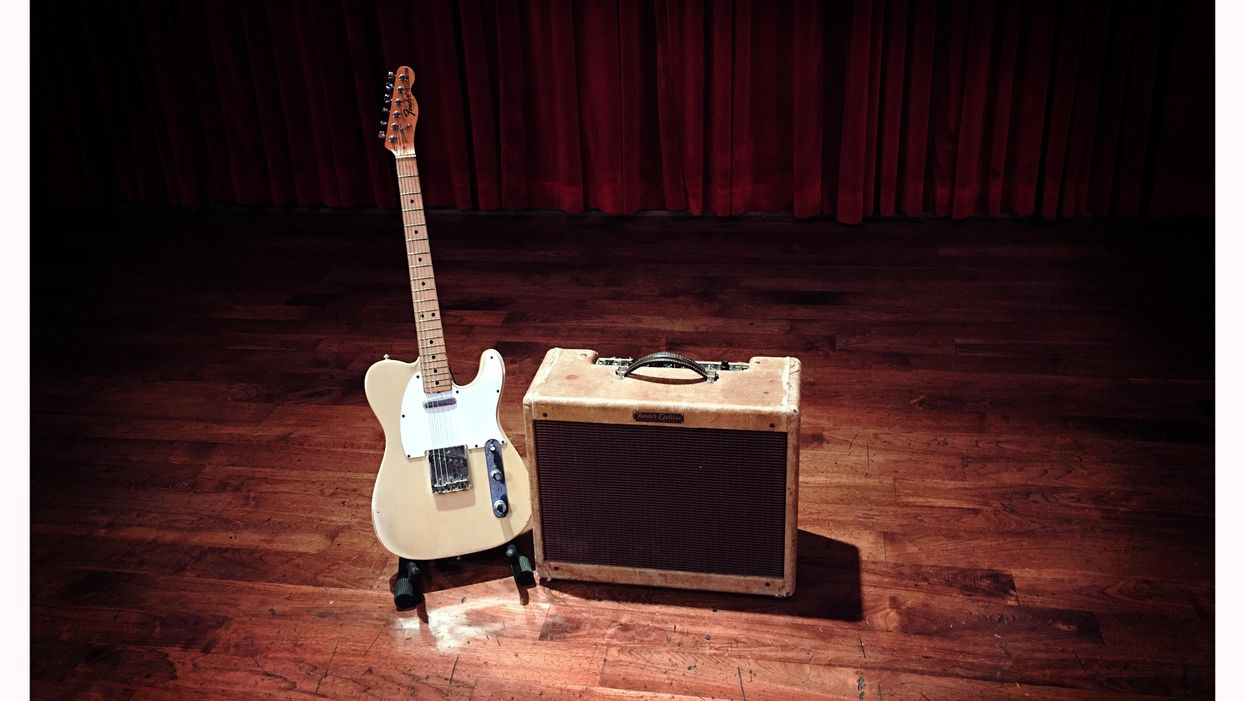
Recording Dojo Recording Dojo: How to Get Big Sounds from Little Amps You can get a surprising amount of tonal variety simply by getting creative with mic placement.Bryan ClarkJan 03, 2021
Recording Dojo Recording Dojo: Get Fuzzy! Tips for Doubling Down on Dirt Things can get tricky when distortion pedals and DAWs meet. Here's how to show your stomps who’s boss.Bryan ClarkDec 17, 2020
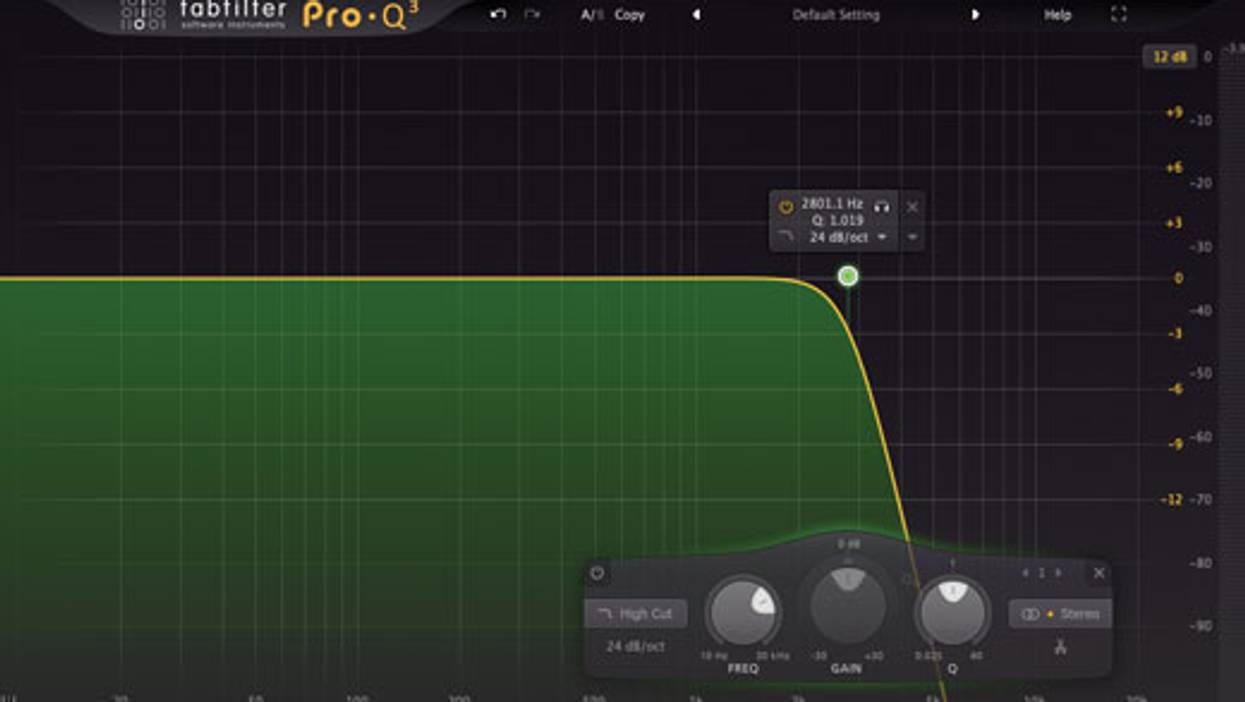
Pro-Advice Recording Dojo: What's a High-Pass Filter & How Should You Use It? Here's how to clean up low-end mud and add definition to mixes.Bryan ClarkNov 20, 2020
Effects Recording Dojo: How to Capture the Best Delay Sound Both the type of delay you're using and whether your amp is equipped with an effects loop can have a huge impact on how good your echoes sound in the final mix.Bryan ClarkOct 12, 2020