Welcome back to the Dojo. This time we're going to look at the mighty high-pass filter (HPF) and how you can use it to clear out muddy, low-end frequency build-up in your mix, and get more separation between your guitars, bass, and kick drum.
A high-pass filter does exactly what the name implies: It attenuates the low frequencies while allowing the higher frequencies to “pass through" and be heard. You can find HPFs in many different places, but the best place to look is an EQ (either analog or digital). All DAWs come with EQs, so put one on your track and follow along.
Let's talk about the bottom end. In standard tuning, the lowest frequency on the guitar is about 83 Hz (our lowest E string), the standard 4-string bass can play down to 41 Hz, and (generally speaking) the kick drum fundamental lives in the 40 to 70 Hz range. This means that there is quite significant overlap from 40 to 100 Hz between these three instruments. Although defined lowest notes exist on instruments, that doesn't mean that when recording your guitars, bass, drums, etc., that other lower frequencies are not sneaking into your tracks!
Say you're creating your next guitar-laden behemoth, with dozens of guitar tracks. Every time you add another guitar track, you're also adding lower-end information that's accumulating and slowly covering up your bass and kick drum. You turn up your bass and kick, but then the guitars sound anemic and not as defined. It's getting bass heavy and you end up chasing your tail, getting frustrated, and asking “why can't I fix this?" Sound familiar?
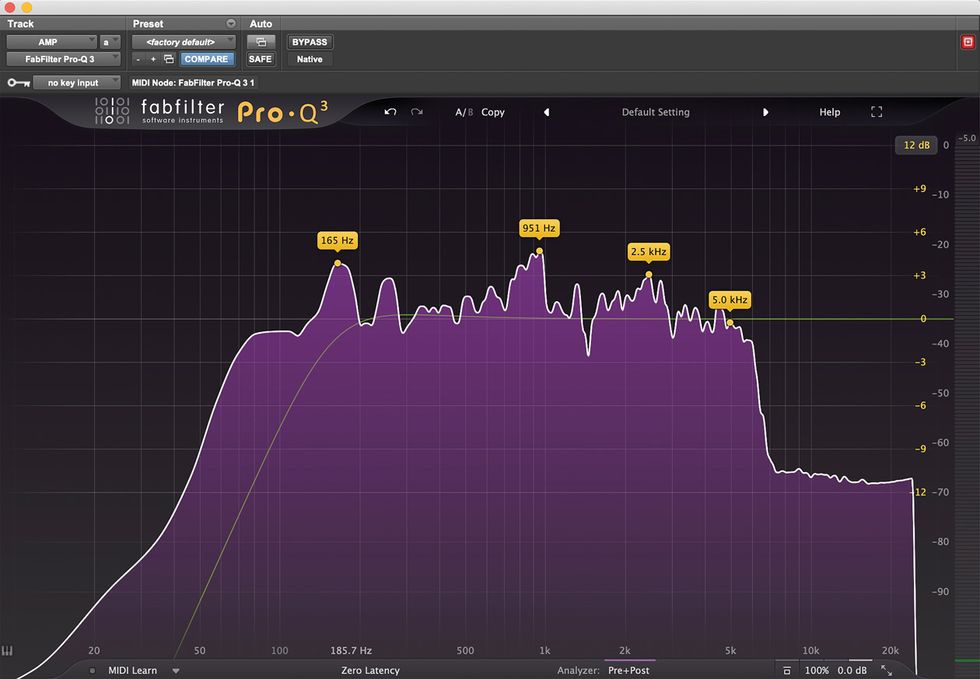
Look at Fig. 1. This is an audio snapshot of me playing a grindy, super-distorted low rhythm part through my amp without a high-pass filter. You can tell by the peak, at 82 Hz, that I'm cranking low Es and Fs. Now look to the left of that 82 Hz peak. There's still a significant amount of low-end information present, especially from 70 Hz down, and this is only one track! Imagine doubling this part and adding more tracks. We're headed for some serious low-end buildup.
Now look at Fig. 2. This is the exact same section of audio with a high-pass filter at 155 Hz (the faint green line), with a 12 dB per octave slope. (More on this in a bit.) If you compare the difference you'll see that the 82 Hz peak has lessened, and most of the sub-frequencies have been radically reduced. Rest assured that the guitar sounds as bold and brazen as it did before, but now I've carved out room for my bass and kick drum to coexist.
Fig. 2
I mentioned a 12 dB per octave slope. What does that mean? High-pass filters need to have a slope shape to be able to separate the frequencies you want to pass through from the ones you don't. The gentle slope of 12 dB per octave means that all the frequencies below wherever the filter is set (say A, or 440 Hz) will gradually be reduced, and by the time the next lowest A (220 Hz) comes around, it will be 12 dB lower. Most plug-in EQs, like the FabFilter Pro-Q 3 (which I love for many reasons), will offer many choices of slope shapes ranging, from 12 to 96 dB per octave. Remember this: The higher the slope shape value, the more you're absolutely shutting the door on those frequencies below your filter point. This can be very useful if you want to have total control over instrument ranges and how they overlap each other. Generally, I prefer 12 to 48 dB slopes, and only use 96 dB and above slopes for an effect and rare offending lower frequencies.
Try this: Take your rhythm guitar track with the lowest range and use a 48 dB per octave HPF. Slowly sweep it while listening to it in the mix. Stop when you notice it sounding slightly thin. Now pull the filter back just slightly to the left. Solo the track and toggle the HPF on and off. Notice how thin it sounds when soloed, but it has more gravitas in the mix! Why? Because you're allowing the bass and kick drum to occupy that region and making your mix sound better!
See you next month and keep experimenting.


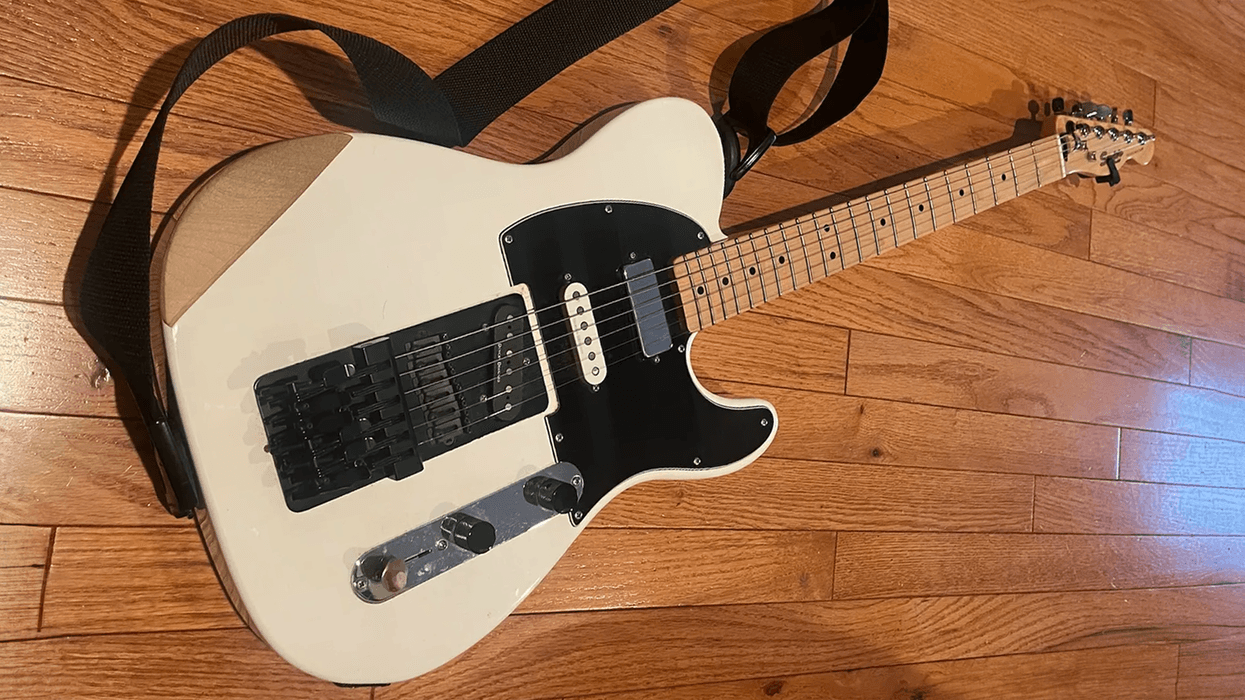
 Lydia began life as a 2007 Squier Vintage Modified Telecaster SSH—an already versatile guitar. With the addition of the Hipshot Trilogy Bridge it can move easily between different tunings.