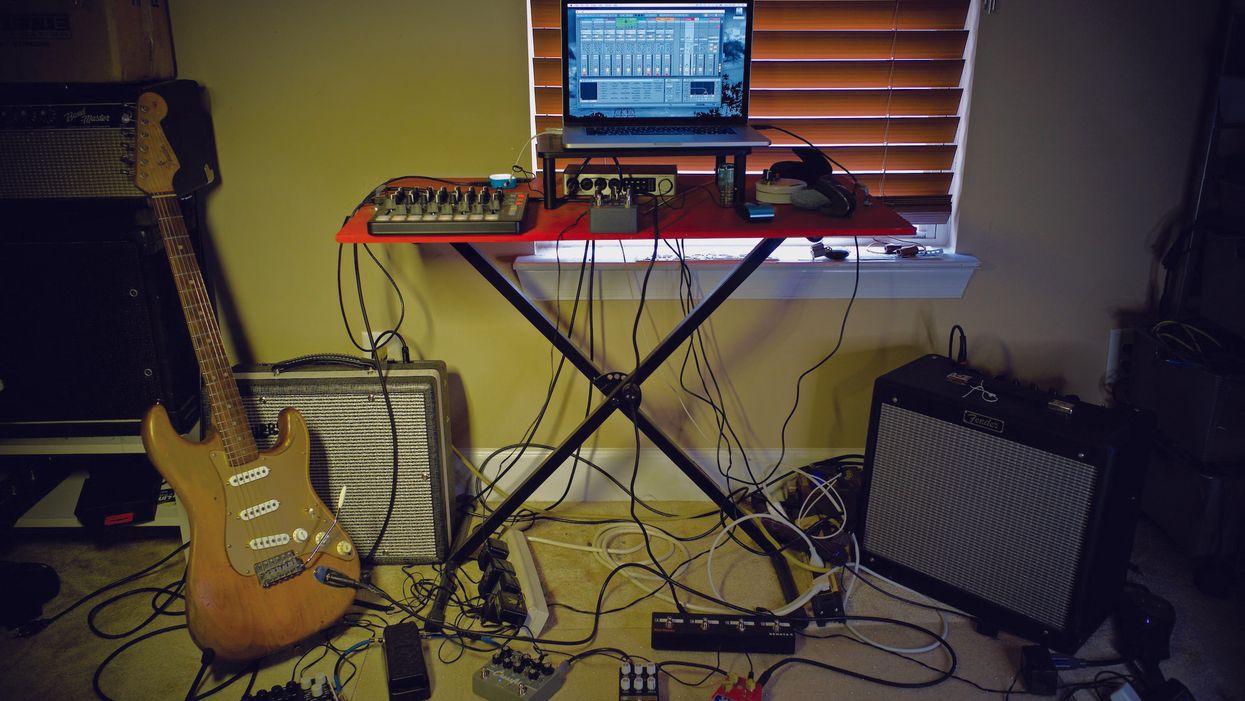
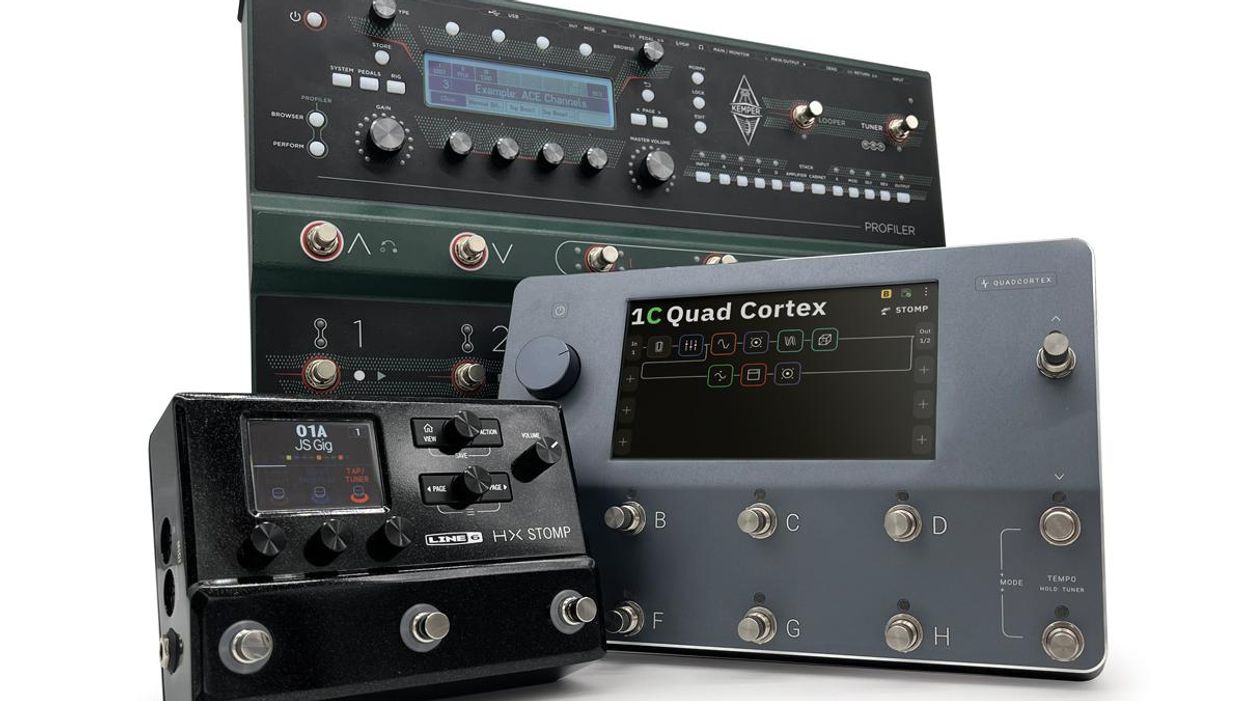
Modern stomps offer more sounds than ever before, but a laptop can help you delve into an even deeper world of live sonic manipulation. Here’s what you need to know to get started.
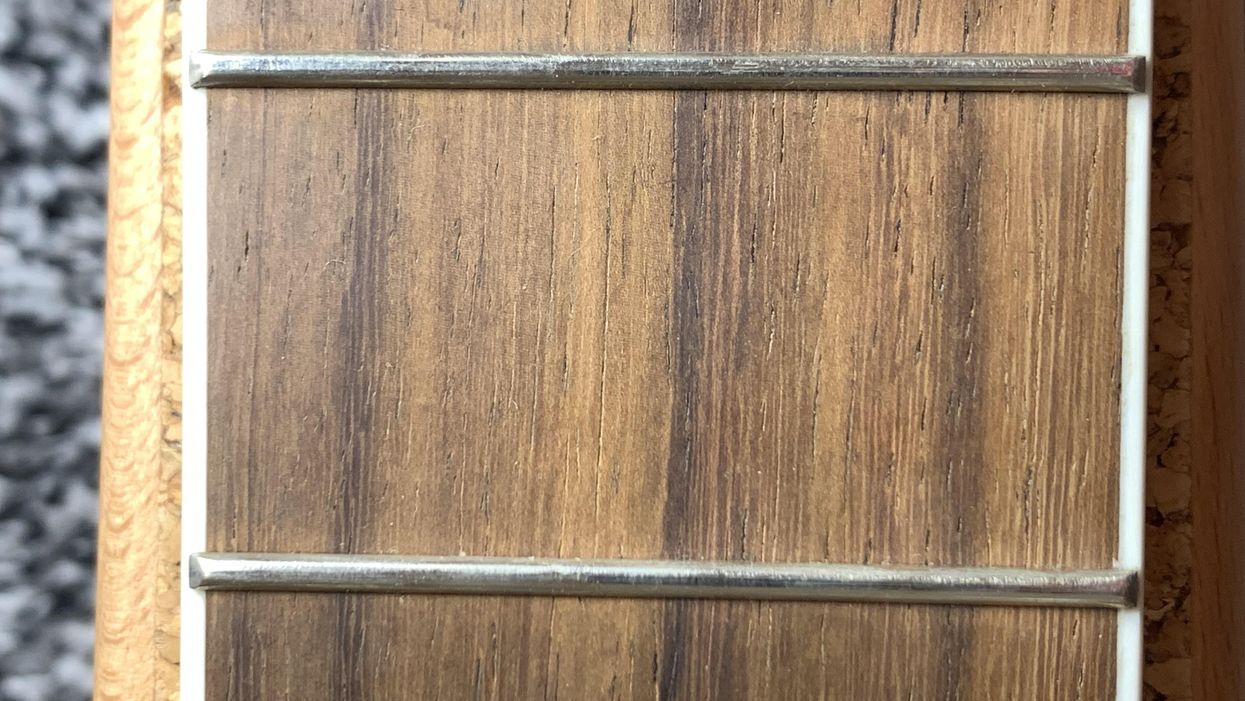
We’re almost finished with the aging process on our project guitar. Let’s work on the fretboard, nut, and truss rod cover, and prepare the headstock for the last hurrah.
Respecting dynamics and artists’ intentions, along with a knowledge of the core sounds of various genres, will propel your journey on the path to enlightenment.
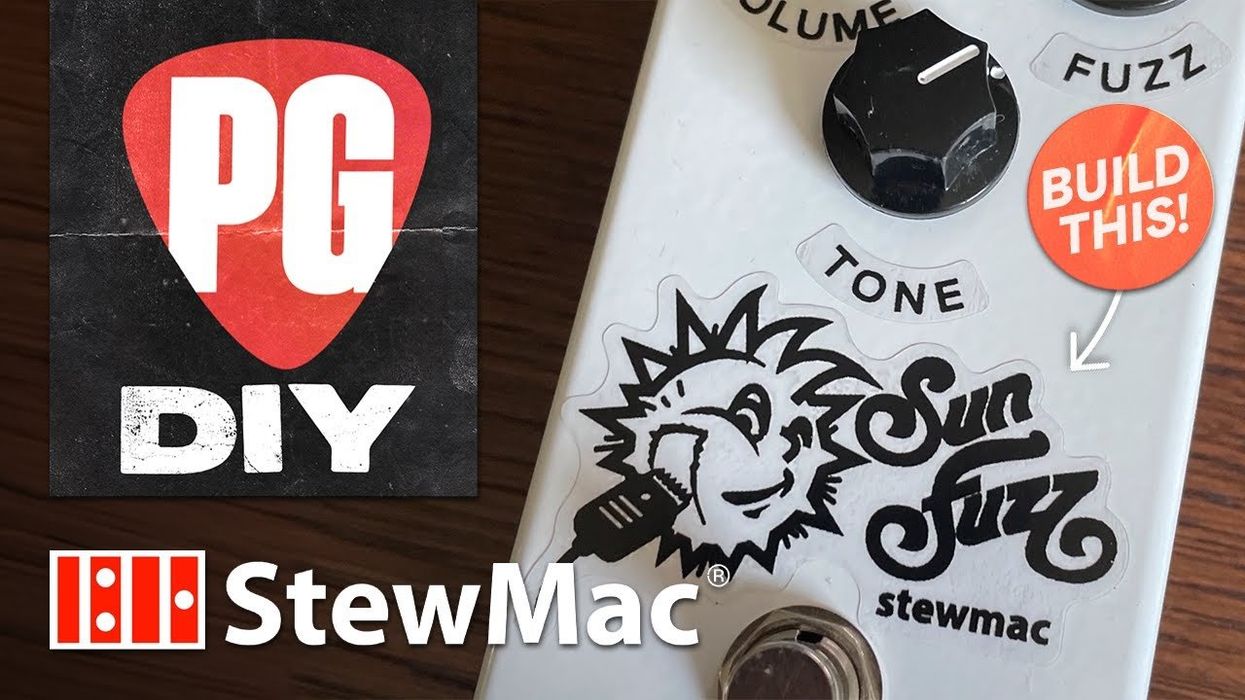
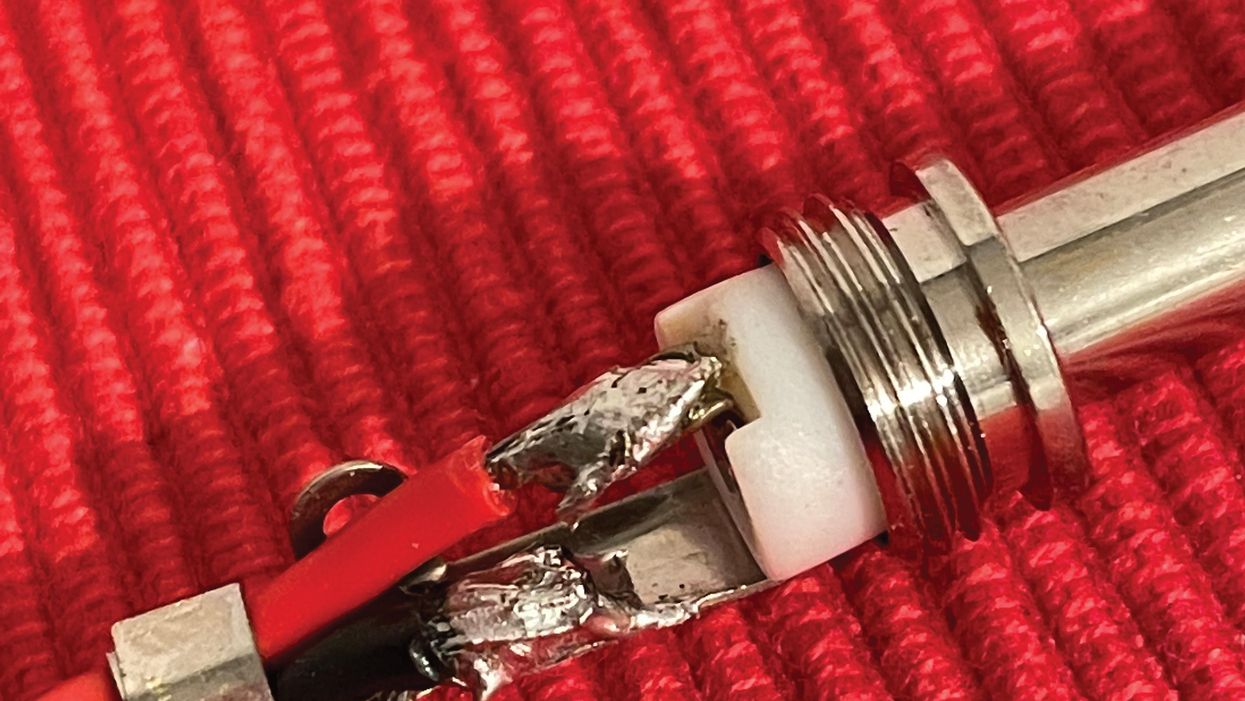
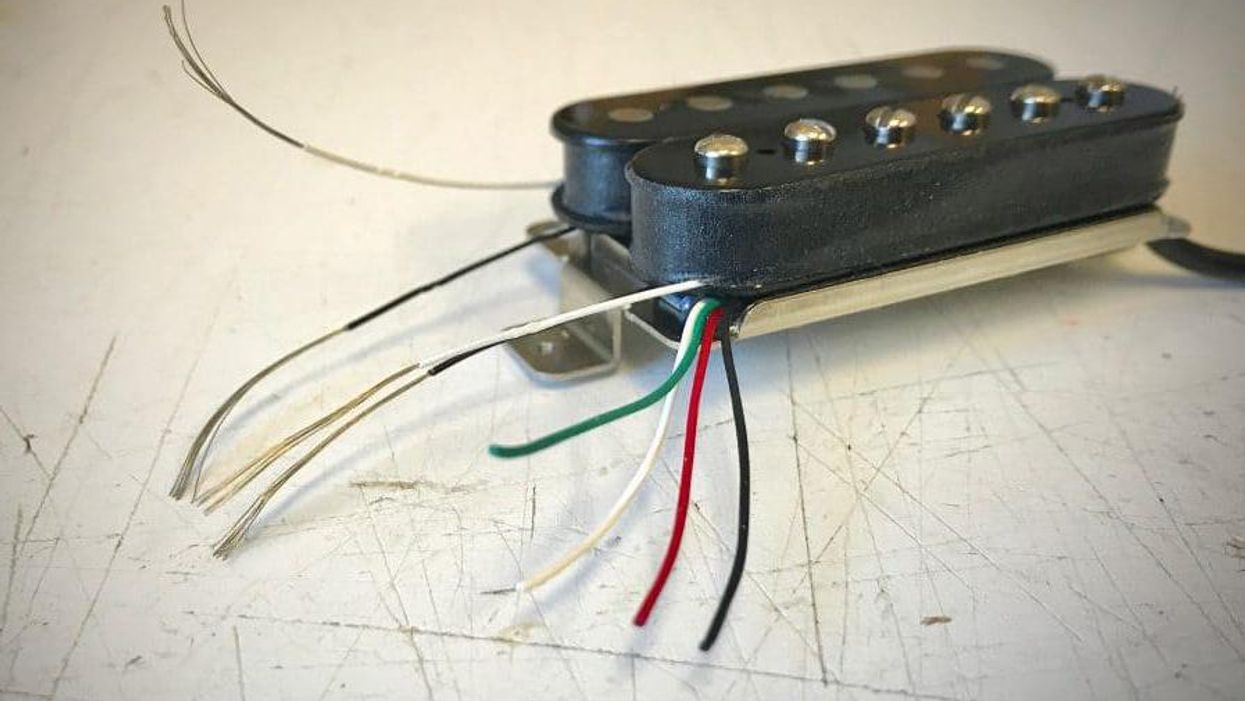
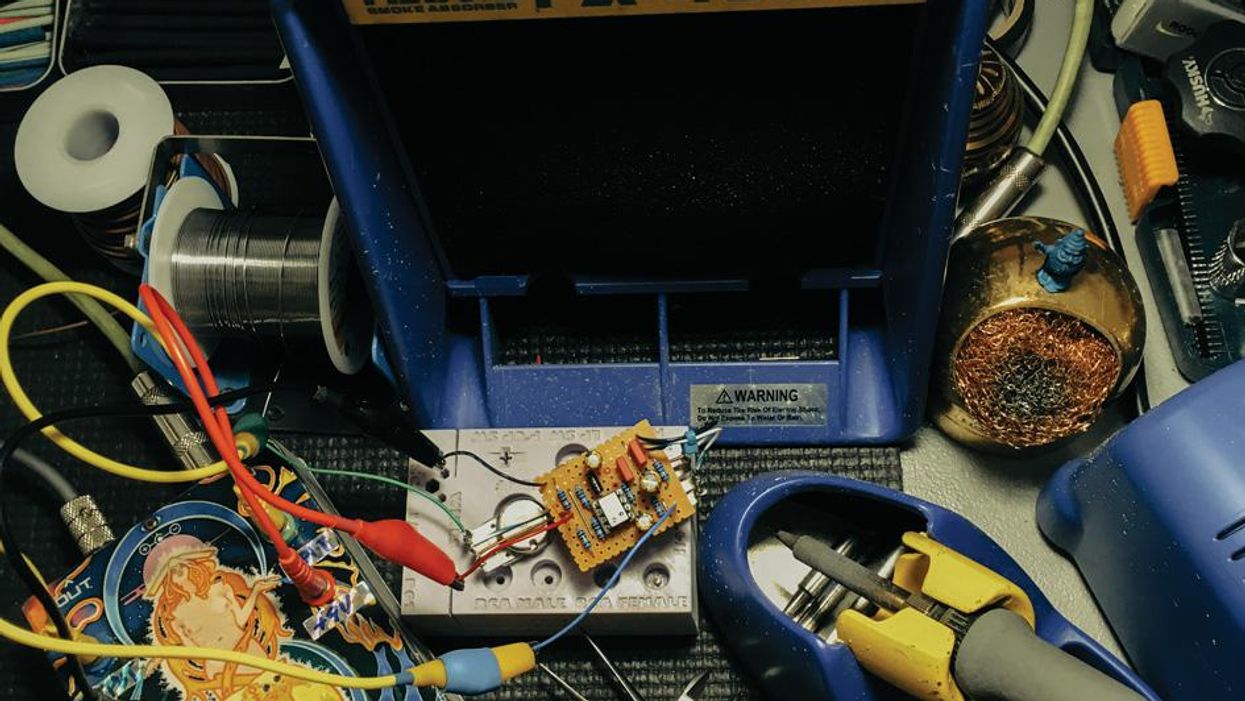
Long to try your hand at building a pedal but can't help feeling overwhelmed? Let us enlighten you on the tools, materials, and available resources, as well as teach you how to build a critical, oft-overlooked testing device.