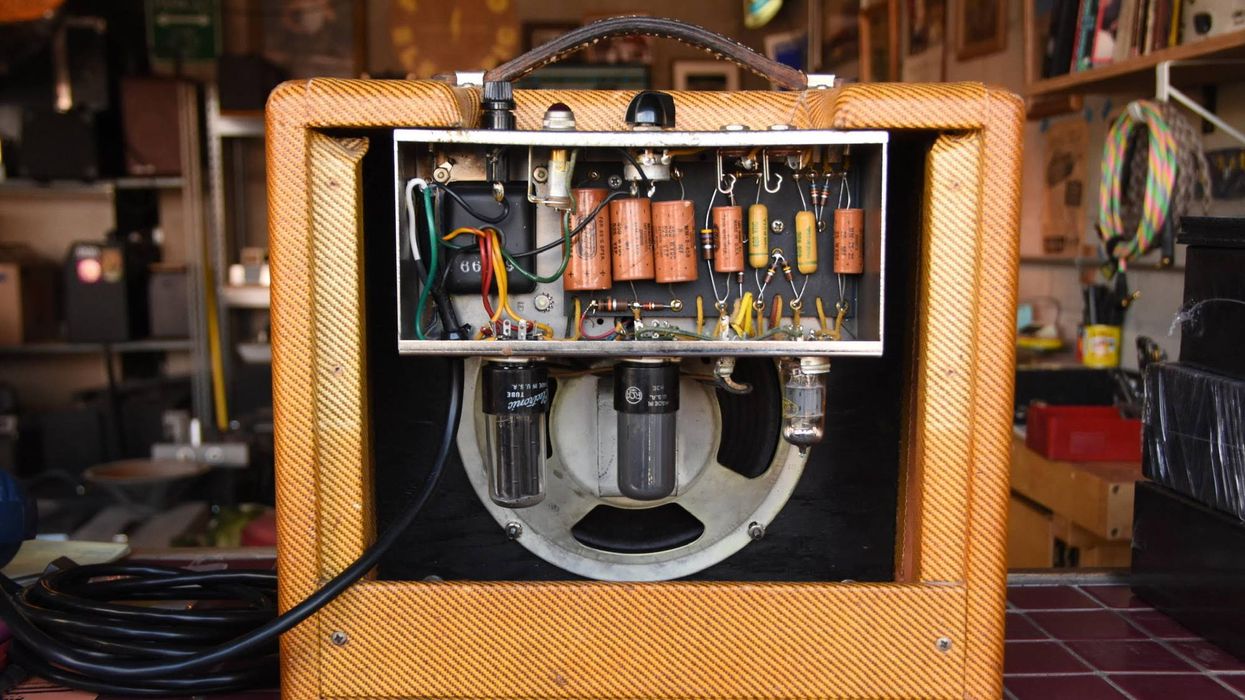
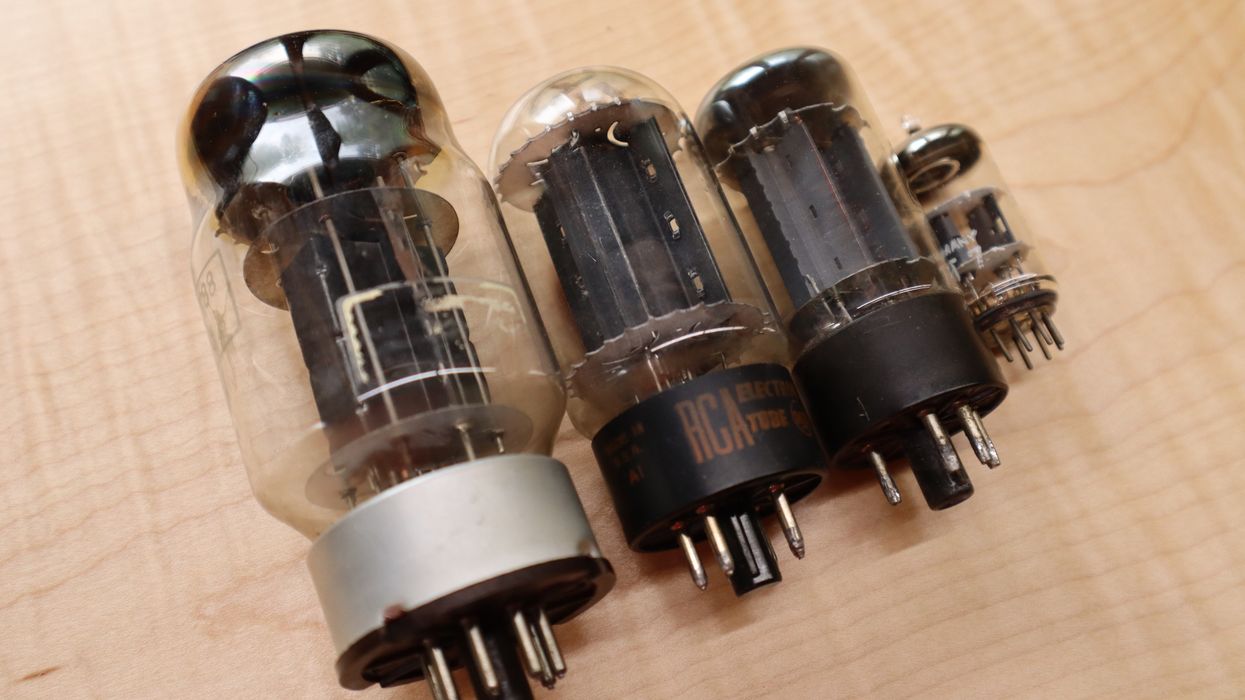
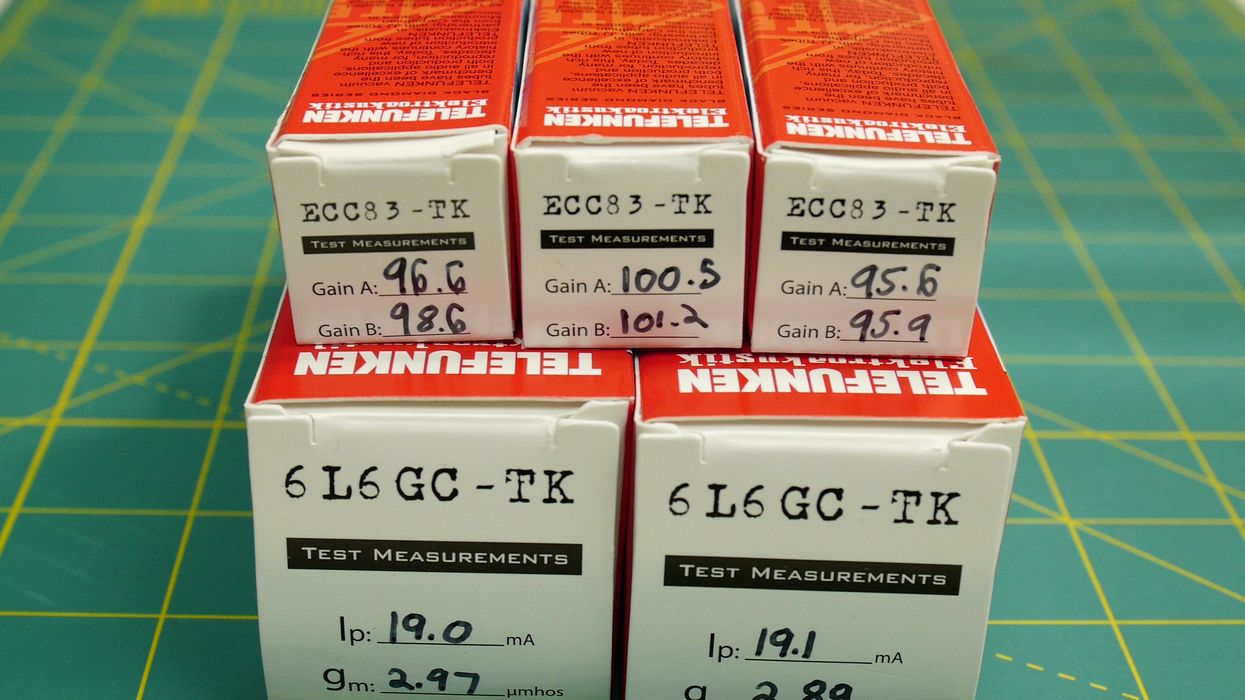
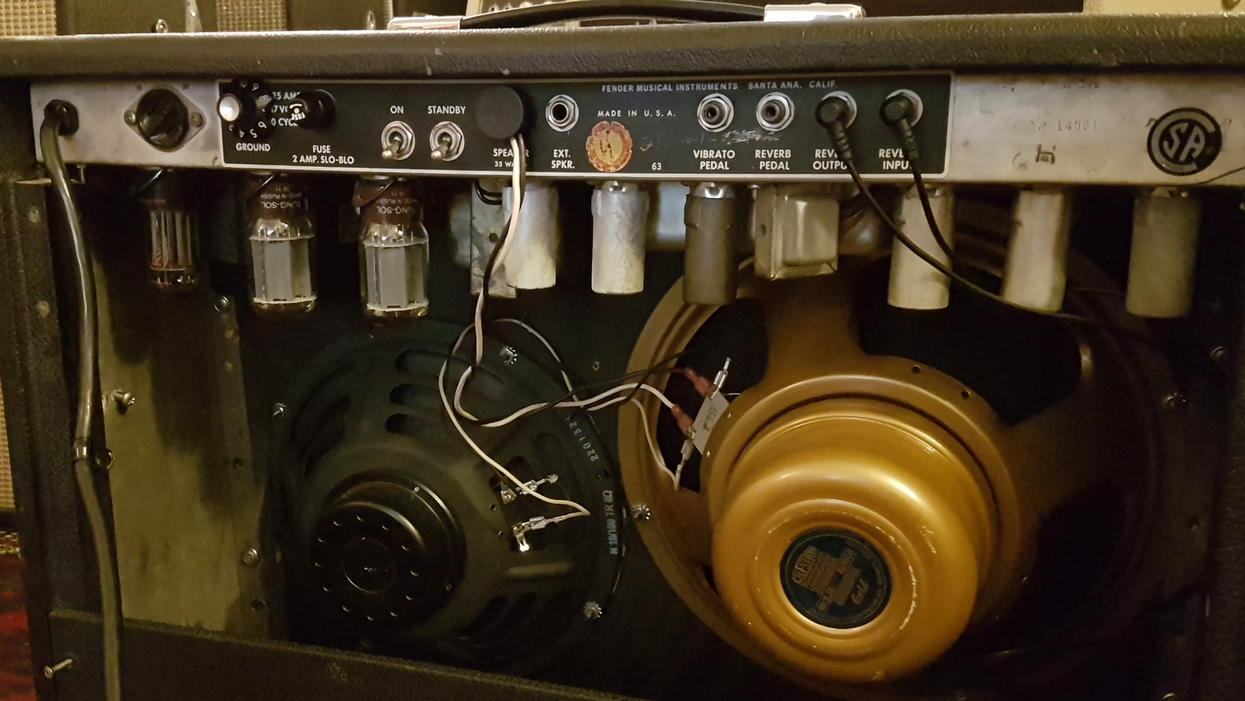
Silver & Black Silver and Black: Simple Tube Tricks for Beginners Need more headroom or gain? Spin the bottles. Jens Mosbergvik Jul 20, 2022
Silver & Black A Different Shade of Silver and Black Our columnist is a Fender die-hard but finds thrills in an inspired modern alternative: the Victoria Victorilux. Jens Mosbergvik Mar 17, 2022
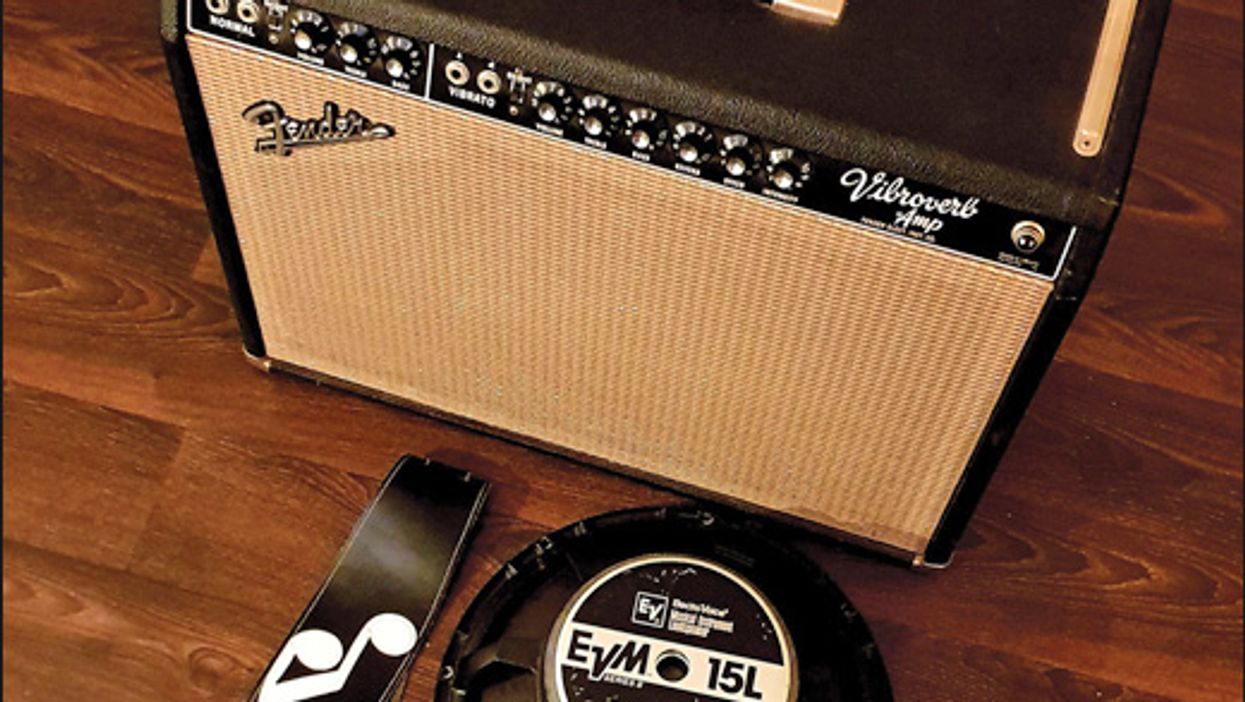
Silver & Black Meet My 1965 Super Reverb—The Greatest Amp I've Ever Played Our columnist shares a love story about his longtime passion for the 1965 heavyweight that’s his No. 1. Jens Mosbergvik Feb 21, 2021
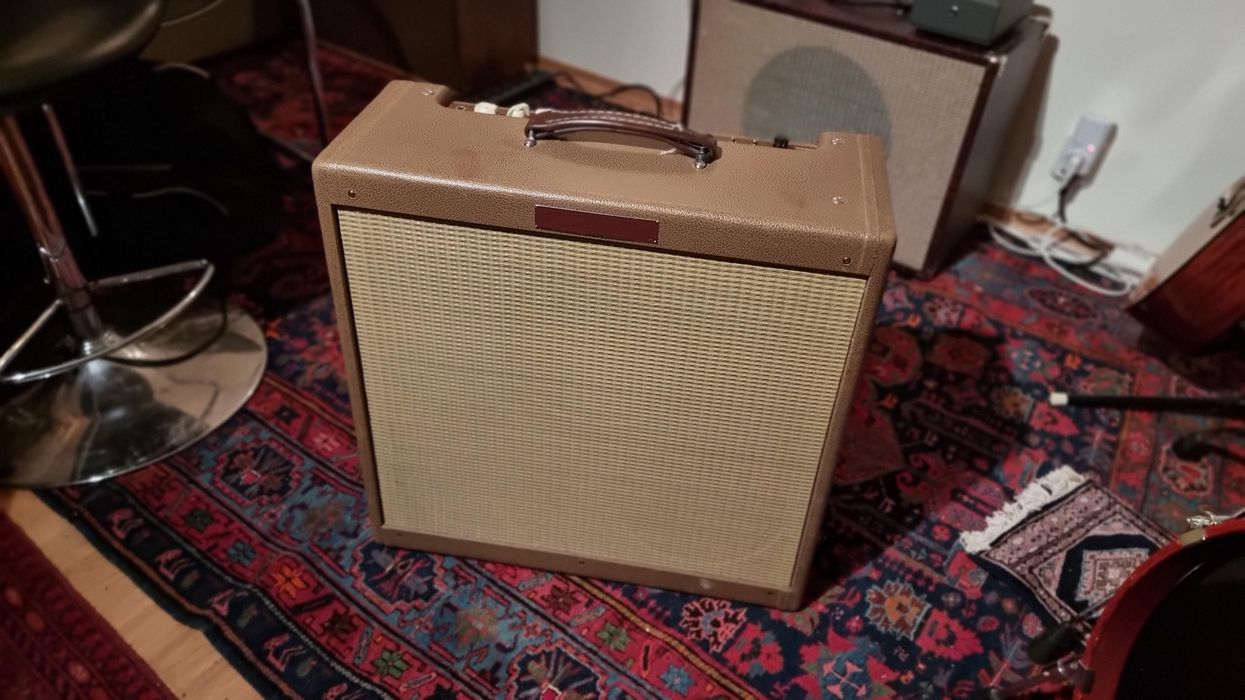
Silver & Black Finding Perfect Tones in Imperfect Amps Your signature Fender sound could be just a tweak or twist away. Jens Mosbergvik Jan 05, 2021
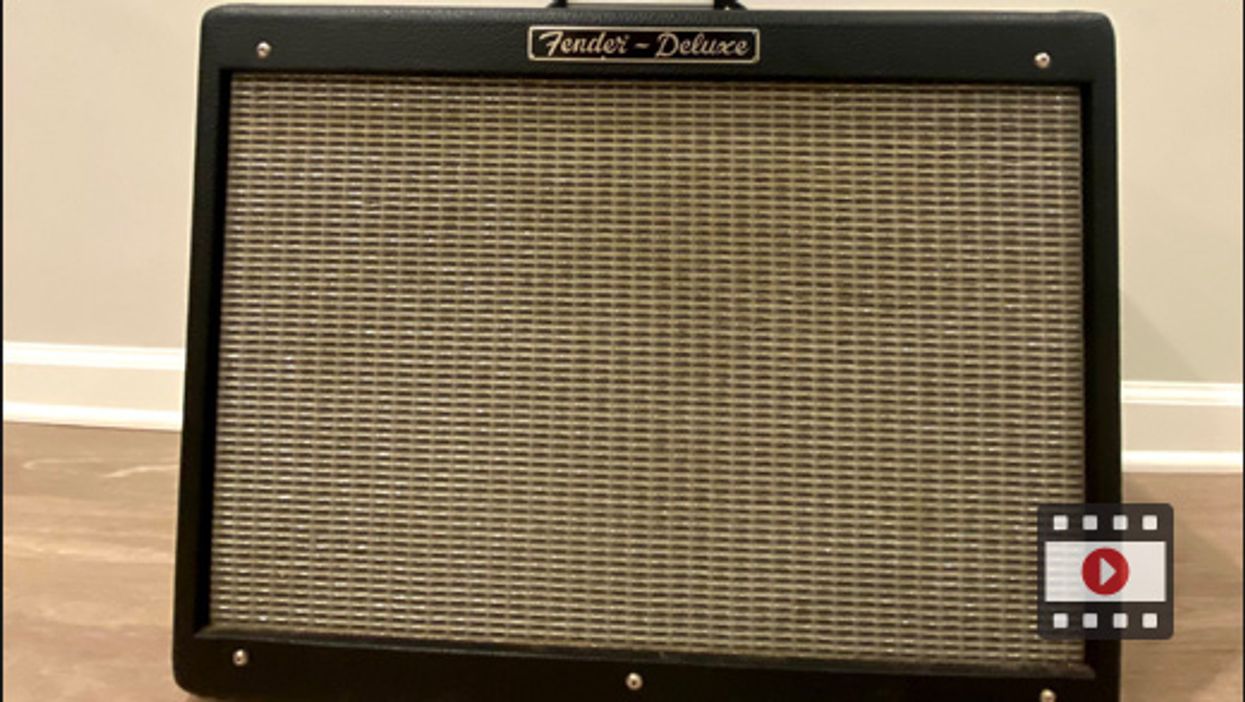
Love and Sockets Tripping the Heavy Fantastic with a Hot Rod Deluxe With Public Enemy, guitarist Khari Wynn uses a Marshall, but a humble Fender workhorse helps carry his own transcendent compositions. Ted Drozdowski Dec 08, 2020
Gear The Saga of the Linda Ronstadt Deluxe How a not-so-special silver-panel amp was transformed into solid gold. Jens Mosbergvik Nov 15, 2020
Gigging Advice Amp Too Damn Loud? Here Are 10 Attenuators That'll Save Your Bacon Cop-call-deterring boxes from Weber, Two Notes, Bugera, Radial, Mesa/Boogie, and more. Rich Osweiler Oct 09, 2020
Silver & Black How to Get Hendrix Tone with Classic Fender Amps How to make a Bassman, Twin, or Super Reverb sound more Experienced. Jens Mosbergvik Aug 24, 2020
Amp DIY To Wreck or to Rock? How to know when a vintage amp is worth rescuing. Tim Schroeder Jul 03, 2020
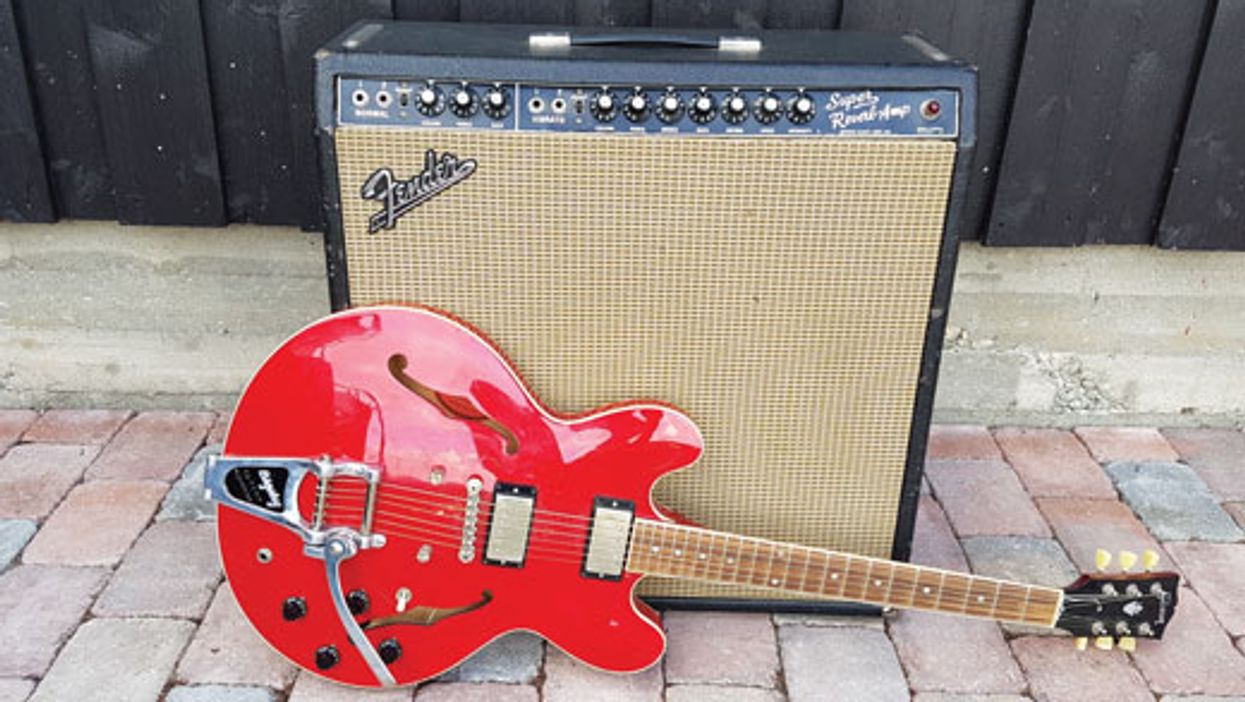
Silver & Black Like Peanut Butter and Chocolate: Classic Guitar & Fender-Amp Pairings Four irresistible combinations every guitar junkie's gotta try. Jens Mosbergvik May 21, 2020