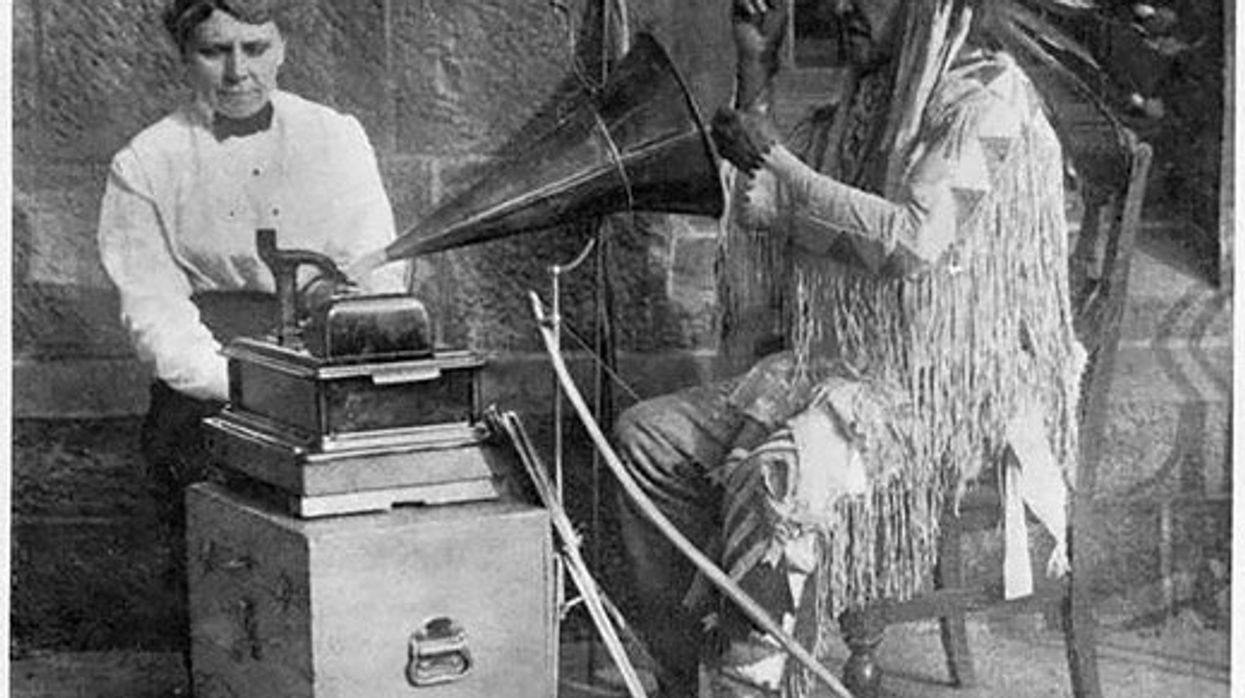
Once used as a way to preserve American indigenous culture, field recording isn’t just for seasoned pros. Here, our columnist breaks down a few methods for you to try it yourself.
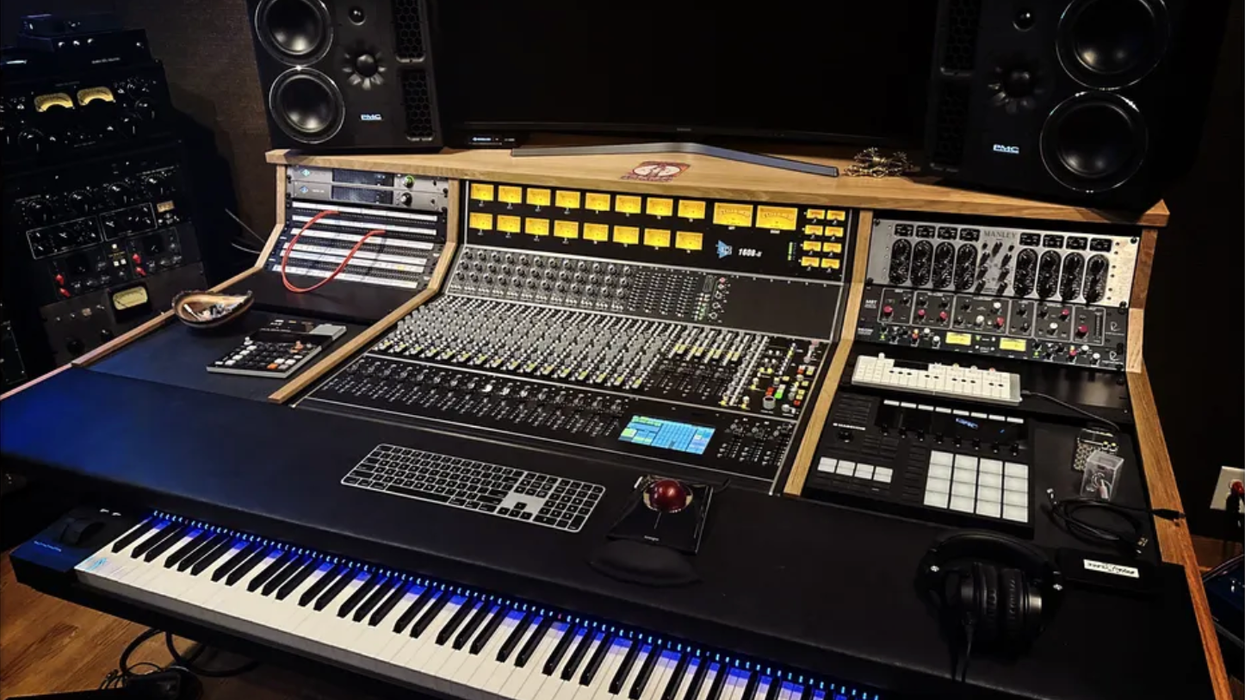
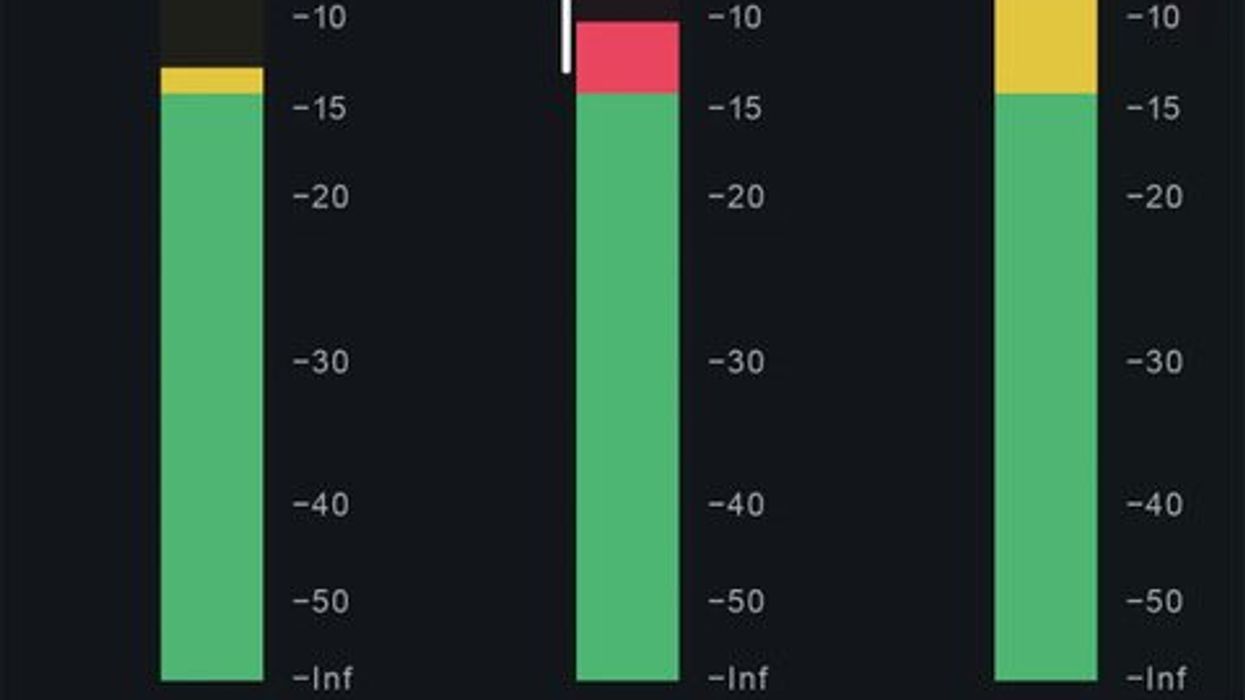
Streaming platforms each have their own volume standards for uploaded audio, and if you don’t cater your mixes to each, you risk losing some dynamic range.
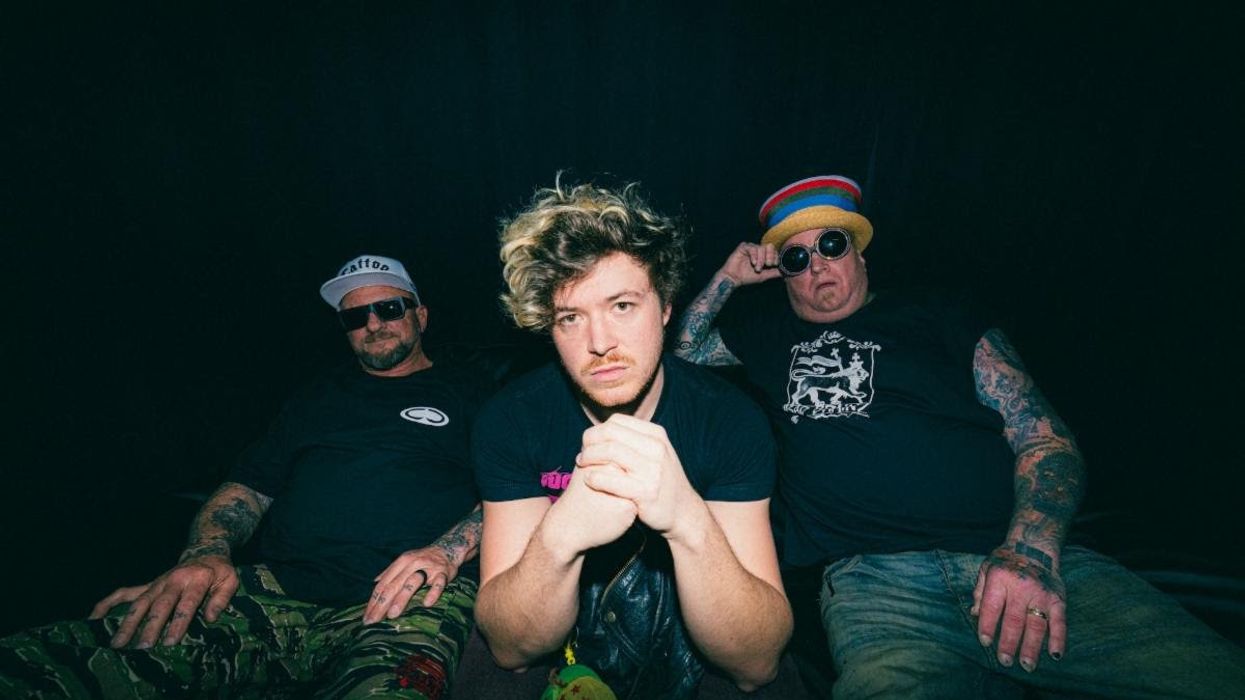
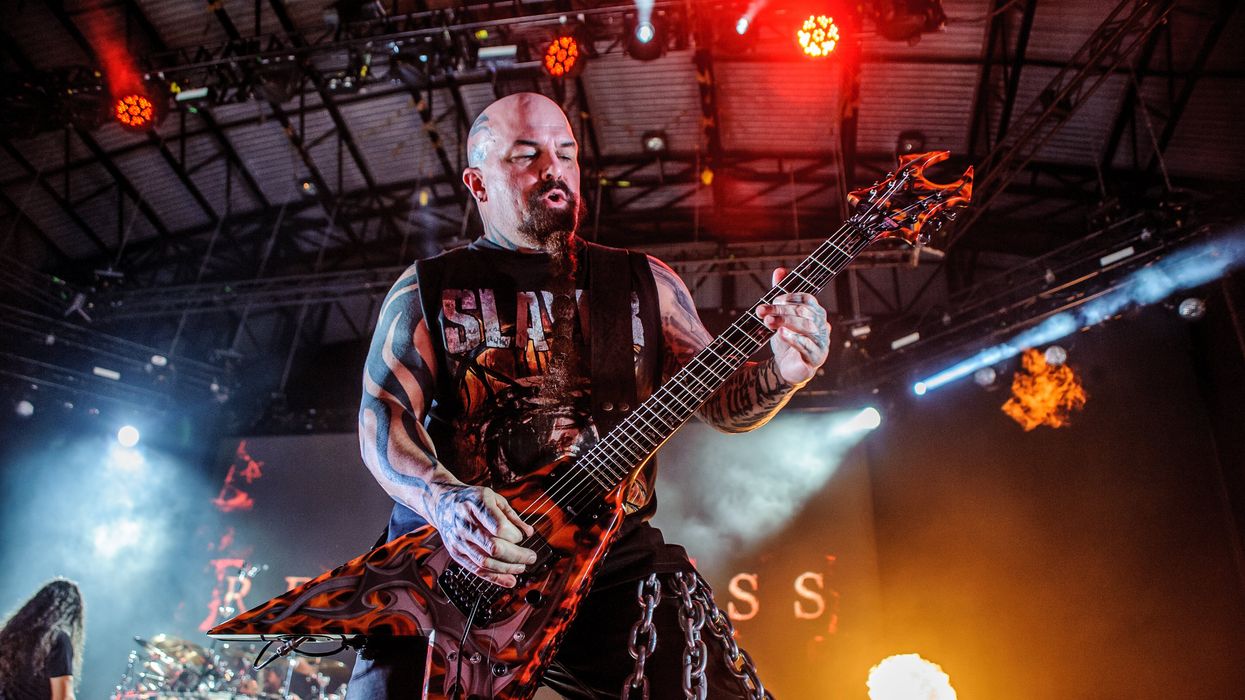
Four and a half years after Slayer’s last performance in 2019, guitarist Kerry King returns to the throne with his first solo outing, From Hell I Rise.
In this edition of Recording Dojo, our columnist sheds light on the differences between decibel measurements, and offers a breakdown of real-life equivalents of basic sound level values.