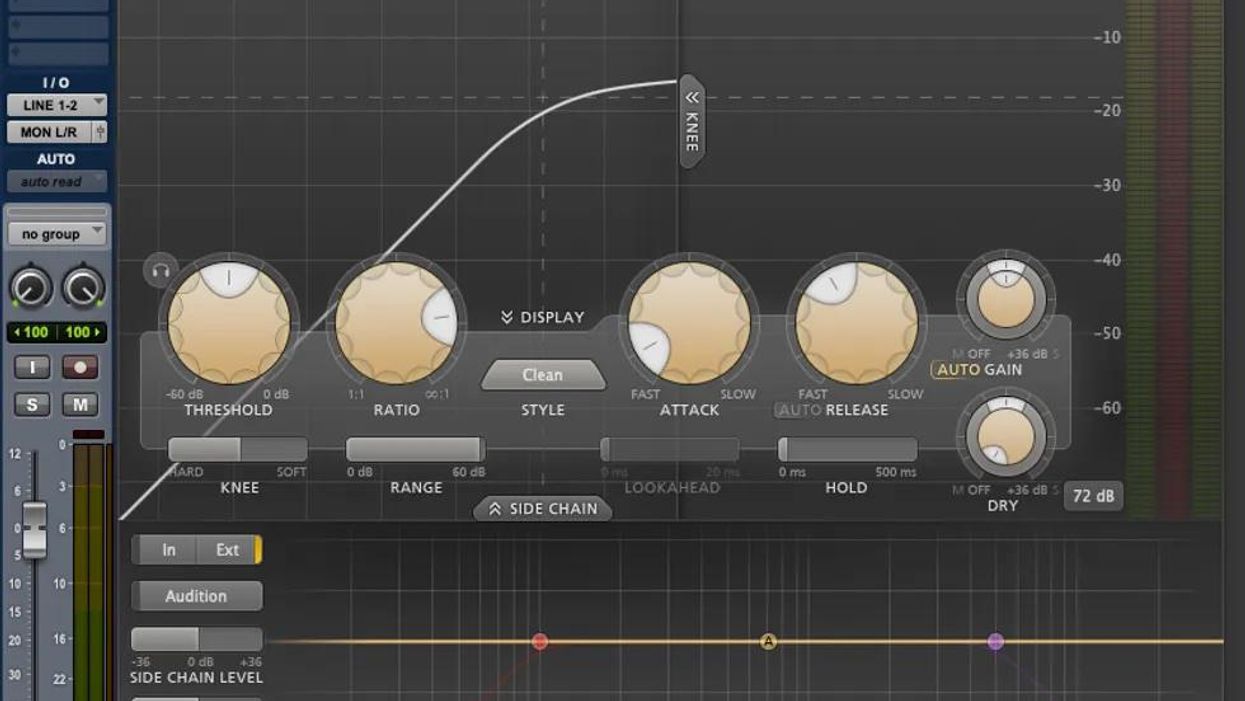
Recording Dojo Recording Dojo: What Is Compression & How Does It Work on Guitar? Bryan Clark Aug 16, 2022
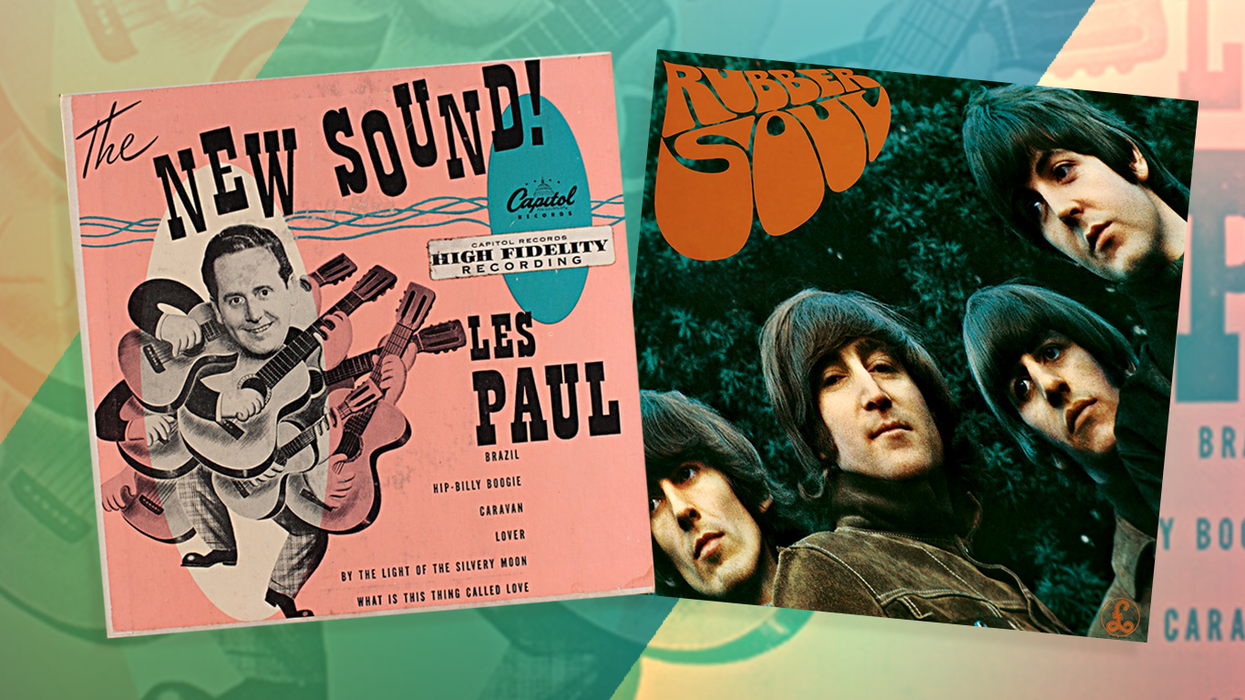
Recording Dojo How Les Paul and the Beatles Transformed Mixes with Varispeed Three steps to exploring the wonders of tempo shifting. Bryan Clark Mar 06, 2022
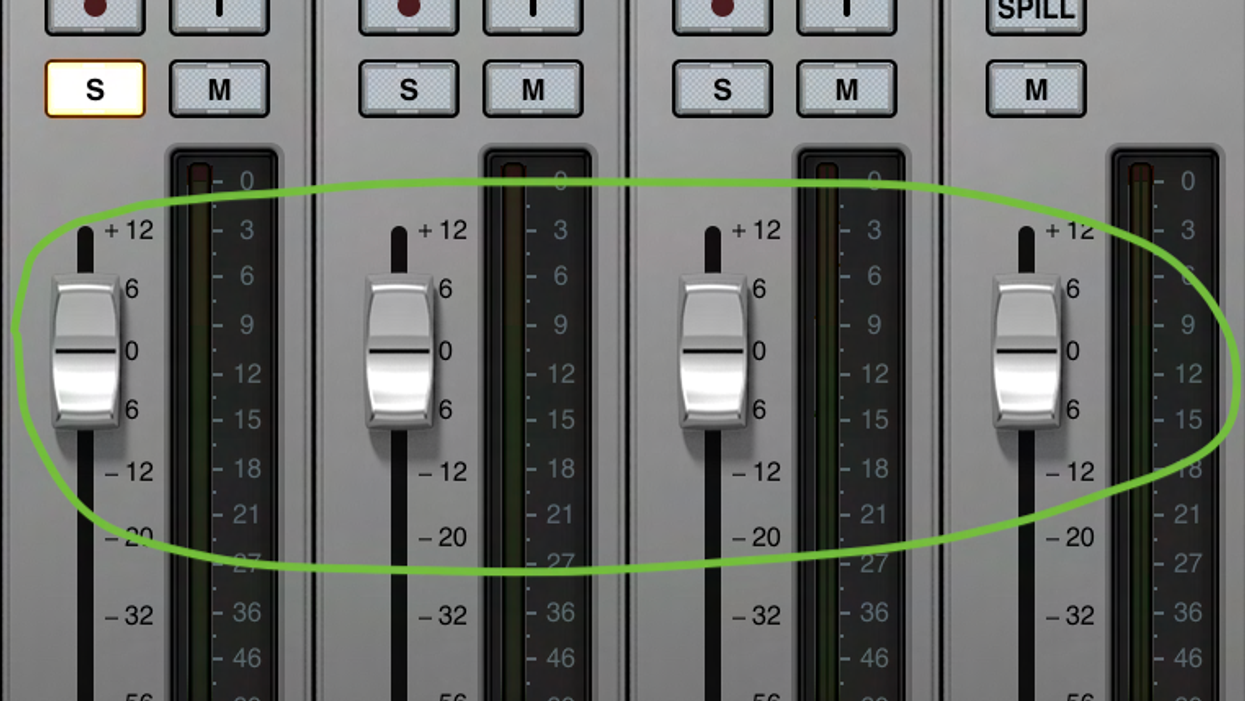
Recording Dojo Three Simple Secrets for Better Mixes Respecting dynamics and artists’ intentions, along with a knowledge of the core sounds of various genres, will propel your journey on the path to enlightenment. Bryan Clark Jan 14, 2022
Recording Dojo Tracking Guitars? Get a Room! How area miking can give your axe new sonic dimension. Bryan Clark Jul 18, 2021
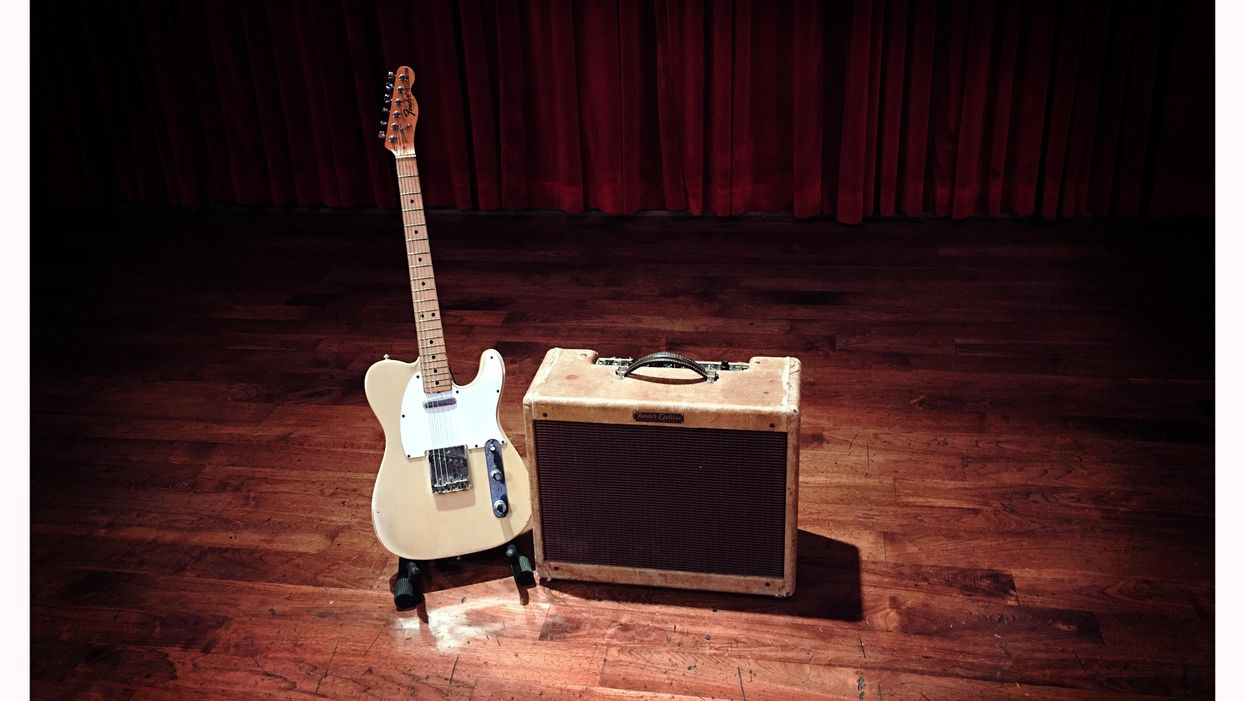
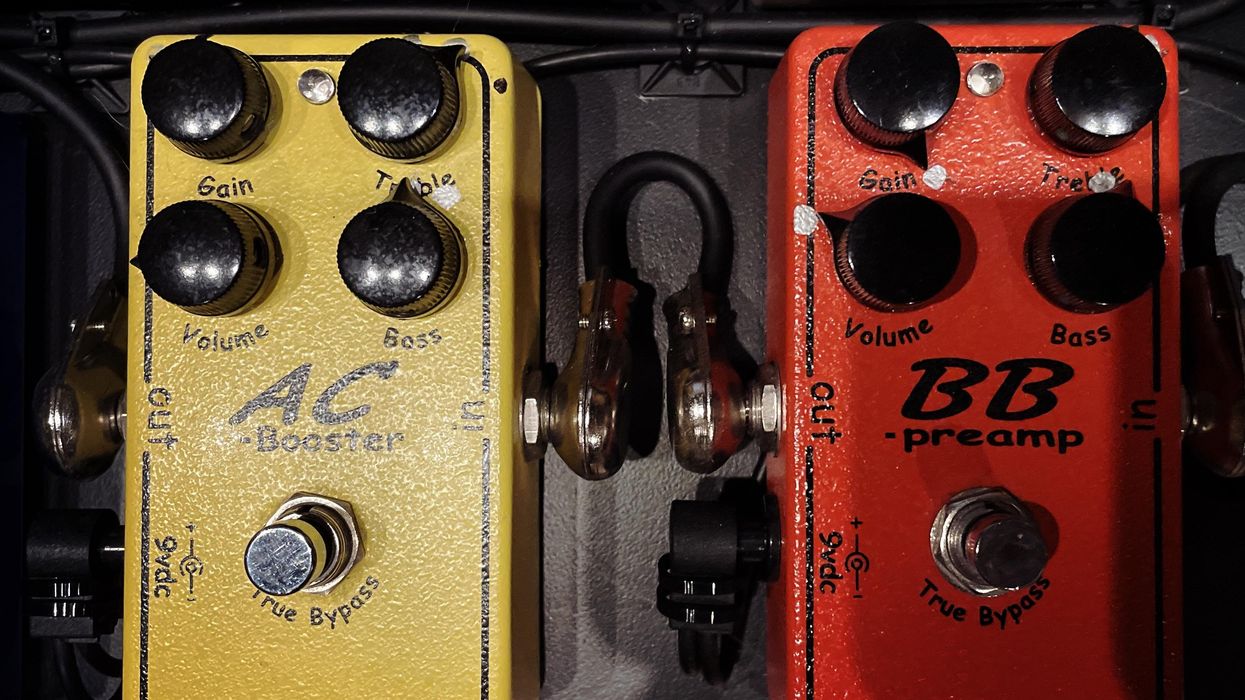
Recording Dojo Gain Staging Pedals for Tracking This simple technique can yield complex filthy tones, but don't lean too heavily on the fuzz. Bryan Clark Jun 21, 2021
Recording Dojo Add Dimension to Your Tracks with the “Haas Solo Effect" Here's how to make your mono-tracked guitar solos—and more—sound larger than life. Bryan Clark May 21, 2021
Joe Gore's Recording Guitarist The Recording Guitarist: Is It a Sin to Scoop Your Mids? Demystifying guitar amp midrange. Joe Gore Aug 31, 2015
Joe Gore's Recording Guitarist The Recording Guitarist: The ABCs of EQ A really quick, really dirty intro to equalization. Joe Gore Jul 30, 2014
Recording Tips The Working Guitarist: All About Impulse Responses Compared to traditional speaker simulators, IRs offer much greater realism and depth. PremierGuitar Default May 29, 2012