Search
Latest Stories
Start your day right!
Get latest updates and insights delivered to your inbox.

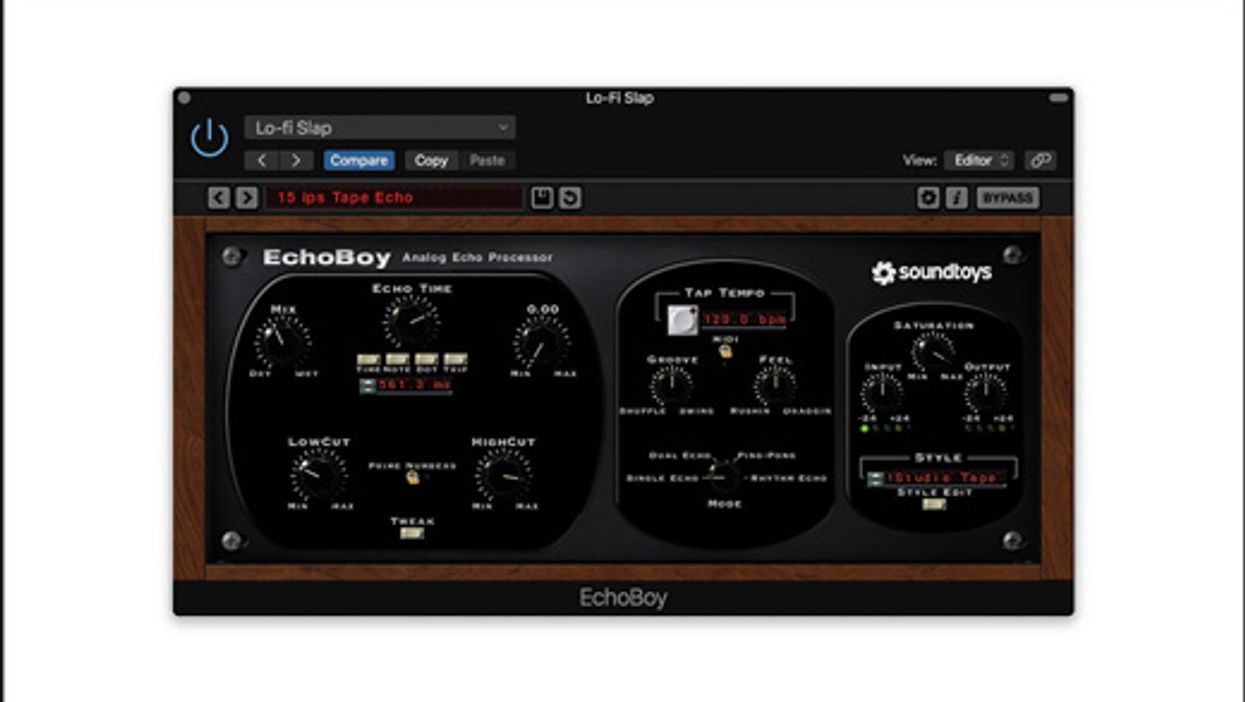
Joe Gore's Recording Guitarist
Joe Gore's guide to recording guitar.

Don’t Miss Out
Get the latest updates and insights delivered to your inbox.
Popular

Recent


load more