
Hello and welcome to another Dojo. This time, I’d like to explain sidechaining and how to use it on different sources for greater control and expressivity. Sidechaining typically involves routing the output of one track to control the dynamic range or volume of another track. Think of old-school radio broadcasts. Remember how every time the DJ spoke the music would “duck” or reduce in volume. This technique made a very quick transition into studio and live recordings, as mix engineers used it as a way to keep the lead vocalist on top of cymbal crashes, guitar solos, horns, background vocals, etc.
You may have also heard this technique in EDM-based music when a synth-bass line pumps (dips and swells in volume) in between each beat of the kick drum. This is what happens when the kick drum is bus-routed into a compressor on the synth-bass track.
Keeping this guitar-centric, sidechain compression can be valuable for many reasons that range from keeping your solo on top of rhythm parts to adding crazy textures to your power chords. You’ll need a compressor plug-in that accepts a side-chain input, and there are many to choose from. I’m going to use Fab Filter’s Pro-C 2 ($179 street), but another great choice is Waves’ Renaissance Compressor ($29.99 street).
Let’s get started. First, create two tracks in your DAW: one virtual instrument track (the source) loaded with a drum kit, and one audio track (the destination) where you will soon record a cool chord progression with held chords (clean or distorted).
You may have also heard this technique in EDM-based music when a synth-bass line pumps (dips and swells in volume) in between each beat of the kick drum.
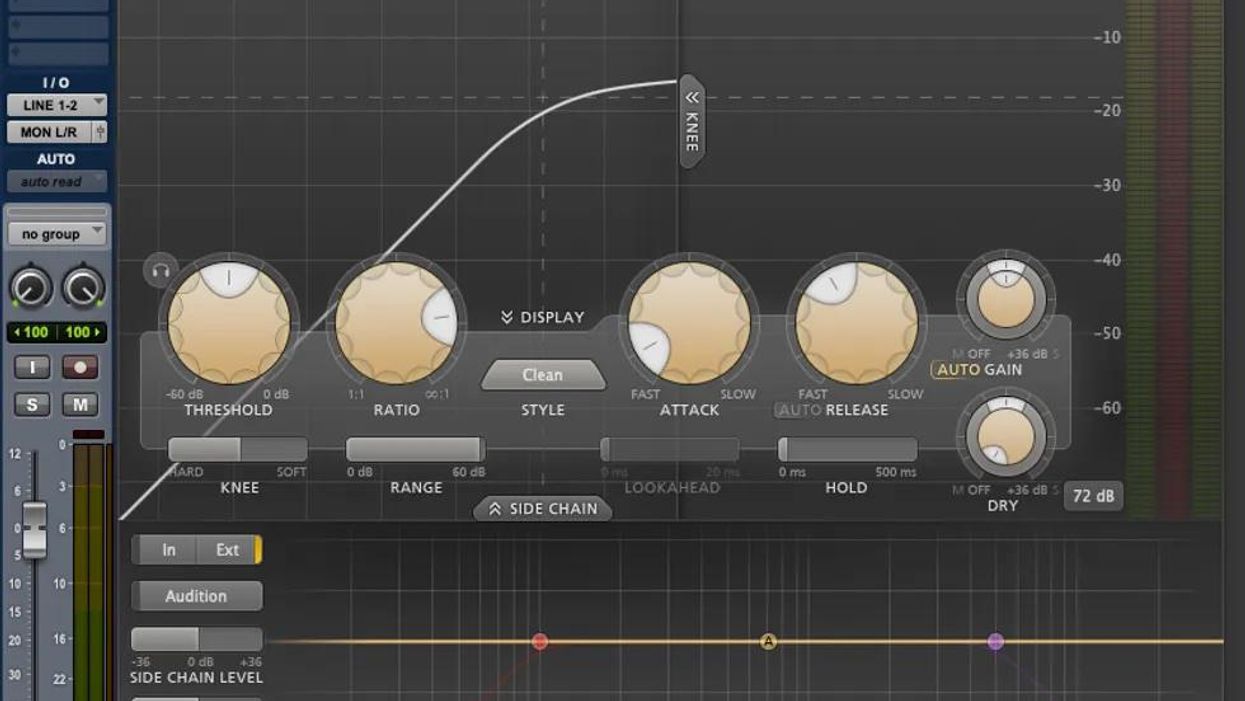
On the instrument track, create a nice drum-kit groove (try something funky or even prog metal). Then, mute all the other parts of your virtual kit except the kick drum (for now) and hit record. Next, record yourself playing that cool chord progression with held chords on the audio track you created. (Play along to an unmuted version of your drum kit groove if you need it to record your guitar part.) Now, insert a compressor capable of sidechaining on this track’s effect insert [Fig.1].
At this point you should have: a kick drum loop on the instrument track and a chord progression recorded on the audio track. The compressor will be on the guitar track only.
Now, the fun begins. We are going to route the output of the drum track to the compressor’s input on the guitar track. Thus, every time the kit drum hits, it will trigger gain reduction on the guitar track.
These days I find myself tracking and mixing in at least two different DAWs, and every DAW has slightly different ways to do sidechain compression. This time, I’m going to use ProTools since it has been around the longest and (like it or not) is what most professional recording studios continue to use. There’s excellent intel for non-Pro Tools users at Fab Filter’s website support page, with directions for Studio One, Logic, Cubase, and Ableton.
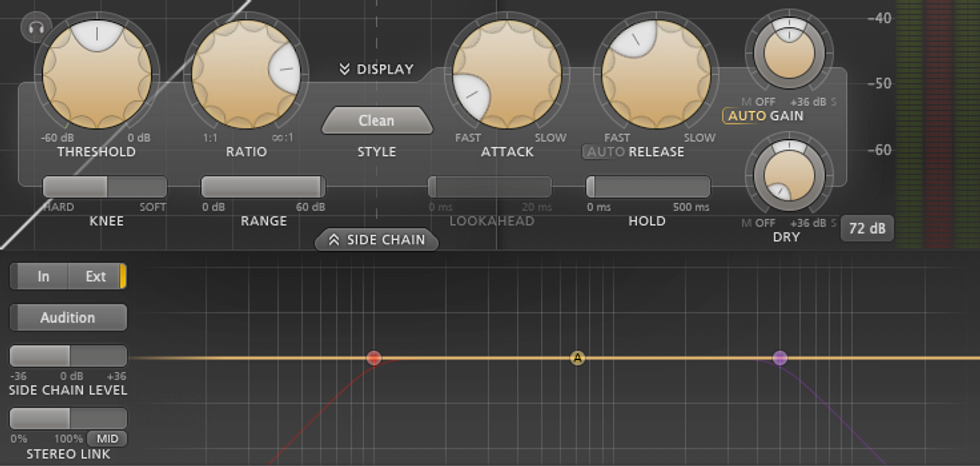
Fig. 2
In Pro Tools, open the FabFilter Pro-C 2 that you’ve placed on your guitar track earlier. Click the sidechain window button at the bottom [Fig.2] and set sidechain from internal (In) to external (Ext).
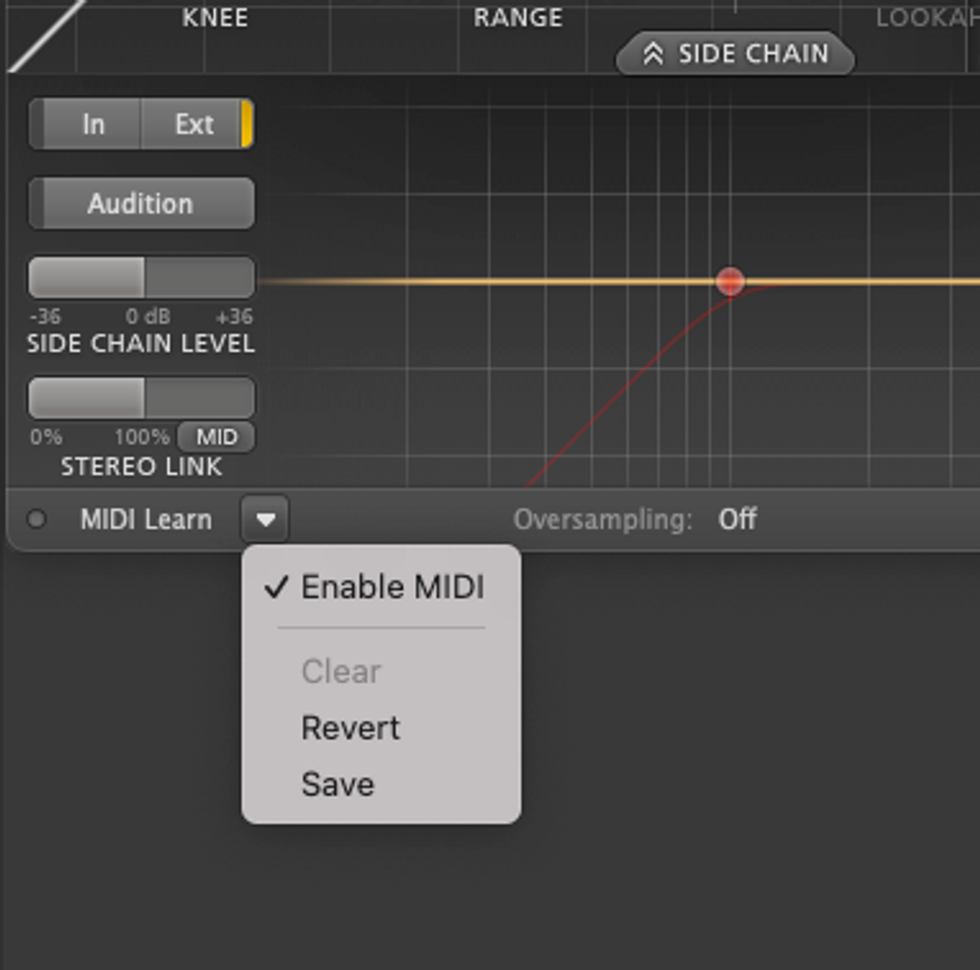
Fig. 3
Now select the triangle next to MIDI Learn and make sure Enable MIDI is deselected [Fig.3].
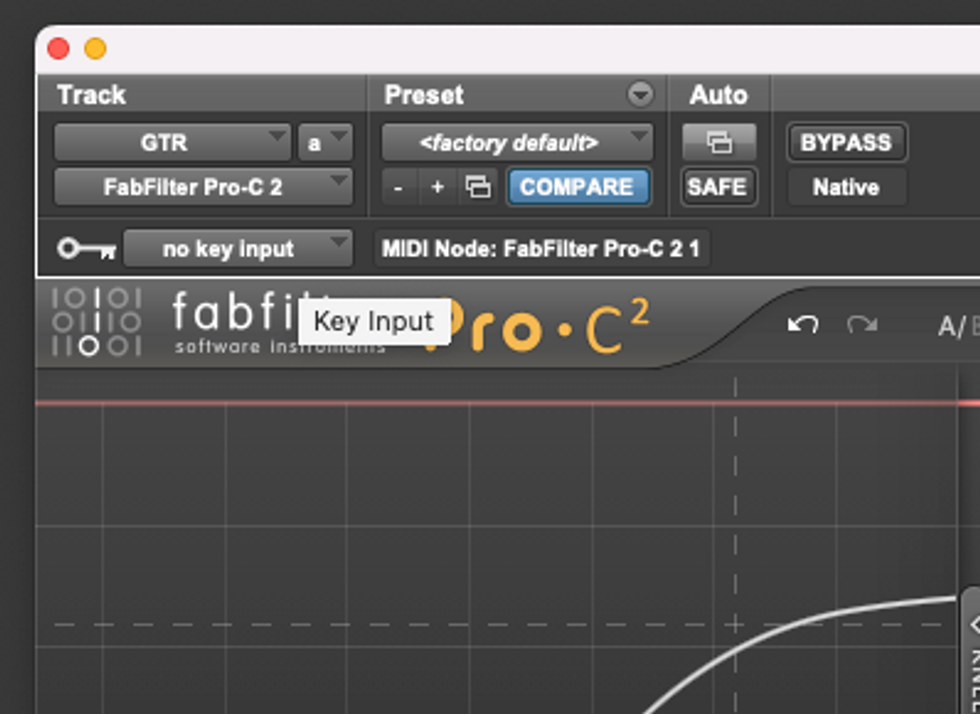
Fig. 4
Next, in the key input menu of the plug-in interface, which is just above the FabFilter logo [Fig.4], choose Bus 1 instead of the default no key input. The compressor is now looking for an external source to trigger compression.
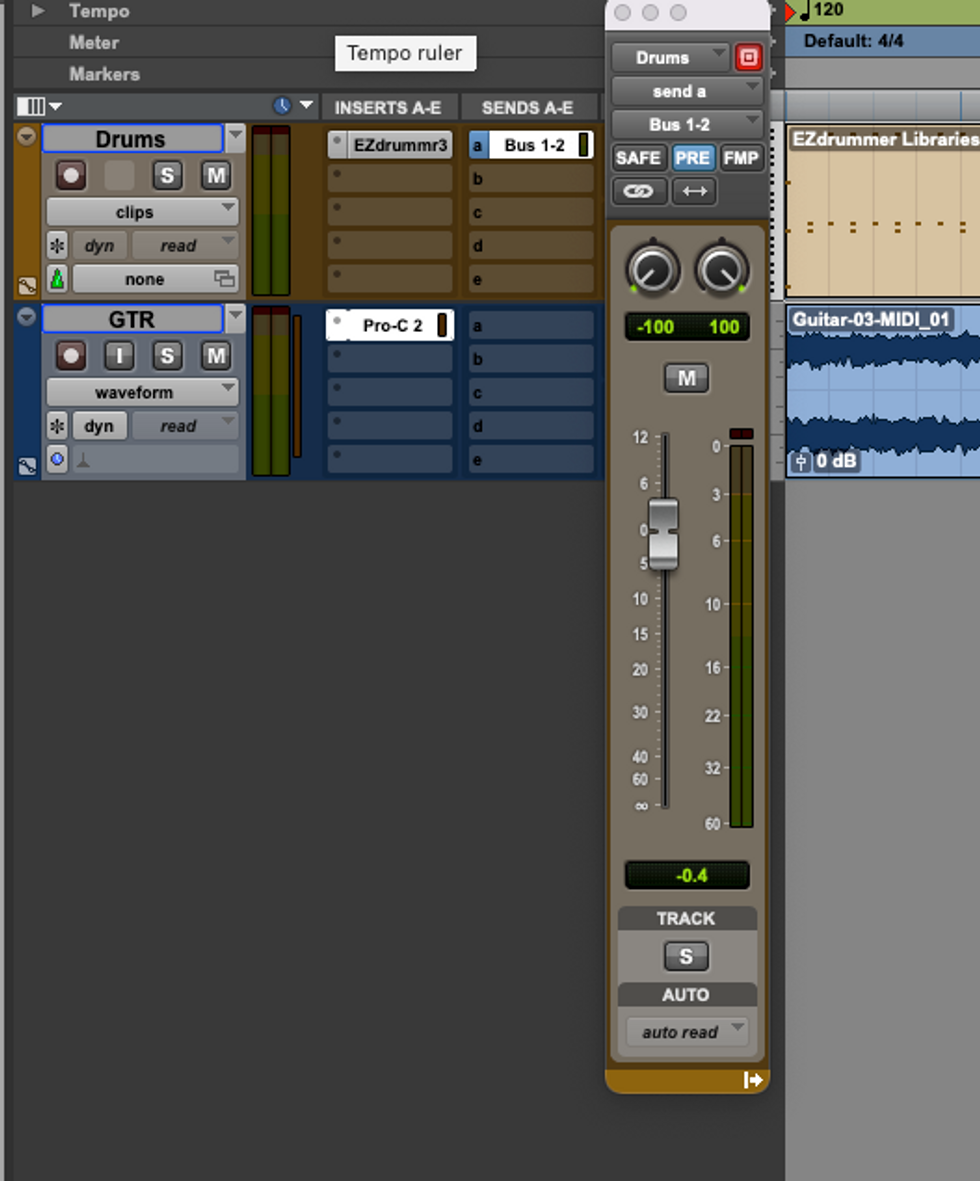
Fig. 5
Now, let’s bus-route the drum track to the guitar track’s compressor. In the sends slot of the drum track, select Bus 1. The bus view window for Bus 1will pop up: set its level to 0.0 dB (so it will send audio signal to the compressor) and select ‘PRE’ (pre-fader) [Fig. 5]. You’ve now routed the audio (using Bus 1) from the drum track to the compressor’s side chain input on the guitar track.
If you mute the drum track, you’ll be able to hear how it is affecting the guitar track. Now you can play with the threshold, attack, ratio, and release. Start with a quick attack (.010-.025 ms), a low threshold, and a fast release time (75-200 ms), then adjust to taste. The right release time depends upon the tempo of the song. Ideally, you want the compressor to be fully reset before the next kick drum hit.
Now that you understand sidechaining, you can experiment with other effects like sidechainable gates, EQs, and delays. More on that next time. Until then, keep experimenting! Namaste.