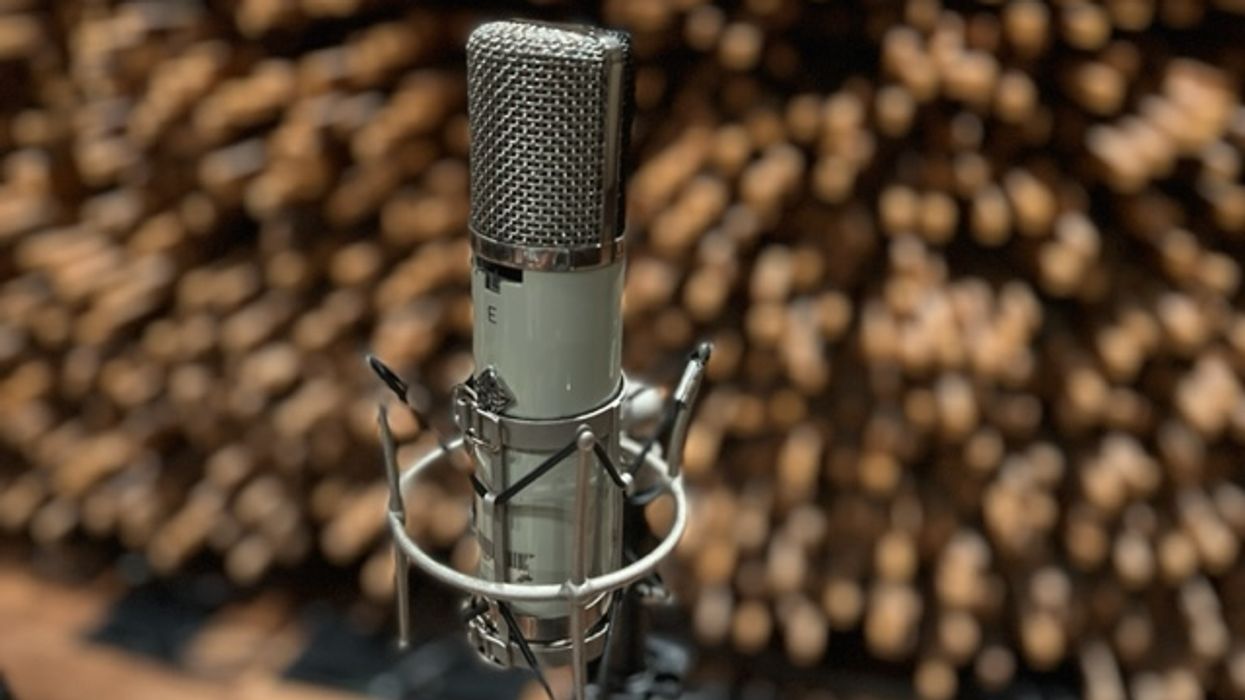
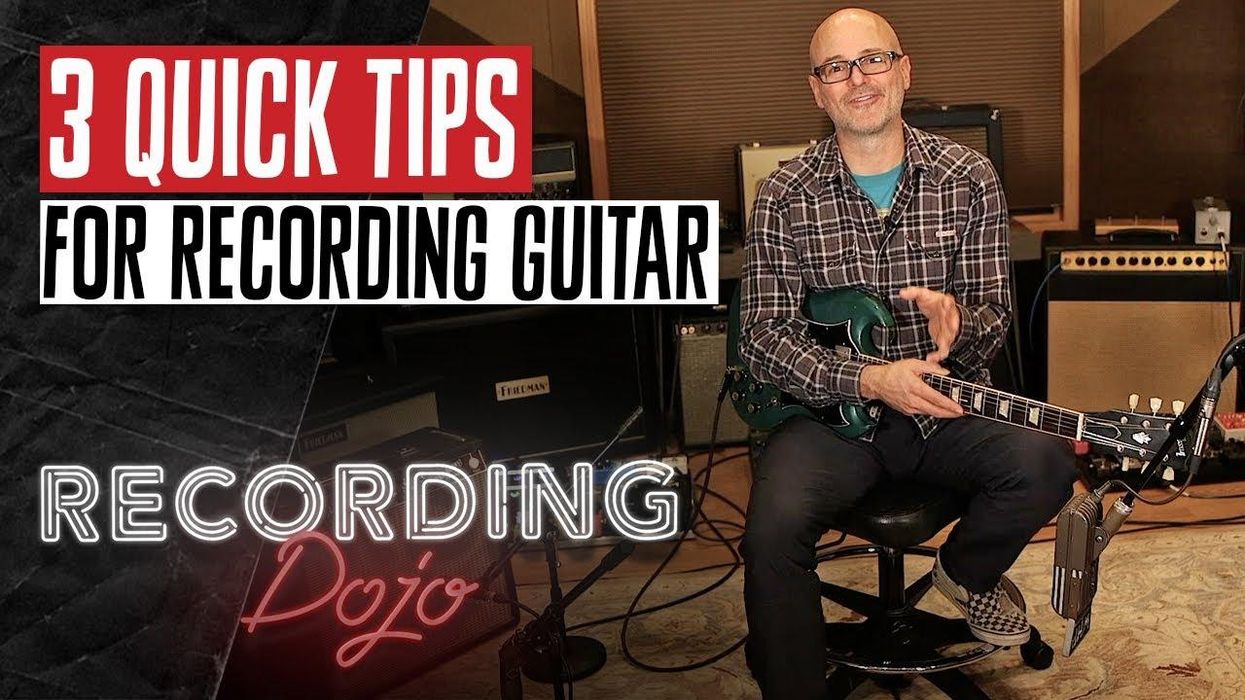
Recording Dojo Tracking Guitars? Get a Room! How area miking can give your axe new sonic dimension. Bryan Clark Jul 18, 2021
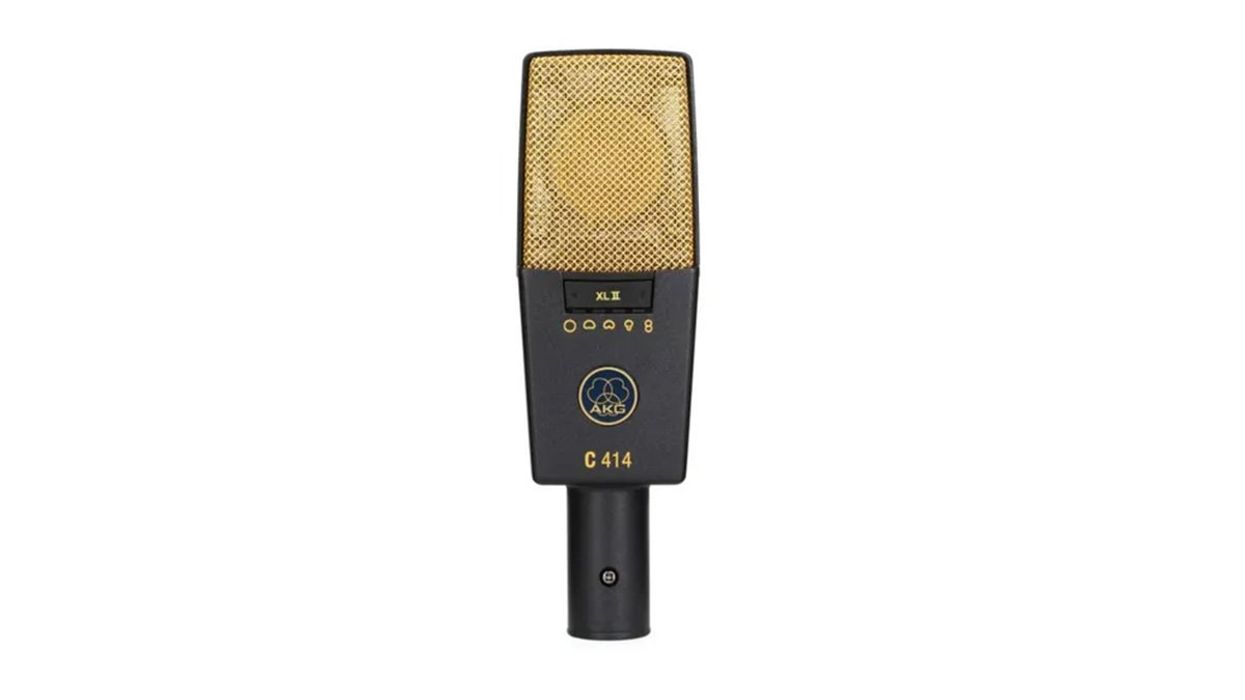
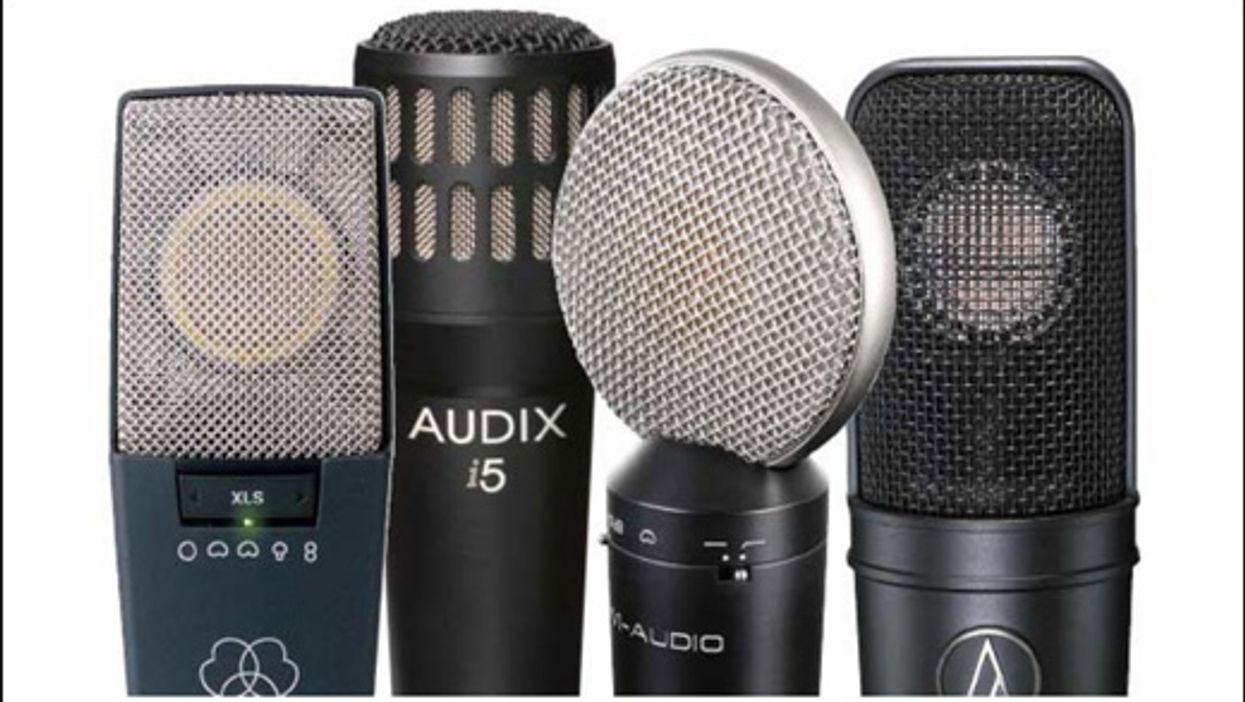
Recording Tips 18 Cab Mics You Should Meet From $99 to $4000, we look at 18 tools for micing your cab. Rich Tozzoli Pete Moshay Feb 15, 2009
New Instrument Mic Geared For Surround Sound Soundfield’s New DSF-1 Music Surround Mic System Premier Guitar Aug 08, 2007
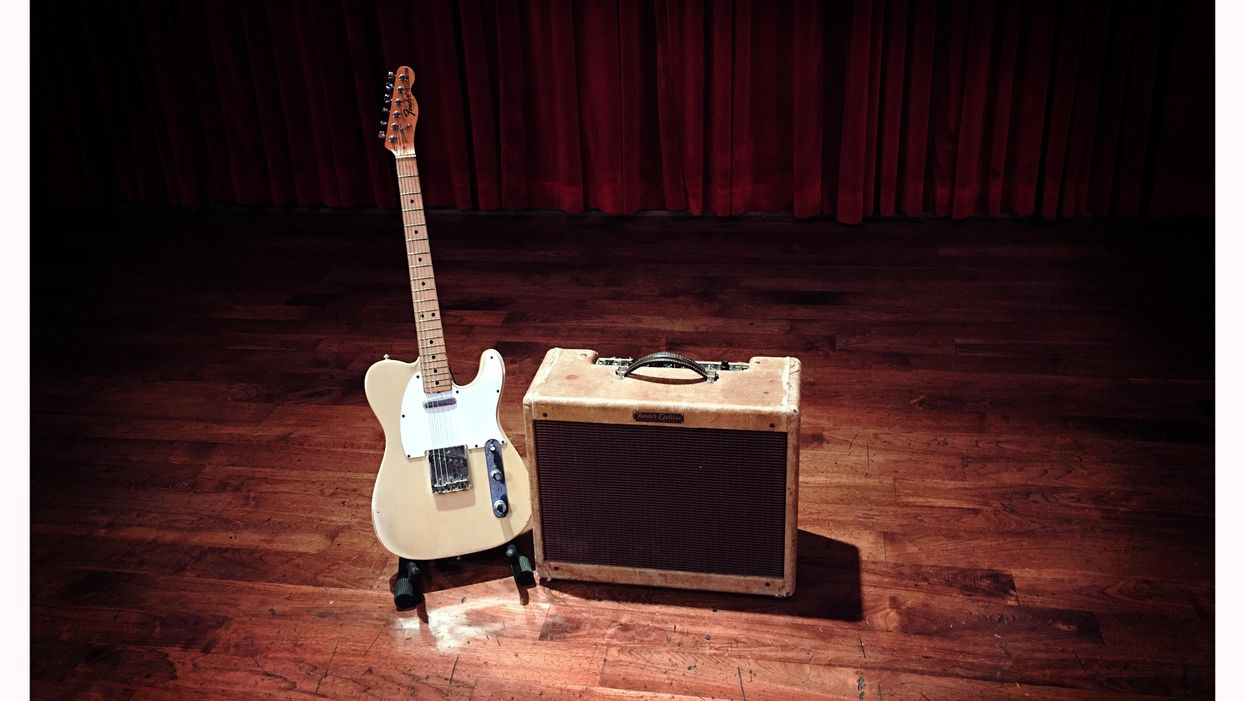
No-Hassle Taped Tone I most always use two mics on a guitar amp, be it a single speaker, 2x12 or 4x12 cab. This way, you can either pull up each individually or blend the two together for a variety of sounds Peter Stroud Apr 11, 2007