Both the type of delay you're using and whether your amp is equipped with an effects loop can have a huge impact on how good your echoes sound in the final mix.
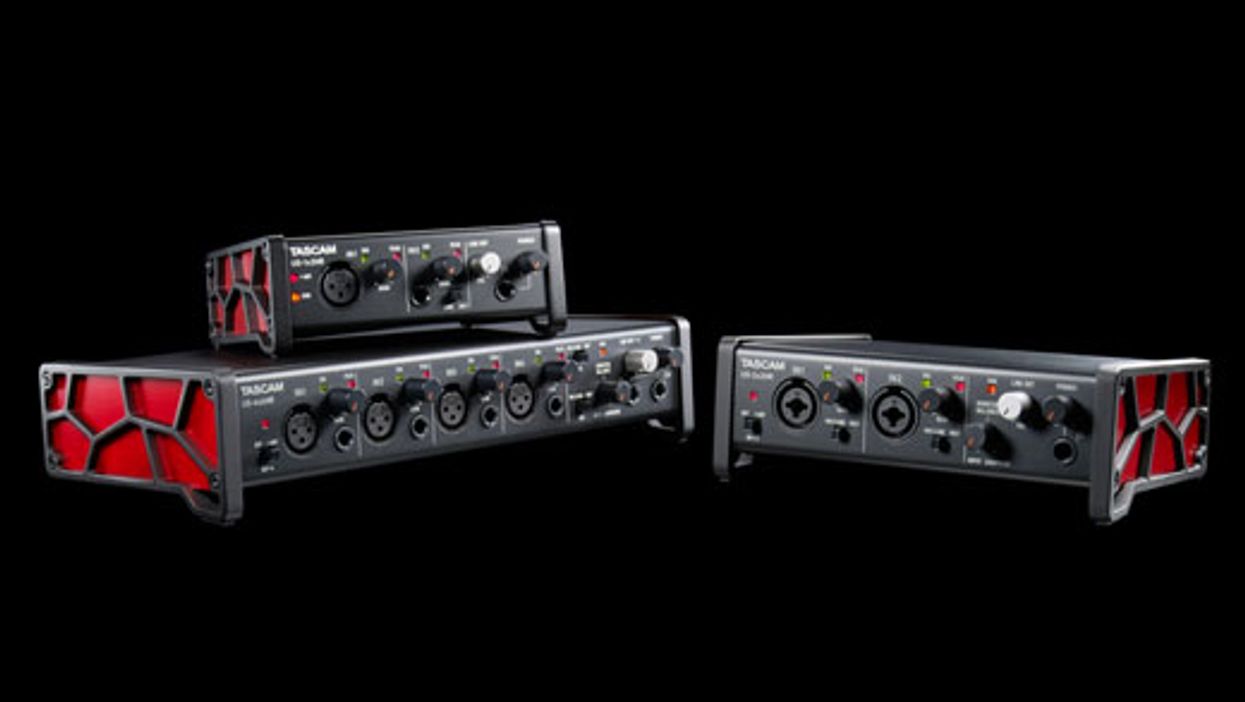
The digital-recording outfit's latest features a Rupert Neve-designed preamp, a Z-Tone impedance-adapting circuit for transforming your guitar's voice from single-coil-like to humbucker-esque (or vice versa), and Amp Out jack, and a host of free software, including AmpliTube 4 Deluxe.
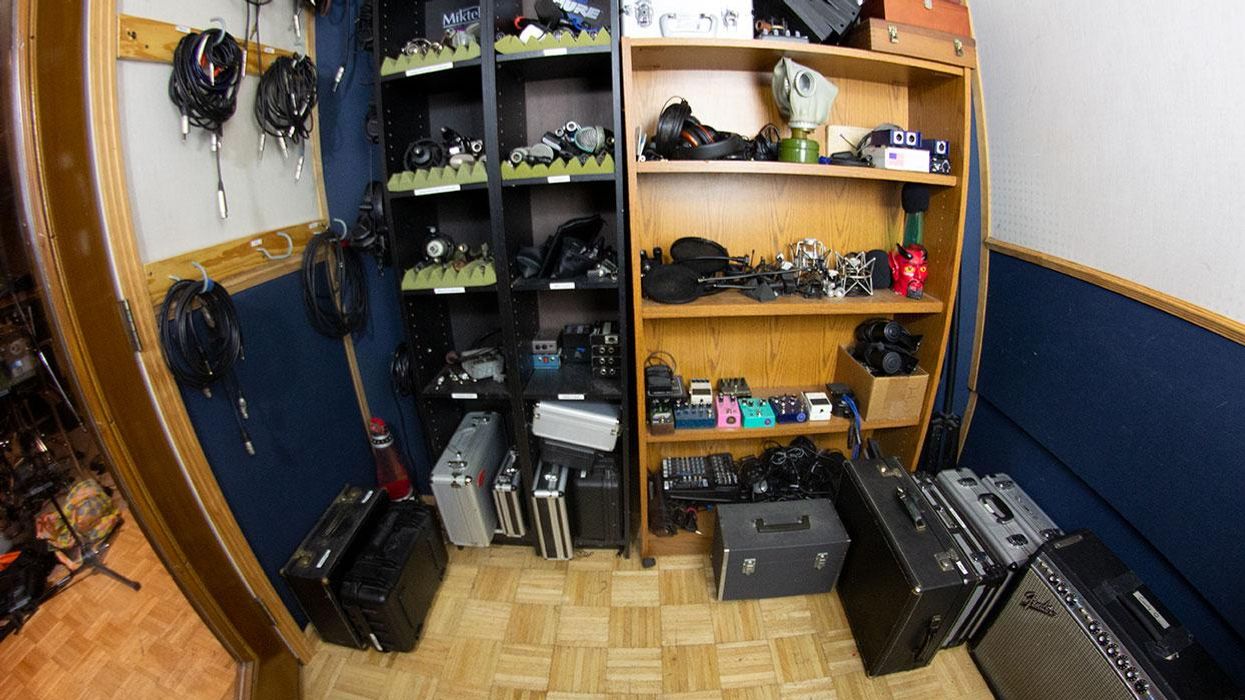
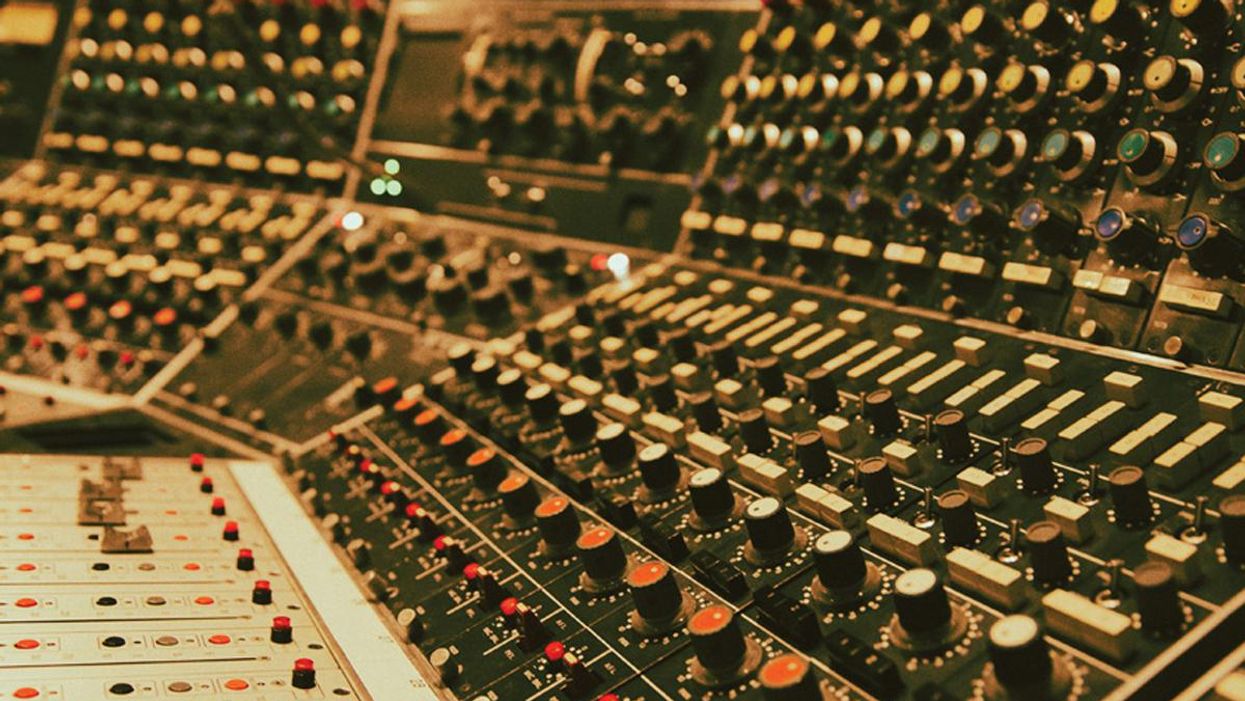
Bryan Clark, one of the top engineers/producers at Nashville's famed Blackbird Studio, walks you through common tracking pitfalls and shares his list of essential gear for budding home studios.