No-Hassle Taped Tone
 Last month, I filled you in on my home recording “studio.” It’s really more of a workstation since I haven’t built an acoustically treated studio with soundproof booth or proper control room – it’s simply a desk in a nice-sized basement that at least has enough acoustic treatments to isolate it enough from the rest of the house. There is enough room in my space for creative miking and the room sounds inherently good. This month, I’ll share a few ways to get excellent sounding guitar tones “to tape.”
 I most always use two mics on a guitar amp, be it a single speaker, 2x12 or 4x12 cab. This way, you can either pull up each individually or blend the two together for a variety of sounds. When the mics are placed properly, the blend can result in a massive sound, much bigger than a single mic that only captures a certain sonic range.
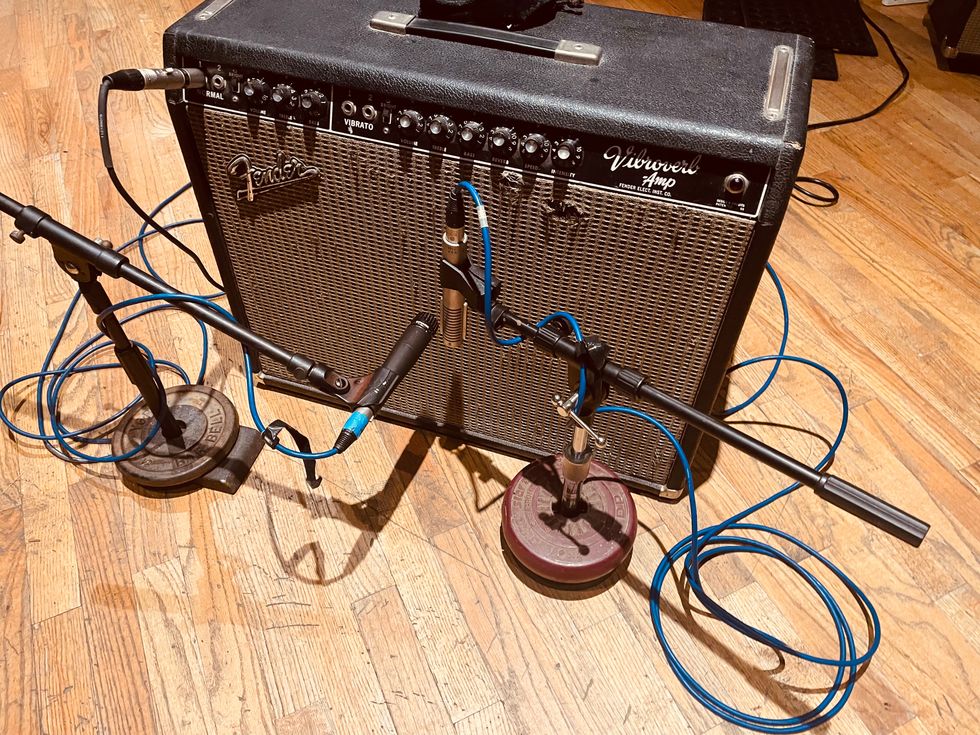
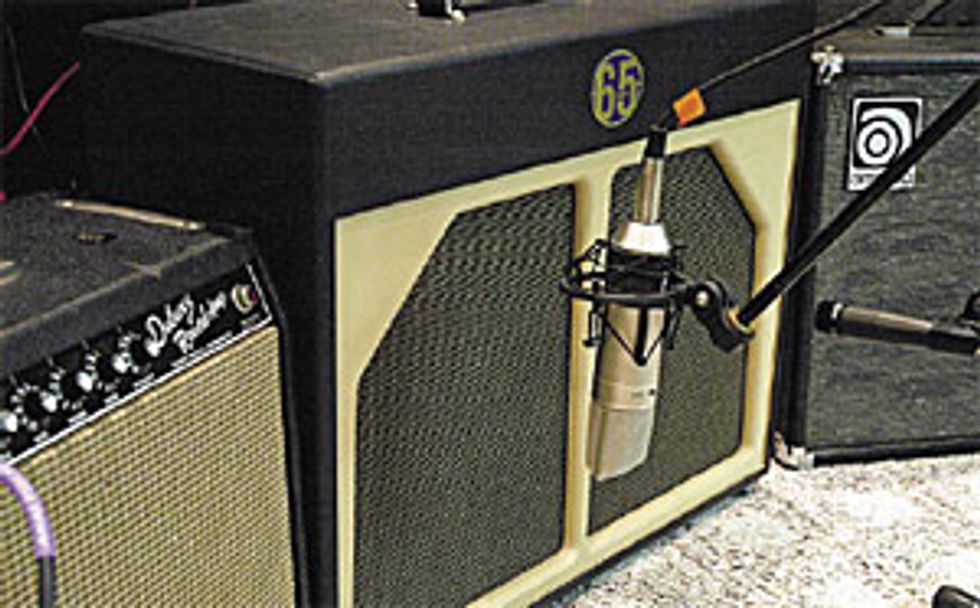
I’ll use two different microphones – a large capsule condenser Rode NT-2 (with the -10db pad on) and a Shure SM57. It’s important to place both mics the exact distance from the speaker to help avoid phase cancellation – but most of the time, two different mics’ sonic qualities will not fight each other.
Here’s a trick I use that works almost every time for getting the guitar to sound nearly identical to what I’m hearing standing in front of the amp.
- Using two mics, place the first mic in front of a speaker – usually about 6” off the grill and a little off center from the speaker cone.
- Turn up your guitar amp to a high level where there is a lot of hiss and hum. If you need to generate more white noise-sounding hiss, kick on a distortion pedal or other noisy stomp box. Make sure your guitar is not plugged in or the volume is off!
- Crank up the input gain on the console, input monitor or the track you’re recording, to where the amp hiss is loud and very present through your monitors. For even further ease, bring up the hiss level in your headphones, with a long cord so you can reach the amp and microphone – but only after you’ve checked your levels and made sure your guitar is off!
- Stick your ear in front of the amp, move the mic around a bit and listen closely to the noise. Listening through the headphones, move the microphone around, finding the sweet spot until the hiss sound you’re hearing through the mic, monitors and headphones sounds as close as possible to what you’re hearing with your ears in front of the speaker. Repeat the same with the second mic.
- Turn the tracks, channels, input gain and amp back down! Voilà. Crank up your guitar and play. Nine times out of ten it’s automatic tone, ready to record. Pull up each mic channel, compare and blend. Most of the time the combined sum of both mics will be about a third louder than each mic individually. I’ll usually record both mics to separate tracks and do a sum mix later.
- From there, I usually add very light compression, just enough to enhance the overall tone and slightly accentuate pick attack and lighter dynamic playing. Try a 2:1 to 4:1 Compression ratio, with the Attack open enough to hear the pick and a longer Release, so it’s not breathing.
There’s tons of stuff to try. Hope it helps and blast away!
Peter Stroud, Sheryl Crow Band
65amps/co-founder
65amps.com