www.youtube.com NAMM Aguilar Unveils Tone Hammer 210 Combo and New Pedals | NAMM 2026 PG Staff Jan 23, 2026
youtu.be First Looks First Look: AFX Mini Series: AcoustiVerb, Pro EQ & Broken Record John Bohlinger Jun 02, 2023
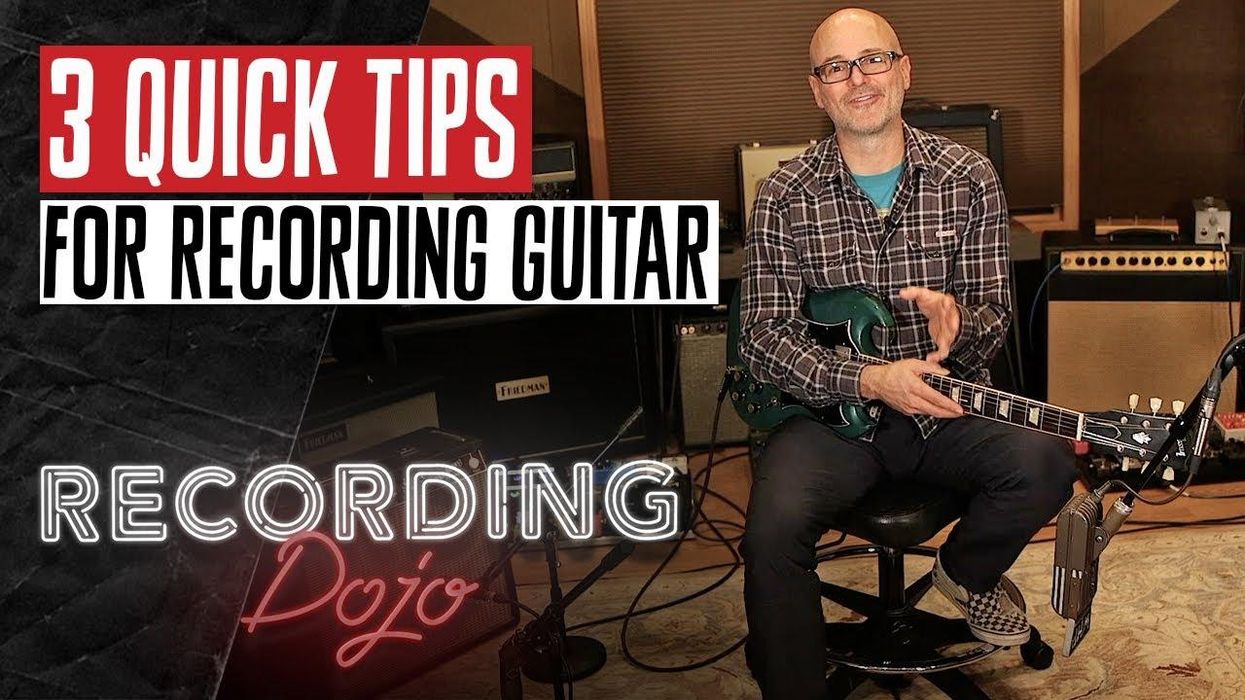
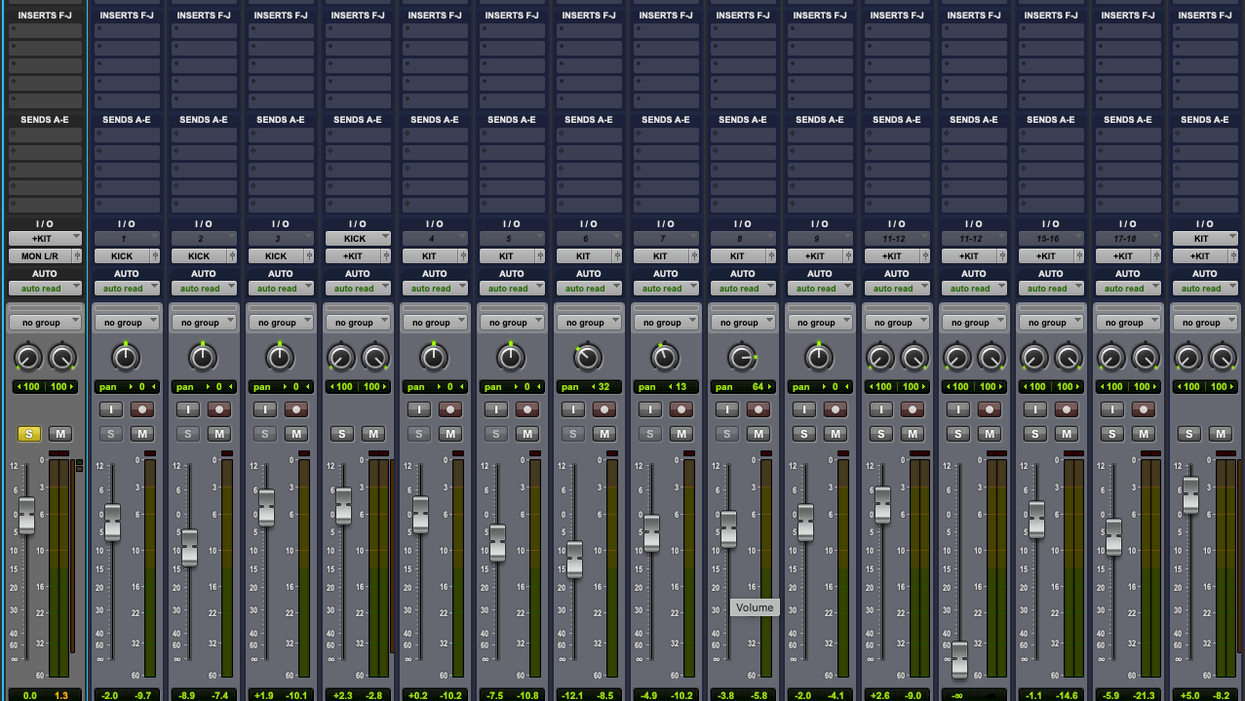
Recording Dojo Three Quick Tips for Recording Guitar Free your microphone placement and gain structure, and your EQ and compression will follow. Bryan Clark Nov 14, 2022
Reviews API TranZformer GTR Review A powerful tone-carving tool that helps you transform a tired sonic recipe fast. Charles Saufley Apr 18, 2022
Reviews Source Audio Ultrawave Review Could this distortion machine be too powerful for its own good? Jason Shadrick Aug 30, 2021
Reviews Orange Acoustic Pedal Review Streamlined simplicity makes acoustic sound sweetening a piece of cake. Charles Saufley Jun 13, 2021
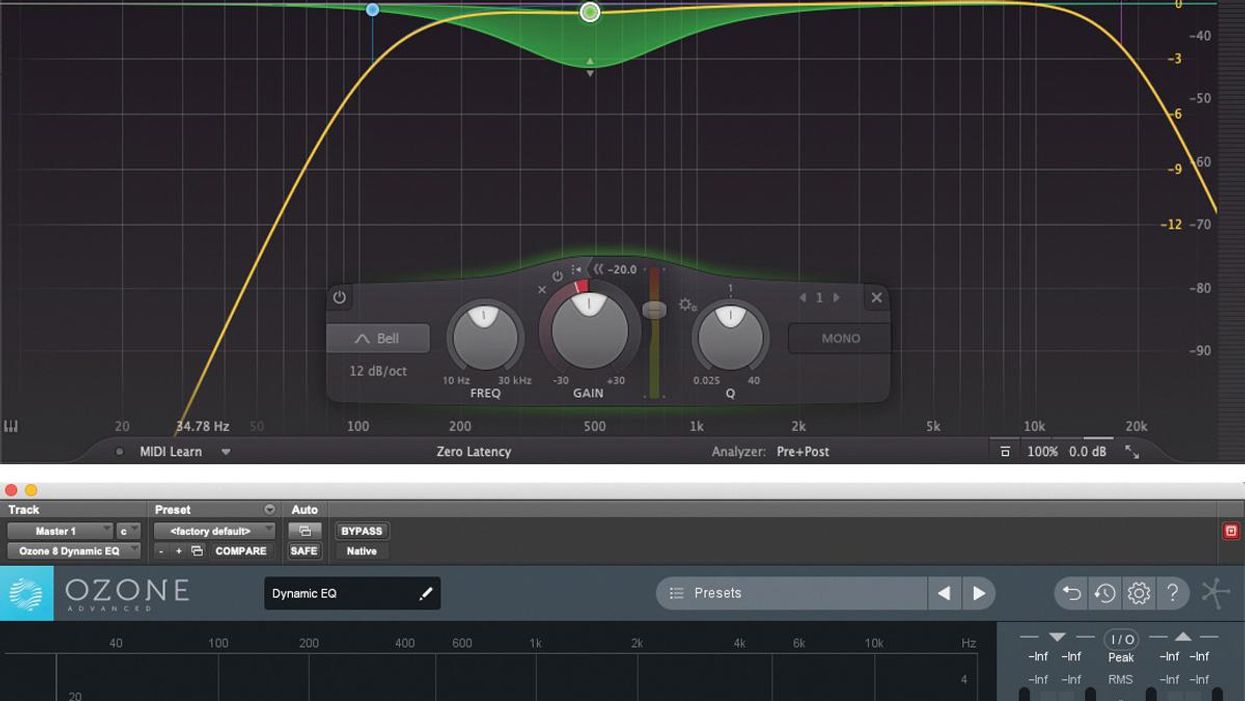
Recording Dojo Recording Dojo: How to Fix Ice-Pick-in-the-Forehead Tone, Pt. 2 Bryan Clark shares pearls about deploying multiband compressors as sonic superglue—a sequel to last month's pointers for dynamic EQs. Bryan Clark Apr 23, 2021
DIY Recording Dojo: How to Fix Ice-Pick-in-the-Forehead Tone, Pt. 1 Want to surgically fix that "ice pick in the forehead tone?" Check into dynamic EQ. Bryan Clark Mar 26, 2021


![Rig Rundown: Emily Wolfe [2023]](https://www.premierguitar.com/media-library/image.jpg?id=41738060&width=1245&height=700&quality=70&coordinates=0%2C0%2C0%2C0)