
Welcome back, everyone. Last time, I shed some light on using a dynamic EQ rather than a multiband compressor. There are many similarities on the surface, but people use them interchangeably with brazen ignorance of what they're designed to do. If you ever have to replace a bolt (say, from your amp chassis or a rackmounted piece of gear), you measure the diameter and length of the bolt, head down to your local hardware store, buy a replacement, and drive home. Only, after several failed attempts to replace the bolt, you might discover that you didn't get the right thread count and it will not screw in under any circumstances. What I'm saying is: Attention to detail matters. Especially in audio, where the difference between a good mix and a great one lies in your choosing the right tool for the job. The Dojo is now open, so let's begin.
If you missed last month's Dojo, I encourage you to read it first. Let me briefly recap the difference: A dynamic EQ is a robust EQ with some limited built-in compressor capabilities, and a multiband compressor is a full-fledged compressor with the generic ability to EQ areas of the audio spectrum. If you keep that distinction in your mind, you make better mixing choices.
In audio, the difference between a good mix and a great one lies in your choosing the right tool for the job.
While a dynamic EQ shines on individual tracks for its ability to isolate problem frequencies and tame them, a multiband compressor is really at its best when used on summed groups of tracks (like sub mixes, an aux bus, and routed track folders) in your DAW or console.
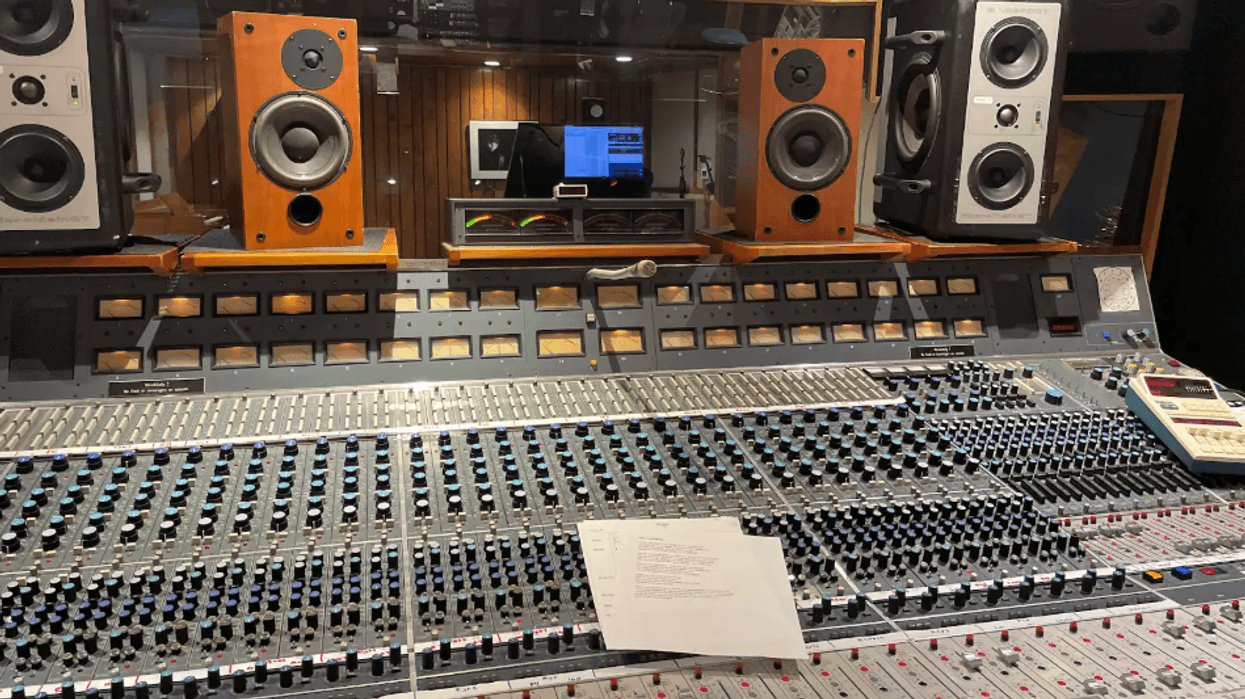
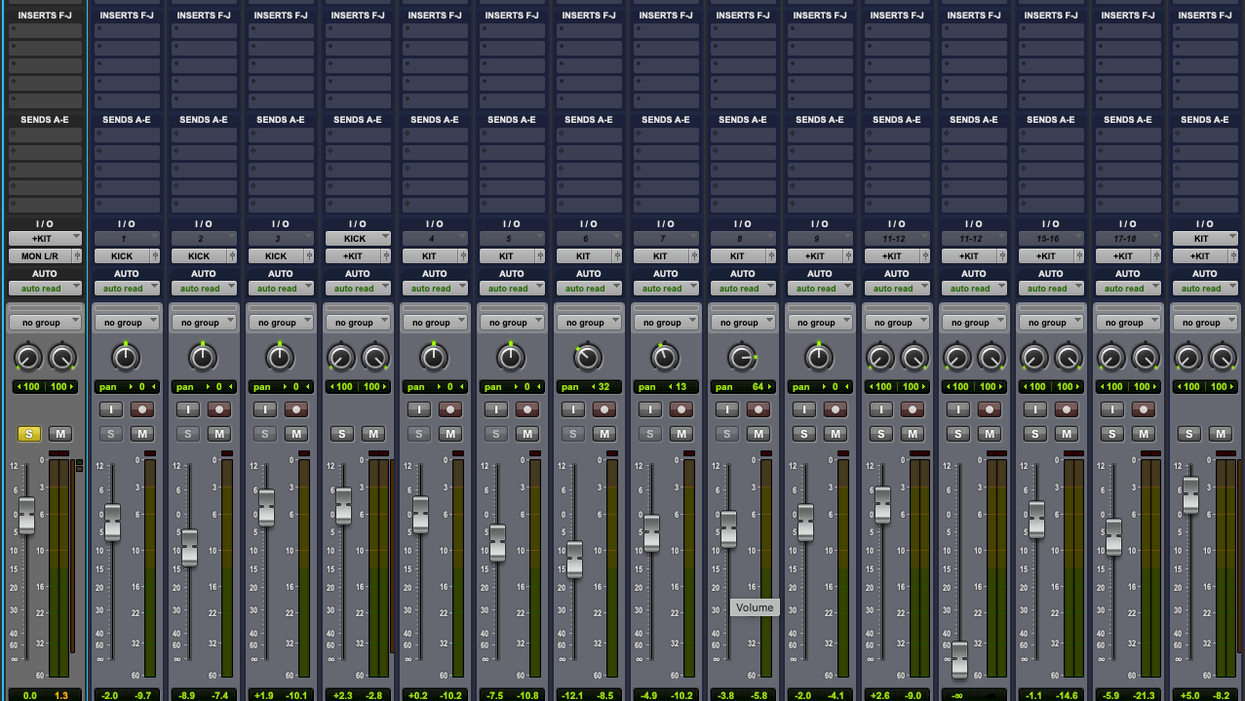
Have a look a Fig. 1. These are the drum tracks I recorded at Blackbird, the Nashville studio where I work. I've got the three kick mics routed to BC KICK (five slots from left), then routed to +KIT (the light blue slot, far left). The rest of the 10 drum tracks are routed to BC KIT and then to +KIT to merge with the kick drum tracks mentioned before. I do this because I like to process the kick drum independent from the other parts of the drum kit. Low-end information (kick drums, bass, low-tuned guitars, bass synths, etc.) are full of energy and trigger compressors to overreact at the expense of high frequencies. Once all the drums are merged together in +KIT, I use the FabFilter MB multiband compressor.
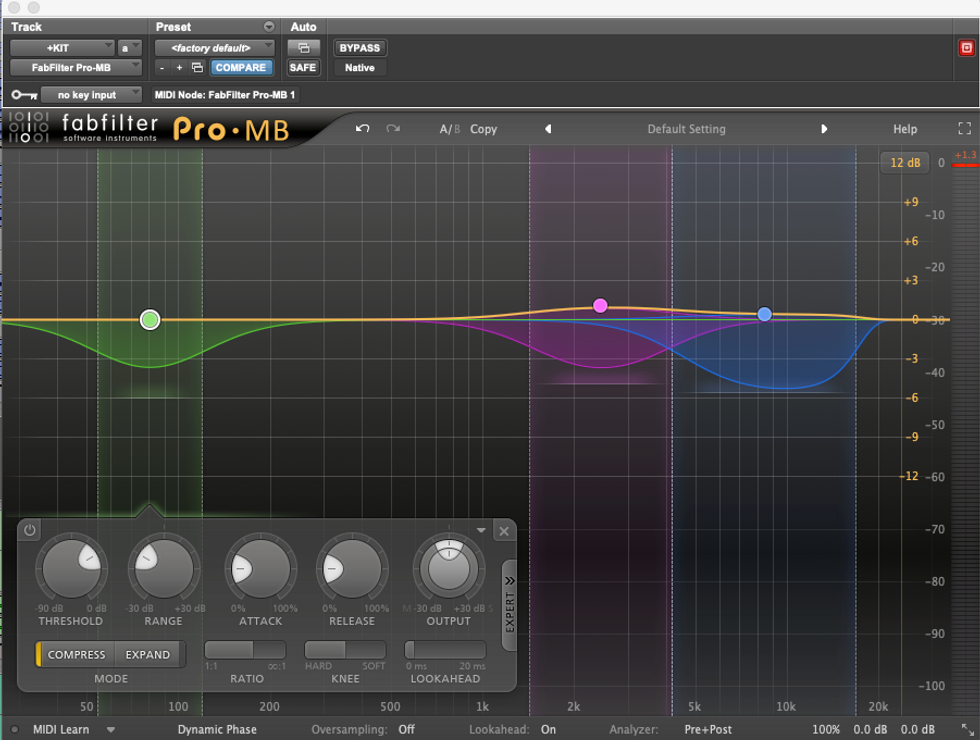
Fig. 2
Take a close look at Fig. 2. The three colored compression areas I've set allow me to control the fundamental of the kick drum (green), the rattle of the snare (purple), and the cymbal splashy-ness (blue). I can set the compression parameters of each of the areas independently and really take advantage of having three compressors working on large areas of the frequency spectrum with as much transparency as I want. I'm not squashing things, just gluing the drums together.
I've also added .7 dB boost to the purple area just to bring the snare out a bit more. This boost is acting just like an EQ, but I have the benefit of adding very detailed compression parameters that a dynamic EQ isn't really designed to deliver.
You can use these same principles for groups of rhythm guitar tracks (electric or acoustic) to help make room for your shredding solos and licks by summing multiple rhythm parts, carving out some space by gently reducing 1.6 kHz to 5.6 kHz (use your ears: this is a very general starting point), and then gently using a multiband compressor on the area that you choose. You may find that the vocals also start to sit better in the mix.
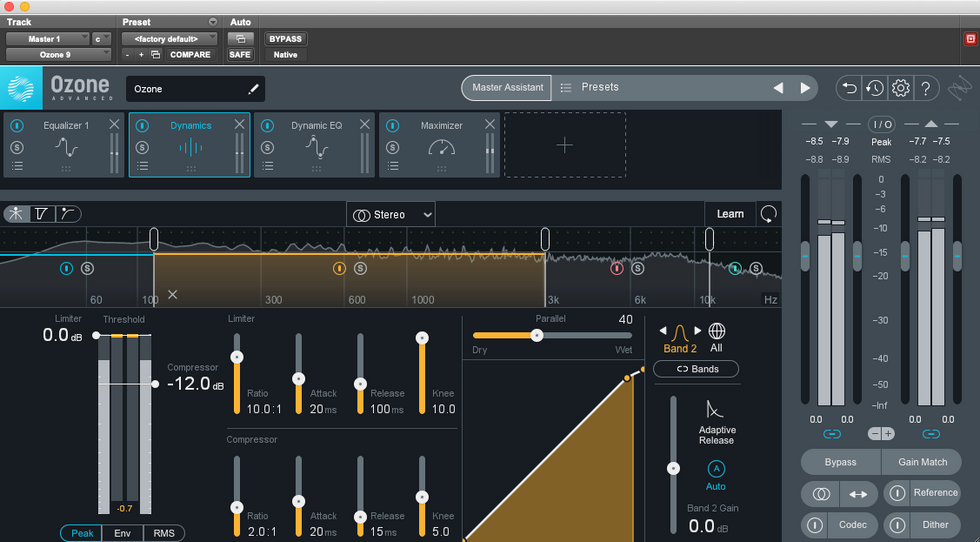
Finally, look at Fig. 3. I've put the iZotope Ozone multiband compressor on the main stereo mix (aka the 2 bus). Here, I'm focusing on the low-mids-to-high-mids range. This is gluing the bass guitars, electric and acoustic guitars, B3 organ, and a bit of the vocals gently together. Notice that the audio spectrum is divided into four parts with crossover points at 100 Hz, 2.8 kHz, and 10.6 kHz. (Marked by the capsule shapes on the spectrum visualizer.) I can also solo these areas and really listen to them and adjust the crossover points as needed to serve the mix and the song better.
Now you know the differences between a dynamic EQ and a multiband compressor and have some techniques to try on your own mixes and recordings. Go for it! Until next time. Namaste.