Recording Dojo How Les Paul and the Beatles Transformed Mixes with Varispeed Bryan Clark Mar 06, 2022
Recording Are Your Tracks Ready for a Pro Mix? Four blue-chip engineers—Dave Fridmann, Eric Bauer, Colin Marston, and Jarvis Taveniere—explain what you need to do to prepare your home recordings for prime-time mixing—and sonic glory. Nick Millevoi Aug 16, 2021
Recording Dojo Tracking Guitars? Get a Room! How area miking can give your axe new sonic dimension. Bryan Clark Jul 18, 2021
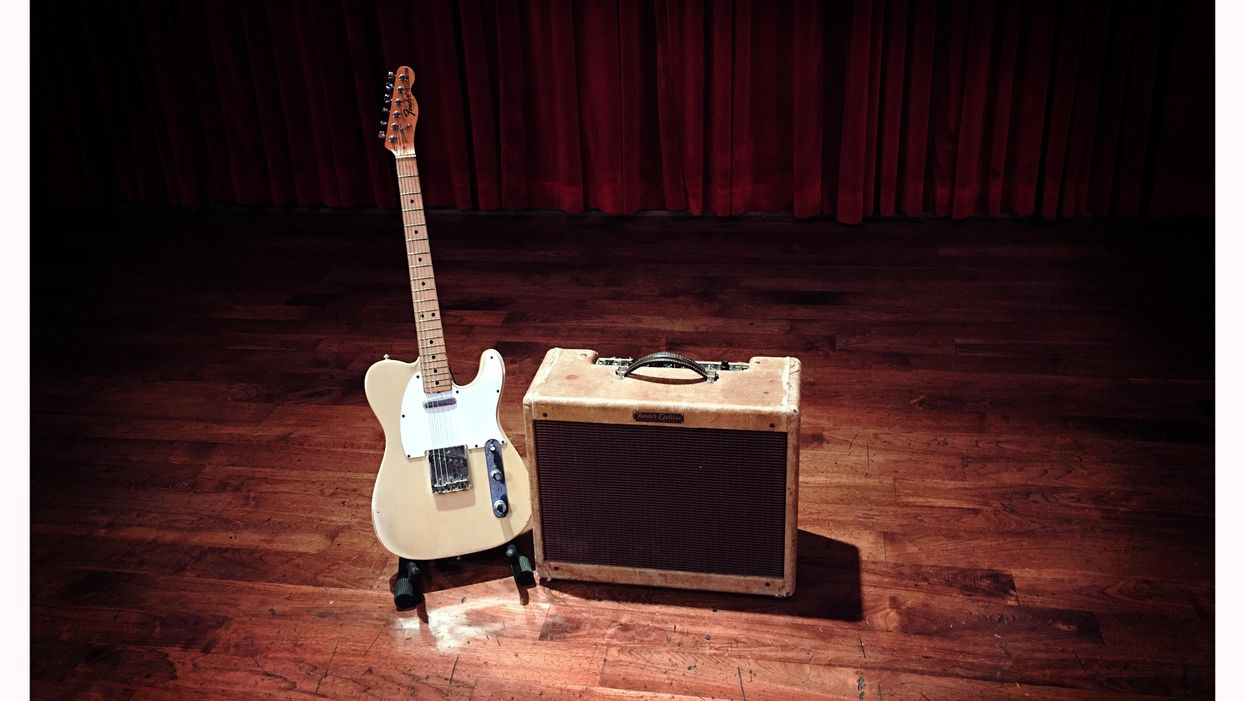
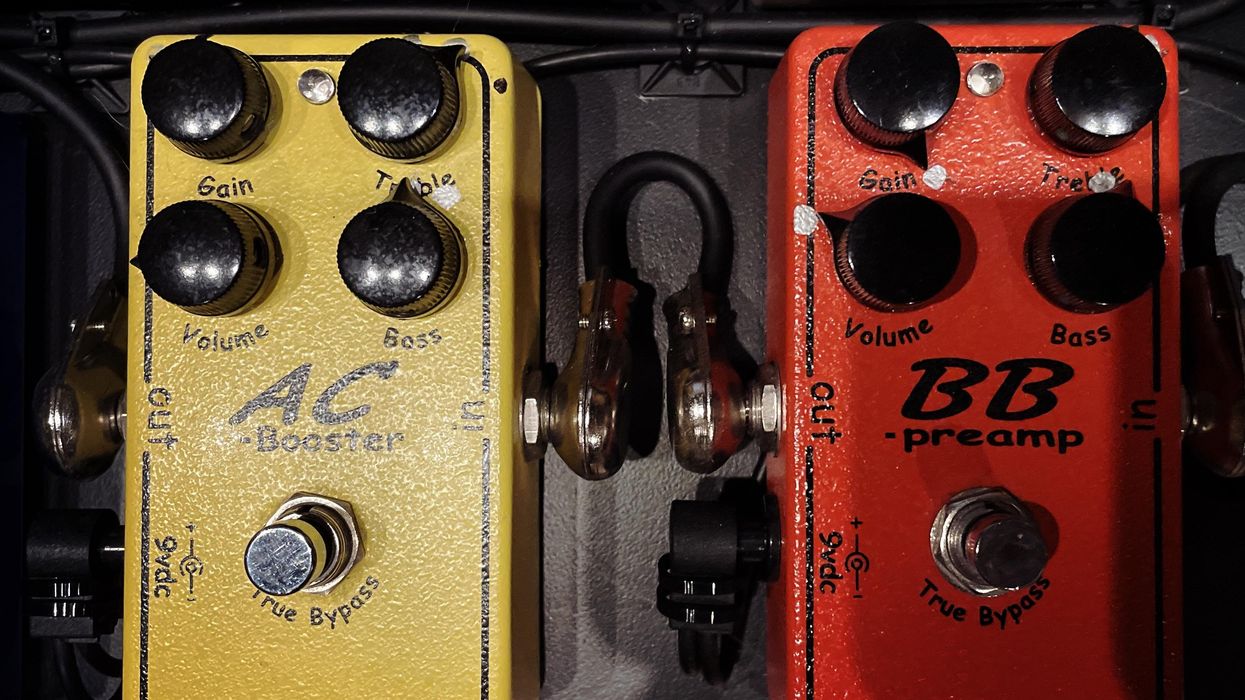
Recording Dojo Gain Staging Pedals for Tracking This simple technique can yield complex filthy tones, but don't lean too heavily on the fuzz. Bryan Clark Jun 21, 2021
Recording Dojo Add Dimension to Your Tracks with the “Haas Solo Effect" Here's how to make your mono-tracked guitar solos—and more—sound larger than life. Bryan Clark May 21, 2021
Recording Dojo Recording Dojo: How to Fix Ice-Pick-in-the-Forehead Tone, Pt. 2 Bryan Clark shares pearls about deploying multiband compressors as sonic superglue—a sequel to last month's pointers for dynamic EQs. Bryan Clark Apr 23, 2021
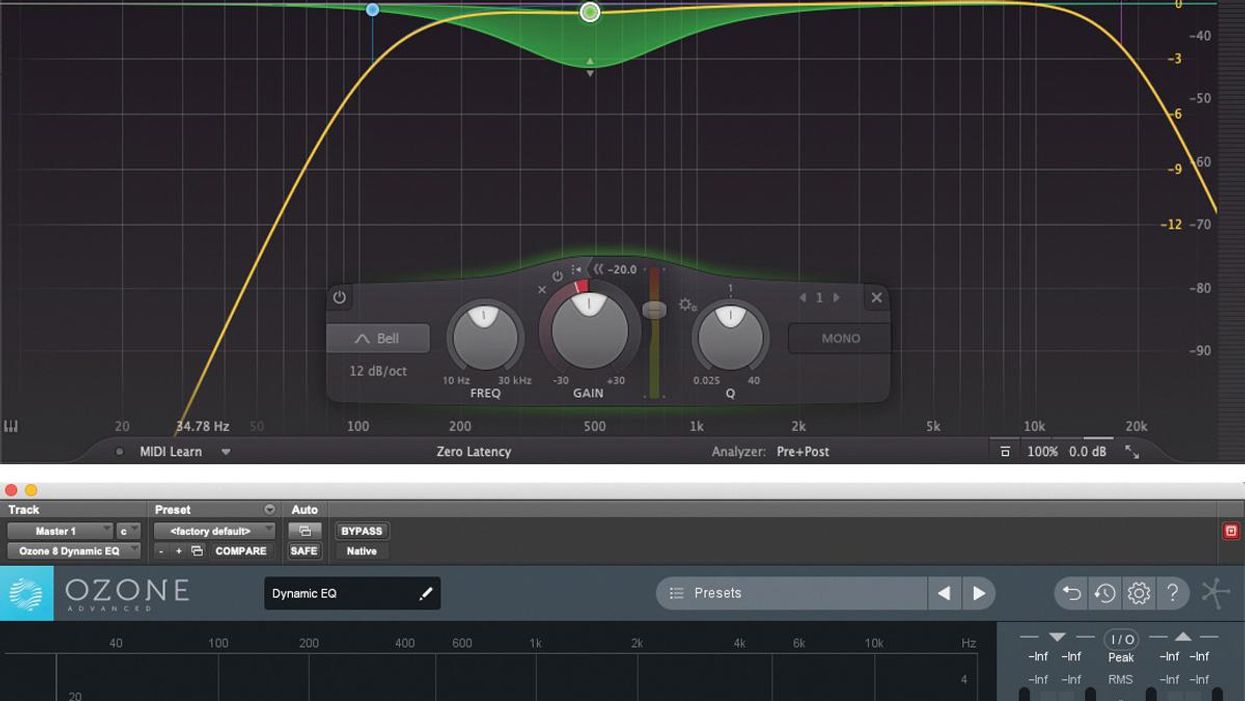
DIY Recording Dojo: How to Fix Ice-Pick-in-the-Forehead Tone, Pt. 1 Want to surgically fix that "ice pick in the forehead tone?" Check into dynamic EQ. Bryan Clark Mar 26, 2021
Gear DIY: How to Adjust Electric-Guitar Intonation Gruhn Guitars' setup guru Nathan Golliher shows how to easily make your Strat, Les Paul, and Telecaster ring true up and down the fretboard. Premier Guitar Feb 15, 2021
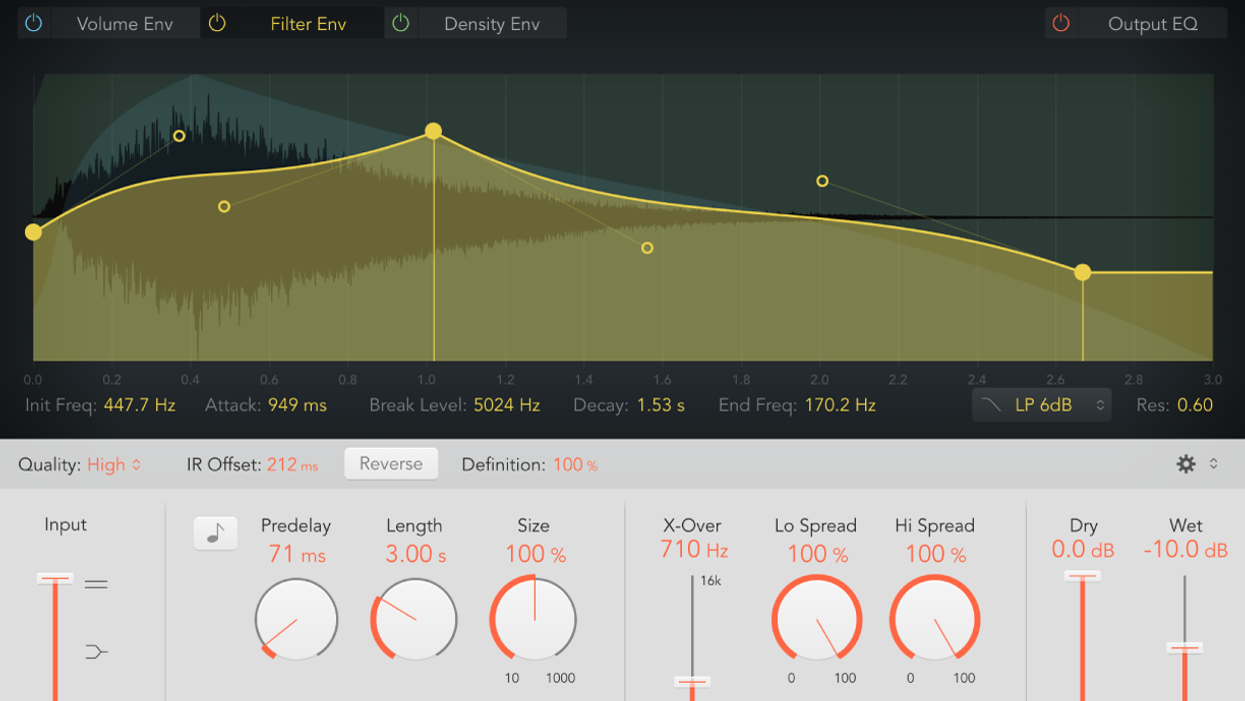
Recording Tips The Working Guitarist: All About Impulse Responses Compared to traditional speaker simulators, IRs offer much greater realism and depth. PremierGuitar Default May 29, 2012