
Let me focus on the paradigm shift in the mixing world—immersive audio. It’s been coming quietly for a long time, and I believe it might just survive the bleached-bone-littered landscape of previous multi-channel mixing technology incarnations that were left for dead and never destined for success, like Quad and 5.1 surround sound.
Unless it’s a live recording and you’re being true to the original audience experience, I’ve never really been that enthralled with the “static mixing” mindset—where once the instruments are placed in the stereo field, they never move—as has been the case on the vast majority of records over the last several decades. Especially when one considers immersive audio and the vast amount of possibilities to place and move musical elements of a song in space over time, listening to static mixes seems, well … boring. Granted, my attention span is shorter than a ferret’s on espresso, but c’mon folks, we’re 20-plus years into the new millennium. Onward!
The Good News
With the ever-evolving immersive audio environment and renderers, and breakthroughs in HRTF (head-related transfer function) technology, now more than ever we are able to experience decoded, folded-down 7.1.4 spatial audio mixes in a binaural audio format through a regular pair of headphones (or earbuds). Finally, we’re making progress.
With this in mind, your automation skills need to be on point in order to take full advantage of these new possibilities. This time, I’d like to highlight core types of automation for you to start employing (regardless of your DAW) to add some new dimension within your mixes. Tighten up your belts, the dojo is now open.
All Hands on Deck
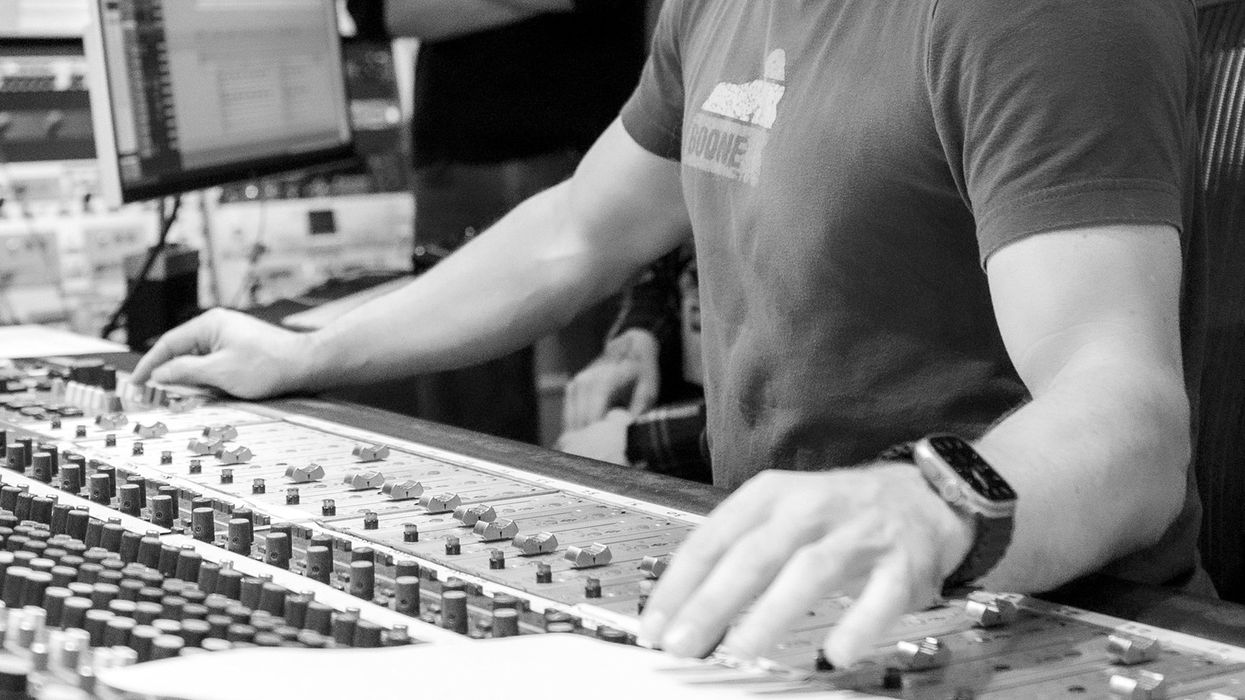
I suppose you could say automation has been around and available to mixing engineers since the first time multiple pairs of hands were on a console and engineers were choreographing fader rides as the mix printed. One of my favorite, extreme examples of this is the classic, smash hit “I’m Not in Love” by 10cc, released in 1975. Remember all those gorgeous pads? Those chords were created by having the group sing “ah” multiple times, which created a 48-voice “choir” for each one of the 12 notes of the chromatic scale. With the tape machine looping the 12 tracks of “ah”s, the band rode the console’s volume faders for each track to create the appropriate chord progressions.
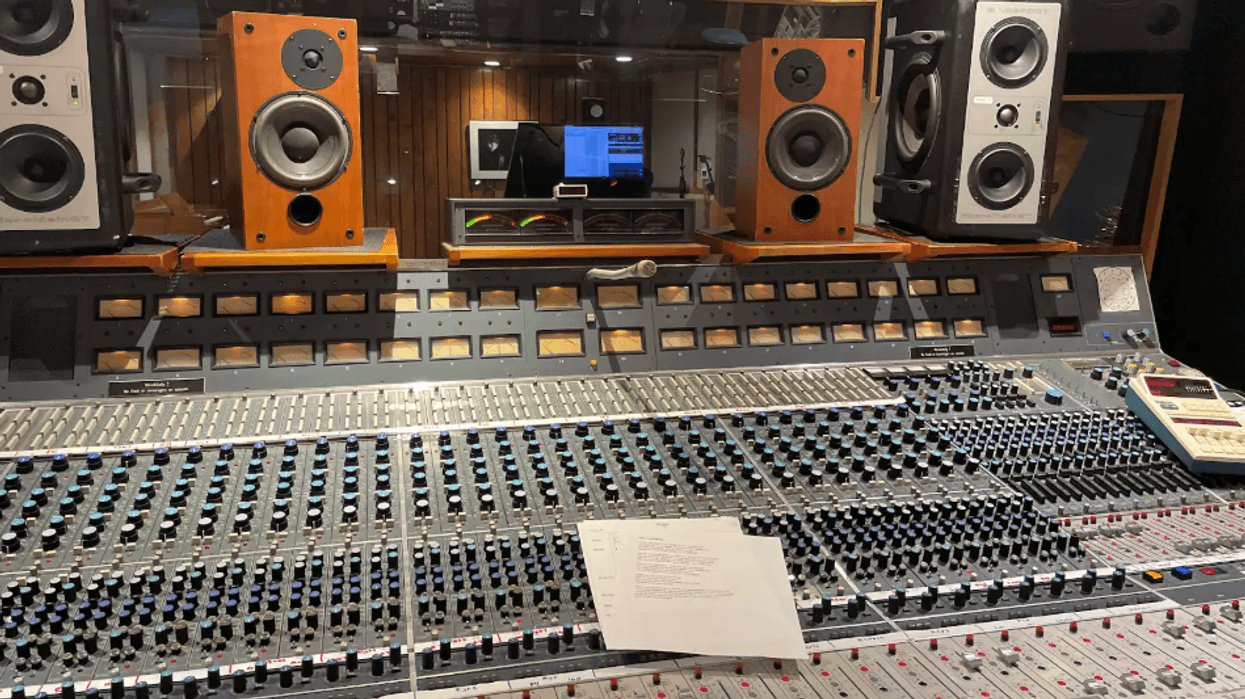
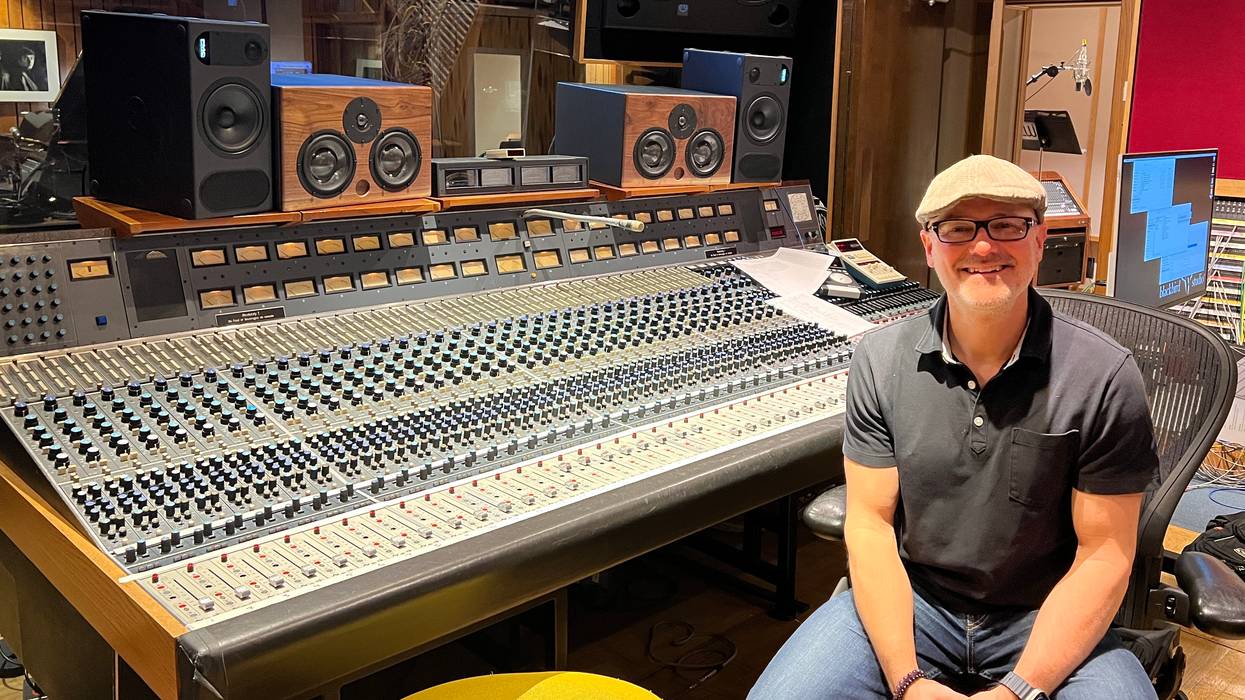
By the end of the decade, Brad Plunkett and Dave Harrison’s Flying Faders came online and allowed installed motorized faders to be automated by a dedicated computer. We still use this technology on our Neve 8078 console here at Blackbird Studios.
By the early ’90s, DAWs offered comprehensive automation capabilities within the program itself that spanned from volume and panning to console settings, MIDI data, and now, plugin settings for spatial audio parameters.
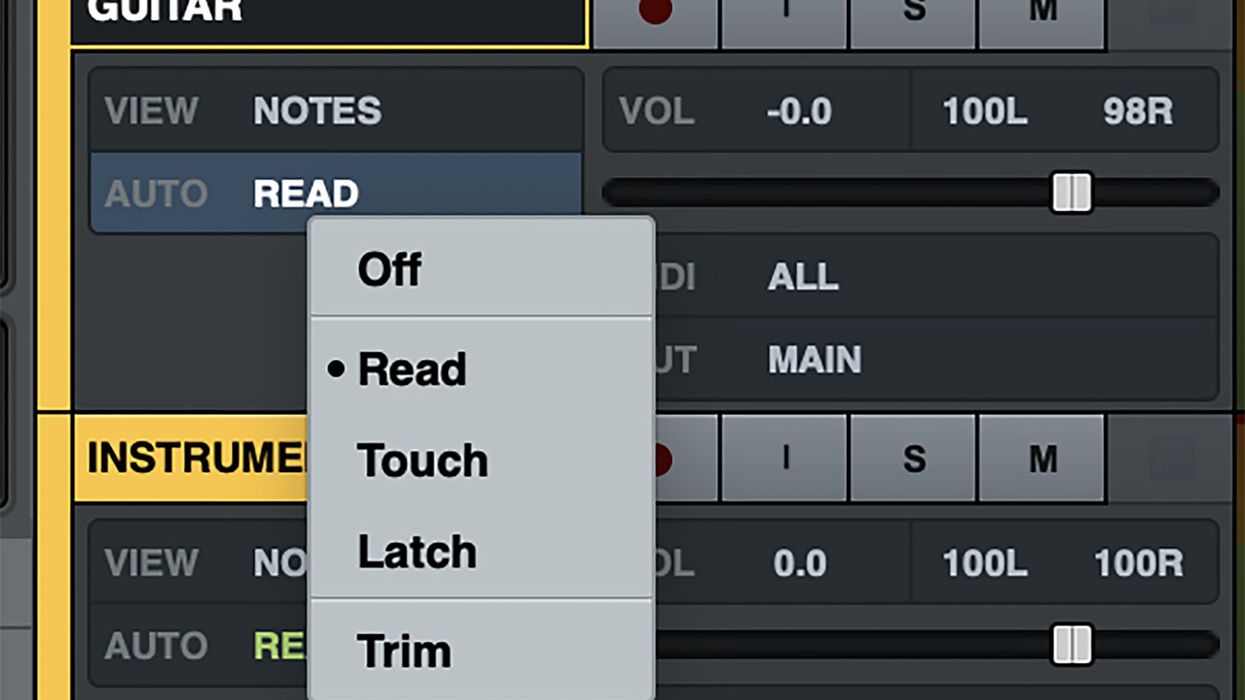
Latch or Touch
Let’s start with top-level volume automation choices. These are perhaps the most important to your overall mix, and there are various ways of writing volume automation. DAWs can vary in number of options, but most feature the five following choices: off, write, read, touch, and latch. The first three are very intuitive—don’t play back the automation, write it, or play it back. But what is the difference between “touch” and “latch?” It’s important to know, especially since this can be applied to every kind of automation parameter, such as advanced things like effect sends, MIDI data, and plugin controls that allow every parameter to be automated. I use “touch” for highly nuanced fader rides and “latch” for more general maneuvers.
“Now more than ever, we are able to experience decoded, folded down 7.1.4 spatial audio mixes in a binaural audio format through a regular pair of headphones.”
After your initial “write” pass, “touch” automation plays back any previously written automation and only writes over it when you touch or move the fader, and upon release. It then immediately goes back to reading the previous automation.
In contrast, “latch” reads and writes automation similarly, but once a fader is released, it overwrites any previous automation and stays (or “latches”) at the point where the fader was released. This can be useful if you need to have certain sections higher or lower in volume, or are using effects sends. But remember, as soon as you let go of the fader, it’s going to keep overwriting all previous automation!
Universal Audio’s LUNA DAW adds another level of fine control by adding the “trim” option, which allows you to reduce or increase the overall level of an automation pass while still preserving the underlying automation. This is helpful when you need to do stem bounces, vocal up/vocal down mixes, etc.
Now you know the main differences of writing automation and can let your imagination go wild by experimenting with automating every possible parameter available in your DAW—from MIDI to soft synths to all your plugins. Until next time, namaste.