Respecting dynamics and artists’ intentions, along with a knowledge of the core sounds of various genres, will propel your journey on the path to enlightenment.
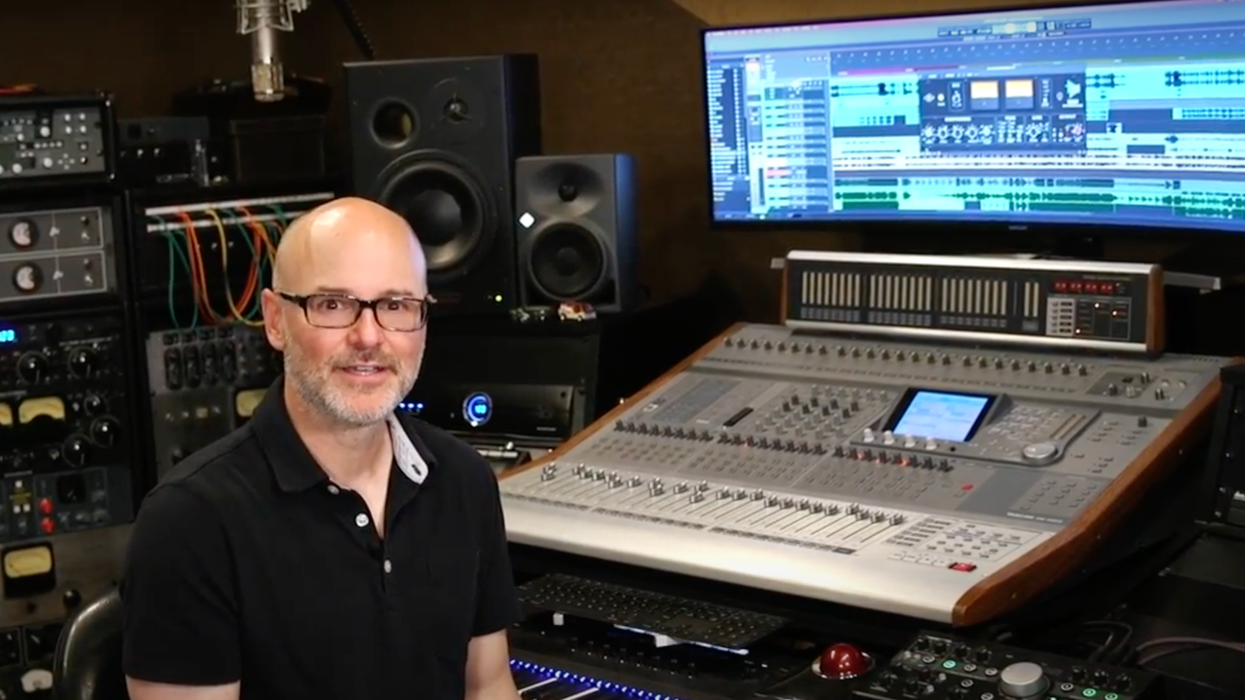
Four blue-chip engineers—Dave Fridmann, Eric Bauer, Colin Marston, and Jarvis Taveniere—explain what you need to do to prepare your home recordings for prime-time mixing—and sonic glory.
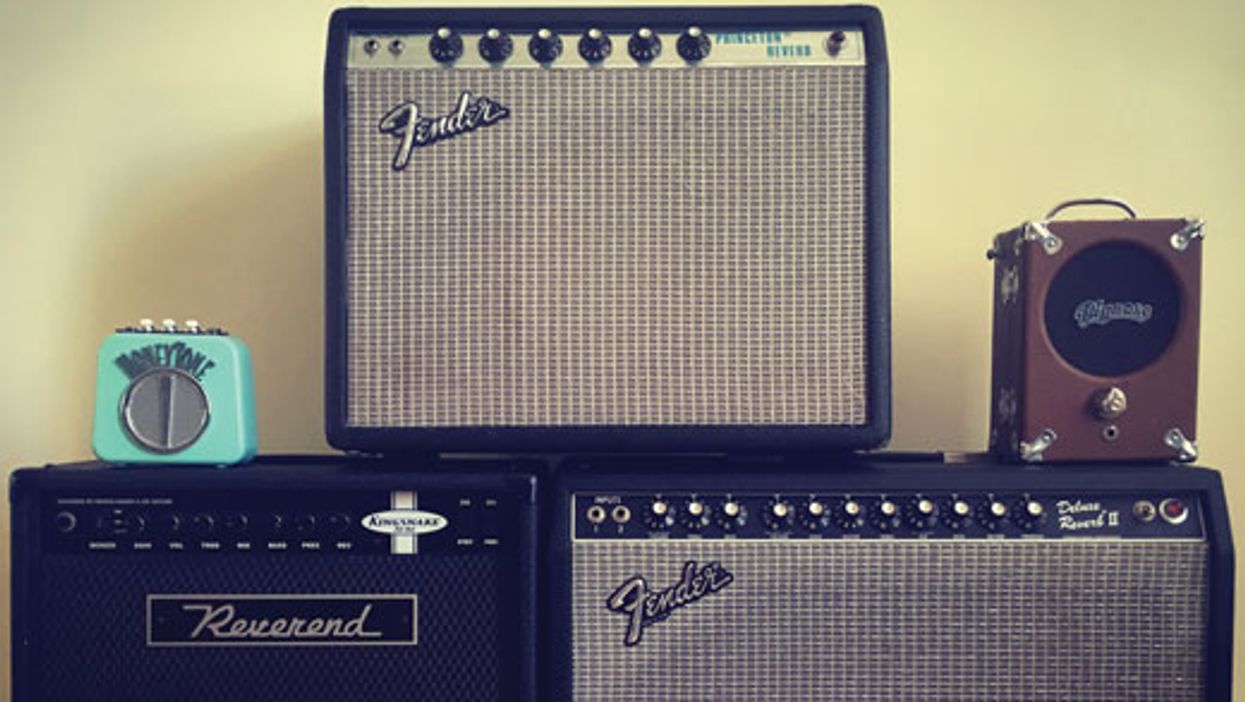
A 4x2 mixer in a compact enclosure which can be used to feed multiple sources into an amplifier or it can be used as a headphone amplifier for quiet rehearsal.