


The holidays are only a few weeks away and I'm sure many of you will be heading home to see the family. That gives rise to what many people call the "Christmas problem." With everything you have to take with you (luggage, gifts, etc.), your car will be crowded, and flying poses even more problems. Wouldn''t it be great to bring your favorite axe along and take advantage of the spare time to practice?
If you''re like me, you have a permanent "holiday axe" waiting for you wherever you end up each vacation. There''s still the amp issue, though -- playing an electric guitar unplugged for two weeks isn't much fun and can really kill all your enthusiasm for playing. A close friend of mine came to me with this problem, and we came up with a solution that I think you might find useful.
What we need is a nice-sounding, compact and lightweight practice amp that you can even carry with you on a plane. You''re probably familiar with the typical active PC sound systems that you can buy anywhere for a few bucks, like the one pictured below.
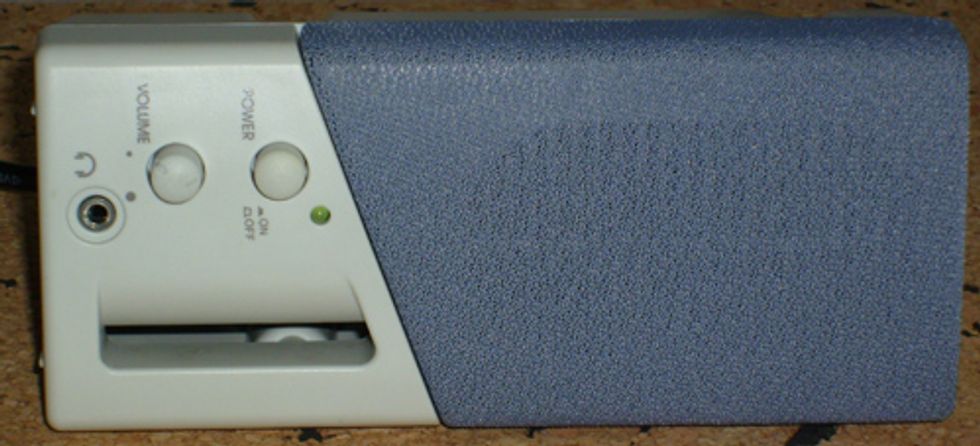
These systems are designed to produce a good, clean sound without any distortion and are ideal for converting into practice amps for electric guitar. Most of these systems have a pristine tone and the speakers are designed to cover the whole frequency range. The only disadvantage, barring a possible lack of bass range depending on the model, is that you have to be plugged in -- they won't operate with batteries. If you can live with this, you only need a soldering iron, a standard 1/4" (6.3 mm) audio jack and 20 minutes.
My advice is to listen to as many different systems as possible to decide which one is for you. You can check your local thrift shop or even dust off an old set from your basement or attic. Personally, I prefer the systems with a “bass reflex" construction, like the one pictured above. This will help the guitar tone sound more defined and have a better bottom end.
These systems are usually sold as stereo devices, with one active speaker and one passive speaker that feeds from the active one. If you want a stereo setup, you can leave it as is, but one speaker is enough for our purposes and much easier to stuff in a suitcase. If you are using one speaker (as recommended), remember to use the active one! This is the one with the AC cable and the controls on it.
1. Preparing the connections
You will find two audio cables coming out of the active speaker box; one is the input cable, feeding the signal to the built-in amp stage, easily identified by a 3.5 mm stereo plug at the end. The other connects to the second speaker, so if you want to use both speakers as a stereo setup, leave this connection untouched. If you are going with the standard one speaker setup, cut this cable where you want to remove the second box.
Now cut off the input cable approximately 5" before it enters the box and strip it. You will find a stereo cable with two individual “hot" leads and two individual blank mass leads. Twist both hot connections together and pre-solder them; do the same with the two blank mass leads.
2. Installing the input jack
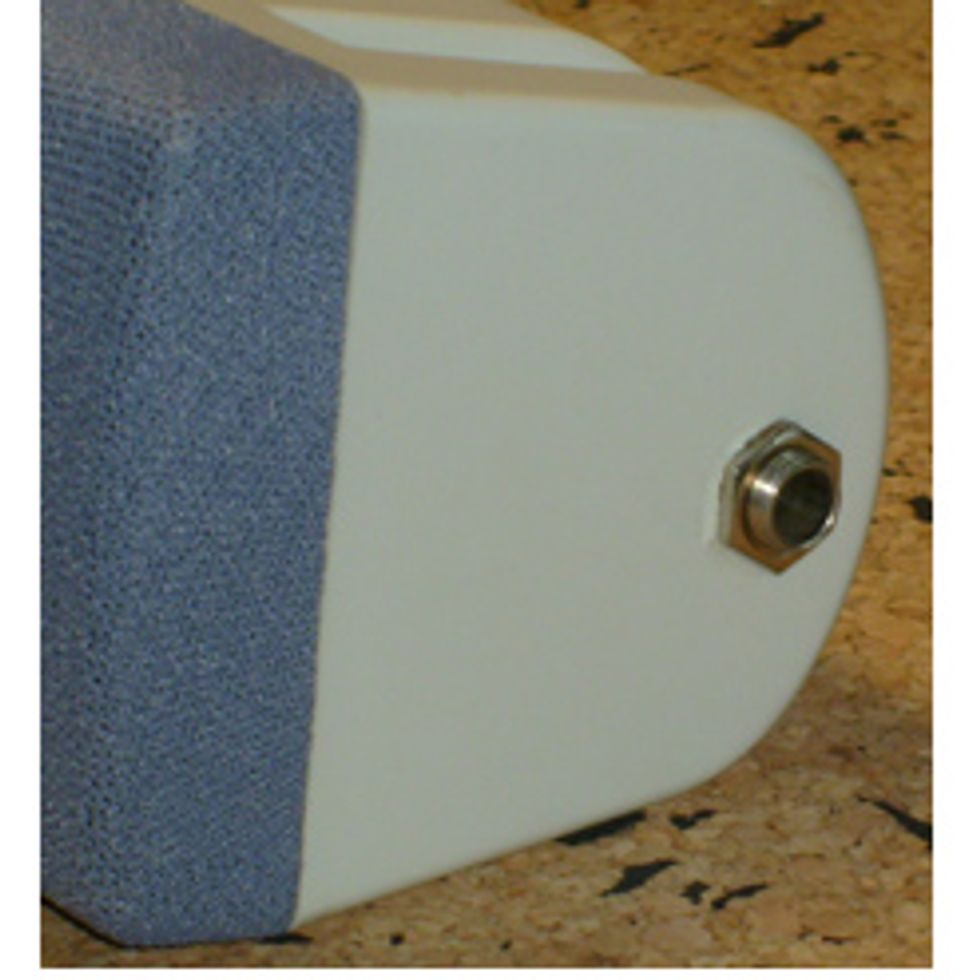
Open the box and find a good location to install your standard mono input jack. Measure the shaft of the jack, drill a fitting hole into the box and install the jack.
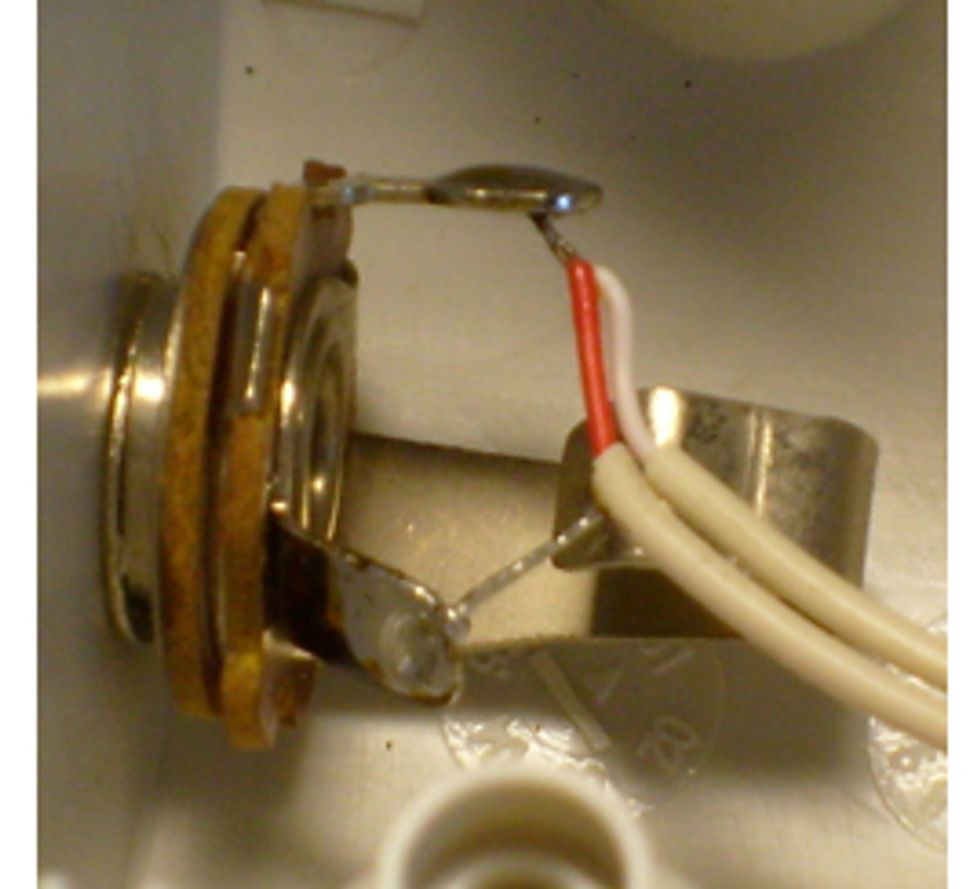
3. Connect the input jack
Now it's soldering time. First, get both cables inside the opened box and simply snip off or desolder the unneeded cable for the second box. If you are using the stereo setup, get only the presoldered input cable inside the box and don't snip off the second speaker''s cable! Solder the two twisted hot leads of the input cable to the tip of the jack and the two twisted blank mass leads to the sleeve. After you''ve finished this step, it should look like this:
4. Fine-tuning the amp
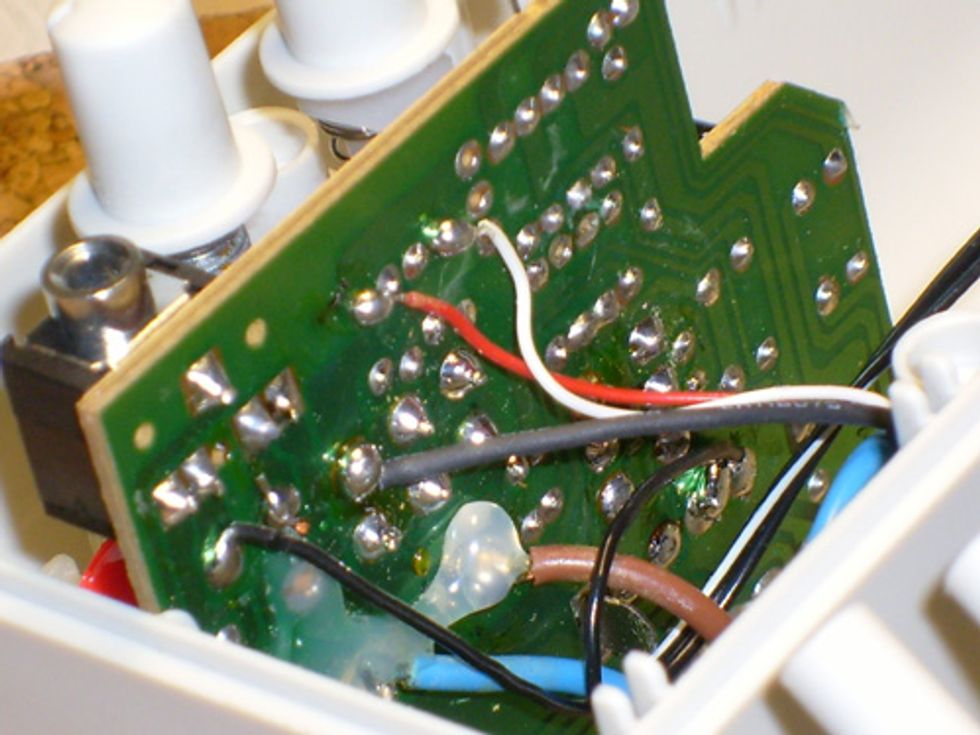
Believe it or not, that's it! Plug in your axe for a preliminary test. You will likely discover that the amp is working, but that it suffers from a poor output level. This is because of the mismatched impedance – PC speaker systems are designed to work with a pre-amplified signal from your soundcard, not a passive guitar signal.
The best solution is to trace the first resistor on the PCB after the input and desolder it or snip it off, if possible. With that complete, you can take full advantage of the system's built-in amp, with more than enough volume for bedroom playing. You can also use the headphone output for silent playing if your speaker system offers such an option.

If you're not interested in tracing resistors, you could also consider using a booster or buffer in front of the box to boost the signal and/or change the signal's impedance. It isn't the most elegant solution, because you'll have to carry another box with you and the main goal is to have a small and handy practice amp for your next journey, but it is something to consider.
So with a few quick solders, you have a portable practice amp, just in time for the holidays. It won't sound like a cranked Marshall stack, but at least it offers a great clean tone to practice your skills, wherever you are.
Have a great one and I will see you next month!
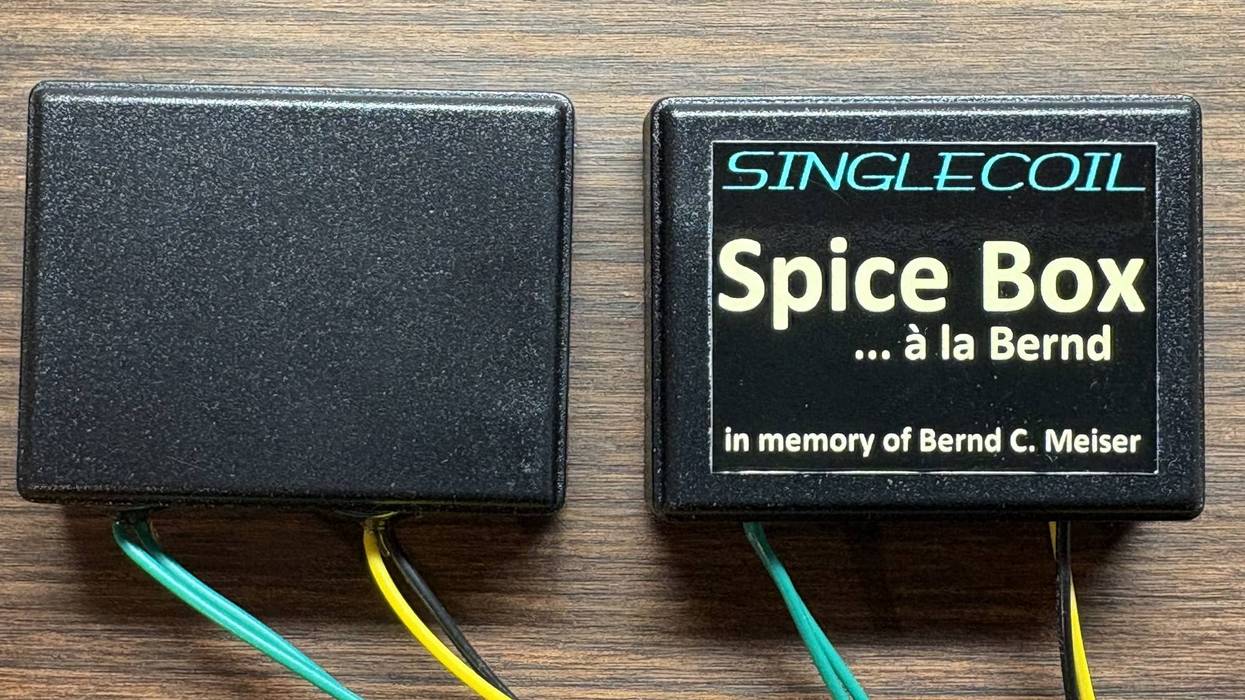
Dirk Wacker has been addicted to all kinds of guitars since the age of 5 and is fascinated by anything that has something to do with old Fender guitars and amps. He hates short scales and Telecaster neck pickups, but loves twang. In his spare time he plays country, rockabilly, surf and Nashville styles in several bands, works as a studio musician and writes for several guitar mags. He is also a hardcore DIY guy for guitars, amps and stompboxes and also runs an extensive webpage singlecoil.com about these things.


![Rig Rundown: Russian Circles’ Mike Sullivan [2025]](https://www.premierguitar.com/media-library/youtube.jpg?id=62303631&width=1245&height=700&quality=70&coordinates=0%2C0%2C0%2C0)


