A 1952 goldtop Les Paul!
Acoustically, this model sounds
spectacular and, thanks to its P-90
soapbar pickups, it projects an
iconic amplified sound. But it’s not
perfect: In last month’s column, we
discussed how the 1952 and early
’53 goldtops aren’t really playable as
a professional instrument because
of their shallow neck set.
When one arrived at my shop
recently, we could immediately
see it had problems. Its bridge
was bottomed out, yet even with
very little relief, there was a 1/4"
gap between the top of the 12th
fret and the underside of the
low E string. This guitar was no
longer 100-percent original, as
it had been converted from its
trapeze tailpiece to an ABR-1
bridge and stop tailpiece years
before it reached us. Clearly, by
correcting the neck angle on this
goldtop, we’d turn it into a more
playable and usable instrument.
Because of its previous alterations,
we wouldn’t be devaluing the
guitar in terms of collectability,
but rather giving it the life it was
originally intended to have.
As I described in last month’s column, removing the neck took
a great deal of preparation and
patience. We pulled three of the
upper frets and drilled six holes in
the fret slots. To separate the neck
from the body, we had to inject
boiling water into these holes for
five days, and then apply steam
to the sides and underside of the
neck heel with StewMac’s Neck
Joint Steamer Needle.
The neck came off fairly cleanly,
but before I could refit it, I
needed to remove some hide-glue
residue with a moist cloth and
chisel. Then I carefully trimmed
the inside lower heel using a
chisel, flat file, and a small sanding
block that I cut from a sheet
of Corian.
To finalize the angle, I used
220-grit sandpaper stuck to the
Corian. This made for a very
clean and flush heel-to-body
joint. During the trimming, I
clamped the neck in my StewMac
Guitar Repair Vise. Available from
stewmac.com (item #1813), this
vise features rotating hardwood
jaws and a forgiving urethane
surface to hold instruments of any
shape and size. It’s a must-have
for our shop.
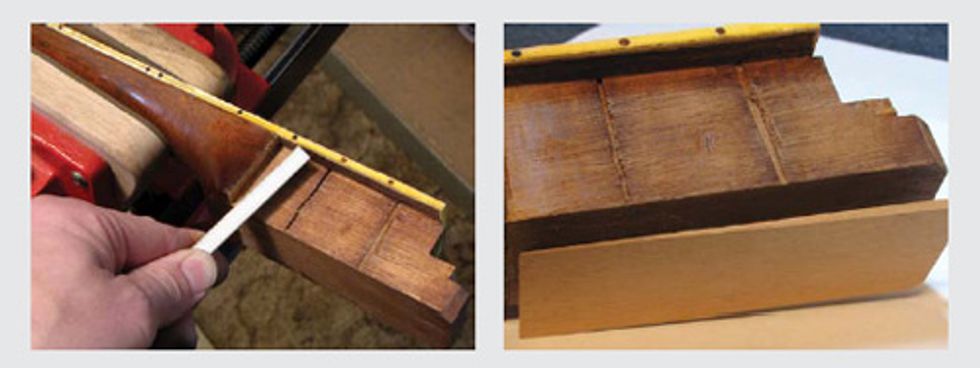
LEFT: Resetting the neck angle requires careful measurements.
RIGHT: The Honduran mahogany shim that will determine the neck angle.
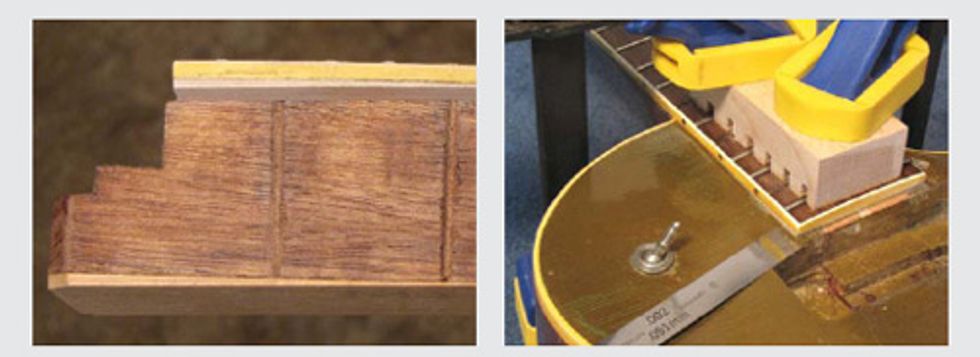
LEFT: The finished neck tenon and fretboard wing shims glued in place.
RIGHT: Using a .002” feeler gauge to ensure there’s no space between the reset neck and body.
I referenced the neck-joint fit and angle by going back and forth with the body, using thin mahogany strips as spacers/shims under the end of the tenon as I adjusted for the correct neck angle. After I achieved a quality fit, I held the neck and body together using two grip clamps and a custom-made fretboard-clamping caul. Made of hard-rock maple, my fretboard caul has a 12"-radius bottom surface that’s slotted with channels to accommodate the frets and covered with a 1/16" cork surface.
Next, I tensioned up the outer two strings, checking for neck pitch, vertical alignment, and downward adjustment of the ABR-1 bridge. Once I’d established the neck angle, I cut a Honduran mahogany shim (measuring 1/8" thick x 1 15/32" wide x 4 1/4" long), and sanded it to a minus 2-degree pitch. Then I glued it to the bottom surface of the extended neck tenon using #20 medium Super Glue. I chose Super Glue as the adhesive because the mahogany shim is a permanent addition.
I refer to the section of the fretboard that protrudes out from the side of the mahogany neck tenon as “wings.” My next step was to make support shims to fit between the gluing surface of the fretboard wings and the maple top. I cut and sanded two maple shims (1/16" thick x 3/8" wide x 3 1/8" long) with a 2-degree taper to tuck between the underside of the fretboard and top, and then used Super Glue to attach them to the underside of the fretboard.
To ensure that this stage of the restoration was complete, I used a .002" precision feeler gauge to check that there was a tight seal between the neck and body while under clamping pressure. I didn’t want any open space.
Next month, I’ll show you how I blended in the maple shims and upper surface tenon lip by airbrushing gold to match the top. We’ll also cover what was involved when I finally glued the neck and body together.
If you’re coming to the 2011 Winter NAMM show (held January 13-16 in Anaheim, California), please come say hello to us at booth #3383 in Hall D. This will be a good opportunity to talk shop and answer your Restoring an Original questions. Hope to see you there!
John Brown is the inventor of the Fretted/Less bass. He owns and operates Brown’s Guitar Factory, a guitar manufacturing, repair, and restoration facility staffed by a team of talented luthiers. His guitar-tool and accessory designs are used by builders all over the world. Visit brownsguitarfactory.com or email John at info@brownsguitarfactory.com.


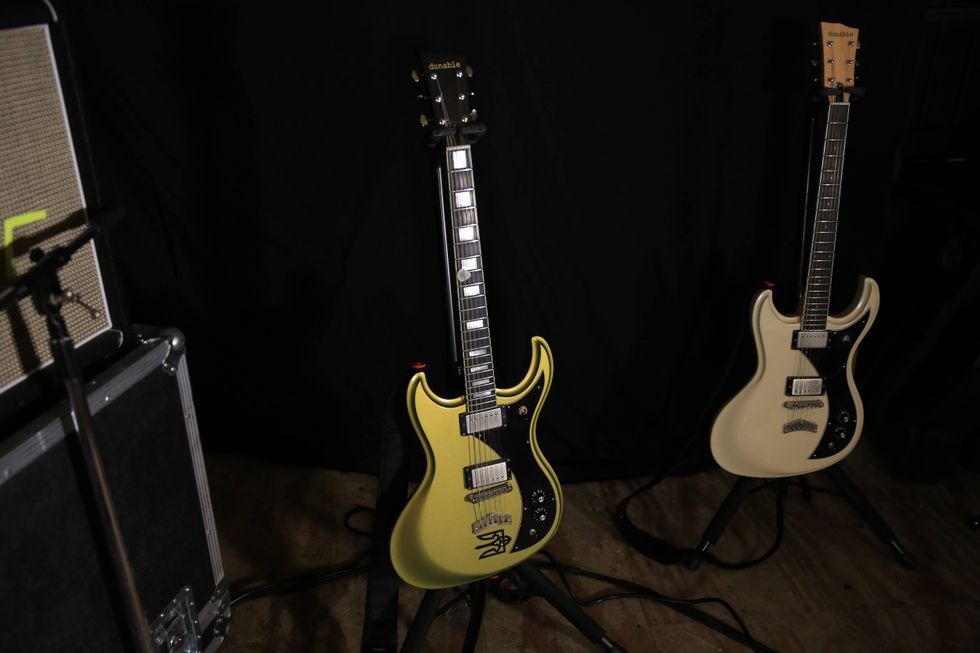
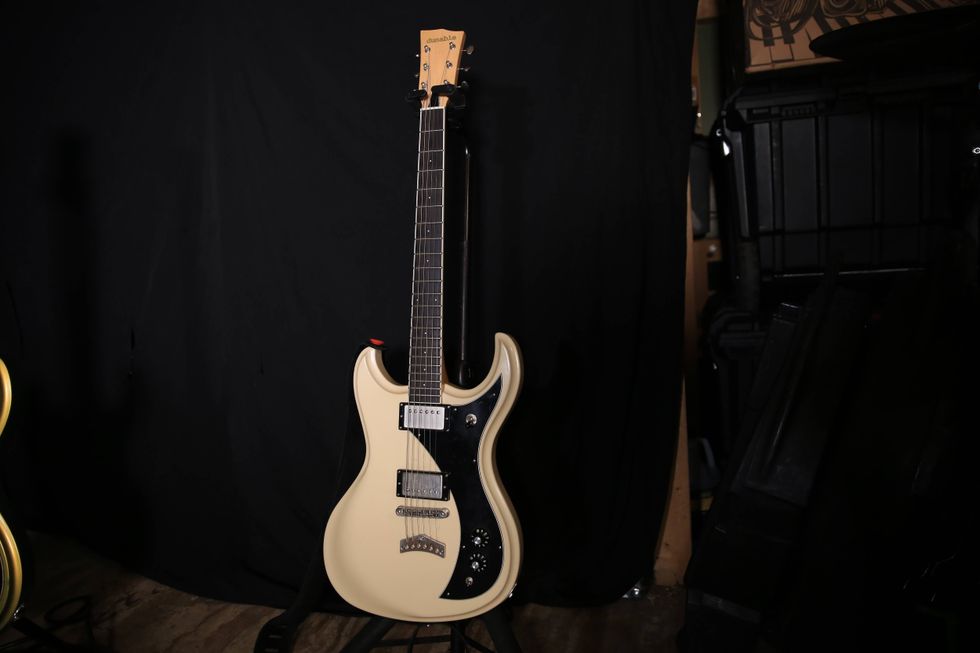
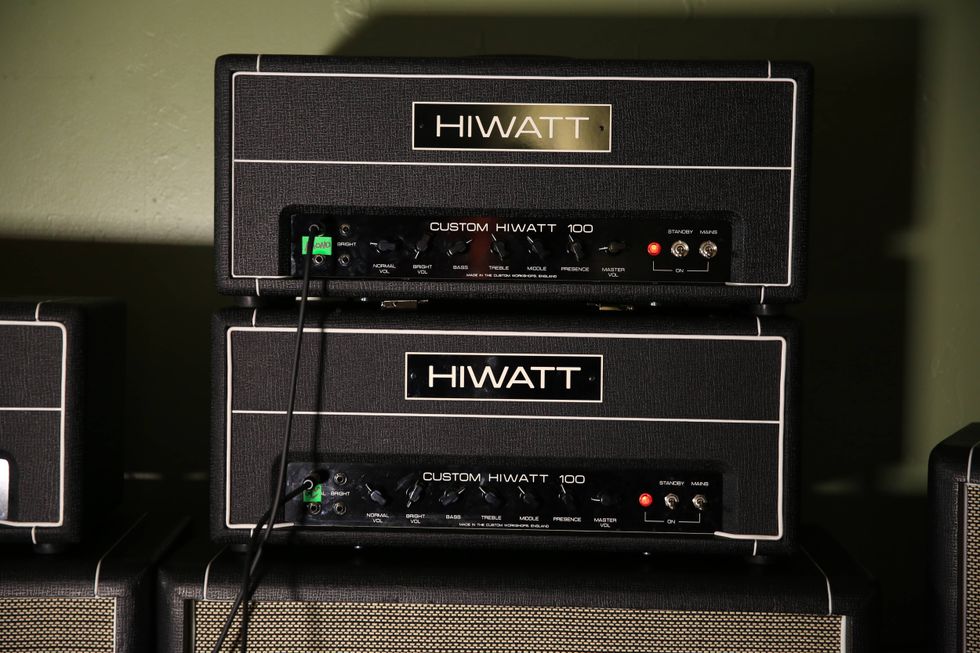
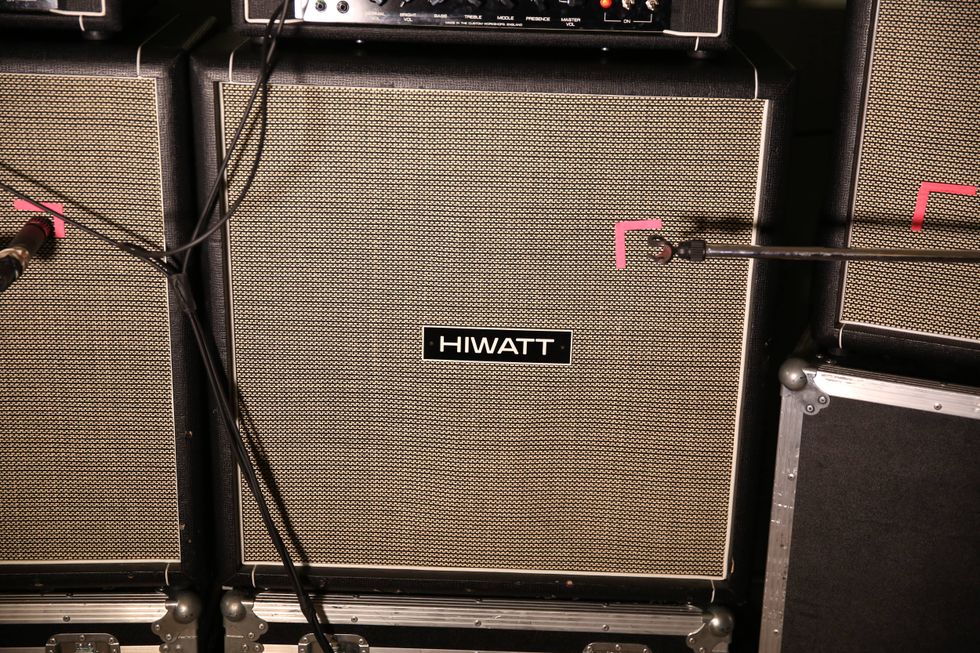
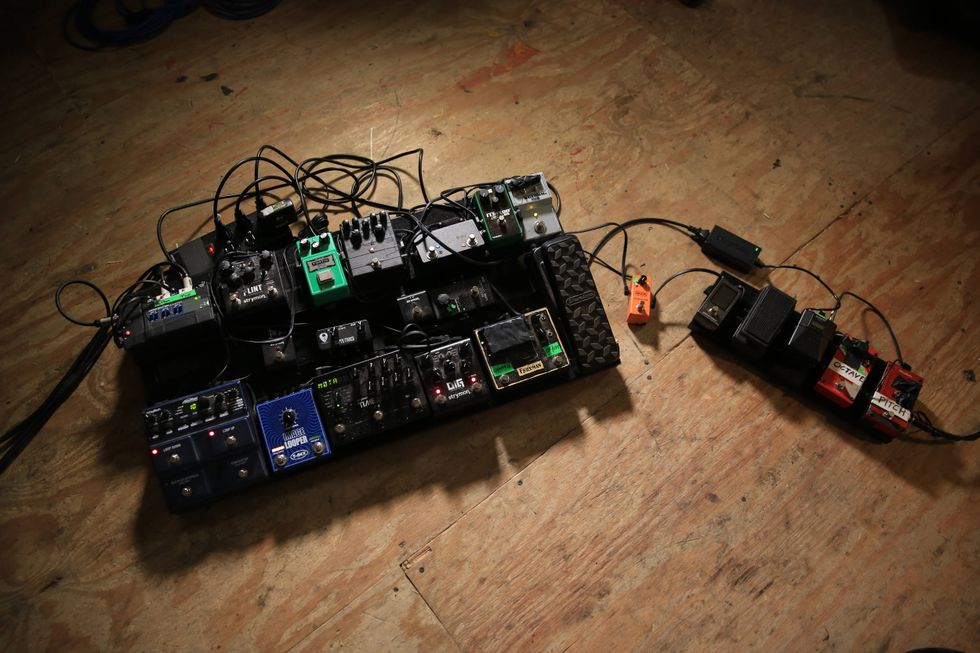
![Rig Rundown: Russian Circles’ Mike Sullivan [2025]](https://www.premierguitar.com/media-library/youtube.jpg?id=62303631&width=1245&height=700&quality=70&coordinates=0%2C0%2C0%2C0)