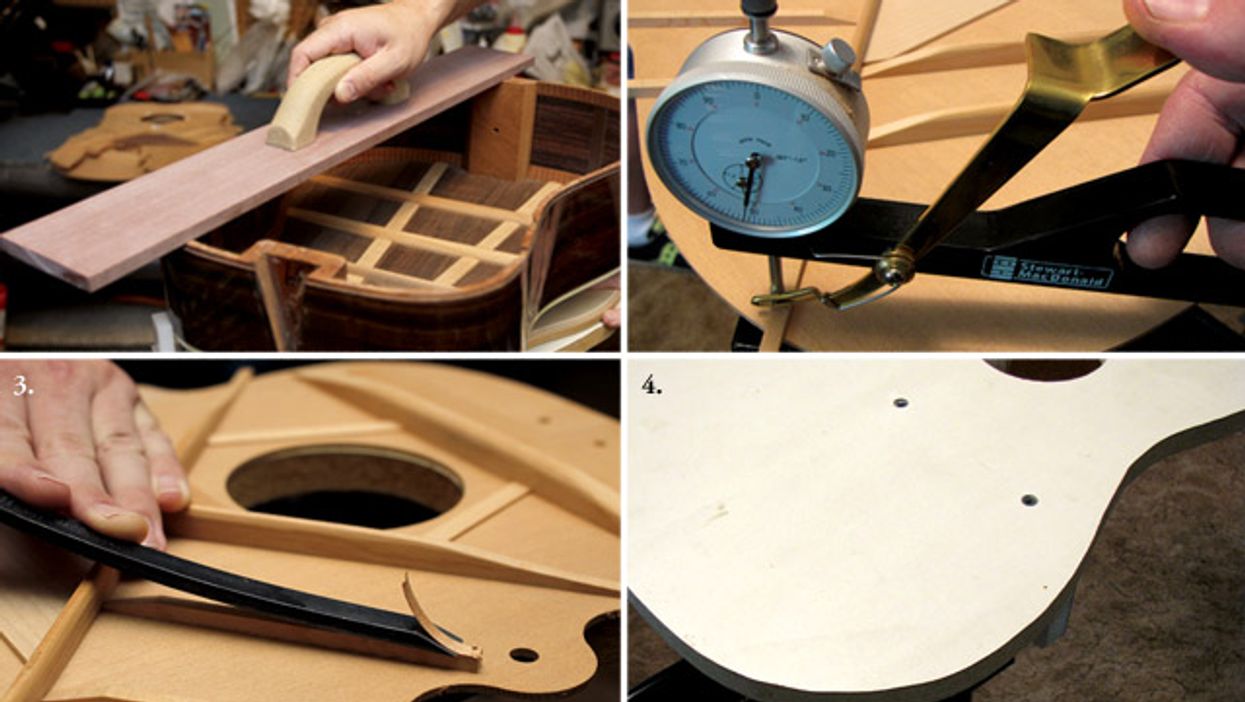
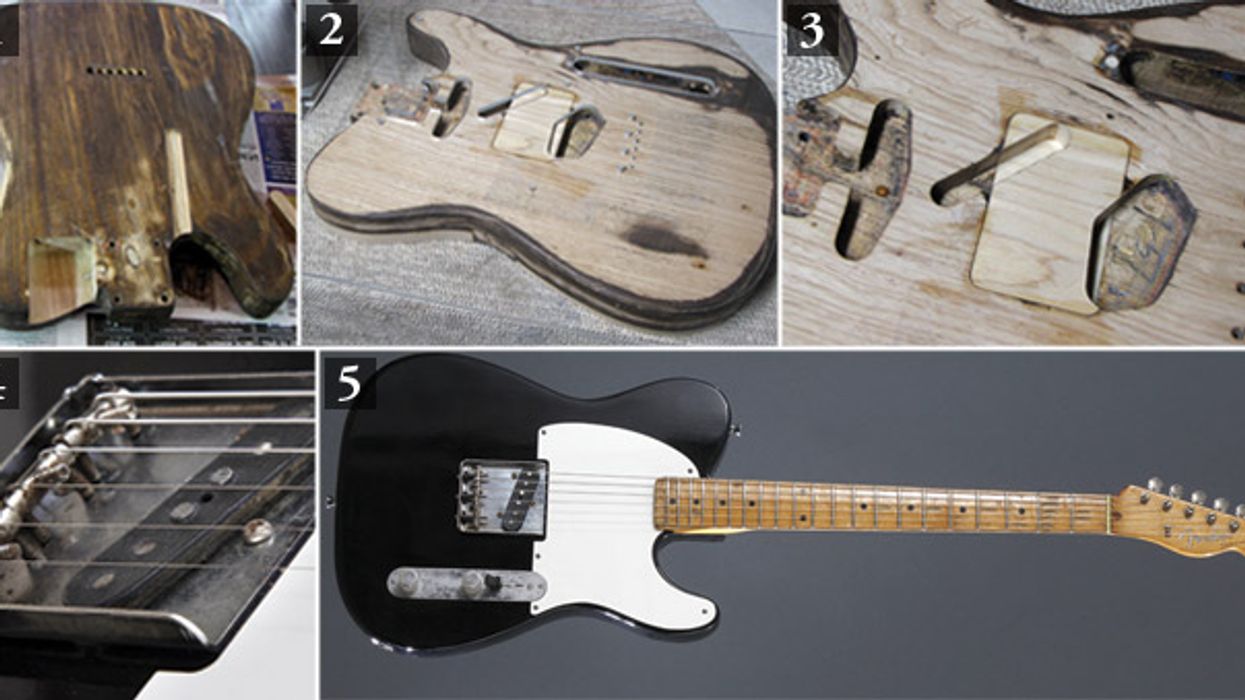
1. To repair the hacked-up body of this ’56 Esquire, I cut replacement pieces from old ash and shaped them to graft back into the guitar. 2. Today’s commercial
The groundwork was laid by Gibson, but
there are still many mechanical designs
to work through and questions to answer
about how the original builder intended
to make it all come together.
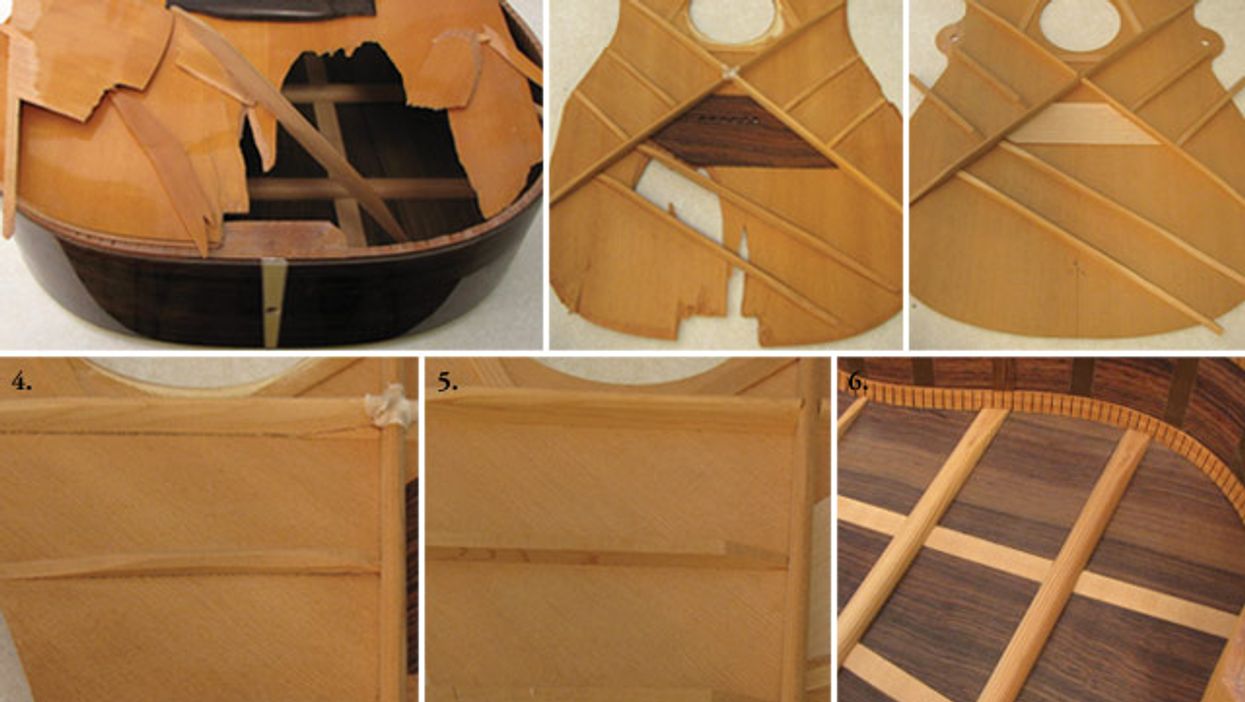
You may recall that a previous owner had decided to install a Floyd Rose locking nut and tremolo. My job will be to replace missing wood, patch various holes, and re-install the original Fender trem, which fortunately stayed with the guitar.
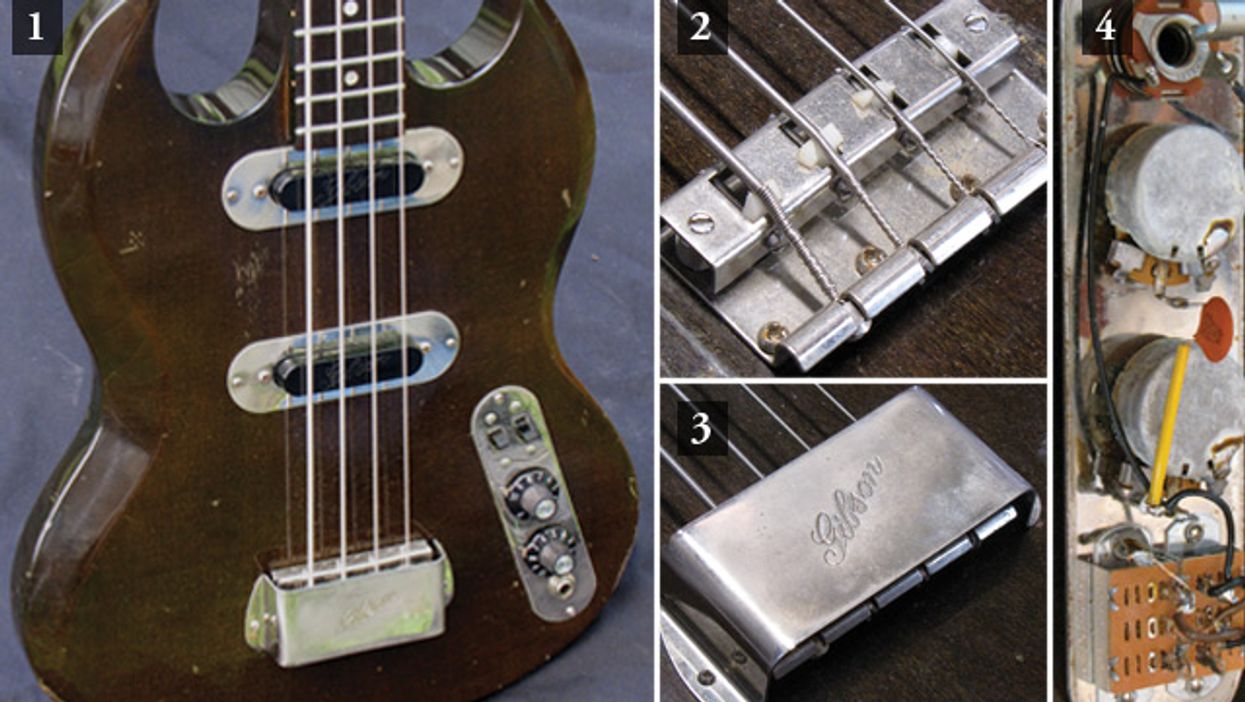
As I checked out this cool Strat, it became immediately clear why it was brought to us. Ouch! Someone had decided to rock out and install a Floyd Rose locking nut and tremolo.