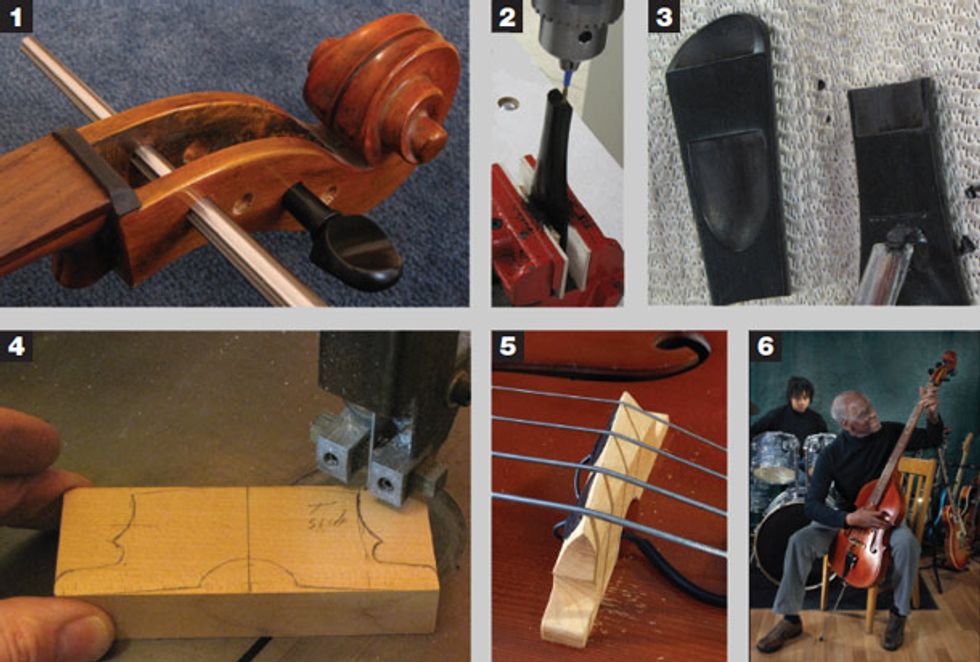
1. Using a large reamer to create holes for the ebony tuning pegs. 2. Drilling the shortened tailpiece for the tailcord. 3. Carving the tailpiece with a Swiss gouge chisel. 4. Getting ready to saw out the new bridge from a maple block. 5. The new bridge sports dual Fishman transducers. 6. It’s alive! Minneapolis musicians Billy Foster (playing the completed Gibson cello bass) and Jack Flynn jamming in the studio.
We began examining a rare, stringed instrument in my previous column [“Restoring a Prototype GibsonCello Bass,” February 2012]. This was an unfinished project that was started by Gibson during the ’70s and later sold off “as is.” My job was to finish the project and turn this “cello bass” into a playable instrument.
Though the groundwork was laid by Gibson, I still faced many questions and had to work through a number of mechanical designs. Once I understood the neck angle, scale, body dimension, and size of the scroll, I was able to get a clear view of how to proceed.
There were a few cello parts we needed for completing this project. I purchased ebony cello pegs, an ebony tailpiece, a multi-fiber tailcord, and an endpin with adjustable rod from the Howard Core Company of Anniston, Alabama. Core offers an abundance of choices, which made it easier to find parts that required the least amount of modification. In addition, we used some raw ebony and maple stock from our shop for carving out the nut and bridge.
One of the few challenges we encountered was finding a gauge and length of string that would accommodate the scale and design of this cello bass. Through trial and error, I found that La Bella’s 760FL Deep Talkin’ Bass extra-long flatwounds were the perfect strings for this instrument. The extended length allows the strings’ ball ends to seat properly in the tailpiece and insure that the colored thread wrap at the other end would clear the ebony nut and wind around the tuner pegs.
I got out my box of violin repair tools and blew off the dust. It has been a good 20-plus years since guitars and basses took over from violins and stringed instruments in our shop. For installing the ebony tuning pegs, I used a large peghole reamer (item #0343 from stewmac.com). To limit peg slippage, I used bow rosin that I’d previously mashed into a powder. This fits between the bushing and peg, and grips very well.
After measuring out the 34" scale and positioning a mockup bridge, I discovered that the Gibson tailpiece extended beyond the front of the bridge. After more research, I realized the only option was to alter the stock tailpiece to accommodate our needs. This required shortening it to a length of 5". In the process, we lost all the important cavities for mounting the tailcord, a specialized string that loops around the endpin and holds the tailpiece in position when its under string tension. This step required an assortment of tools such as StewMac’s Dremel tool (item #0358), angle Restoring a Prototype Gibson Cello Bass, Pt. 2 BY john brown vise (#1820), and luthier’s file set (#0842), as well as a Swiss gouge chisel and drill press.
I had to craft the bridge from a blank of flat-sawn maple because there was no bridge on the market that would work with the neck angle. A cello or upright bridge would position the strings a mile off the fingerboard, while a bass or guitar bridge would bottom out the strings. I wanted to give the bridge some style, but at the same time it needed to intonate correctly and also support pickups. With a smooth, warm, and somewhat soft voice projecting from the tonal cavity, it was easy to conclude that the instrument really needed to be electrified. We decided to use a dual-element Fishman BP-100 acoustic bass pickup for the job. I positioned the pickups, tested them for balance, and finally glued them into permanent position using gel-like Super Glue.
After stringing up the cello bass, I was delighted to discover that it actually worked. The project reminded me of a Frankenstein movie—creating a creature from bits and pieces with some unknown risk along the way. But unlike Mary Shelley’s book, this tale has a happy ending
 John Brown is the
inventor of the Fretted/Less
bass. He owns and operates
Brown’s Guitar Factory,
a guitar manufacturing,
repair, and restoration facility
staffed by a team of talented
luthiers. His guitar-tool and accessory designs
are used by builders all over the world. Visit
brownsguitarfactory.com or email John at
info@brownsguitarfactory.com.
John Brown is the
inventor of the Fretted/Less
bass. He owns and operates
Brown’s Guitar Factory,
a guitar manufacturing,
repair, and restoration facility
staffed by a team of talented
luthiers. His guitar-tool and accessory designs
are used by builders all over the world. Visit
brownsguitarfactory.com or email John at
info@brownsguitarfactory.com.

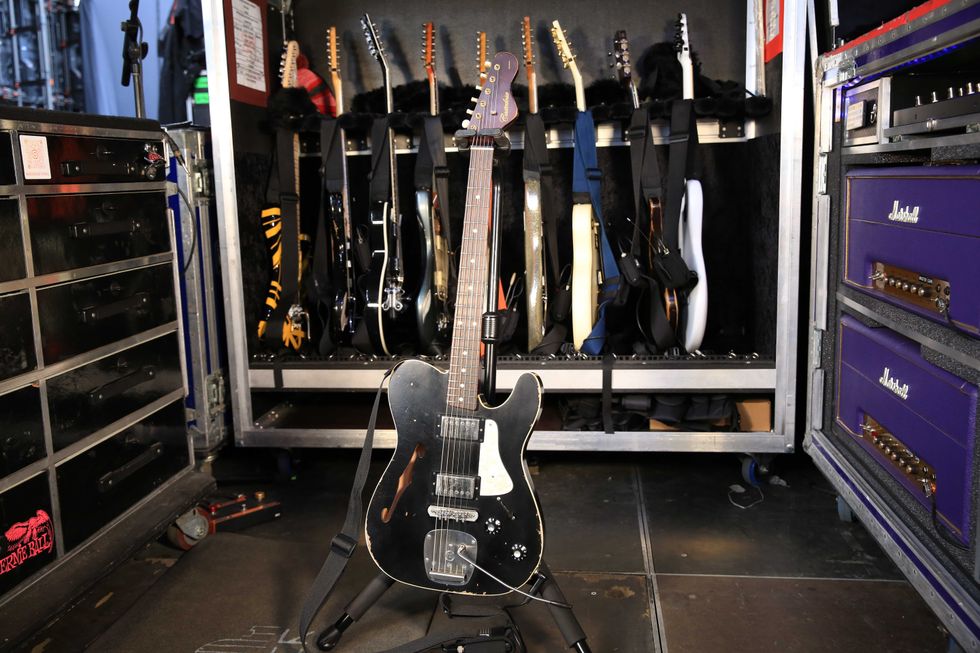
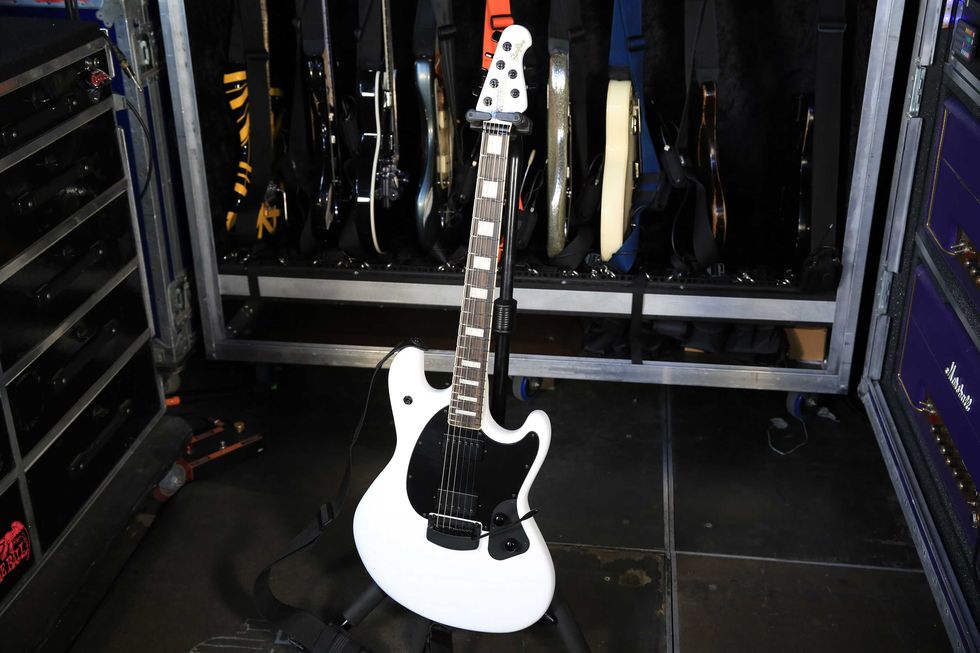
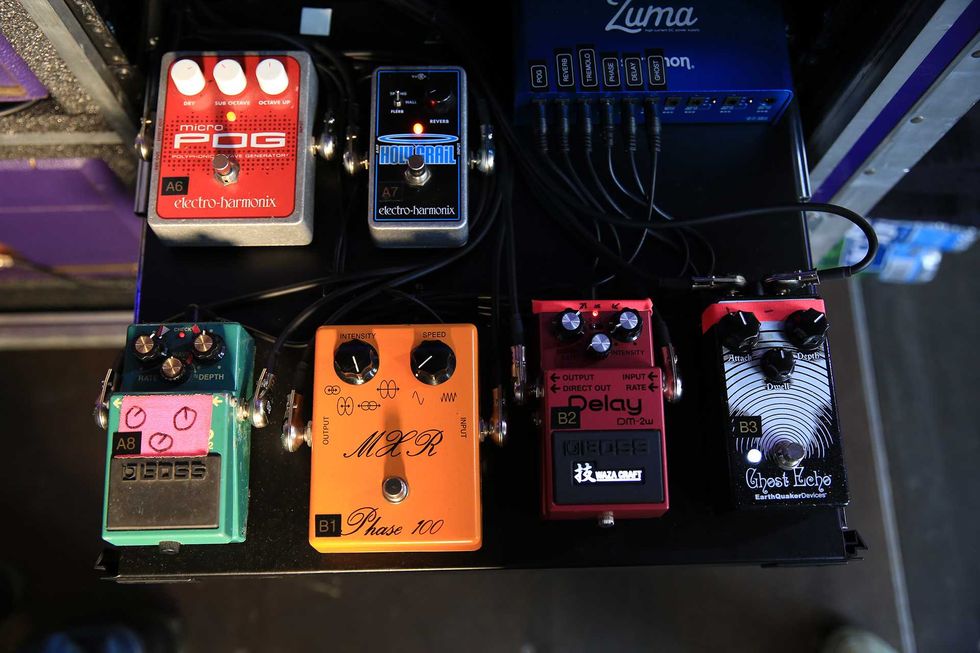
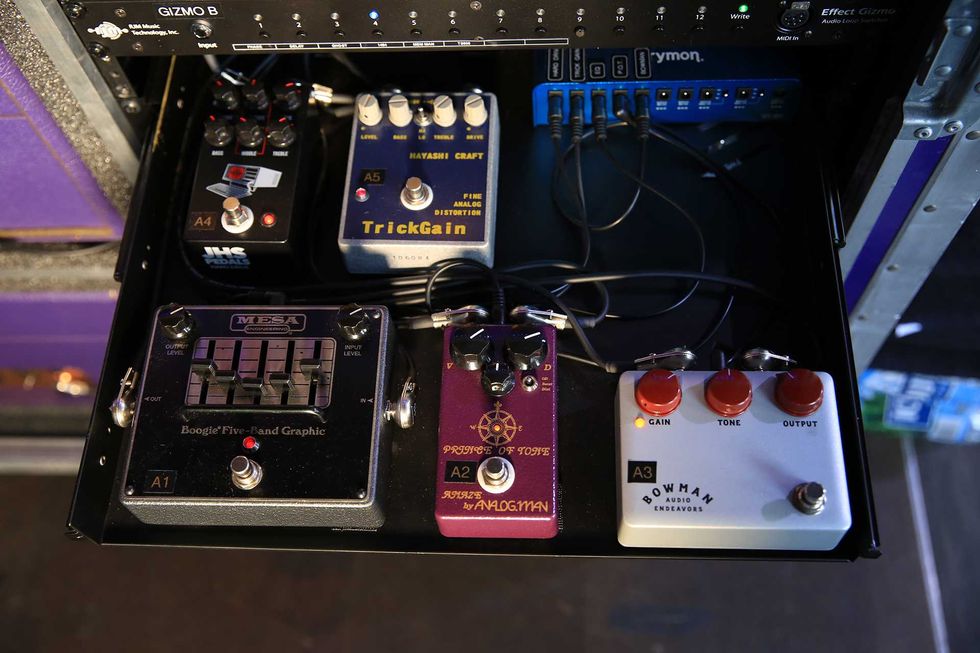
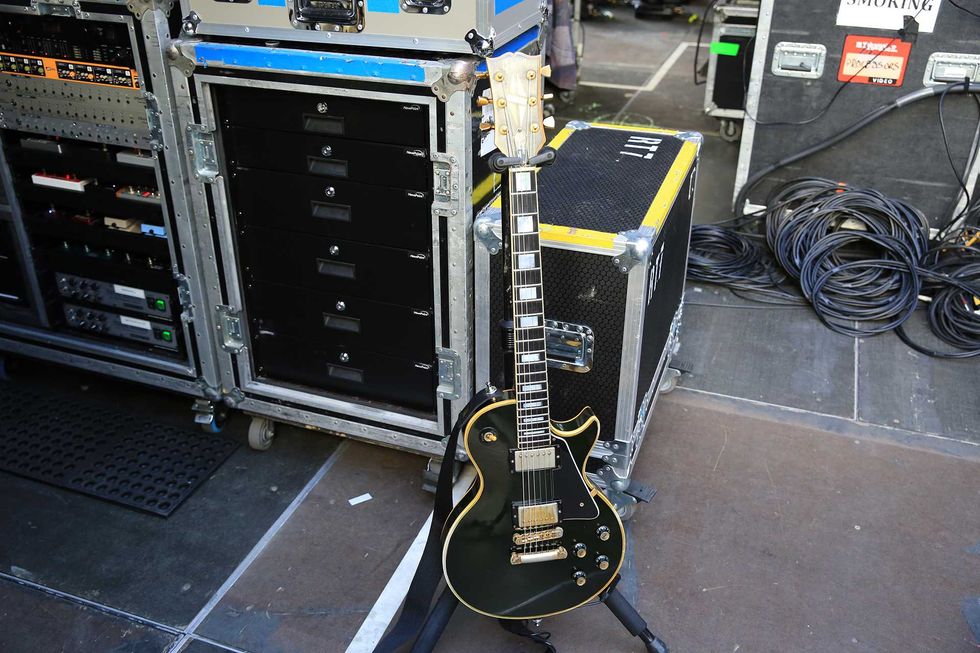
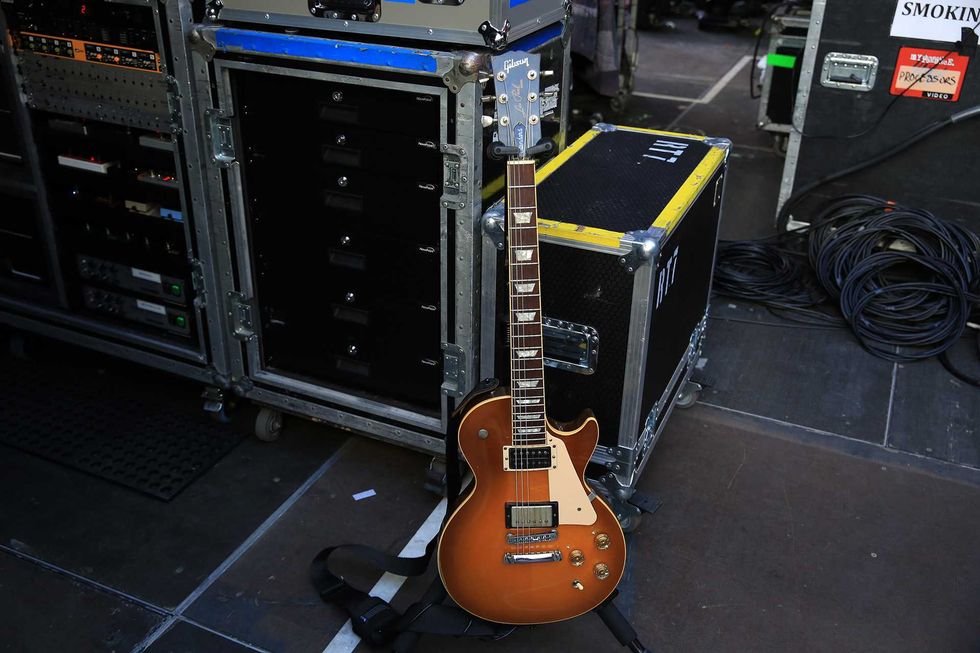
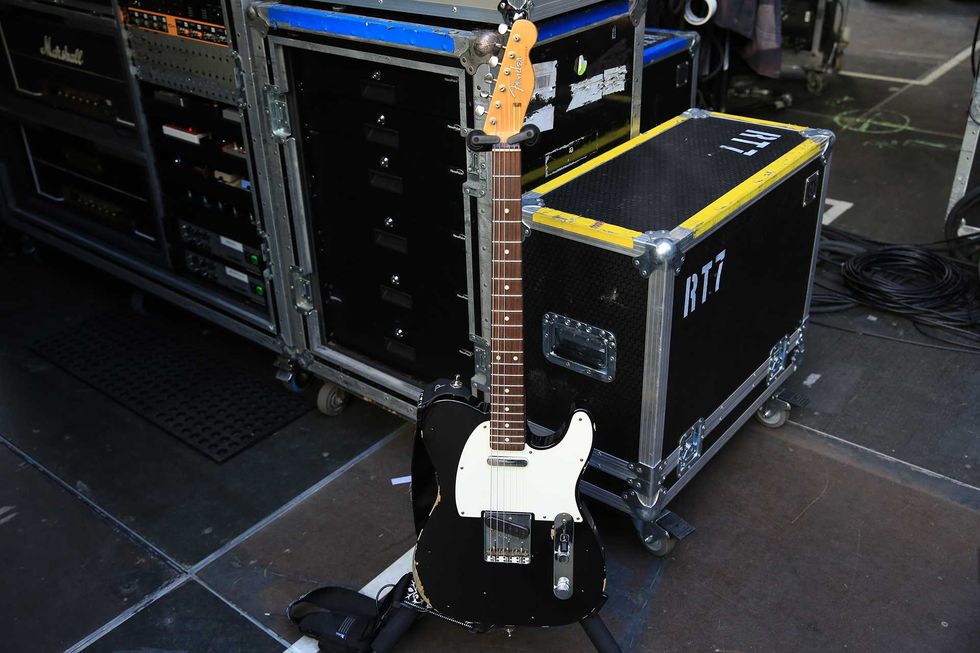
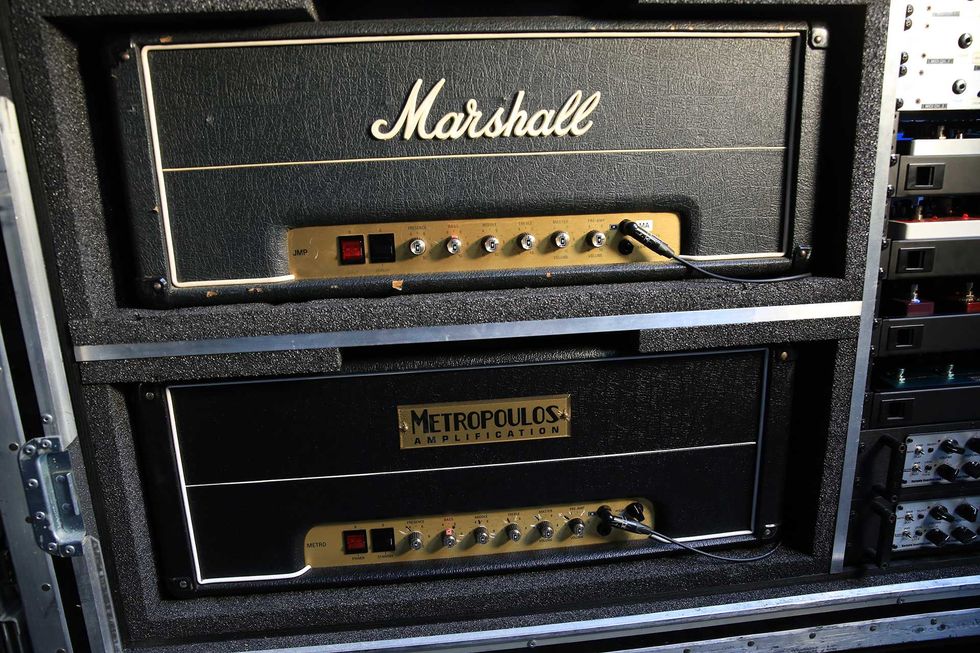
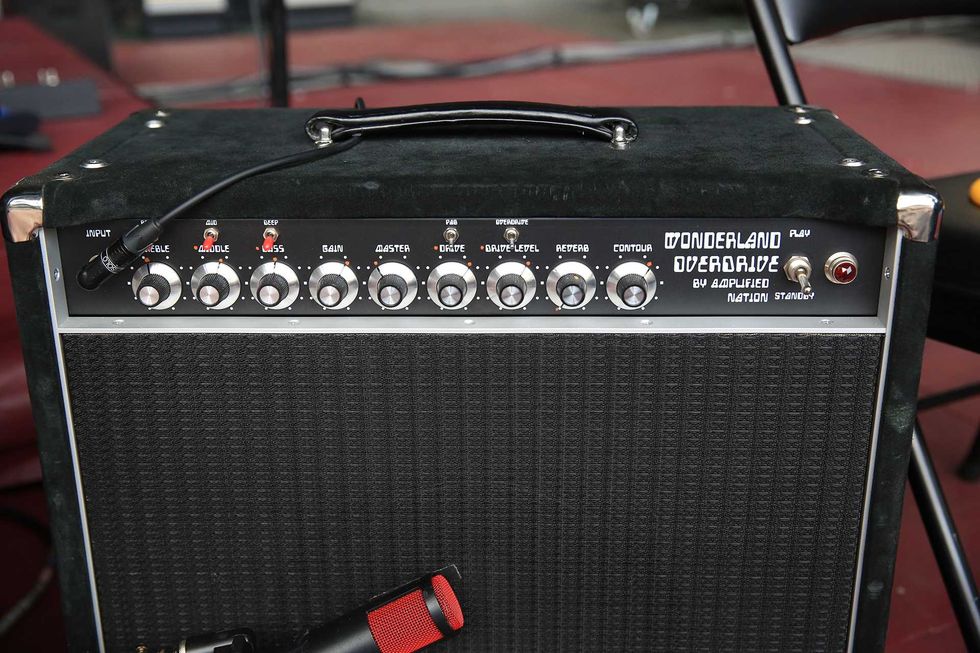
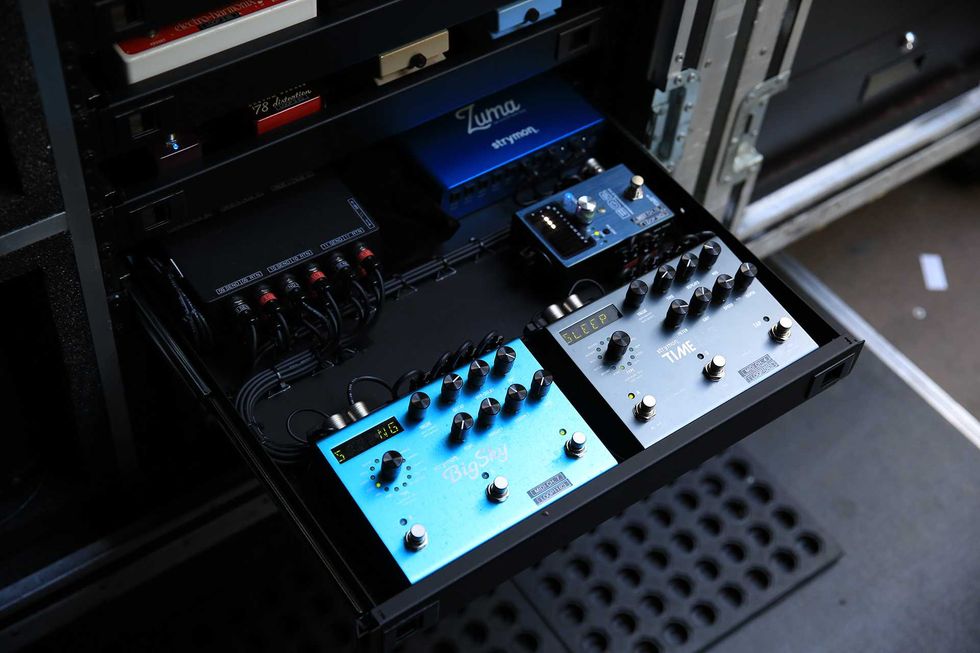
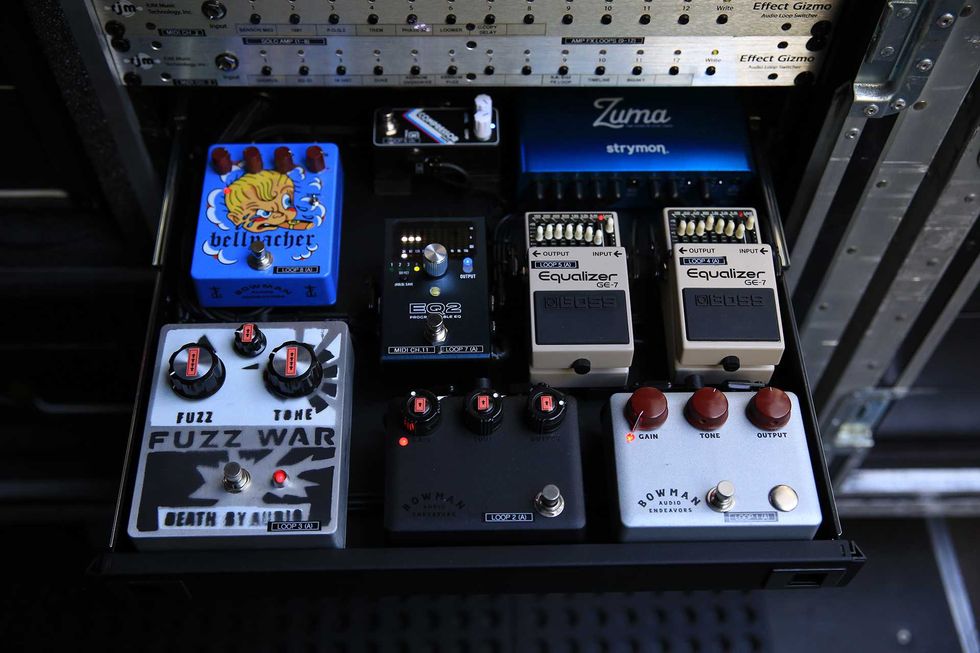
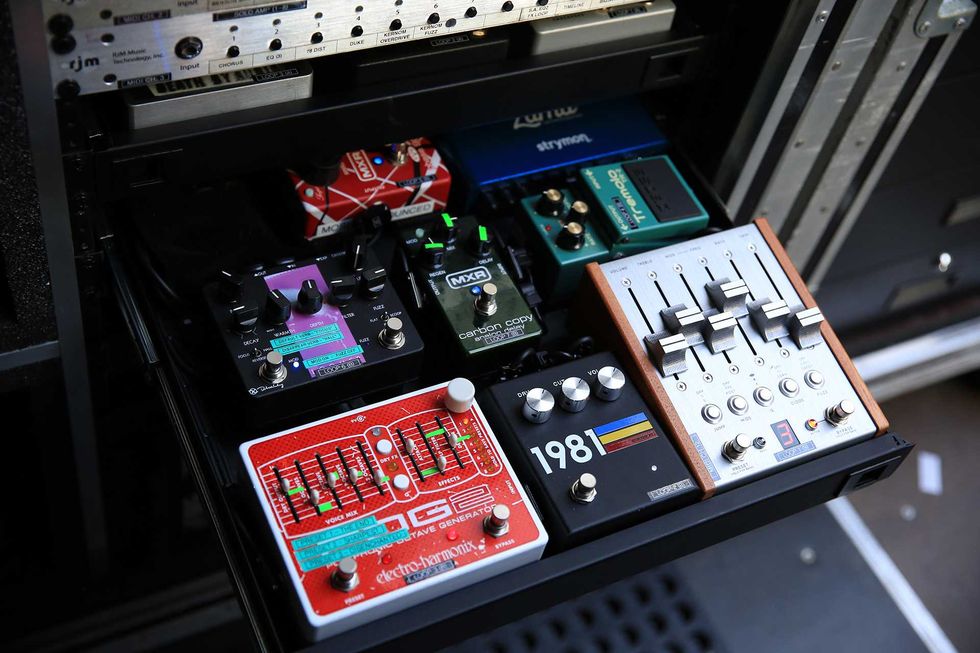
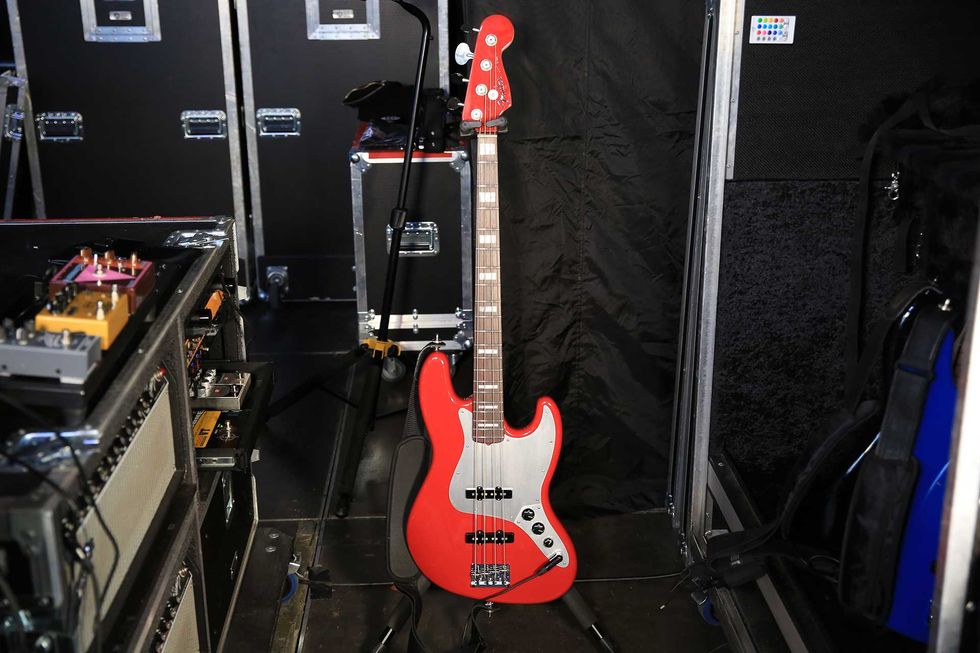
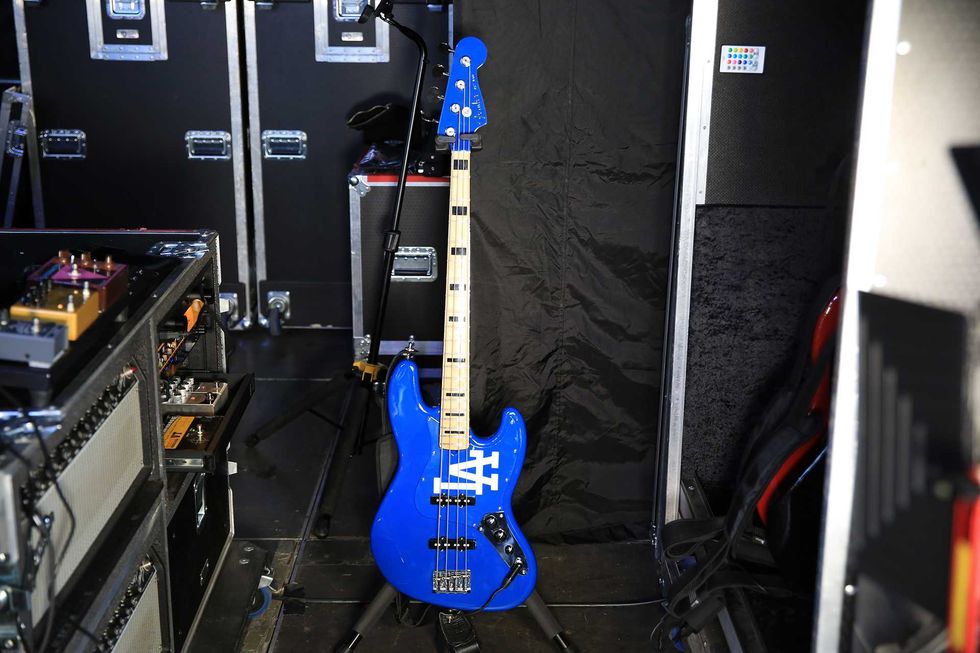
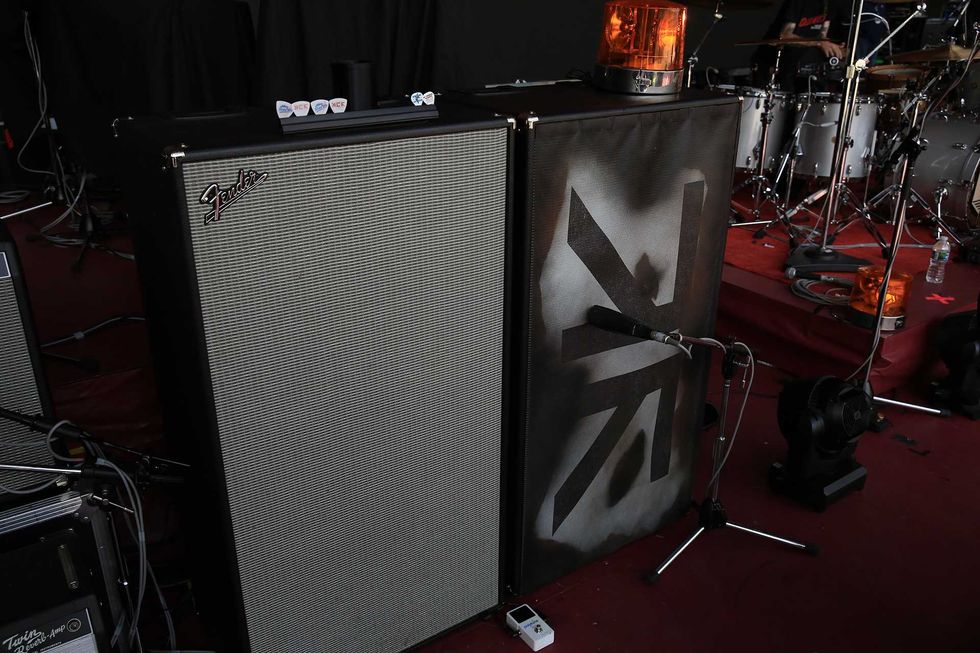
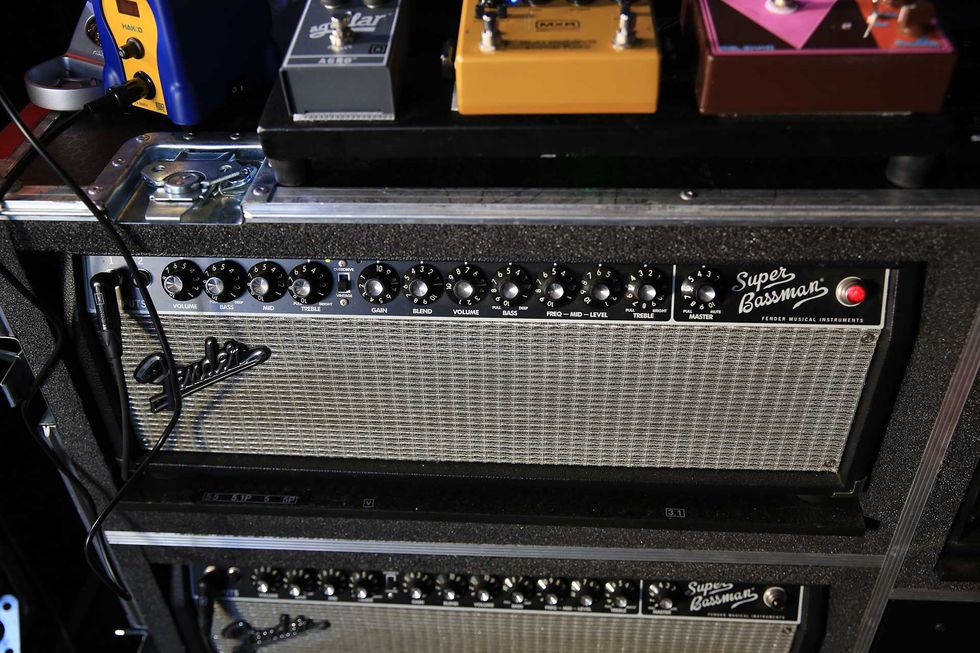
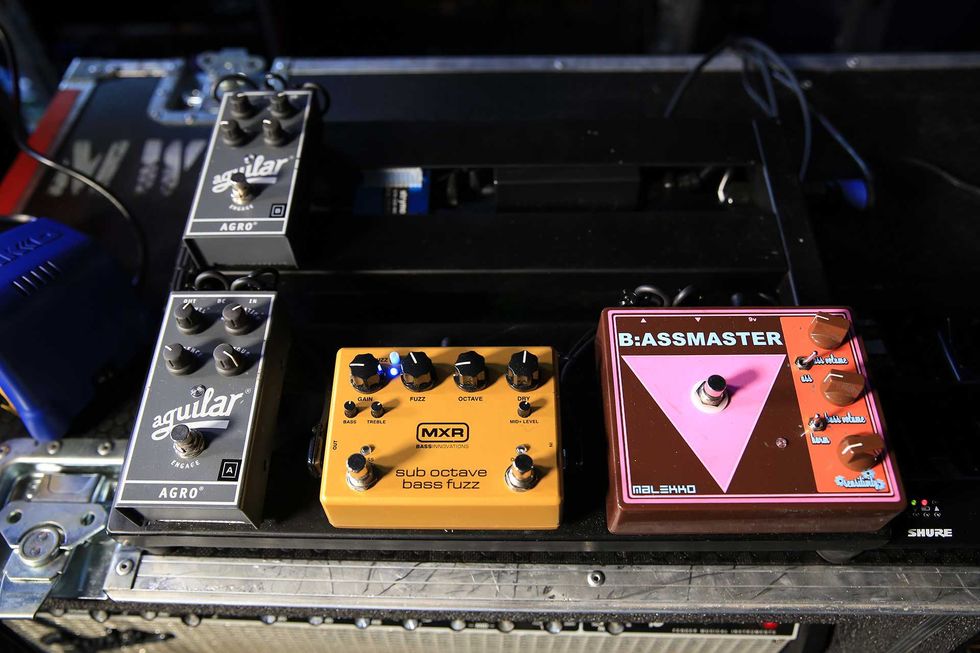
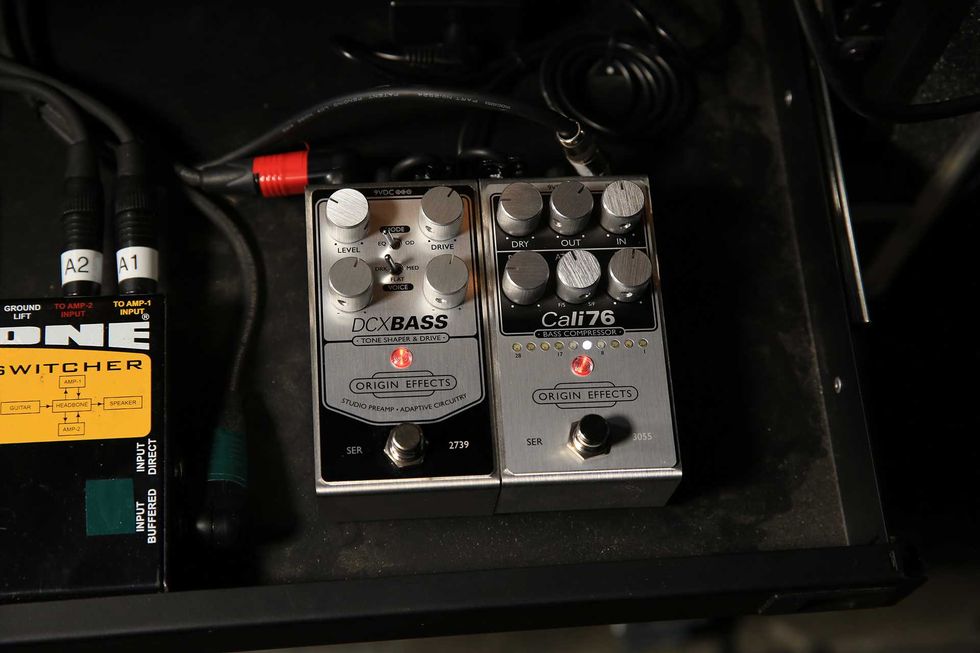
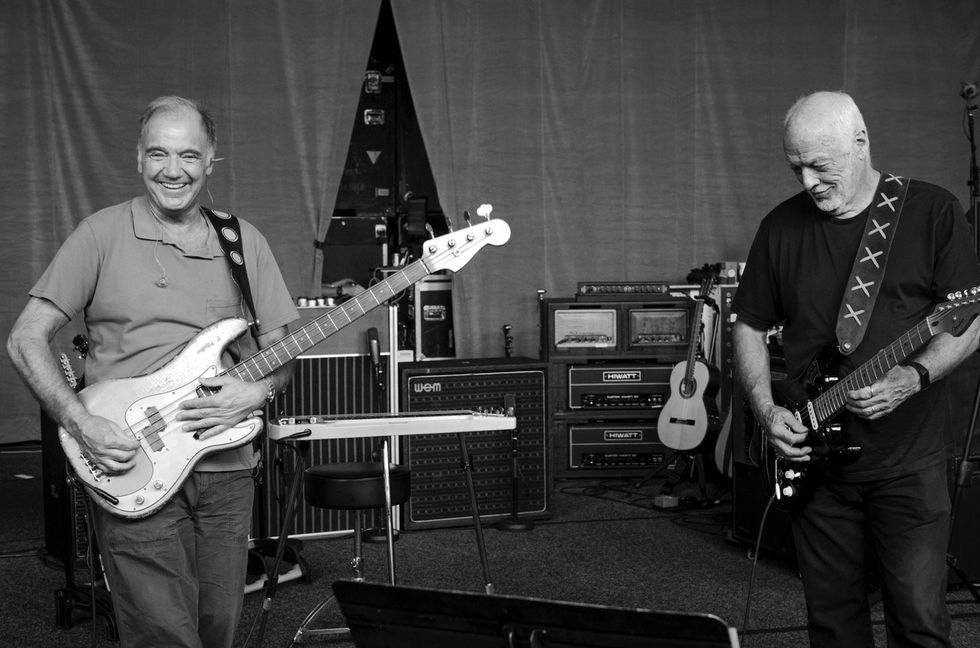
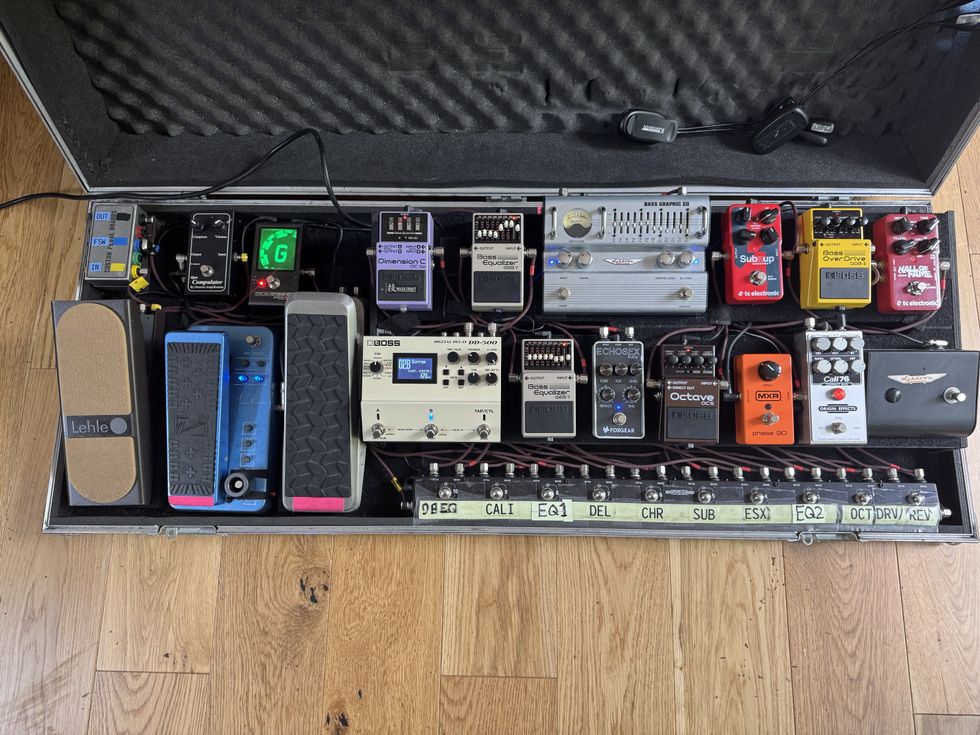
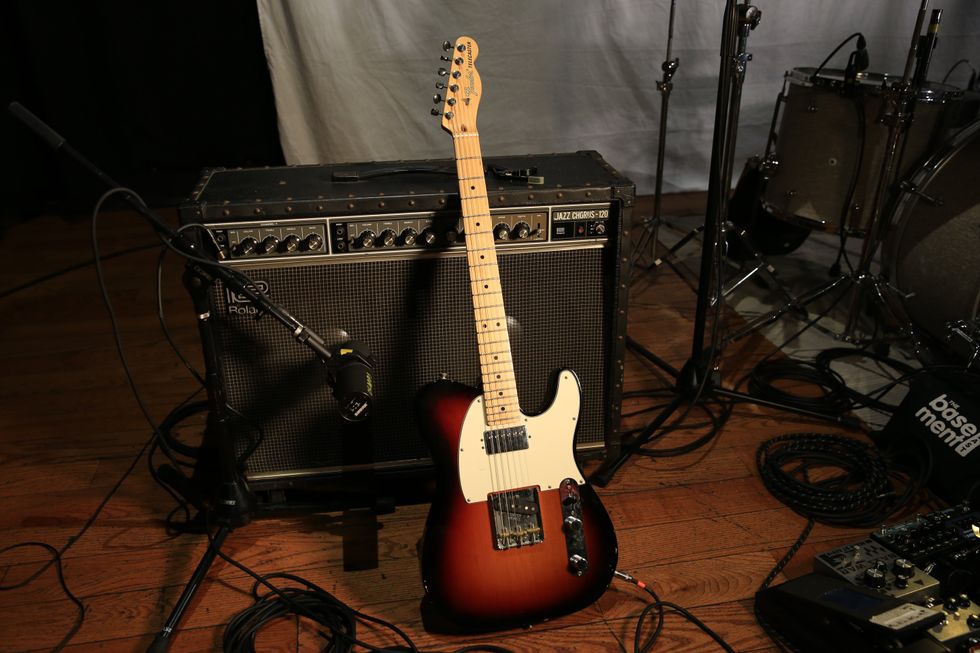
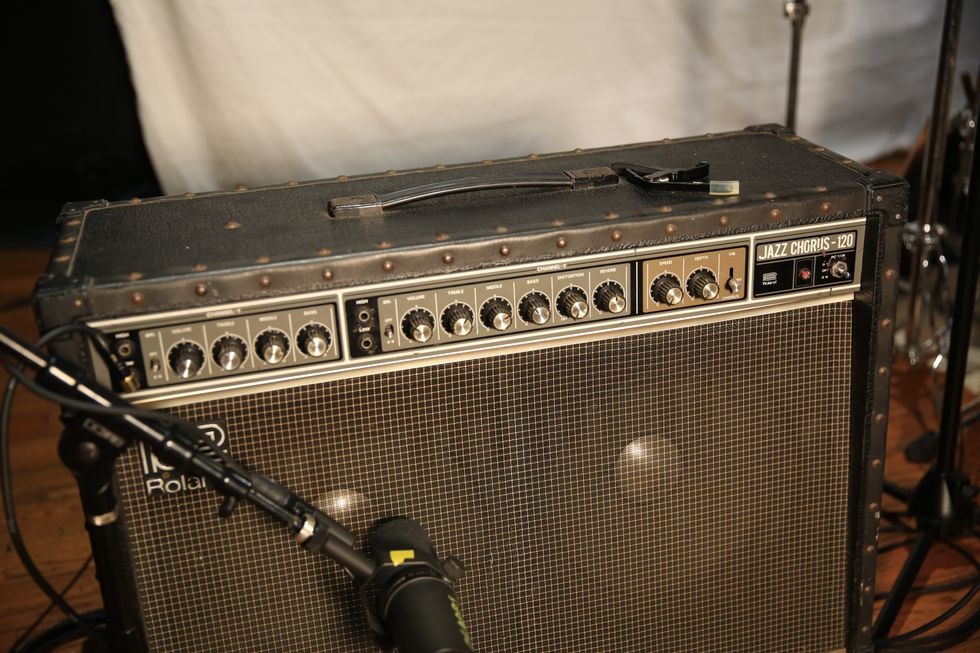
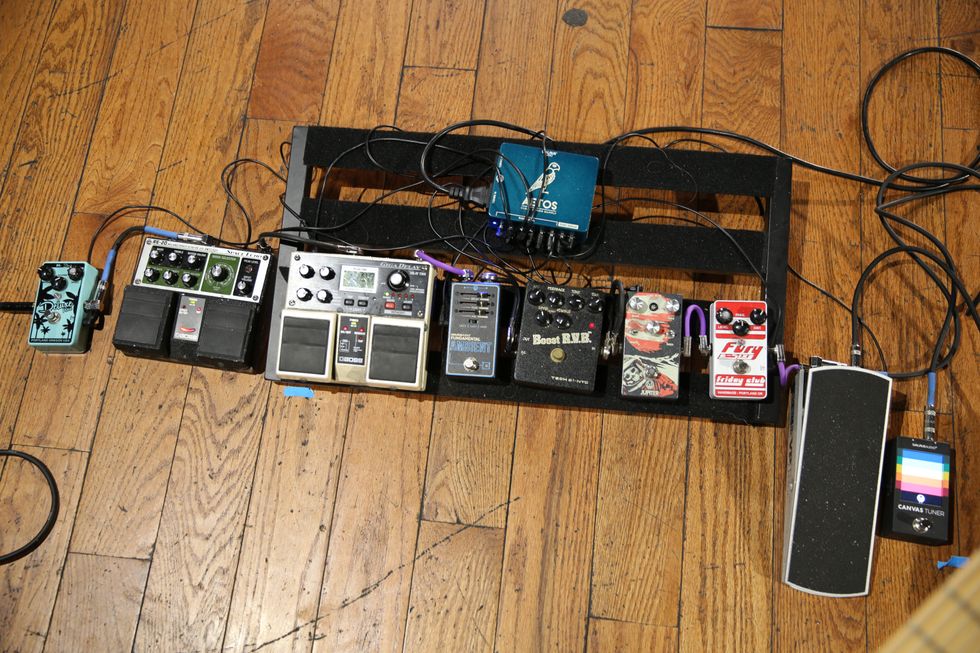
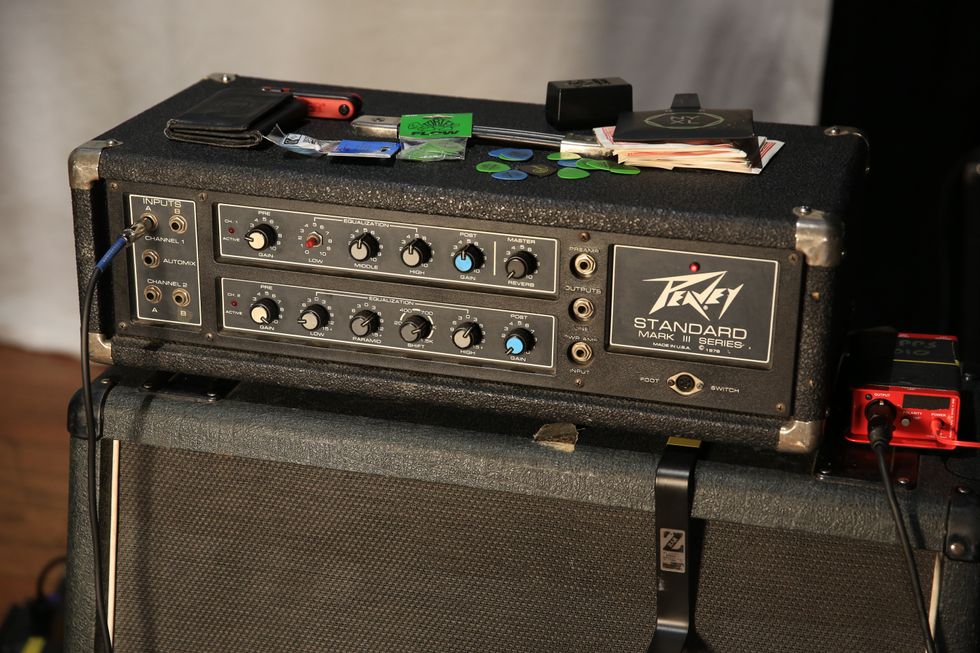
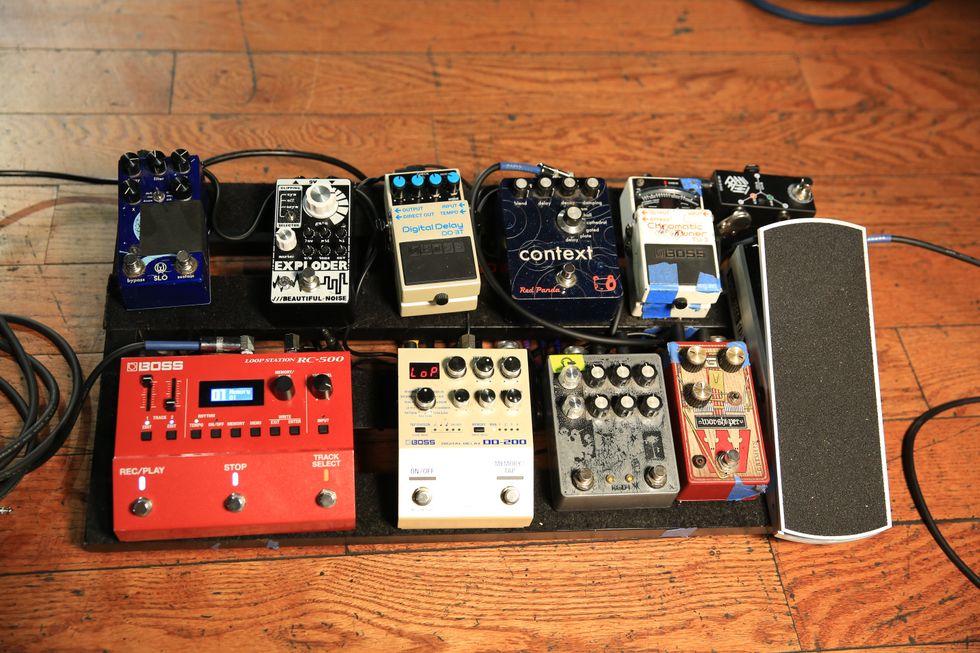
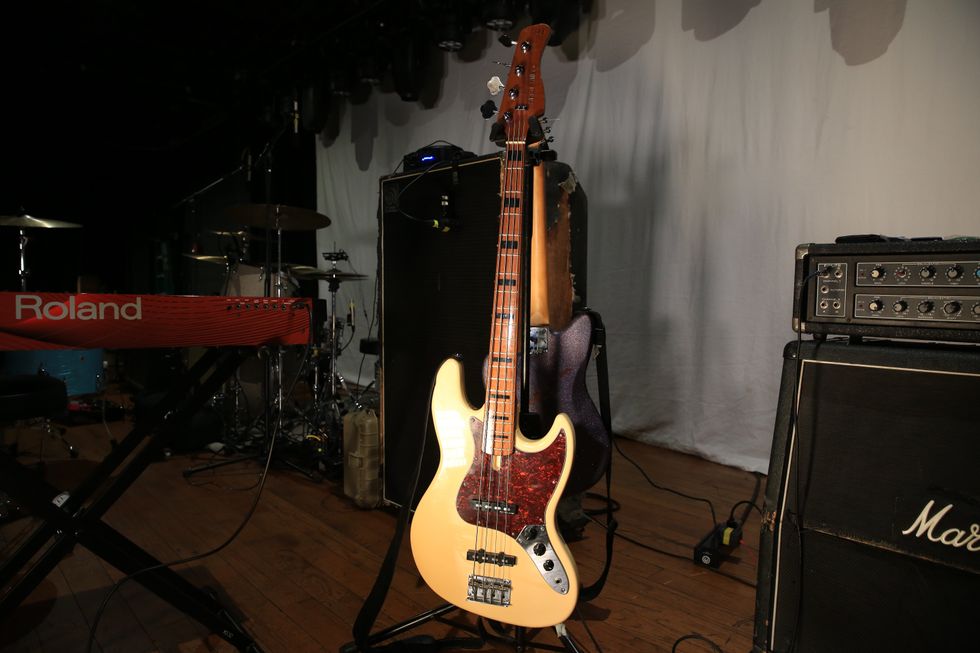
![Rig Rundown: AFI [2025]](https://www.premierguitar.com/media-library/youtube.jpg?id=62064741&width=1245&height=700&quality=70&coordinates=0%2C0%2C0%2C0)
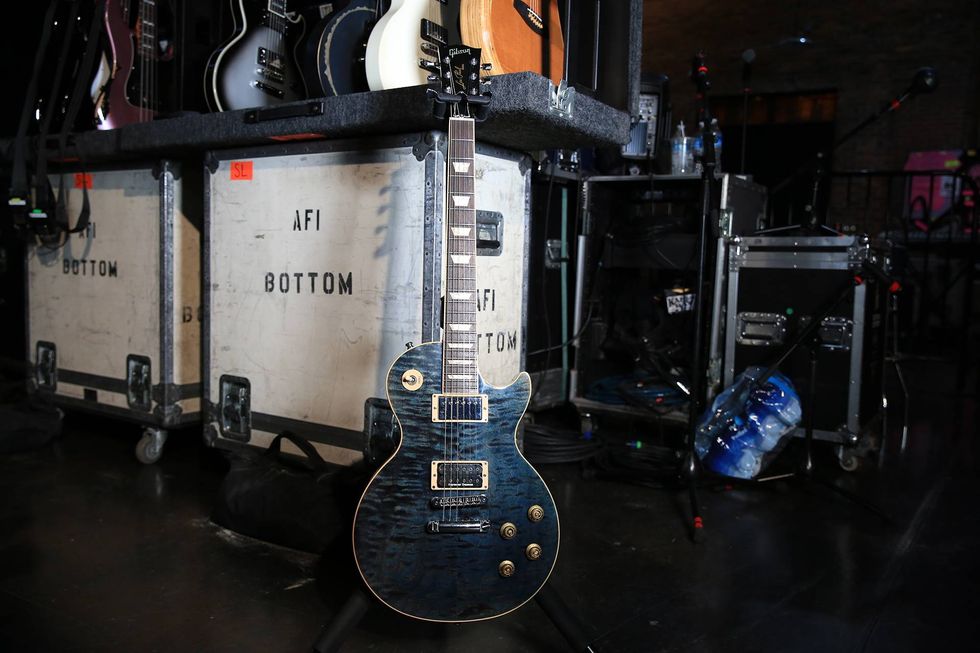
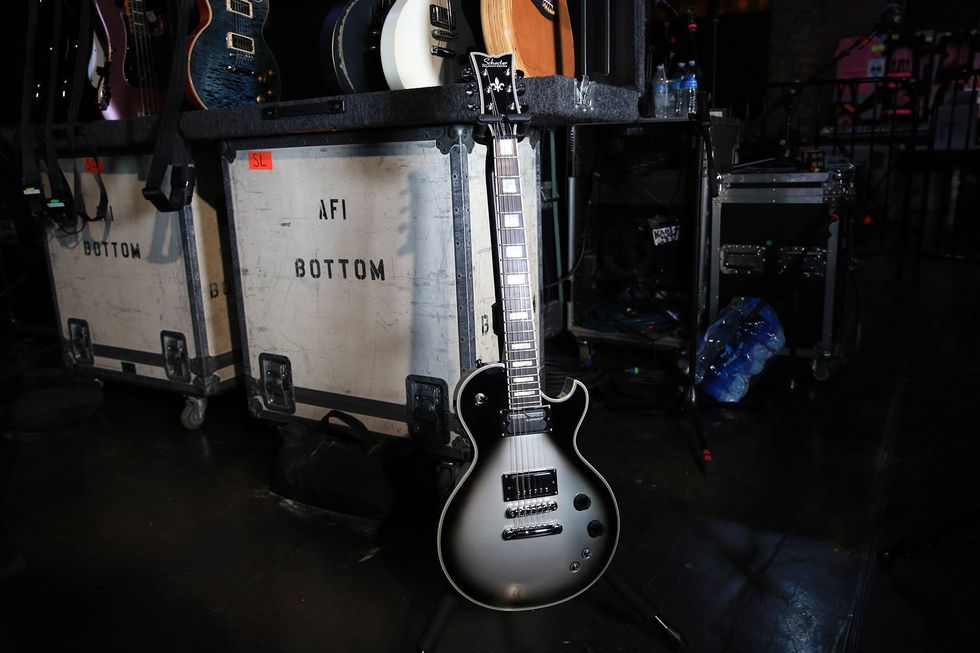
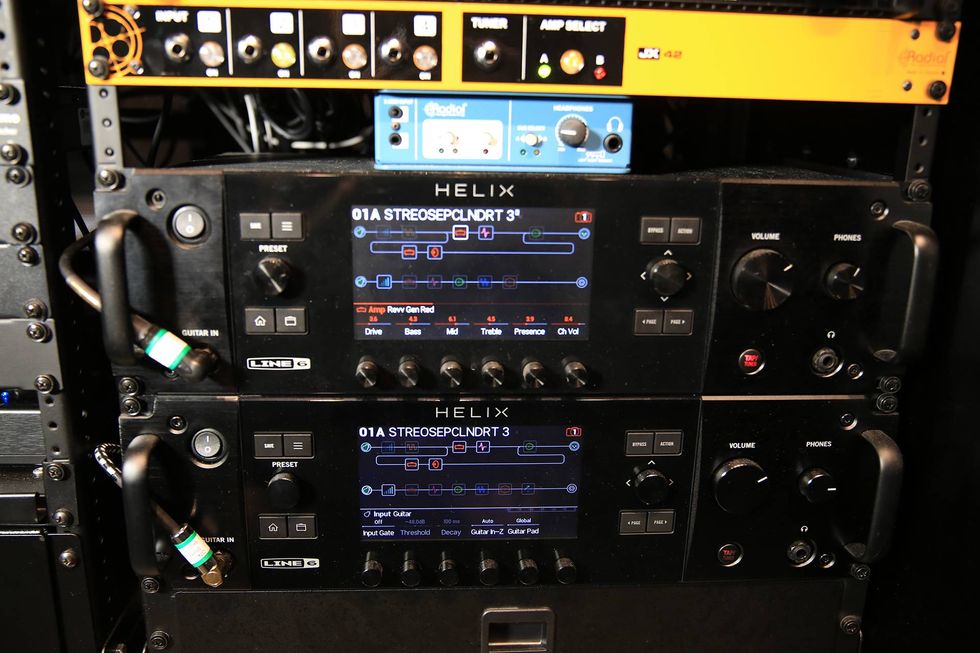
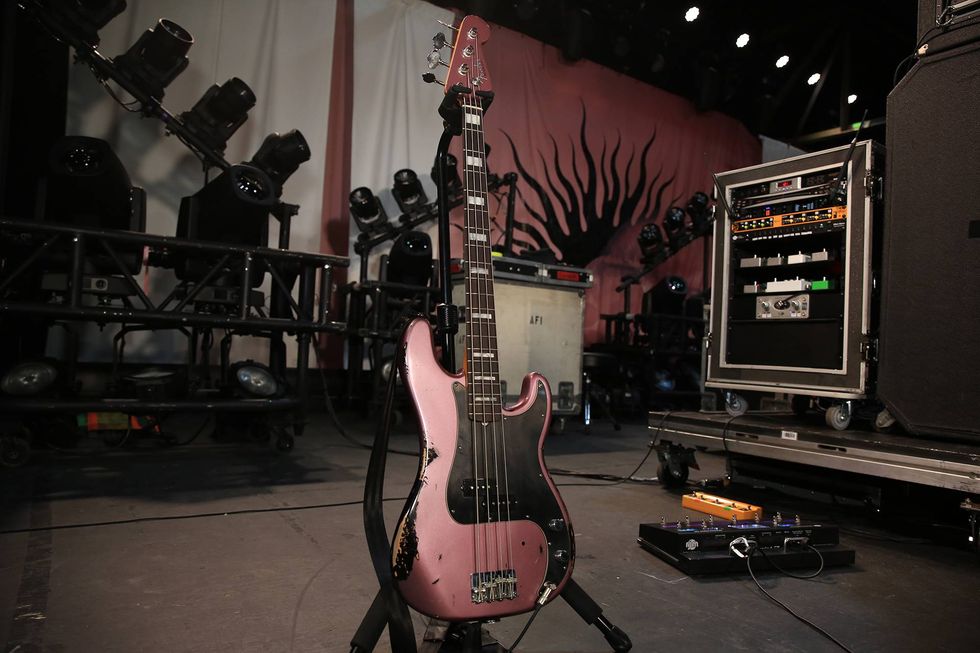
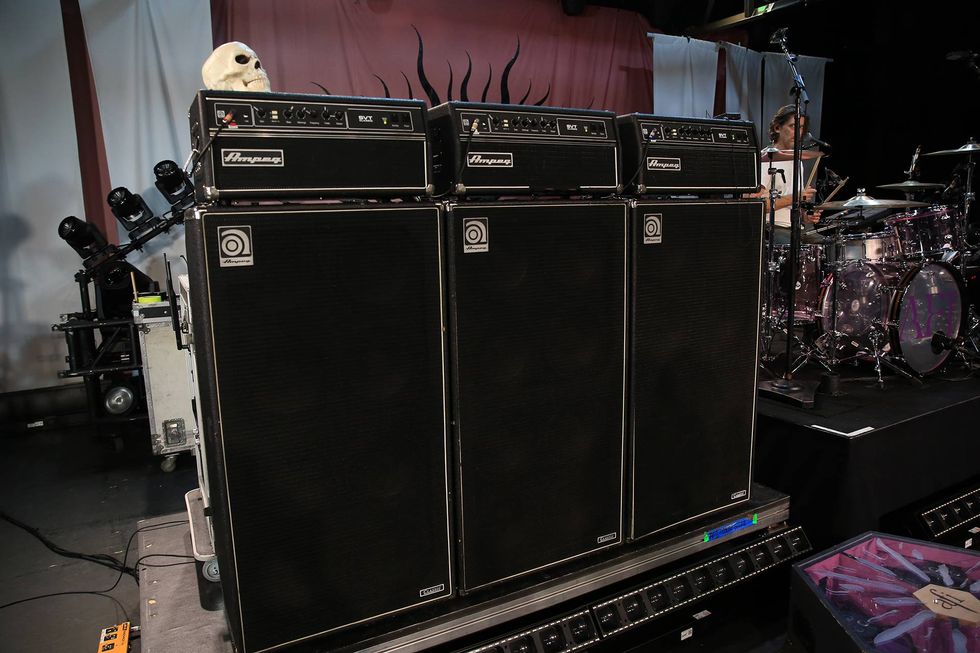
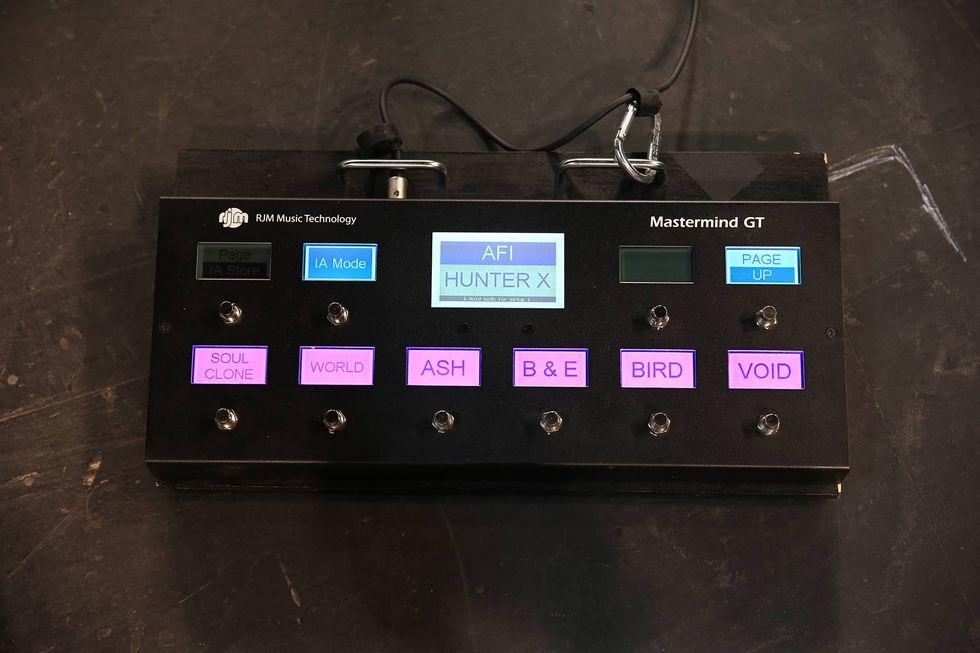
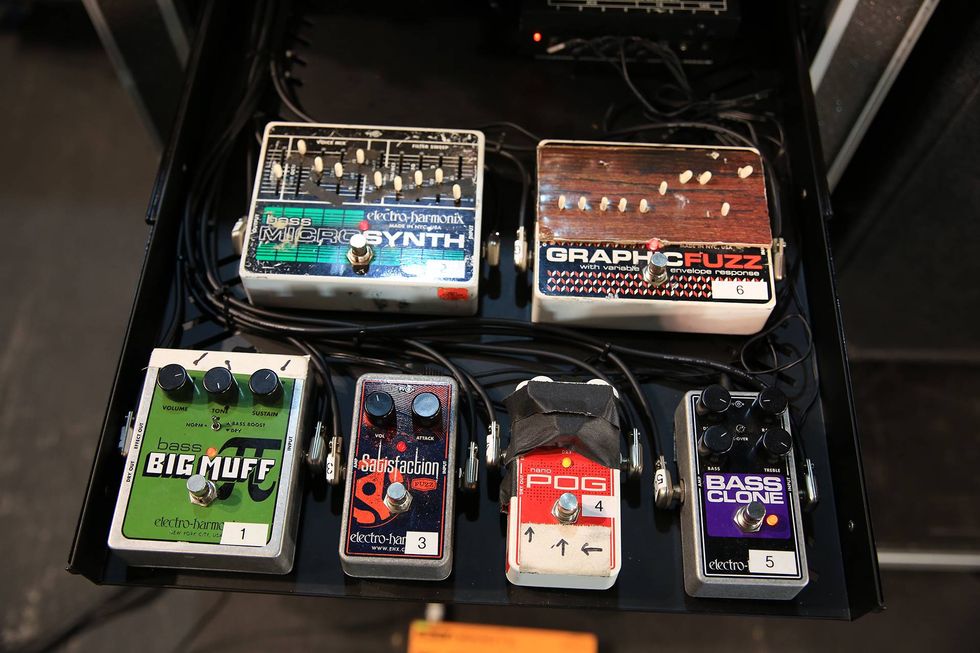
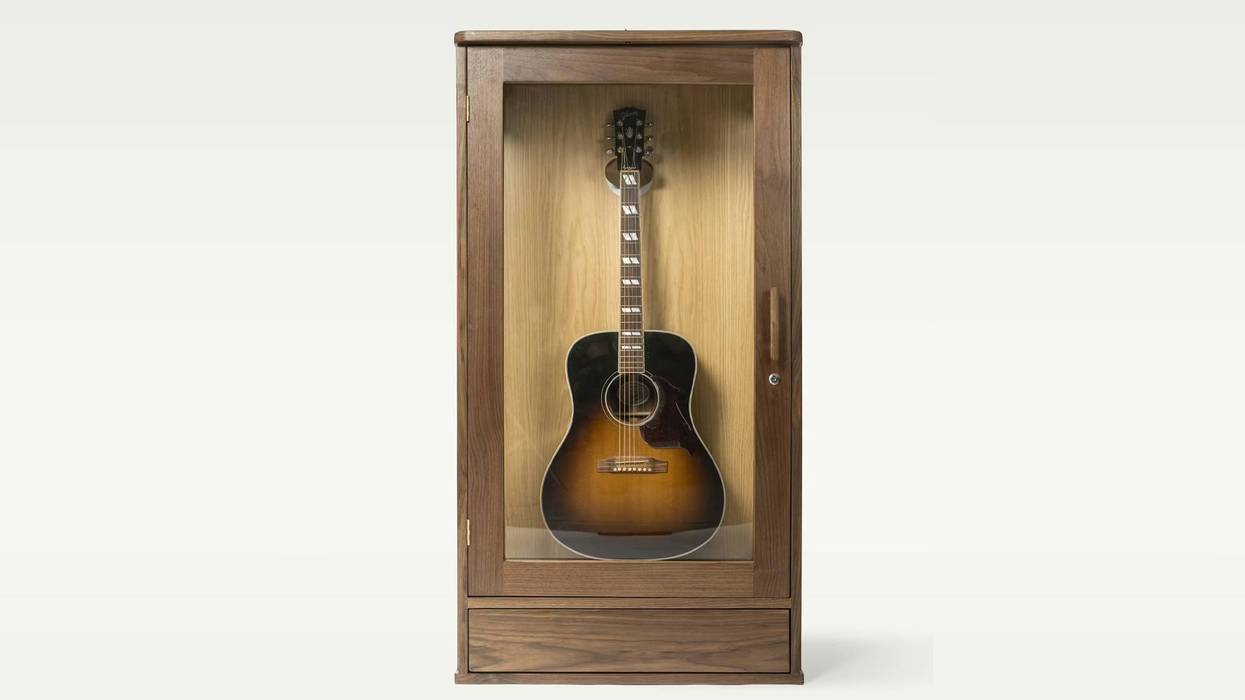
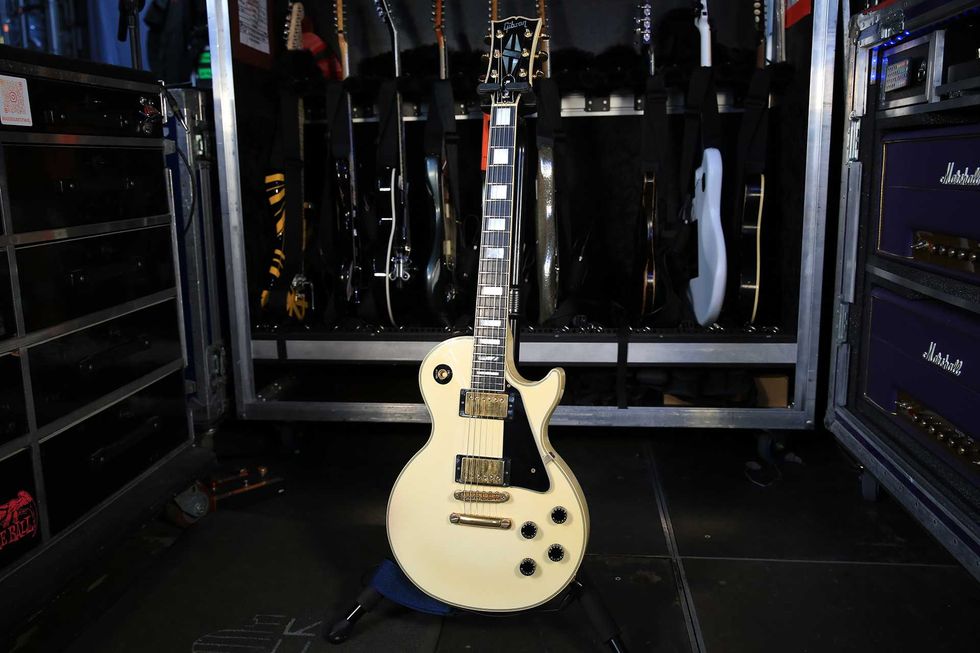
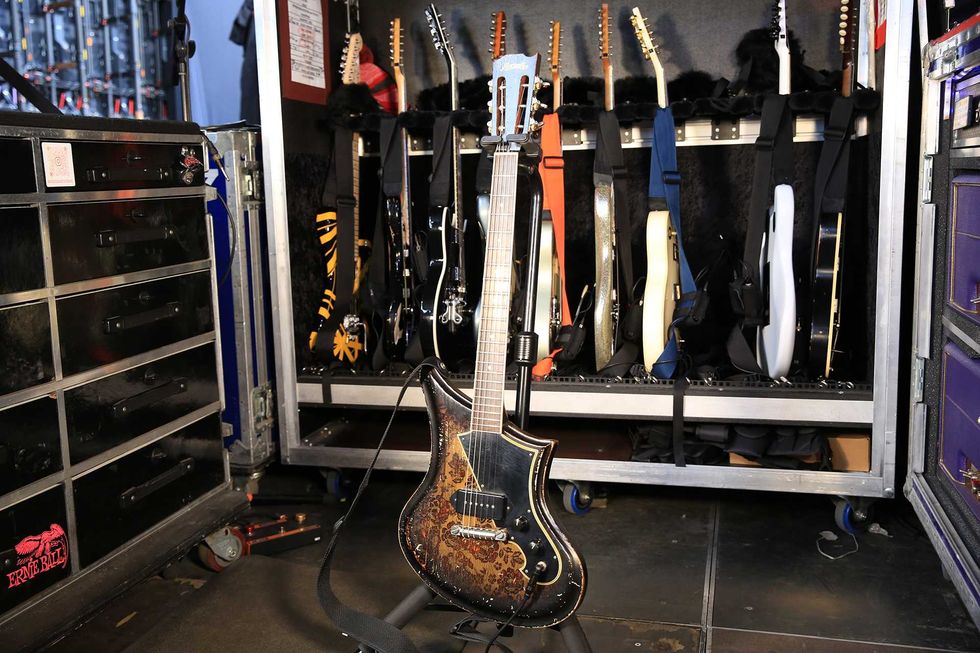
 Shop Scott's Rig
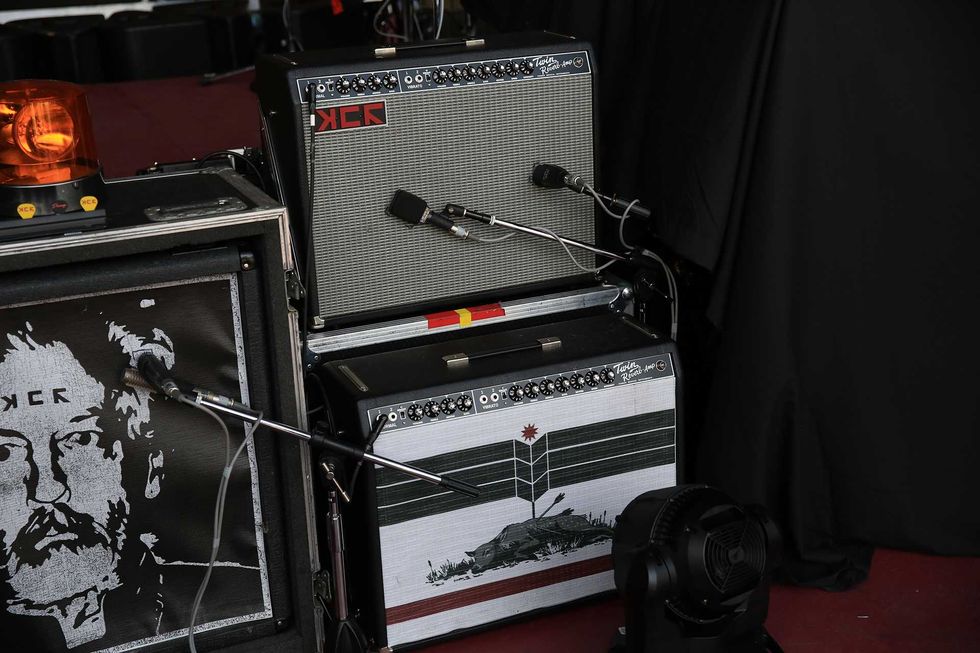
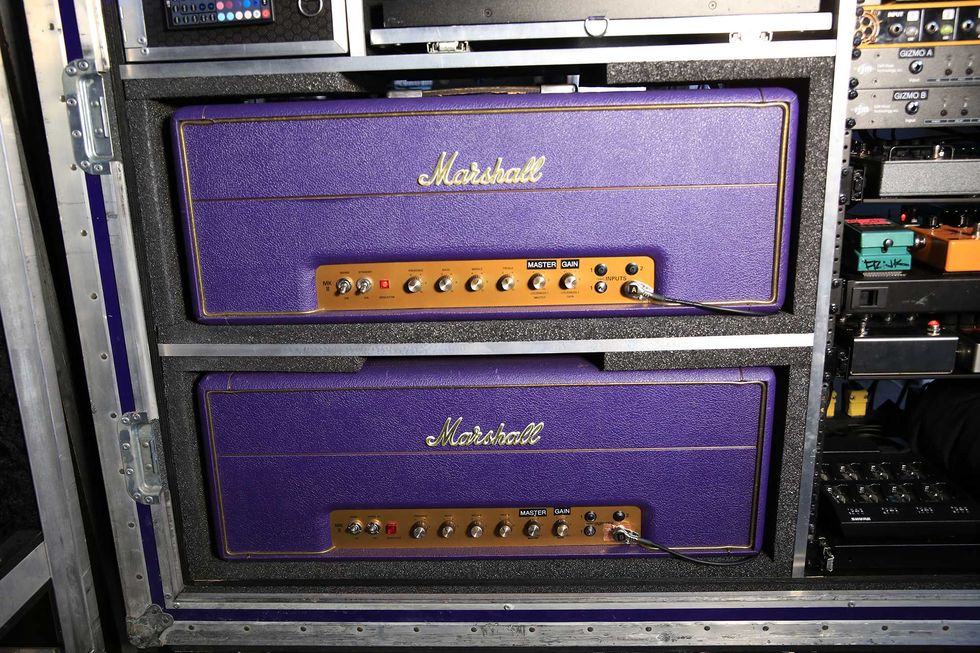