When a customer recently
brought a ’74 Gibson
flattop into our shop for
evaluation, I determined that
its rosewood bridge should
be replaced. The strings were
sloping over a bottomed-out
plastic saddle, and I could
hear that the strings were
getting slightly choked off
because the action was too
low. Additionally, I was concerned
that the wafer-thin
bridge would develop cracks
between each bridge-pin
hole—and also possibly bust
out at the front. I felt a new
bridge and saddle would
improve the guitar both sonically
and structurally.
Last month, we looked at
the first phase of this operation
and discussed the tools, materials,
and procedures required
for the job. (If you missed the
first installment, you’ll find it
in the PG July issue here.) This time around,
we’ll look at what it takes to
complete the project.
Bridge Installation.
Before gluing in the replacement bridge, it’s important to clean the wood and remove the oils, dyes, and any other substances that could bleed into the glue from the gluing surface and get absorbed into the finish. I did so using acetone, Scott Xtreme Rags, and a good pair of protective gloves. I repeatedly wiped the bridge with acetone until the cloth came away from the wood clean.
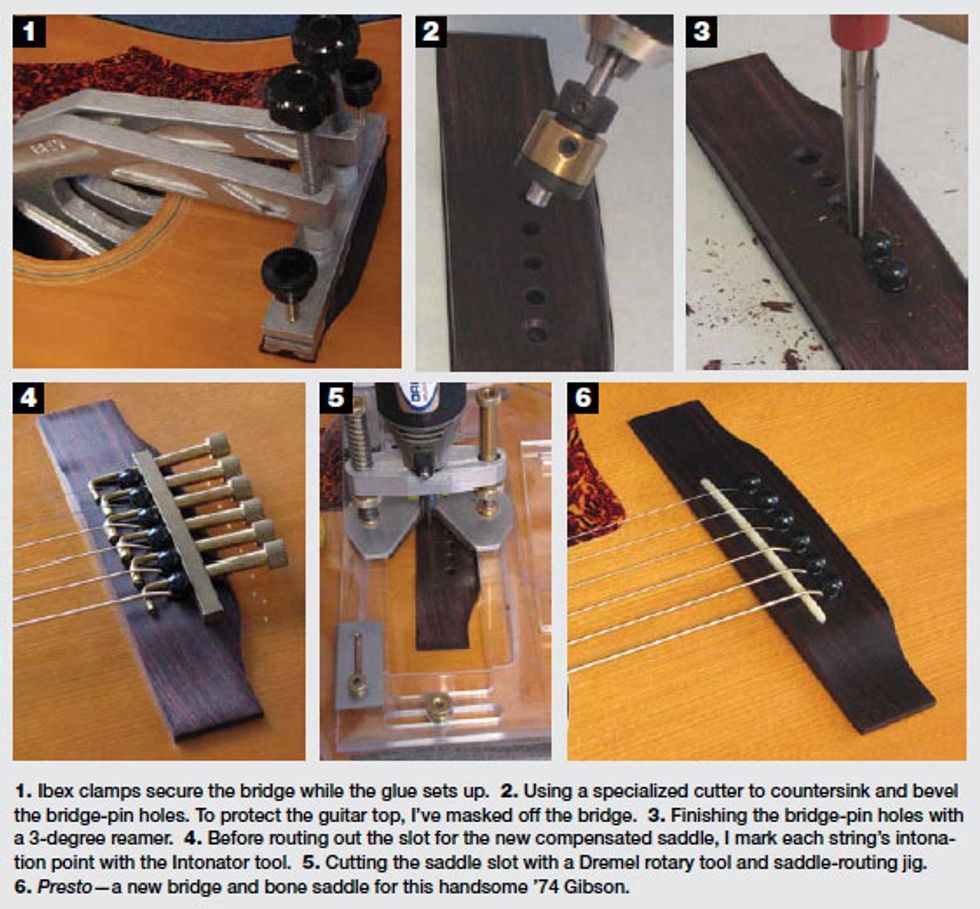
For gluing and securing the bridge to the top, I used several specialized guitar tools from stewmac.com: a bridge-clamping caul (item #4600), two Ibex bridge clamps (#0682), as well as a bridge plate caul I cut out from 1/4" plywood and wrapped in wax paper.
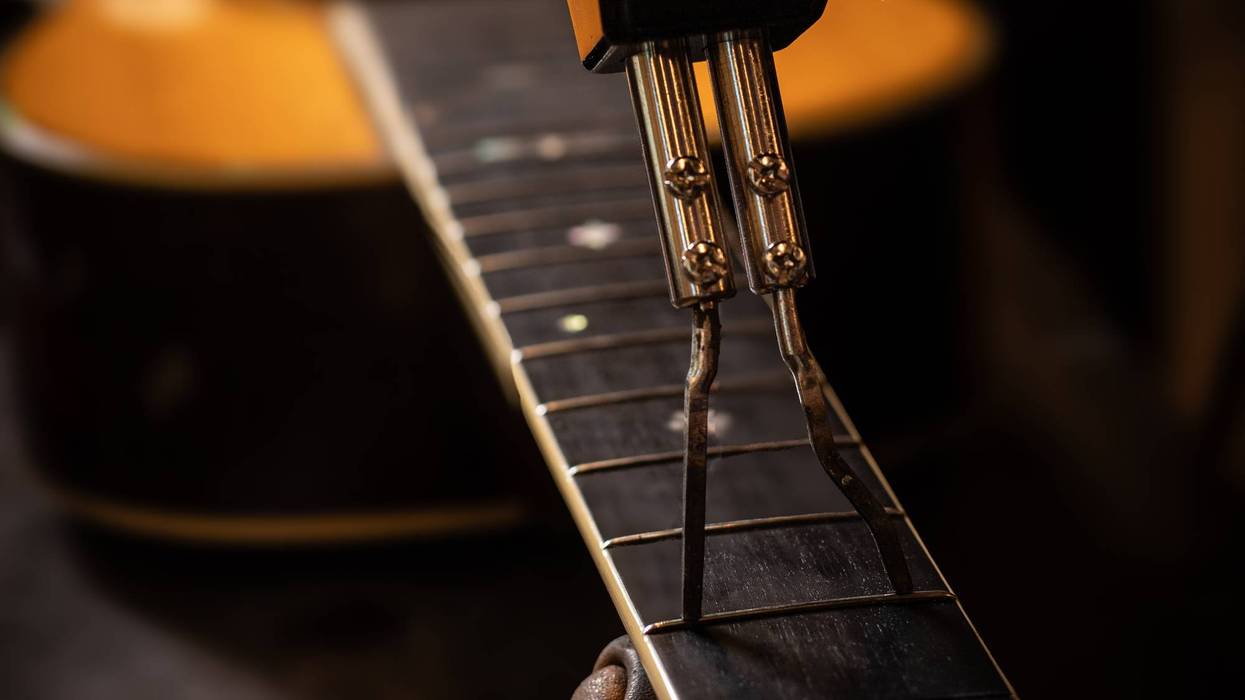
Saddle Location and Routing. Once the glue had cured, I removed the clamps, chamfered the bridge-pin holes with the bridge-pinhole chamfer tool (#0459), and seated the pins using a 3-degree bridge-pin-hole reamer (#3227).
My plan was to route the saddle slot into the bridge after it was glued to the guitar top. This way, I could be sure the saddle would be optimally positioned for accurate intonation. For starters, I used the Saddlematic (#4462), a tool that quickly and accurately finds the correct location for an acoustic guitar saddle slot. I like to finalize the intonation with the Intonator, (#5245), another innovative tool designed by Dan Erlewine that lets you dial in the exact position of the saddle route and allow room for compensating the saddle later on. For cutting the slot, I used a saddle-routing jig (#4043), a precision router base (#5260), and a Dremel rotary tool (#0358) with a 3/32" diameter carbide bit (#5153).
A pair of camless clamps with a 4 1/2" throat (#3708) worked well to hold the saddle routing jig in place as I moved the Dremel base plate along the jig’s guide plate. Before restringing the guitar and trying out the new bridge, I finalized the unbleached saddle and seated the strings properly using a set of bridge-pin-hole slotting saws and files (#5813).
All these tools help me work efficiently and achieve a high standard of quality craftsmanship. Whether you do professional repairs or pursue luthiery as a hobby, the right equipment is crucial to achieving superior results. It’s always satisfying to get a guitar ready to make sweet music!
 John Brown is the
inventor of the Fretted/Less
bass. He owns and operates
Brown’s Guitar Factory,
a guitar manufacturing,
repair, and restoration facility
staffed by a team of talented
luthiers. His guitar-tool and accessory designs
are used by builders all over the world. Visit
brownsguitarfactory.com or email John at
info@brownsguitarfactory.com.
John Brown is the
inventor of the Fretted/Less
bass. He owns and operates
Brown’s Guitar Factory,
a guitar manufacturing,
repair, and restoration facility
staffed by a team of talented
luthiers. His guitar-tool and accessory designs
are used by builders all over the world. Visit
brownsguitarfactory.com or email John at
info@brownsguitarfactory.com.