    |
Meet the Goldtop
On the bench is a 1952 goldtop Les Paul in need of a neck reset. Yes, it’s true that the 1952 and early ’53 goldtops are not very playable as a professional instrument because of their shallow neck set, but all of that is about to be changed. Currently, the bridge is bottomed out, and the neck sports a mere .004" relief, yet there’s a 1/4" gap between the top of the 12th fret and the underside of the low E string. Because of the design flaws in the original trapeze tailpiece, this guitar was also converted to an ABR-1 bridge and tailpiece years before arriving at our shop.
Here’s the catch: In terms of surface-to-surface contact, this goldtop’s neck-to-body joint is perfection. It has an extremely tight glue joint, with no visible slop at all, which makes it more challenging and difficult to soften the glue for a neck removal. The real clincher is that the client does not want any of the original finish disturbed during the neck-removal process. So it goes without saying that I won’t be able to touch up the nitrocellulose lacquer after the neck reset is completed. In short, the owner of this 1952 Les Paul is looking for both excellent playability and the value of his gold to go up.
Preparation and Patience
This isn’t going to be one of those quick neck resets that you accomplish by letting steam penetrate a dovetail joint. This is a real ’52 with a nicely aged finish that can’t be damaged. On a job like this, it’s crucial to plan ahead. So I drew up a plan with the following steps:
1. Remove the neck pickup’s leads from the volume pot, being very careful not to alter the shape and size of the grounding-solder bead.
2. Preheat frets 16, 18, and 21, and remove them with the Stewart- MacDonald Fret Puller (item #1637 at stewmac.com), remembering to mark the bass side of each fret for later reinstallation.
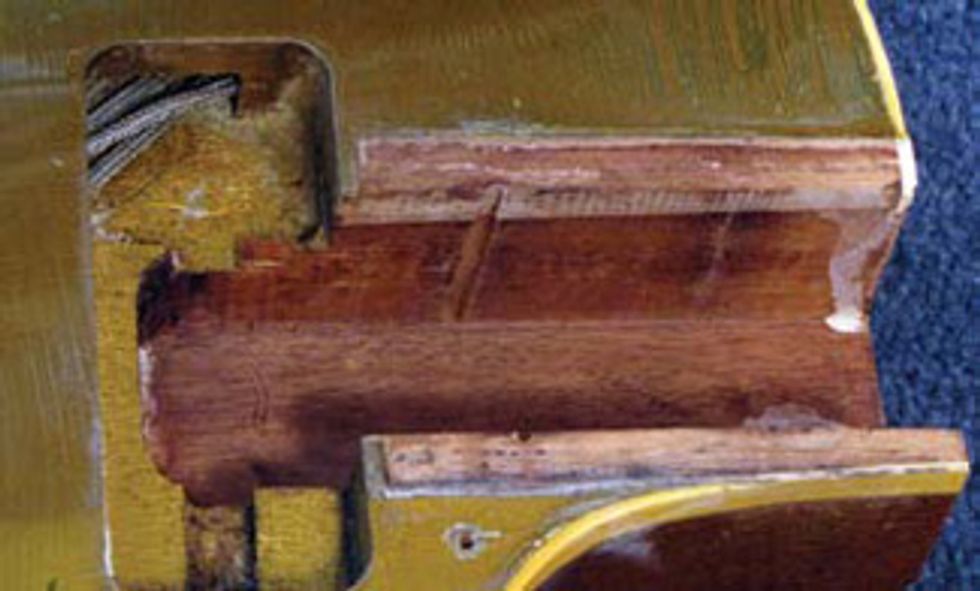
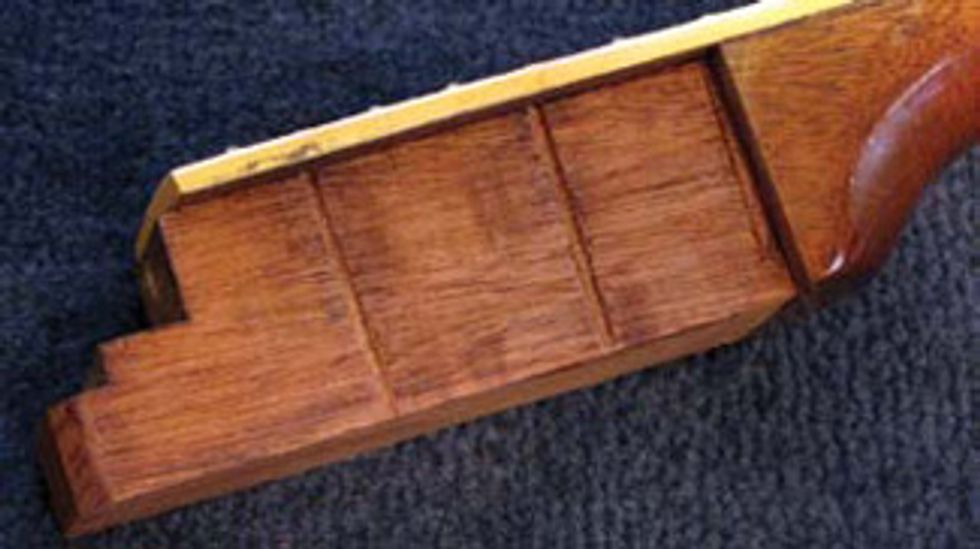
3. Measure the width and depth of the neck-to-body joint from inside the neck-pickup pocket (which holds the extended tenon).
4. Drill one small hole on the treble and bass sides of each revealed fret slot using a 3/32" bit (there will be a total of six holes). Drill down 1 11/16" through the fretboard and into the neck-to-body side seam.
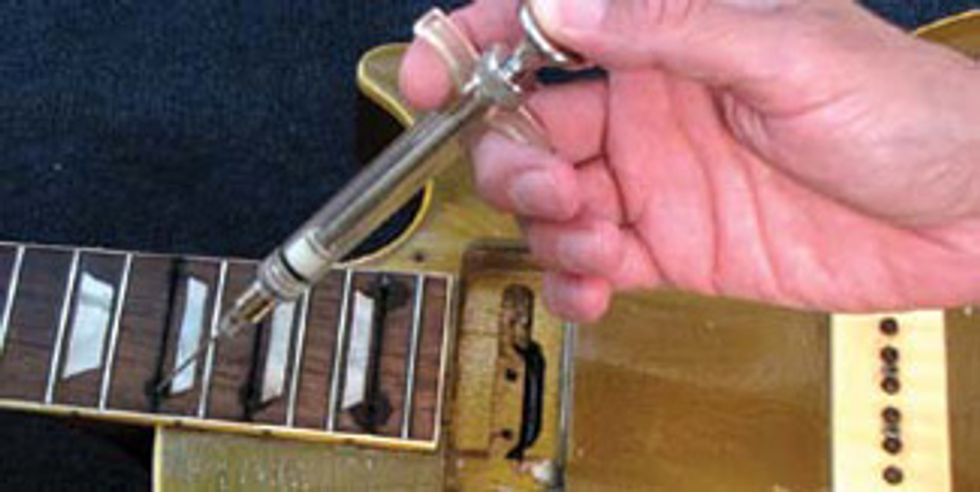
5. All day, for five days, use a glue syringe (item #3021) to inject boiling water into the holes. Then extract the cooled, glue-filmed water every few minutes. At the end of each day, fill the holes and extended tenon pocket with water, so the neck-to-body joint won’t dry up overnight.
Cappuccino Time
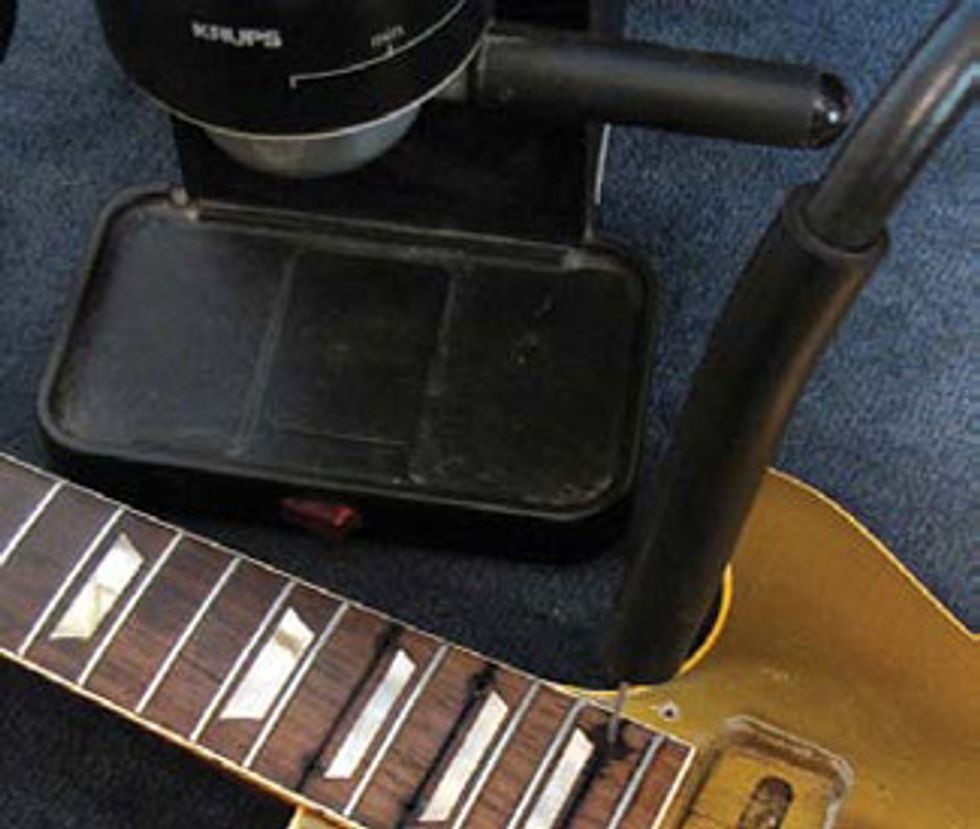
Over the last few days of applying boiling water to the six holes and into the extended tenon pocket, we begin to see water peek out through the glue seams. After applying medium pressure to the neck joint, the neck still isn’t ready to come off. So I plug in my cappuccino machine and steam away and hook up the StewMac Neck Joint Steamer Needle, hose, and clamp (item #4059), which has an extra-long 3 1/2" x 5/64" injector needle that makes it easy to access the underside of the neck heel. In less than 10 minutes, the neck came off like butter. Mission accomplished! (Note: If you ever do a job like this, remember to have a couple of moist cloths ready to wrap around the needle and working area of the guitar, alternating as you go, to protect the surrounding finish and wood.)
We’ll have a booth at the 2011 Winter NAMM show held January 13-16 in Anaheim, California. Please stop by and say hello. This will be a good opportunity to get any of your Restoring an Original questions answered and share some ideas for future column topics. I look forward to seeing you there.
John Brown
John Brown, of Brown’s Guitar Factory, is the inventor of the Fretted/Less bass. He owns and operates a full guitar manufacturing and repair/restoration facility, which is staffed by a team of talented luthiers. He is also the designer of guitar-making/repair tools and accessories that are used today by instrument builders throughout the world. For details, visit brownsguitarfactory.com or shoot a note to info@brownsguitarfactory.com.