We have a beautiful-looking and sounding
1968 Martin D-28 on the workbench this
month. When you consider that for the last
42 years this flattop has been out on the
playing field and not sitting in a museum,
it has aged very gracefully. It came to us in
need of a common neck reset and pickguard
replacement. Other than a three-inch crack
alongside the pickguard that needed repair,
this rare gem was structurally sound.
Over time, this D-28’s original black celluloid
pickguard had shrunk and curled up on the
edges. Sometimes a guard will let loose as
it shrinks with age, but typically it will stay
bonded to the spruce top. As the guard curls
up and pulls, it causes stress to the top. The
spruce top usually cracks along the grain line
to relieve the stress, and that’s what happened
here. The underside of this particular pickguard
was glued directly to the raw, unfinished spruce
top, and that concerned me. (A Martin rep told
me the company began attaching self-adhesive
pickguards to pre-finished tops in 1984.)
Warranty Versus Non-Warranty
When it comes to repairs like these, if you’re the
original owner of your Martin guitar and have
registered the instrument with the company or
still have your original purchase receipt, you’re
in luck. Martin offers one of the best warranty
programs in our business. Martin, in general,
will cover the cost of any repairs as long as the
instrument shows no sign of abuse or negligence
on the owner’s part. For these repairs to be covered
under Martin’s warranty, they must be done
by an Authorized Martin Service Center.
If you are not the original owner, then this
becomes a non-warranty repair, which means
you’re responsible for the cost. Of course,
you don’t have to use an authorized facility
for Martin repairs. As long as you’re comfortable
with the shop and the repairperson is
experienced with this type of restoration, you
should be in good hands.
The Restoration
A hair dryer and spatula work very well for
removing most guards. We were able to get
clean results by applying a mild dose of heat
and gently separating the guard from the top
with a knife spatula.
Next, we needed to level and glue up the three-inch
top crack before applying the nitrocellulose
seal and multiple top coats. The crack ran parallel
with the grain lines, and fortunately the wood sat
fairly level on both sides of the crack. (Sometimes
cracked wood needs to be moistened and
manipulated with clamps to flatten it out.)
We used 1/8" Scotch plastic tape to seal around
the crack before applying thin Super Glue with
a drop-fill toothpick. For this procedure, I also
like using the Whip Tip, a 1 3/4" precision gluebottle
nozzle extension. I used wax paper to
protect the top from any glue splatter.
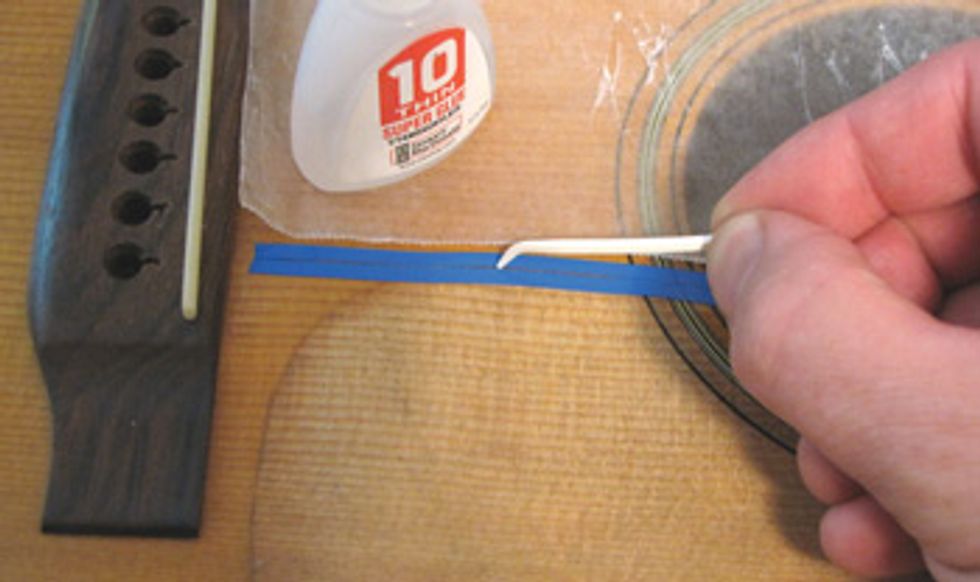
Drop-filling the crack with thin Super Glue.
After the glue was dry and I had leveled it
with a razor blade and 600 wet/dry sandpaper,
I was ready to apply nitrocellulose
finish to the raw spruce surface where the
original pickguard had previously been glued.
Nitrocellulose works as a protective sealer and
surface leveler, and provides a prime surface
for attaching the replacement guard. We wet-sanded
the fresh finish up to 1000 grit and
leveled it to the original surrounding finish.
Size Matters
Martin offers two sizes of pickguards—standard
and oversized. The standard pickguard worked
perfectly after I trimmed and duplicated the
cutout around the rosette. For referencing, I
used 1/8" Scotch plastic tape, as it is very flexible
for shaping a radius. I did the initial shaping
with my belt sander, going back and forth and
checking the guard to the guitar top until I got
a perfect fit. Then I rounded the edges with an
X-Acto knife to match the look of the original.
Using masking tape to reference the final fit, I
applied the pickguard to the guitar.
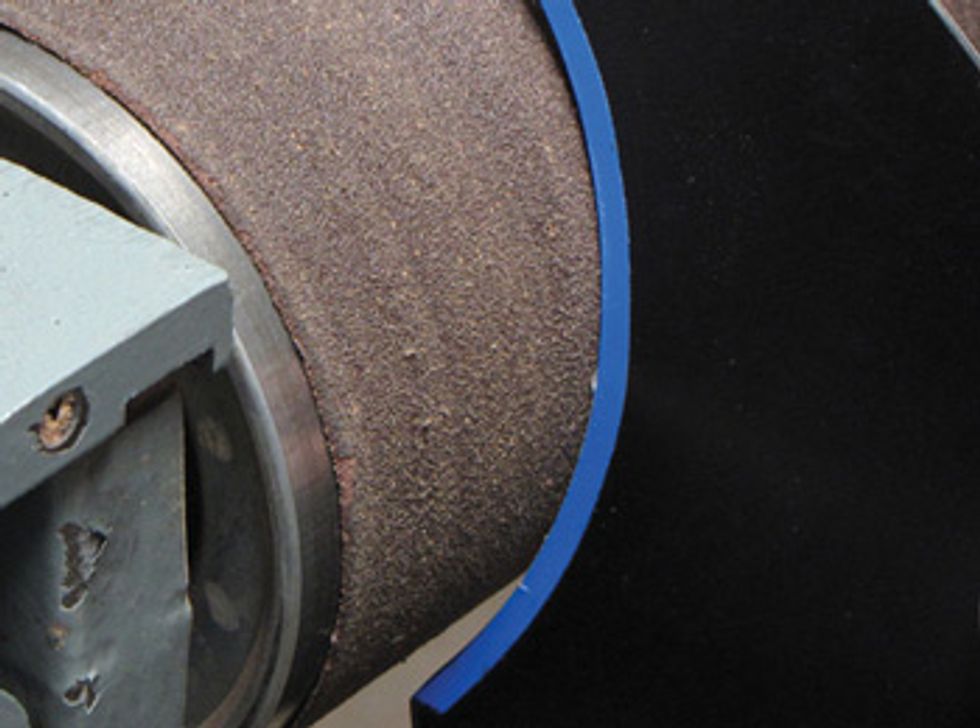
Shaping the Martin replacement pickguard on a belt sander.
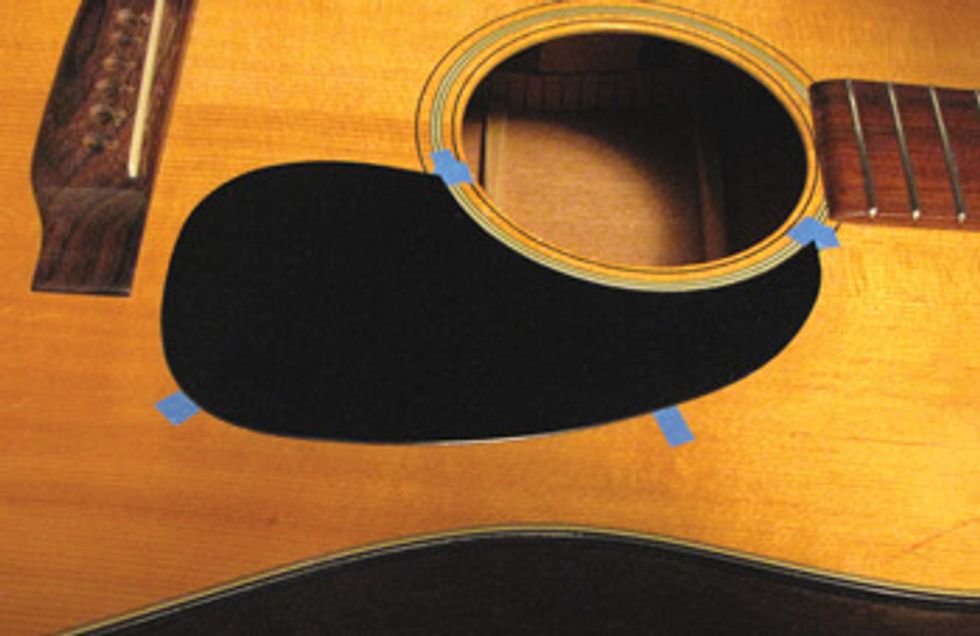
The finished replacement pickguard and filled crack.
You can buff the finish before or after you
apply the self-adhering pickguard. But if you
choose the latter, you need to be extremely
careful. I personally like doing it this way, but
if you’re not thinking or watching the direction
of the buffing wheel for one quick moment,
you can melt and rip the guard right off.
The following supplies I used for this restoration
are available at stew-mac.com (item
number in parentheses):
- Bridge/fingerboard removal knife spatula (4464)
- Thin Super Glue (0010)
- Accelerator (5984)
- Drop-fill toothpicks (3110)
- Whip Tip (1161)
- Lawrence-McFadden nitrocellulose lacquer (2200)
- Lawrence-McFadden lacquer thinner (2202)
- Guitar buffing arbor (2080)
You can buy these other items at your local
hardware and paint supply store:
- 1/8" Scotch plastic tape (3M)
- 600 and 1000 grit wet/dry sandpaper
- X-Acto knife
- Wax paper
- Hair dryer
Keep those chisels sharp and thanks for your
kind emails and feedback!
John Brown
John Brown, of Brown's Guitar Factory, is the inventor of the
Fretted/Less bass. He owns and operates a full guitar manufacturing
and repair/restoration facility, which is staffed by
a team of talented luthiers. He is also the designer of guitarmaking/repair tools and accessories that are used today by
instrument builders throughout the world.