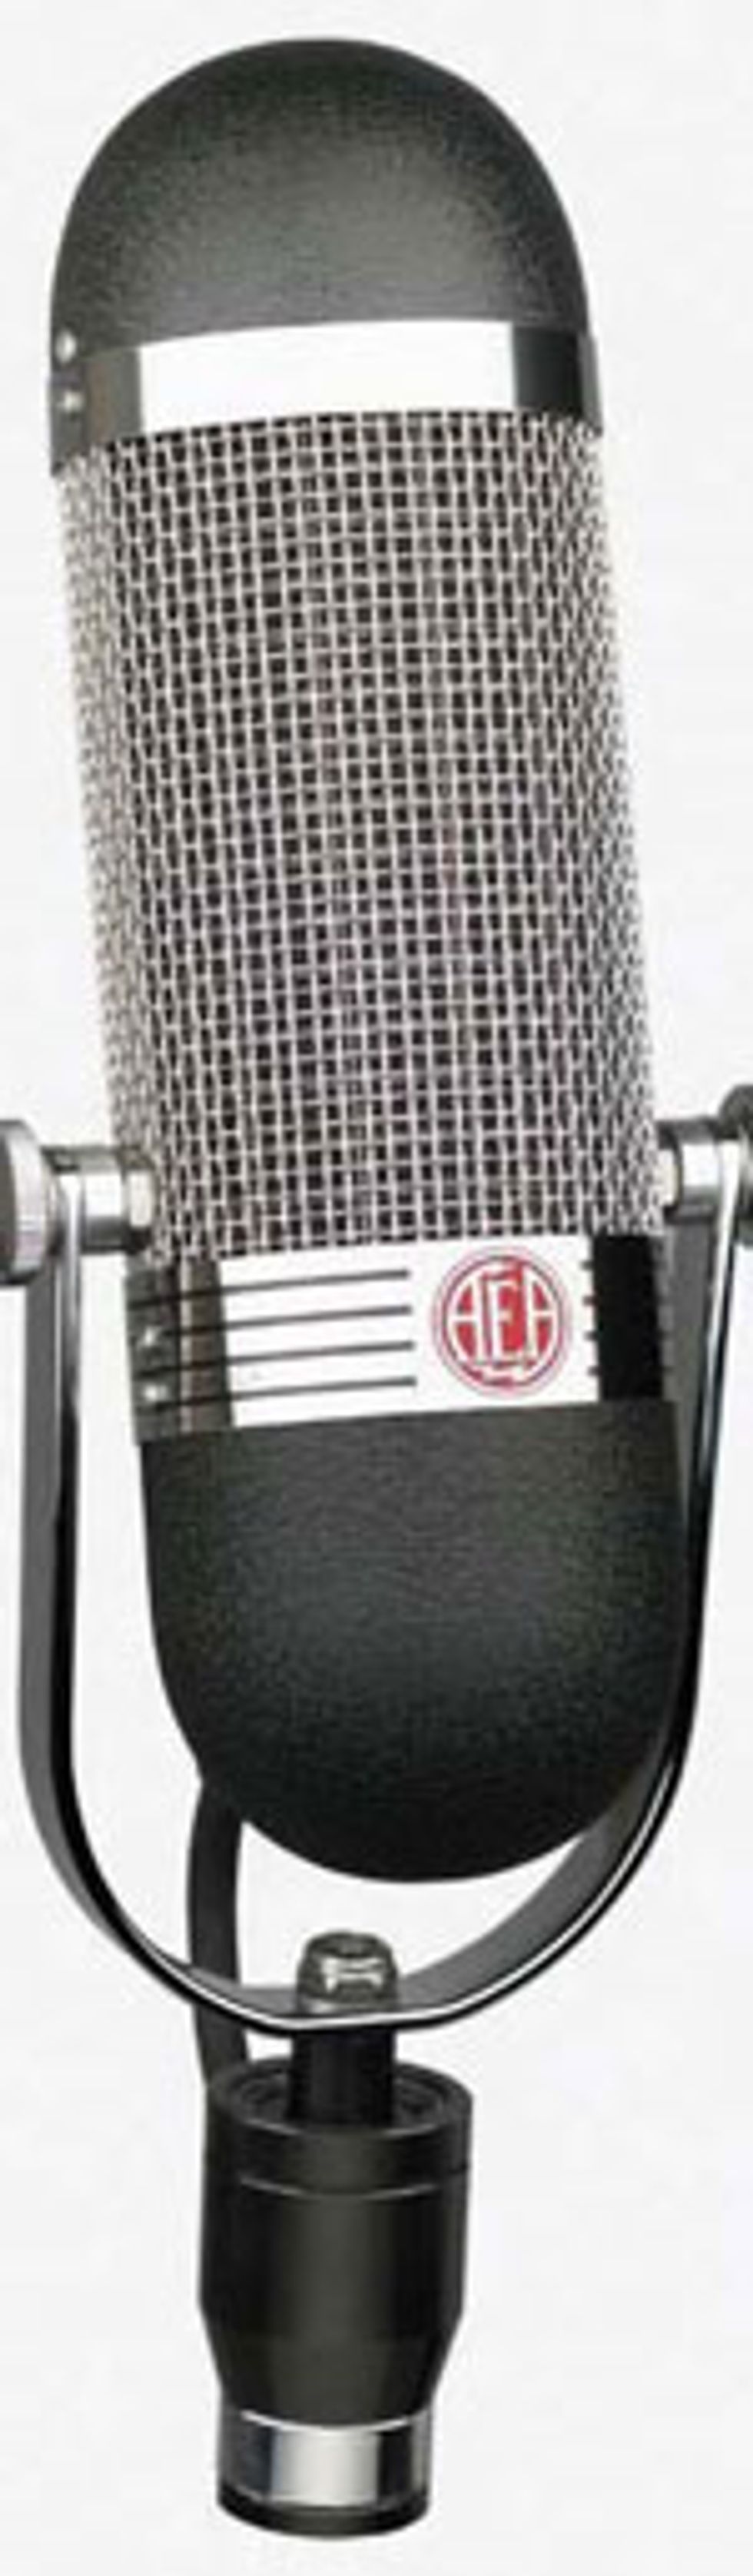
 A modern take on classic ribbon-mic design, the Audio Engineering Associates R84 has a figure-8 polar pattern, which captures sound from both the front and rear of the capsule. |
It all begins with where we left off last month: Knowing what our microphones sound like. This crucial information allows you to get a good jump on matching the mic to your amp and speaker.
For instance, imagine you have a dark-sounding guitar/ amp/speaker combination. It’s probably no surprise, but if you want to bring out the top end and the detail in your tone, then the idea would be to start with a brighter microphone. Though that’s a very simplistic example, the concept is valid. Taking a step back, you should be dialing in the sound you want in the room. In other words, your tone quest begins with setting up your guitar, amp, and effects so that what you hear when you’re playing in the room sounds right.
From there, you can start making your mic selection based on what you know about your microphones, the guitar tone you’re capturing, and the sound you ultimately want to have in your recording.
If you want a bright, full-range sound with a clear top end and a detailed, extended bottom end, you might reach for a condenser mic. Look for one with a wide frequency response that doesn’t roll off on the top or the bottom. Many condensers have a response from 20 Hz to 20 kHz, which is way wider than the electric guitar can produce. But we also want that response to be fairly flat, with no peaks or dips in the bass, midrange, or treble frequencies.
For a round, warm tone, a ribbon microphone like the Royer R-121 or the AEA R84 will roll off some of the fizziness on top, while capturing natural-sounding midrange with a controlled bottom end.
For punch and presence, a dynamic mic with an upper-midrange peak (the classic example is the Shure SM57) will roll off some extreme top end, while contributing articulate midrange that jumps out of the speaker. A great dynamic also provides a controlled bottom end.
If you look at the frequency-response graph for your microphone, as well as its frequency-response spec, you’ll see why we worked so hard to gain this knowledge about mics and how they function. If you have a ribbon mic with a frequency response from 60 Hz to 12 kHz, but the graph shows there is a roll-off on the bottom or top ends, you know what to expect when you use this mic on an amp—the low end is going to be reduced, which can help if there’s too much bottom from the amp. The top end will be smooth and somewhat dark, which is great if your amp is too bright or harsh up top when you close-mic it.
Remember, as much as we wish they would, microphones don’t “hear” quite the same way our ears do. For one thing, the mic is typically right up on the speaker—very few of us listen to guitar amps that way. Most of us put our amps and speakers on the floor, blowing past our knees—we have no clue what our amps really sound like. For another, the sound you hear in the room may be truly spectacular, but it may not be exactly perfect when it’s heard through a set of studio monitors along with other instrument and vocal tracks in a mix.
So the key is to select a microphone that will enhance the sound and capture it with the character it needs, yet will also allow it to fit properly in the final mix. With what you know from learning about the particular mics you own (or the mics you are thinking about buying), you can work through options the way we just did to get a good idea of what the mic will do for you.
Keep in mind you don’t have to use just one mic. Sometimes a better solution is to use two— or even three—mics of different types, with each contributing a certain quality to the final sound. If you record each mic to its own track, then you can balance them in the final mix for exactly the tone you want.
At this point, though, we still have some work to do. Choosing the mic or mics to use is a big component of your recorded tone, but it’s also really just the beginning. Once you have your mic, you’ve got to place it properly to get the ideal sound. (Check out my Guitar Tracks column in the December 2010 issue for one approach to placing a microphone on a guitar speaker.) Once you’ve positioned the mic, you have to choose the right preamp and other processing gear, and then get the recording made. This may sound daunting, but fear not, we’ll begin exploring these topics in the next issue!
 Mitch Gallagher is
the former editor in chief of
EQ magazine. He’s written
more than 1000 articles
and six books on recording
and music technology, and
has released an instructional
DVD on mastering. His upcoming book is
entitled Guitar Tone: Pursuing the Ultimate
Electric Guitar Sound. To learn more, visit
mitchgallagher.com.
Mitch Gallagher is
the former editor in chief of
EQ magazine. He’s written
more than 1000 articles
and six books on recording
and music technology, and
has released an instructional
DVD on mastering. His upcoming book is
entitled Guitar Tone: Pursuing the Ultimate
Electric Guitar Sound. To learn more, visit
mitchgallagher.com.