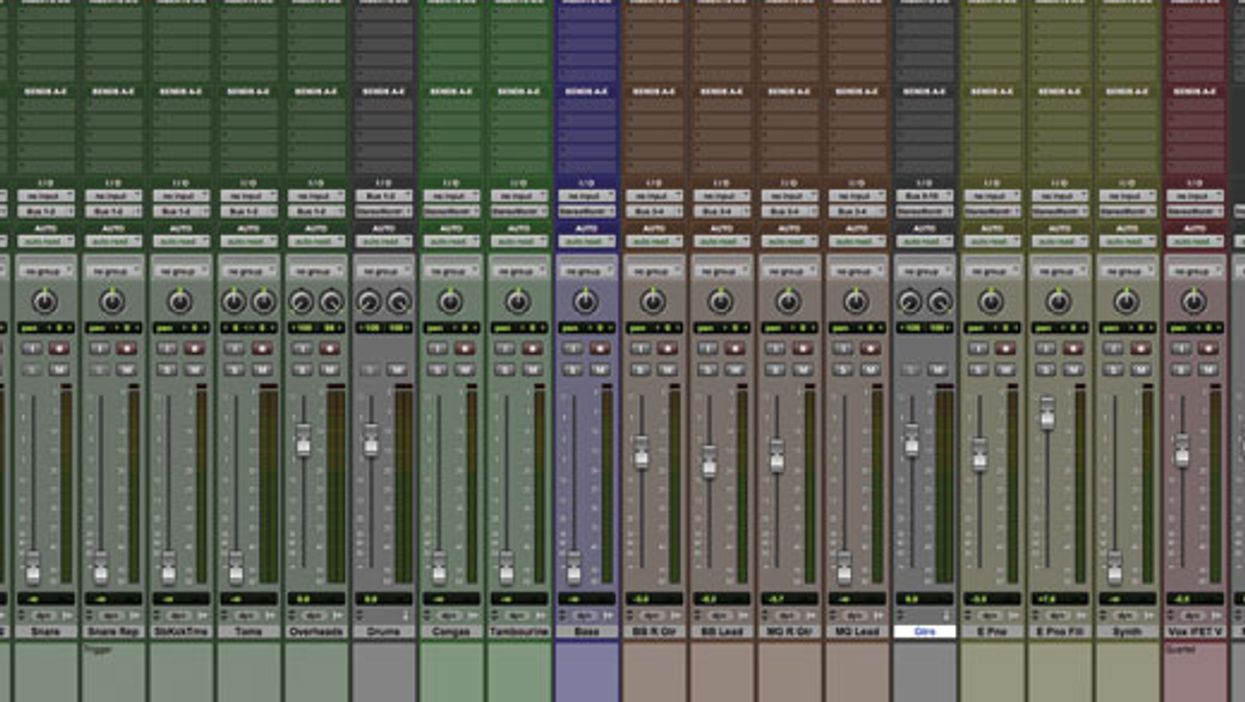
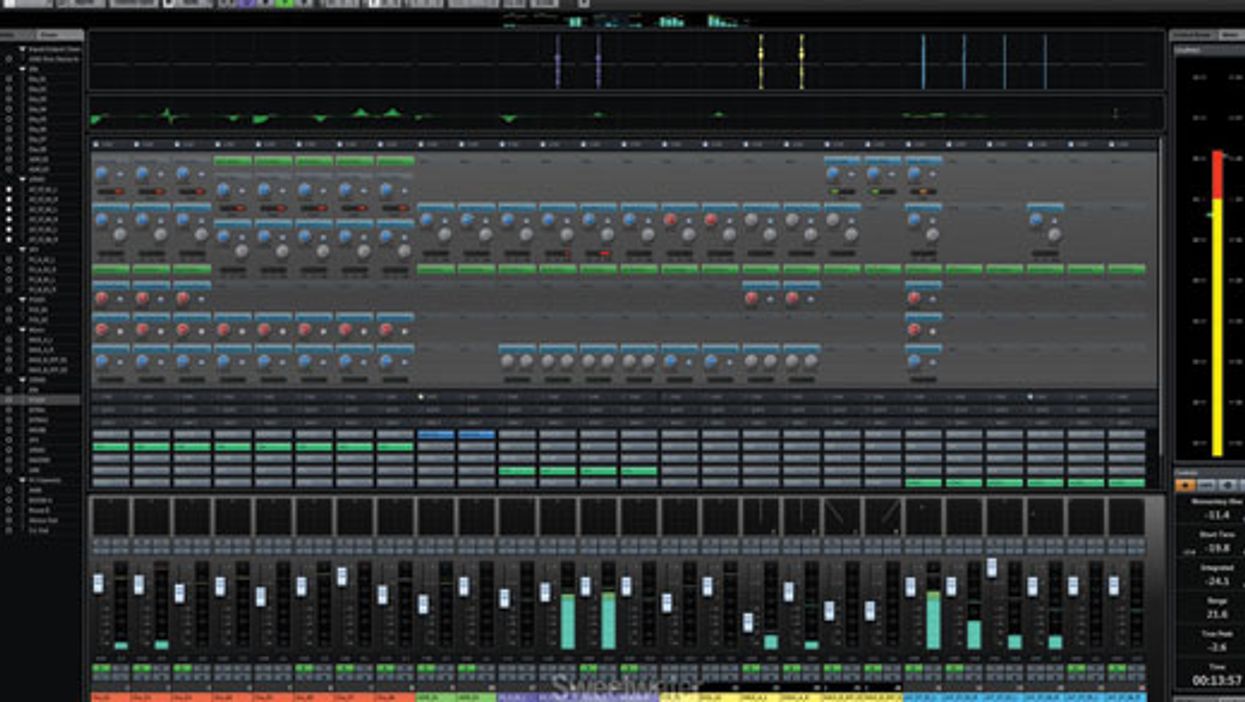
Mitch Gallagher discusses how mixing is about presentation—how the various elements of the music are combined, balanced, and conveyed by the overall sound of the mix.
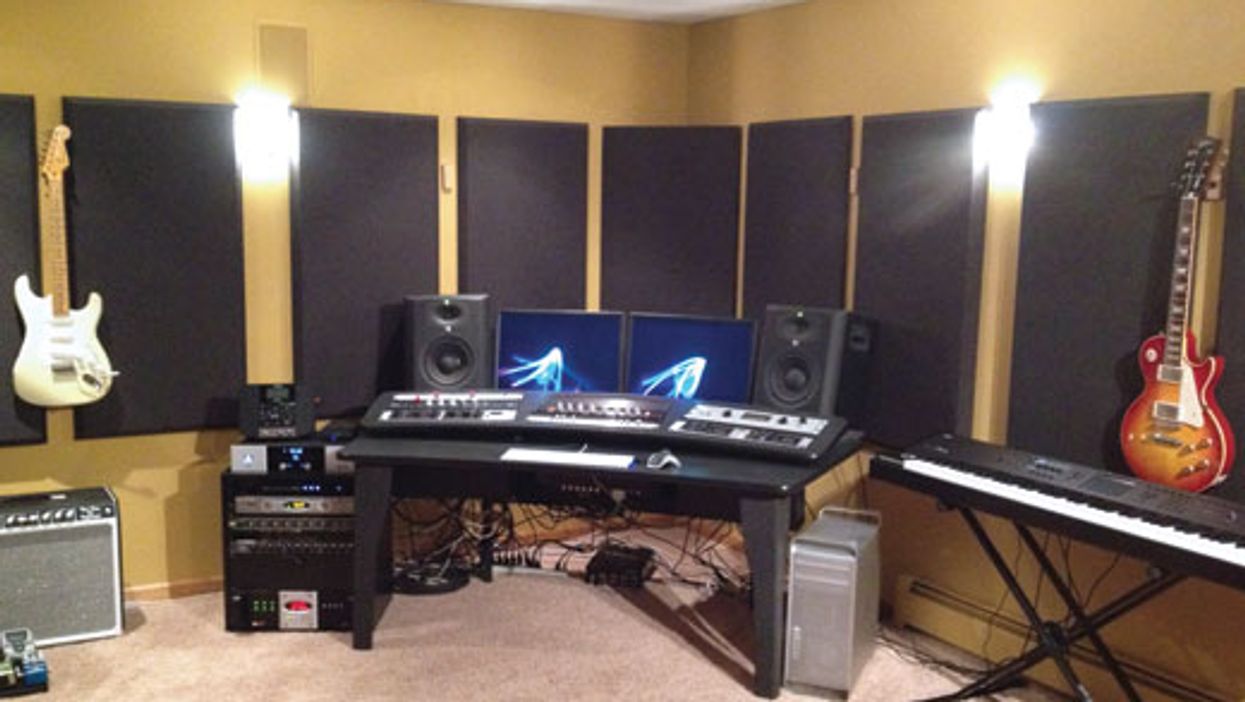
Before you can produce mixes that translate well in a variety of listening environments, you need to get intimately familiar with your own listening space.
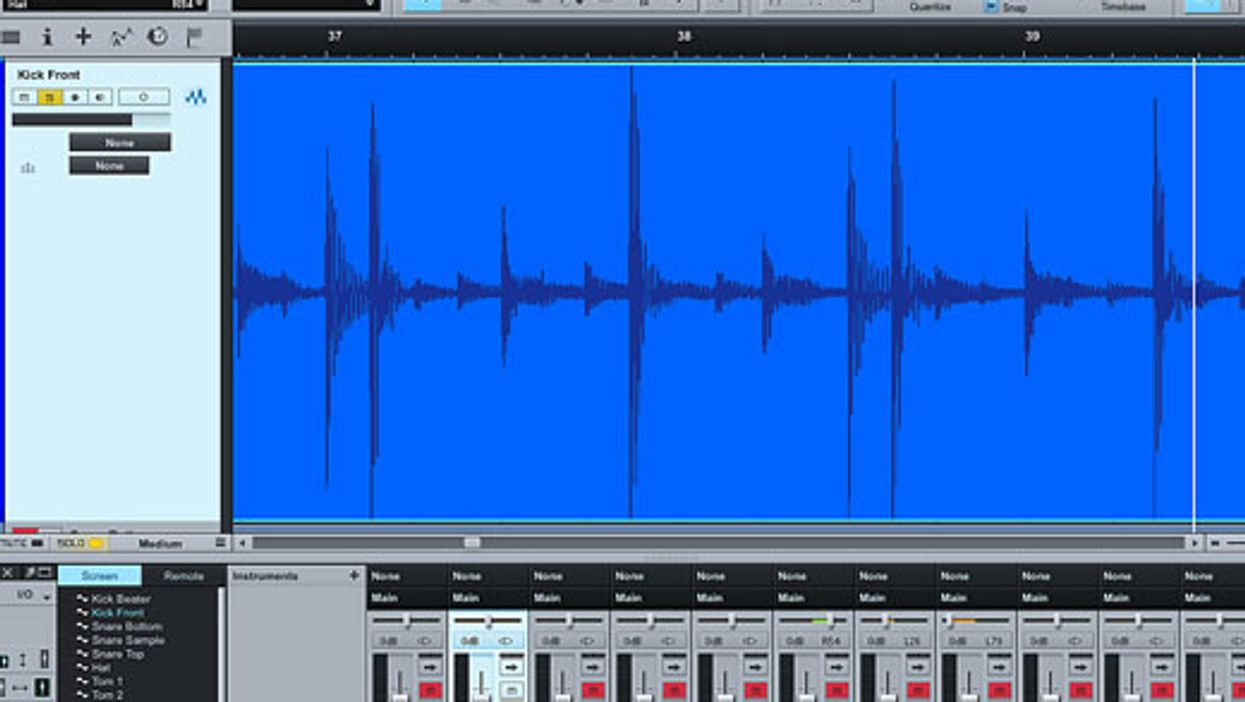
Whether you’re mixing studio tracks or a live band in a venue, it’s crucial to have sonic references you can use to quickly gauge the sound system and room.
No matter what style of music you make or how you prefer to work, there are apps and accessories for your iPad or other iDevice that will let you capture recordings and work on your music wherever you find yourself.