Over the past few installments of “Guitar Tracks” we’ve cleaned up our tracks, organized them, and prepared them for mixing. Now it’s time to get started making those tracks into a finished mix.
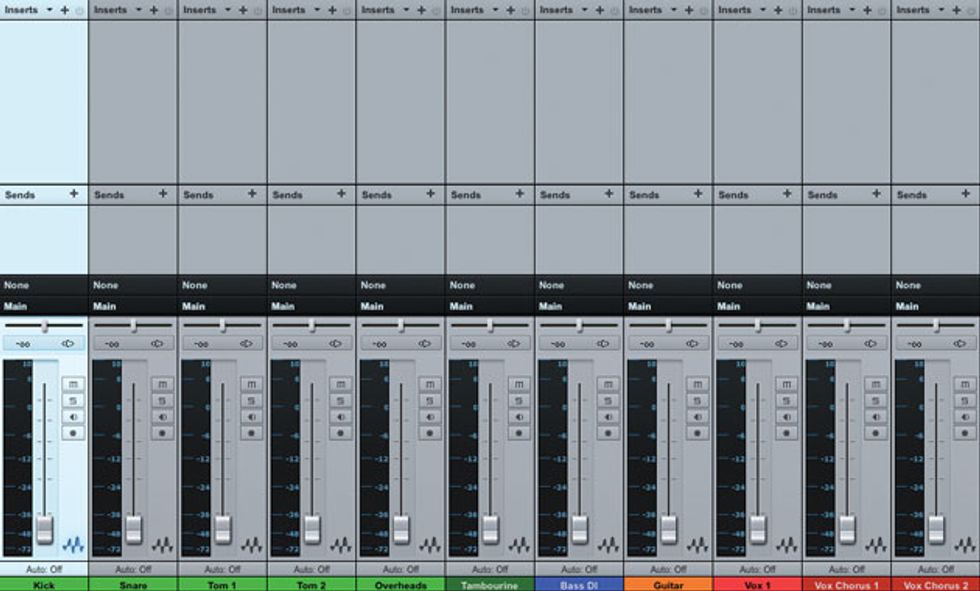
I like to begin my mixes by pulling all of the faders in the song down to silence, except for the master output fader and any submix buses, which are set to “0 dB.” All pan controls are centered. No plug-ins are inserted. Any EQs or compressors built into the DAW mixer are set to a neutral setting and bypassed. We’ll call this Ground Zero.
I save the mix file at this point. My naming convention is usually something like “name of the song, followed by the day’s date.” As I mix, I save regularly. Whenever I make a significant change to the mix or I’ve done work that I don’t want to lose if the computer loses power or something, I save again, adding a letter to the name: “Song Mix 3-12-13a,” “Song Mix 3-12-13b,” and so on. This leaves a trail I can work back through if necessary. If there’s ever a problem with a file, I can recover quickly.
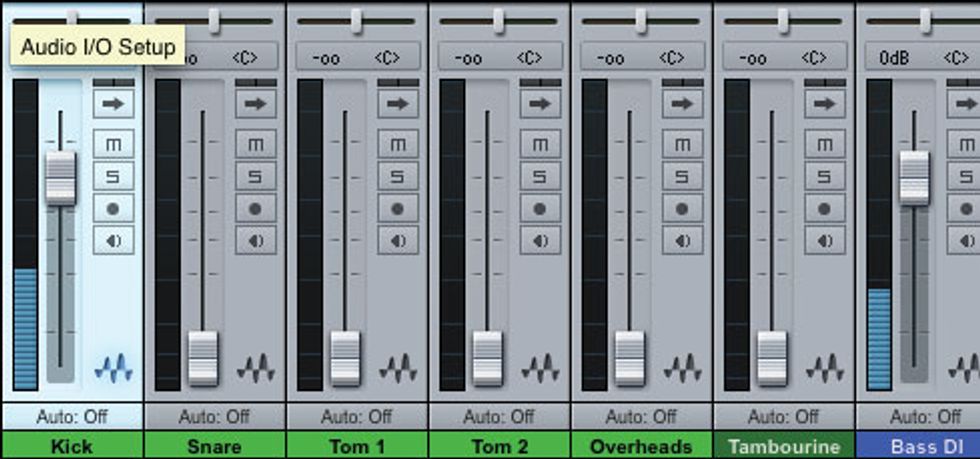
Fig. 2. Balance the kick drum and the bass.
Starting the Mix
That last bit of housekeeping out of the way, I start mixing. Different engineers have different mixing processes, so I recommend experimenting with various approaches. Here’s one that’s worked for me:
• Raise the kick drum fader to a comfortable level. I look for the master meter to read somewhere around -15 dB.
• Raise the bass guitar (or other primary bass instrument) to where it meshes well with the kick drum.
• I may do minor EQ work to get the kick and bass to thump well together.
At this point, some engineers would build the rest of the drum kit around the kick and bass, and then mix the rest of the rhythm instruments (guitars, keyboards, and so on) to create a pumping rhythm track. After that they drop in the lead vocal, fills, solos, and ear candy.
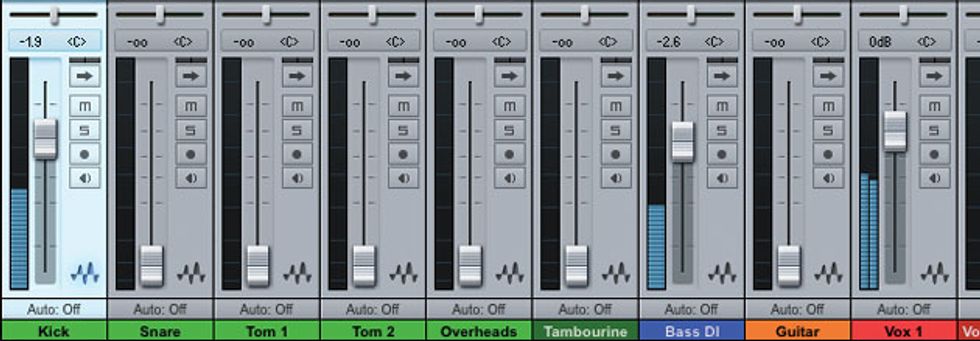
Sometimes this approach works great. However, I often use a different one: After the kick and the bass, I bring up the lead vocal (if it’s a vocal song) or the lead melody instrument (if it’s an instrumental). The vocal or melody instrument is the focus, so I want to ensure it’s heard clearly, and is balanced and supported by the low-end foundation of the kick and bass.
Filling Out the Mix
Next, I begin to fill in the rest of the drums and rhythm section around the kick, bass, and vocal. I may do some broad EQ sculpting as I go, ensuring that those three tracks remain focused. I also begin panning tracks to leave a nice hole in the center for the three focus tracks to live in. With this process, I find that I approach EQ differently.
Fig. 3. Balance the lead vocal or melody instrument against the kick drum and bass.
Yes, I use EQ to enhance tracks, but I also use EQ to create an opening through which the vocal can work, and to prevent various rhythm section tracks from fighting with the kick and bass.
I also begin using ambience (reverbs) and delays to create depth. A wetter track drops back, while a drier one comes forward. You can use EQ similarly: Brighter tracks comes forward, while reducing a track’s high end makes it sit back into the mix.
Once things are blending and working together, I bring in the ear candy and solos, again creating openings where those featured items can “speak.” As I add these parts, I tweak levels, adjust EQ, apply compression to get dynamics under control, add effects, and generally dial things in. Finally, I start working with automation as necessary to bring tracks in and out of the spotlight.
Fig. 4. Build the remainder of the rhythm section around the three focus tracks, and then start adding the solos and ear candy.
Next time you’re making a mix, try this approach. It’s certainly not the only one that works, but it does the job for me.
Another Ending
With this month’s column we also reach another endpoint—this is my final “Guitar Tracks” column for now. For nearly four years it’s been my pleasure to work with the great people at Premier Guitar to bring you these columns. I hope you’ve picked up a few useful tips on making better recordings and mixes. I can tell you that it’s been a blast to write them, and to hear from so many of you! Thank you very much for your interest and support. “Guitar Tracks” may be taking a breather, but you’ll still see my work in the pages of PG. Until next time, I wish you great recordings!








![Rig Rundown: Russian Circles’ Mike Sullivan [2025]](https://www.premierguitar.com/media-library/youtube.jpg?id=62303631&width=1245&height=700&quality=70&coordinates=0%2C0%2C0%2C0)
