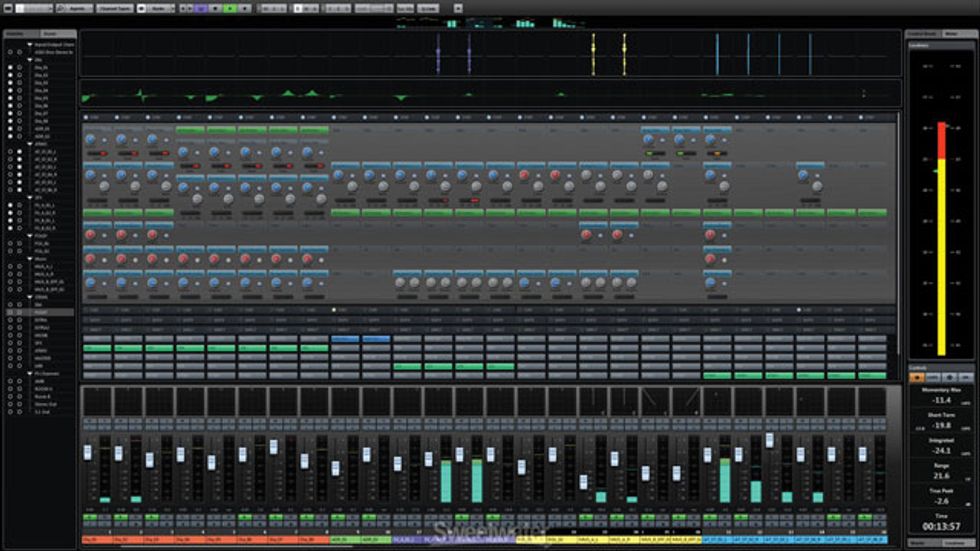
The virtual mixer in a DAW serves as the centerpiece for creating mixes. Not only can it combine audio signals, processing can be added via built-in EQ and compressors or by using software plug-ins.
Capturing a great guitar track is only one part of creating a complete music production. Another major part of the process is mixing: combining, blending, and processing the raw tracks to render a fully realized musical work. Mixing might seem like an easy task to some of you, right? Just push up the faders, maybe tweak some EQ, slap on a compressor, and hey, we’re mixing! But there’s a reason why A-list mix engineers make the big bucks. Crafting a mix is a very specialized art form and it takes a combination of tools, experience, know-how, and, of course, ears. So let’s take a look at each of these items in turn, staring with the easy part—the tools.
Playback: This is whatever source is playing back your raw tracks. This will be your DAW in most cases, but could also be an ADAT or analog tape-based recorder.
Mixer: The mixer is where your tracks are summed together, and in most cases, the mixer will be integrated into your DAW software. But you could be using a hardware mixer, be it digital or analog.
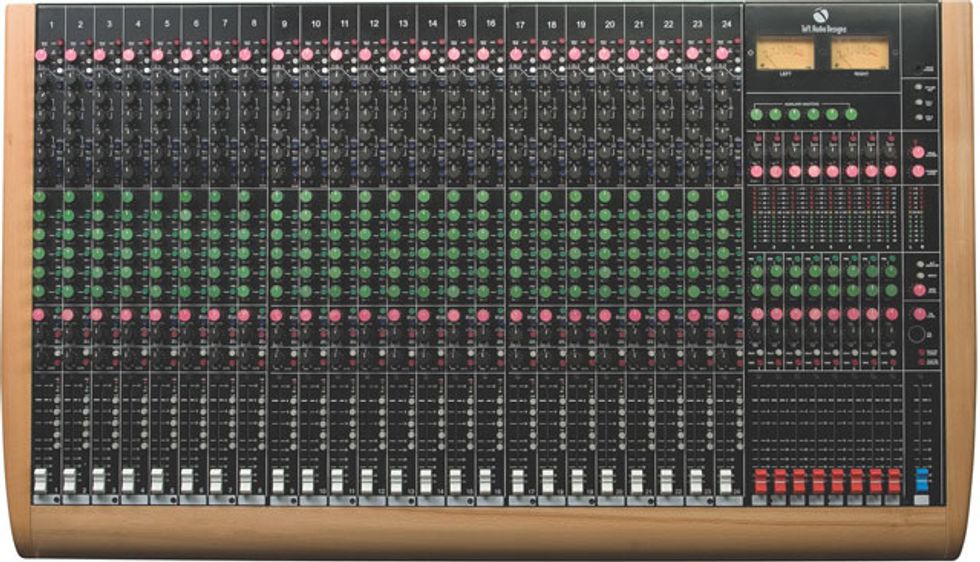
If you’re working with a tape-based hardware machine or simply prefer to be more hands-on with your mixes, an analog mixer like this Toft ATB24 may be just the ticket.
EQ : EQ is the tone control we use for shaping our tracks so they fit together properly and sound right on various speaker systems. If you have a hardware mixer—digital or analog—it may have built-in EQ. If you’re mixing in a DAW, then your EQ is probably coming via plug-ins.
Compression: Compressors even out the dynamics in a track. Compression can help tracks “sit” properly in a mix, raise a track up above the backing tracks, keep the volume consistent, and more. In the hardware realm, most compressors are outboard pieces of gear, meaning they usually are rackmount boxes that connect to the mixer. In the virtual realm of a DAW, compressors are usually plug-ins.
Effects: These are the same types of effects you might have on your pedalboard like echo, reverb, chorus, or flanger. But in this case, we’re looking for the studio versions, which are usually either rackmount boxes or plug-ins.
Mixdown Recorder: Once the mix is done, we need a recorder to capture our final tracks. This might be a hardware 2-track (stereo) recorder, or another DAW running on a second computer. But in most cases, we’ll simply be recording our mix back into our DAW.
If you’re a DAW user, you probably already have this entire complement of tools within your software. And that’s the beauty of a DAW. It’s one-stop shopping where audio production is concerned. If you’re working with hardware, you’ll need to assemble these tools as components, though many digital mixers combine mixing, EQ, compression, and effects in one unit. Then, all you need to add is a multitrack-playback device. That said, a digital mixer may help here as well: Many can serve as an audio interface by directly routing audio out of your computer.
Monitors and Room: Moving beyond the aforementioned tools, these are the “big two” of any studio. In my opinion, your choice of monitors is the bigger of the two. You’ve got to accurately hear what you’re mixing to make the tracks work together well. The key word here is accurate, not expensive. Thousands of recordings were (and still are) mixed using Yamaha NS10 and Auratone monitors, neither of which were expensive when they were on the market. Yet they provided the response that engineers needed to put tracks together. Of course, today’s high-end monitors definitely offer spectacular sound quality for creating mixes.
The room you mix in goes hand in hand with your monitors. Rooms have all sorts of acoustic anomalies that can color what you’re hearing from your speakers, and you can address many of them with acoustic treatment. But really making your monitors and room work together comes down to you. In preparation for creating great mixes, you need to completely learn your monitors and your monitoring environment. This means listening, listening, more listening, and then some more listening for good measure. The idea is to completely acclimate your ears to your monitors and room so that you can make accurate decisions based on what you hear.
You can do this by listening to lots of music you know well and respect for its sound quality. Make notes about how the music sounds: How do the highs and lows sit? Where is the kick drum in relation to the bass? How does the vocal sound? How much reverb can you hear? Try to zero in on every single detail. I have my students collect audio examples, listen, and then write reports on what they hear insofar as balances, EQ shapes, effects levels, and dynamics. Then ask yourself how the room seems to affect the sound: Is the bass sounding boomy? Are the upper mids harsh? Is there hollowness in the lower midrange?
Your assignment for this month is to spend as much time as you can critically listening to music on your studio-monitor system. Really strive to learn its response inside and out. When we come back next month, we’ll be ready to dive into some hands-on/how-to for mixing.