Photo by Apolo Photographer on UnsplashScales One-Chord Vamps and the Truth Carter ArringtonFeb 12, 2026
Rock Fretboard Workshop: Soloing with Triads Think triads are boring? Try a few of these improv ideas.Sam BellMay 07, 2025
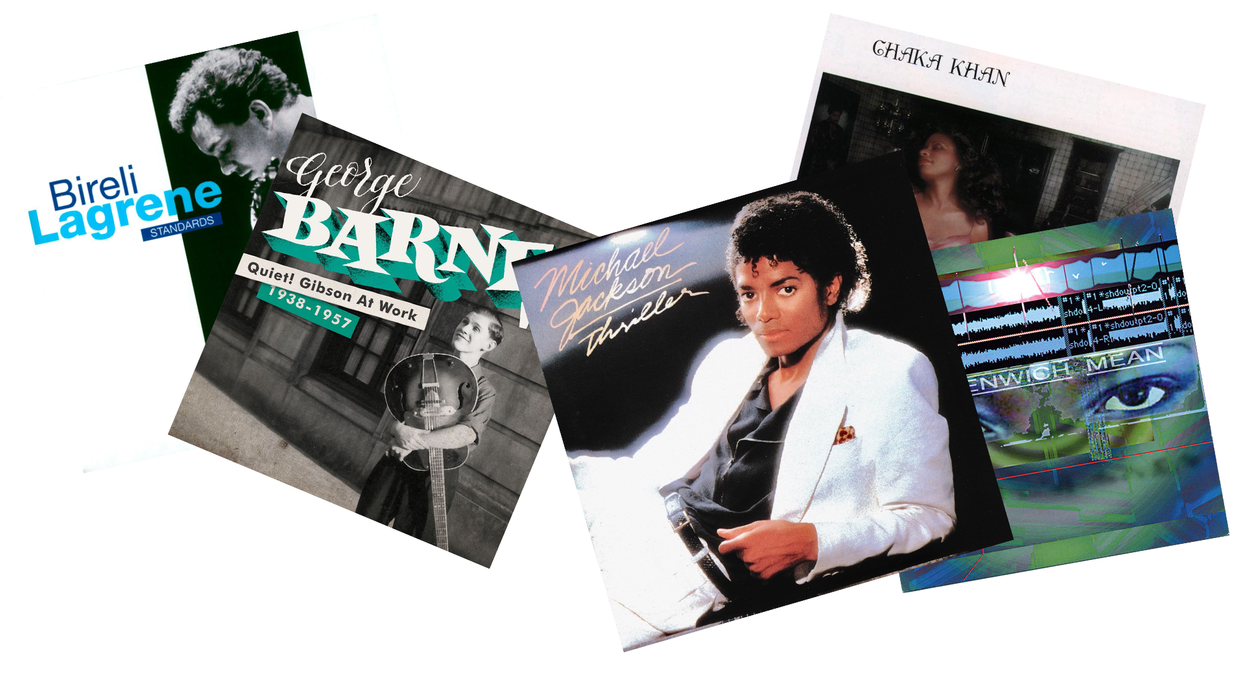
Intermediate 5 Underrated Guitarists Who Will Blow Your Mind Some names you’ve heard, others maybe not. But they all have a unique voice on the instrument.Carter ArringtonApr 05, 2025
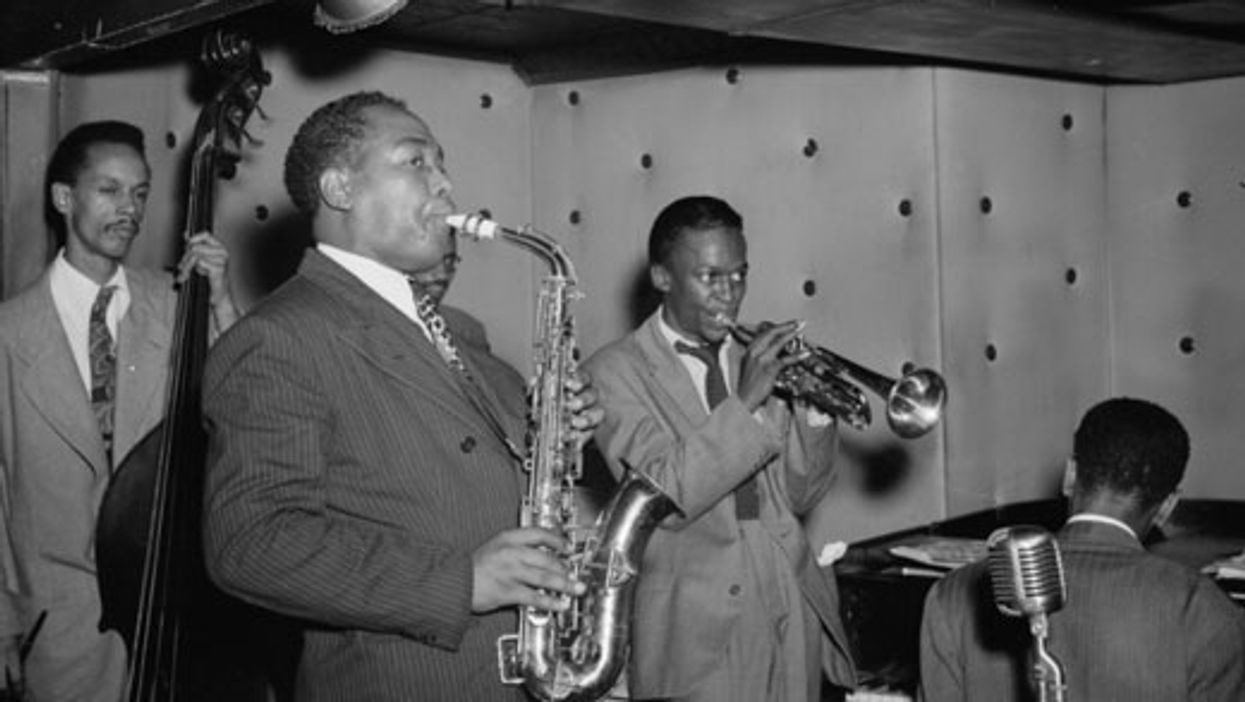
Lessons Beyond Blues: How to Play “Bird” Blues Saxophonist Charlie “Bird” Parker’s challenging version of a 12-bar blues is one of his most enduring contributions. Learn how to navigate these tricky changes by combining bebop and blues.Levi ClayNov 23, 2024
Lessons Decorate Like Django Even if you aren’t into Gypsy jazz, there are a wealth of inspiring ideas to glean from Django’s impossibly fast lines.Emil WerstlerOct 19, 2024
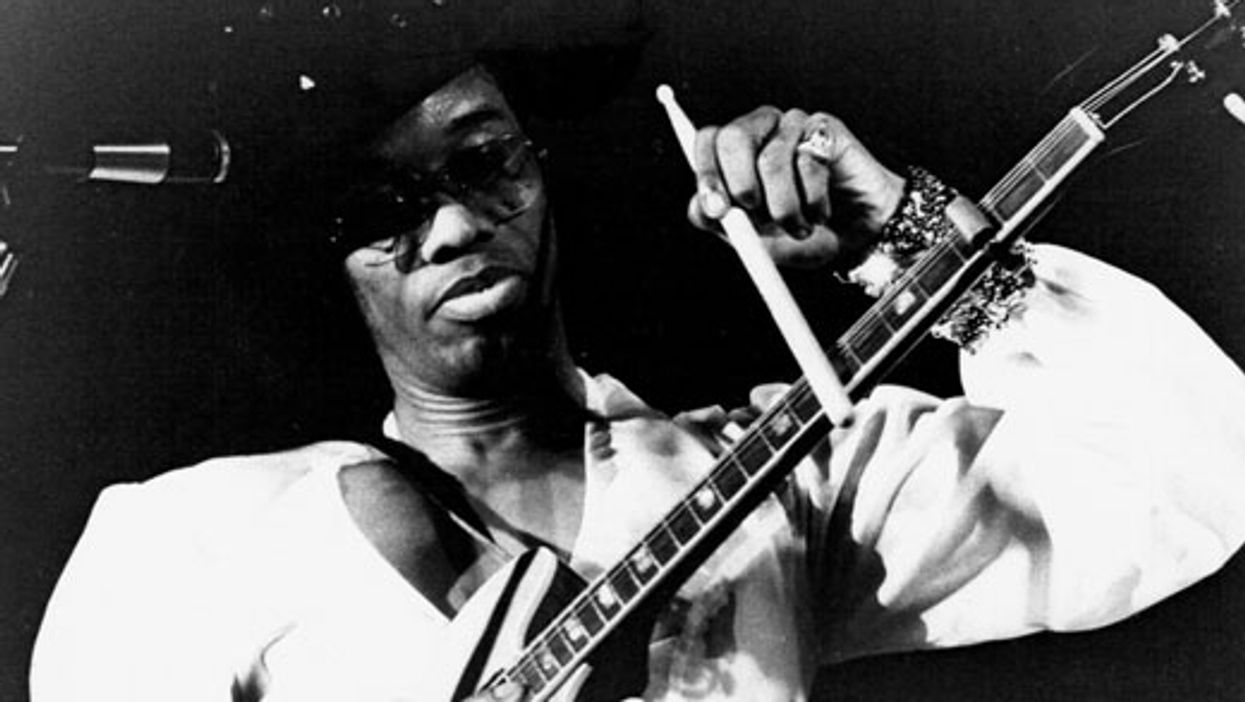
Lessons Johnny “Guitar” Watson’s Stinging Blues Watson was a pivotal influence on Frank Zappa, Etta James, and Stevie Ray Vaughan, among others.Chris McQueenOct 12, 2024
Lessons Beyond Blues: “Rhythm” Changes and the Blues Learn how to bridge jazz and blues by tackling one of the most popular progressions around.Levi ClayJun 01, 2024
Lessons Cheap Tricks That Make You Sound Fast! Learn how to not only ramp up your technique, but how to use it effectively.Shawn PersingerMar 23, 2024
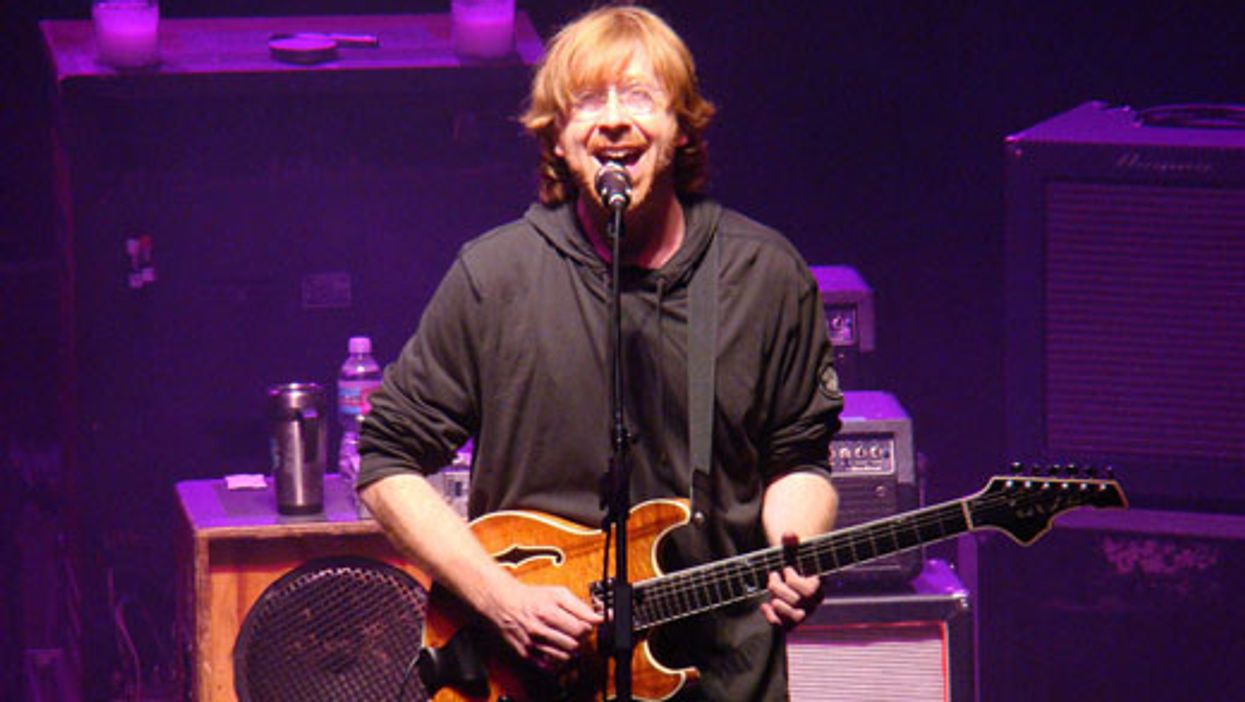
Lessons Trey Anastasio’s Jazz Odyssey Phish’s nimble guitarist navigates changes with ease largely because he takes inspiration from jazz greats.Rob CompaOct 21, 2023