repair finish martin 12 string shopstand erlewine upper lower replicate nitrocellulose lawrence

John Brown whips a ''66 D12-35 neck into shape

Welcome back to another adventure in “Restoring an Original.” This 1966 Martin D12-35 came into our shop for a neck reset. It was refreshing to see a 12-string. The customer mentioned that if we were going to remove the neck, he also wanted to have the finish damage above the neck heel cap tended to. There was about an inch-long section of finish that was not adhering to the wood. This section had a milky look to it, with some finish flaking.

Plan A (Least Abrasive Procedure)
Once the neck was removed, I wanted to repair this damaged finish section by trying the least abrasive procedure first. For this I used straight lacquer retarder and let it seep into the crevices to burn the lacquer back into place. Next, I tried lacquer retarder with fresh lacquer and there was still little improvement. Clearly, the stain that Martin used was no longer secure in the wood and the results were not to my standards. Even though the guitar had previous work done to it, it wasn’t 100 percent straight. I really wanted to go the extra mile and do things to the best of my abilities.


Plan B
I was ready to suck it up and take the plunge: remove the eyesore section of loose finish, start from scratch, and build from the raw wood up. This would have to work, as there really was no “Plan C,” since refinishing the entire neck just wasn’t going to be an option.

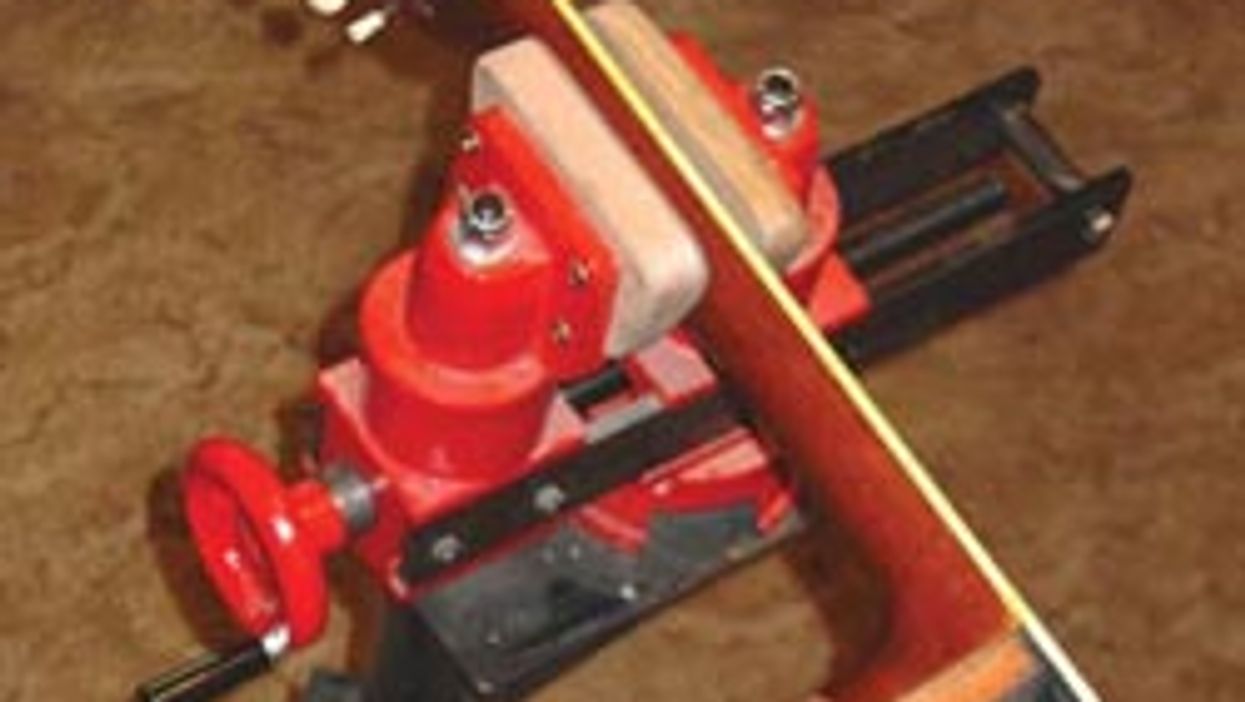
For securing the neck during the beginning stages of this restoration, I used the Guitar Repair Vise attached to the Erlewine Shopstand. It is the perfect vise and stand for this job, and many others. I can sit on my stool and make an assortment of simple adjustments to position the guitar neck perfectly for the least amount of strain on my lower and upper back.

Formby’s Conditioning Furniture Refinisher worked very well to remove the unwanted flaky finish from the neck heel. What I like about Formby’s is that it easily dissolves the lacquer without stripping, a gentle but very efficient way to remove lacquer. I protected the neck heel cap and above the upper removal line with tape. I took a Q-tip, soaked one end in Formby’s, and softly applied it to the damaged lacquer. Changing Q-tips as you go along, and wiping with a lint-free cloth, is key.

Replicate
The area of the neck heel rebuild was final-prepped with 280-grit sandpaper and was ready for staining. As a result of using a non-aggressive stripper, grain filler was not reapplied to fill the wood pores.

By using Red mahogany ColorTone Concentrated Liquid Stain and Dark Walnut TransTint Liquid Stain, I was able to replicate the look that Martin used since the late 1930s. The mix of water to stains is 1:1. Always practice on a scrap piece of wood of the same species before applying for real. You can mix the stains and water in a 1-ounce mixing cup and apply the stain using a Q-tip, brush, or lint-free cloth. For this procedure I favor the Q-tip. Once the stain was looking right in the neck heel, I applied a thin layer of vinyl sealer to seal in the stain. Next, we built topcoats of nitrocellulose lacquer and spray lacquer retarder to “melt-in” the overspray.

For this month’s restoration I used the following tools and materials, available at stewmac.com or a local hardware or finishing store:

#2203 Lawrence-McFadden Nitrocellulose Lacquer Retarder
#2200 Lawrence-McFadden Nitrocellulose Spraying Lacquer
#2202 Lawrence-McFadden Nitrocellulose Lacquer Thinner
#2201 Lawrence-McFadden Vinyl Sealer
#1813 Guitar Repair Vise #5390 Erlewine ShopStand
#4199 Mixing Cups (1- ounce plastic)
#5032 Red Mahogany ColorTone Concentrated Liquid Stain

Formby’s Conditioning Furniture Refinisher Dark Walnut TransTint liquid Stain Lint-free cloth material.

Thank you for checking out this month’s “Restoring an Original.” I have enjoyed all of the emails that have been coming in over the years. I’ll do my best to continue returning each and every one with a helpful reply.


Read MoreShow less