Chops: Intermediate
Theory: Intermediate
Lesson Overview:
• Understand the basics of suspended harmonies.
• Learn how to blur the line between major and minor.
• Create intervallic phrases that give your improvisations more variety.
Click here to download a printable PDF of this lesson's notation.
Feeling bored with your single-note soloing ideas? Here’s a lesson designed to expand your lick repertoire and help you break out of ingrained habits by using a simple, yet powerful method of transforming arpeggios. By building on what you already know, this lesson will guide you through a straightforward process that will spice up your solos and help you develop your own personal expressive identity on the instrument.
We’ll focus on two sacrosanct arpeggios every guitar player should know—major 7 and minor 7—and carefully transform them into new sounds and shapes.
Just to make sure we all start from the same place, here’s a little review. The formula for making an arpeggio is based off of tertian harmony (street translation: taking every other note in a scale). Any major scale has seven notes, regardless of its root. Remember, chords and arpeggios contain the same notes. The only difference is that an arpeggio is linear, while the notes are vertically stacked in a chord.
For this lesson I’ll use a G major scale (G–A–B–C–D–E–F#). Now let’s extract a Gmaj7 arpeggio from this scale by taking every other note, beginning with G (G–B–D–F#).
By moving one of these notes in this arpeggio up or down by a specific interval, we can immediately create new and interesting sounds without straying too far from the harmony. This means you can freely employ all these alterations over major and minor chords without getting dirty looks from the rest of the band or audience. For this lesson, I’ll adjust only one note and stay within the limits of the basic harmony (otherwise we could get into very deep water, really fast).
Ex. 1 shows the original maj7 arpeggio in both one and two octave fingerings. If you’re not familiar with them, take a moment and get acquainted.
Click here for Ex. 1
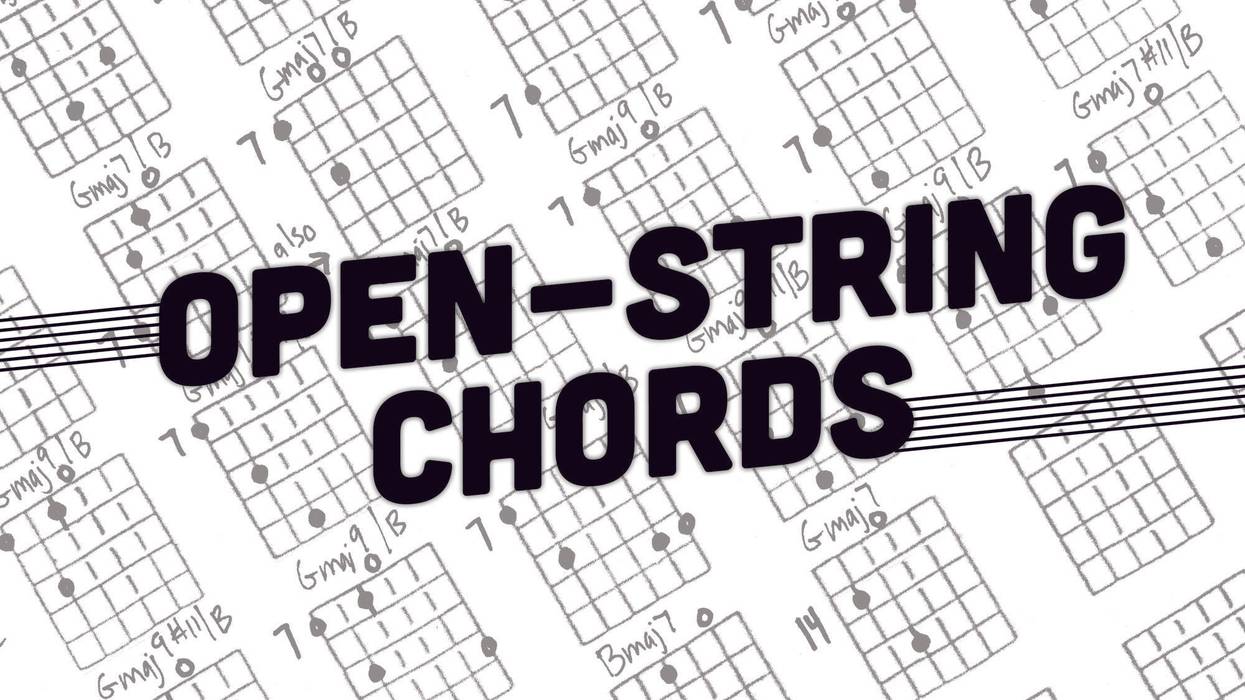
Before we get into the next example, here’s a brief explanation of suspended (“sus”) harmony. A sus harmony replaces the 3 of the chord or arpeggio with a pitch either a whole-step below or a half-step above. Swapping the 3 for a 2 or 4 creates the suspended sound.
Ex. 2 lowers the B to an A making the arpeggio a Gmaj7sus2 (G–A–D–F#). Throughout this lesson, carefully listen to the subtle difference between the original arpeggio and each new version. Take time to allow that sound to get into your ears.
Click here for Ex. 2
If we move the 3 up a half-step to the 4, we get a maj7sus4. Play Ex. 3 and listen to the difference in the sound.
Click here for Ex. 3
So far we’ve adjusted the 3, but for the last permutation of this lesson let’s take the 5 down a half-step (G–B–C#–F#). This alteration gives us the #11 or #4, which is the characteristic note of the Lydian mode. Ex. 4 shows this new arpeggio fingering. This is a lovely sound and one that will add a bit more spice to the harmony. I often use a maj#11 chord in place of a maj7 chord when playing genres of music that have consistent 7th-chord harmonies, such as R&B, gospel, and pop.
Click here for Ex. 4
Ex. 5 and Ex. 6 get these sounds in your ears and offer two different sets of fingerings for each arpeggio. Slowly work through these permutations to get them under your fingers and build up speed. It’s amazing how quickly you’ll become sensitized to these variations.
Click here for Ex. 5
Click here for Ex. 6
The next four examples (Ex. 7 through Ex. 10) are various solo motifs that demonstrate how to apply these sounds. Ex. 10 is unique in that it goes through all three variations.
Click here for Ex. 7
Click here for Ex. 8
Click here for Ex. 9
Click here for Ex. 10
With Ex. 11 we shift our focus to minor variations. Here, I repeat the same format I used previously and outline a simple Gm7 arpeggio (G–Bb–D–F) in both one and two octaves. These fingerings will no doubt be more familiar because this arpeggio is contained within the minor pentatonic scale—the scale we guitarists usually learn first. For this section of the lesson, feel free to drop these immediately into your next epic blues jam or rock excursion. They will translate perfectly and break you out of well-worn pentatonic riffs.
Click here for Ex. 11
Ex. 12 drops the Bb to an A (G–A–D–F), which results in a m7sus2 arpeggio. Note this is different from the maj7sus2 which has an F#. Moving the 3 up to the 4 yields the m7sus4 arpeggio found in Ex. 13.Click here for Ex. 12
Click here for Ex. 13
For Ex. 14 we drop the 5 in our Gm7 arpeggio down a half-step to Db (G–Bb–Db–F) to create a m7b5. This arpeggio is particularly handy because the b5 is the “blue note” in the minor pentatonic blues scale.
Click here for Ex. 14
With Ex. 15 and Ex. 16 you have a chance to compare and contrast the minor variations, complete with two different sets of fingerings. Get these into your ears and playing—you won’t be disappointed!
Click here for Ex. 15
Click here for Ex. 16
Finally, let’s conclude the lesson with four little motifs (Ex. 17 through Ex. 20). In Ex. 20, I play all three variations in rapid succession.
Click here for Ex. 17
Click here for Ex. 18
Click here for Ex. 19
Click here for Ex. 20
Practice slowly and let your fingers and ears adjust to the nuances of these new sonorities. Wait—I think I just heard the sound of Pandora’s Box opening!