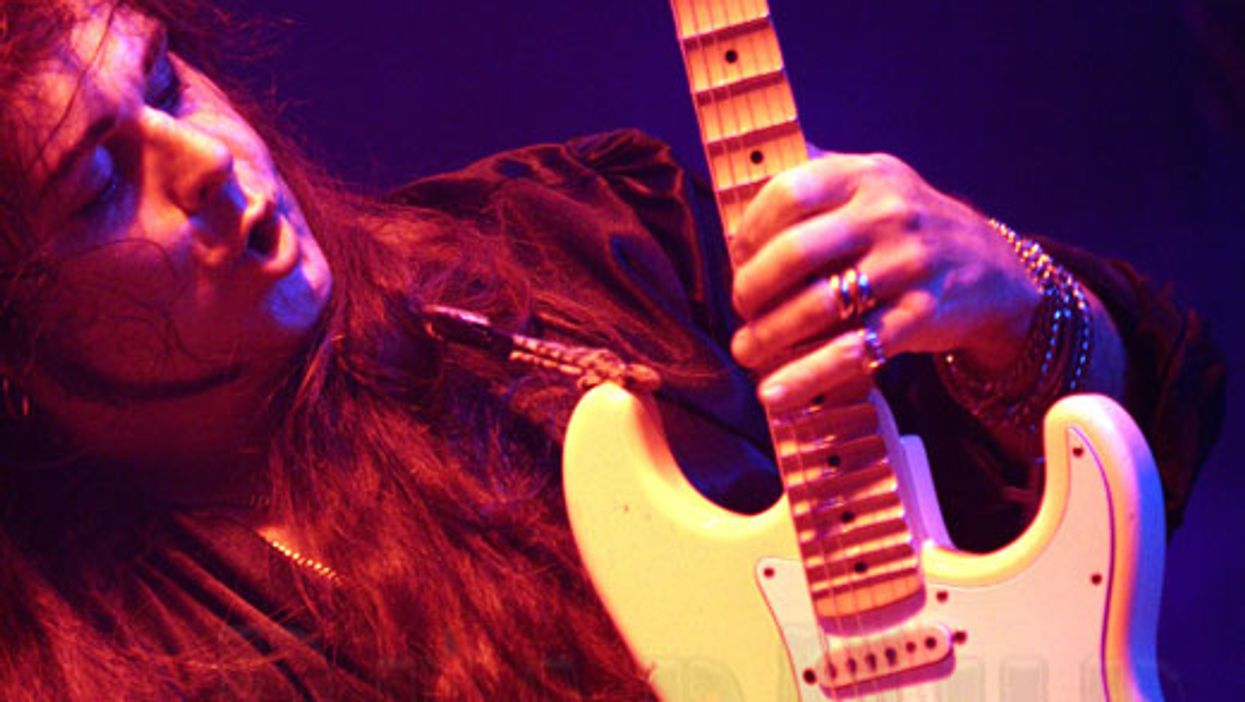
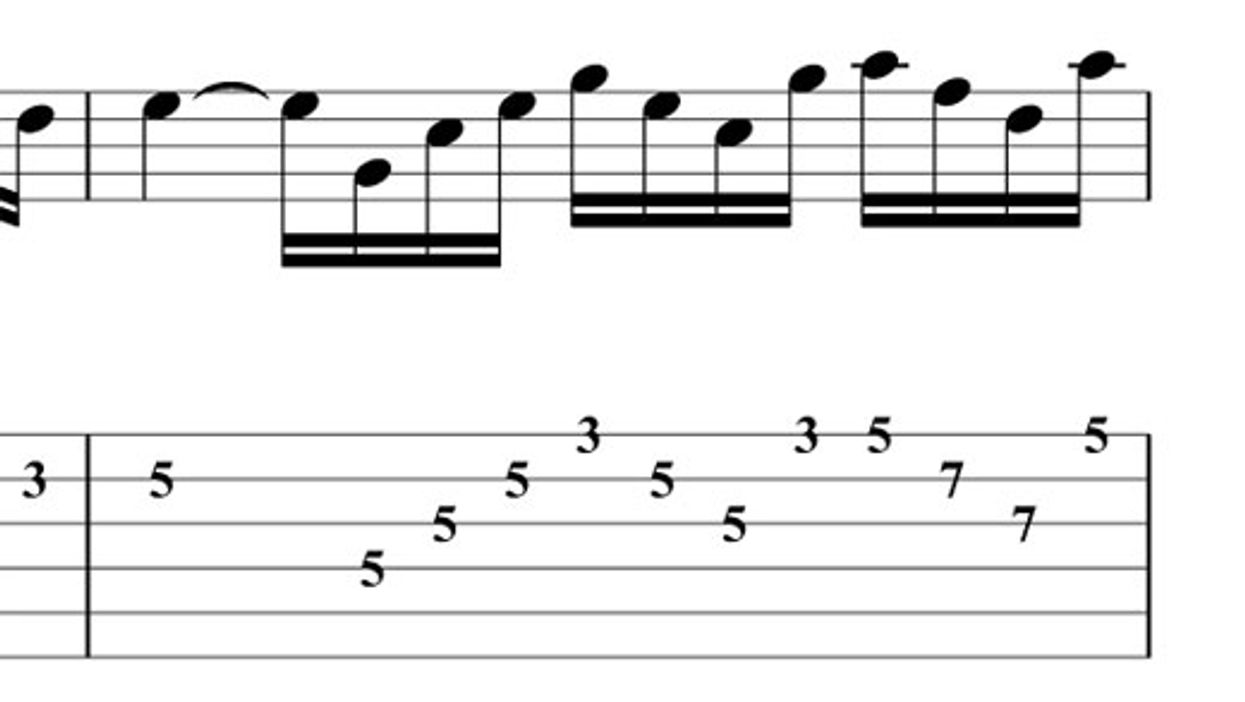
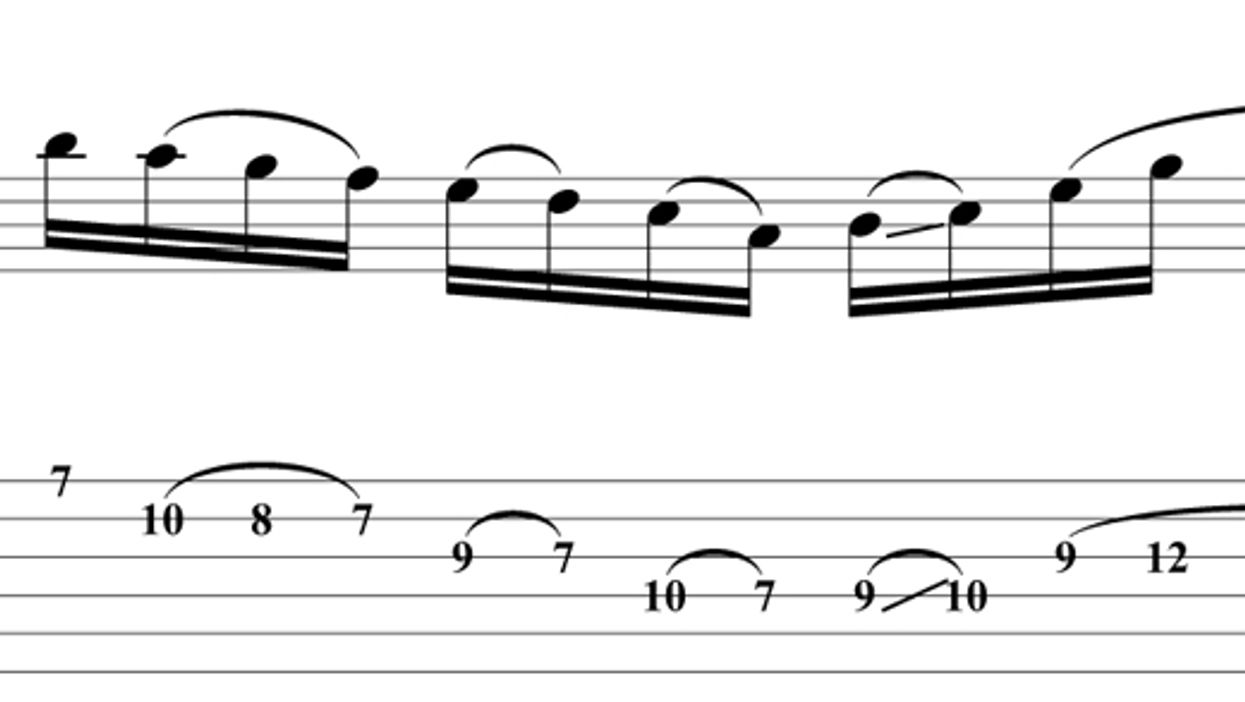
Lessons Fretboard Workshop: Roll the Bones Everyone from Yngwie to Slash uses this awkward but essential technique.David BrewsterOct 17, 2015
Lessons Fretboard Workshop: Major Blues with Minor Moves Master some essential ideas and learn how to move from minor to major with a few easy tricks.Lyle BrewerAug 15, 2015
Lessons Fretboard Workshop: Revisualize the Pentatonic Scale Draw inspiration from Paul Gilbert, Eric Johnson, and Joe Diorio and forge a new approach to a time-tested scale.Shawn PersingerMay 16, 2015
Effects Fretboard Workshop: “Machinehead” Octaves Exorcise some picking demons with this simple, but effective, warm-up.Chris TraynorOct 25, 2014
Lessons Fretboard Workshop: 10 Essential Turnarounds Go deep inside extended harmony by adding tritone subs, contrary motion, and pedal tones to your turnarounds.Will BernardDec 14, 2013
Effects Fretboard Workshop: Non-Chord-Tone Soloing Take a few triads and throw in some non-chord tones to make your solos more interesting.Cameron MizellNov 16, 2013
Lessons Fretboard Workshop: How to Improve Your Legato Technique Develop a smoother sound and strengthen your fretting hand with Allen Hinds' look at all things legato.Allen HindsSep 28, 2013
Effects Fretboard Workshop: Using Triads to Create A Solo Learn how to take some basic triad shapes–both major and minor–and turn them into a compelling, melodic solo.Cameron MizellJul 14, 2013
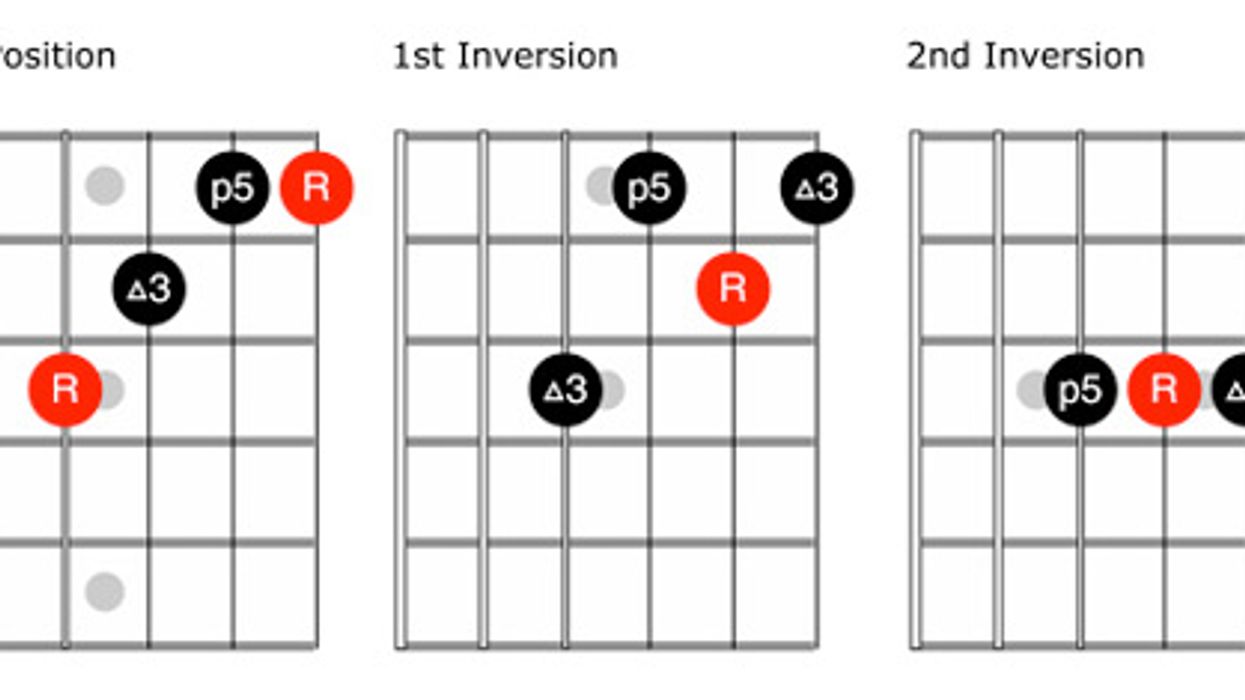
Effects Fretboard Workshop: Why Triads are Essential Develop a deeper understanding of basic triads, learn about inversions and voice-leading, and create more interesting rhythm parts in this month''s Fretboard Workshop.Alex NolanApr 22, 2013
Lessons Fretboard Workshop: Flipping Arpeggios - Creating New Sounds with Old Shapes Bored with those same old arpeggio shapes? In this lesson we will breathe new life into some familiar patterns by simply changing the context. Aurelien BudynekMar 18, 2013