| 
| 
|
Day Five – Final Details
From here on, it’s mainly handwork and detailing. Let’s take a look at some of the tools you can choose to work with to perform what is the most time consuming detail in guitar building – sanding. These include a stout bench mount or floor pedestal vise, a nice set of files, router, assorted power and pneumatic air sanders and several custom blocks for hand sanding. You can easily spend up to 70 percent of the entire project sanding. It is the final step in the visual quality of your work and an art in its own right.
I like to have the body sides sanded before routing the edge radius to help minimize subsequent sanding. I sand the side of the body on an edge and/or spindle sander to a nice, rough finish to remove any fuzz or cutter tool marks.
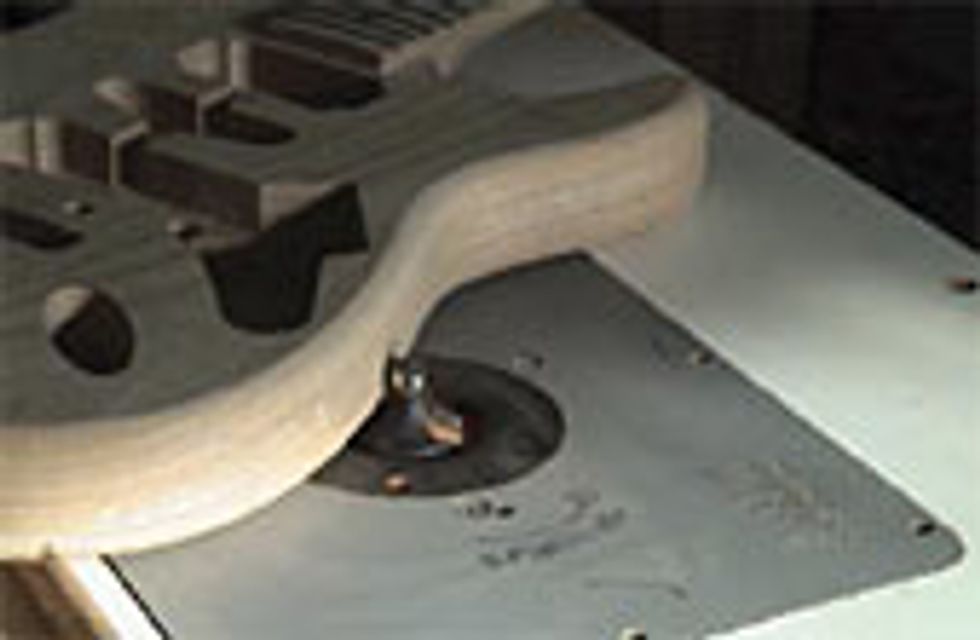
Routing the Radius
With our sides detailed, we can route our radius. Since these are neck-thru designs, the rear of the body can be easily routed using a table mount or handheld router. The top is more difficult because the fretboard gets in the way of using power tools. You could use a smaller laminate trim router on the face, but you can only get as close as the diameter of the router base (although you can use files to shape in the rest). A pin router is ideal for routing the face radius, as it allows the radius to get close to the fretboard. We use a 1/2” round over bit for those big, comfy edge contours.
Final Shaping
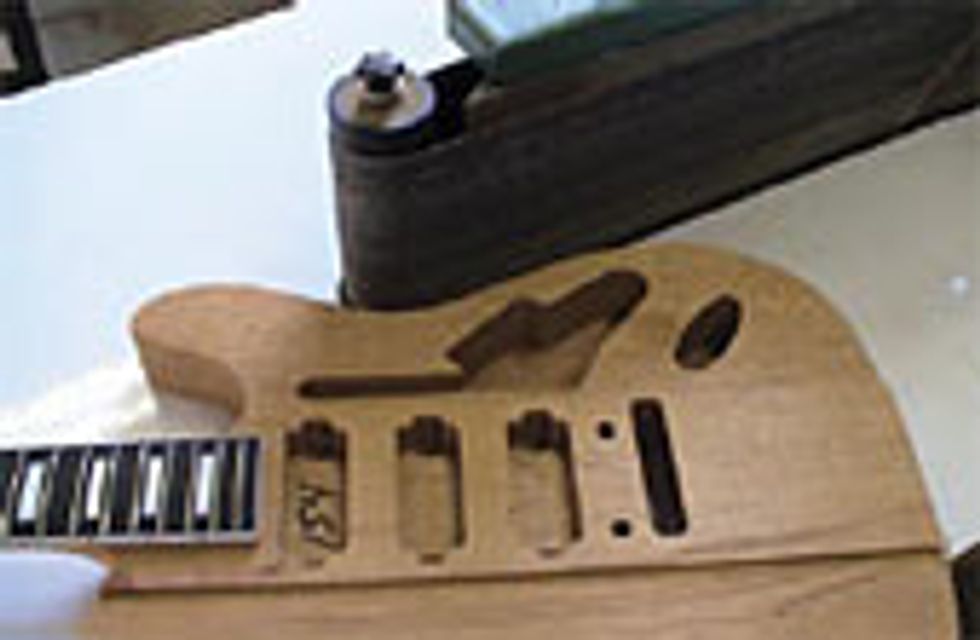
I find this step to be a lot of fun. A CNC machine will only cut as well as you can draw, and since a guitar is a three-dimensional object all the blend areas like the neck transition into the body or the headstock to neck transition are rather software intensive – certain tasks happen very quickly in CAD, where finer details can become extremely time consuming. This is when doing particular operations yourself becomes more efficient and rewarding, allowing you to put your thumbprint on the instrument.
The Stew Mac bench vise is integral here, due to the padded jaws’ ability to swivel to accommodate any unparallel items. I use angle grinders with carbide burr bits as well as a bladder sander that is like a two-handed pneumatic rolling pin spindle sander – great for getting into tight spots and detailing body horn areas. For certain details, a variety of rasps, files or customshaped sanding blocks may work best – power tools in unskilled hands can often be too aggressive. I will continue on the body using a hand orbital sander and assorted sanding blocks to completely detail the guitar up to 120 grit.
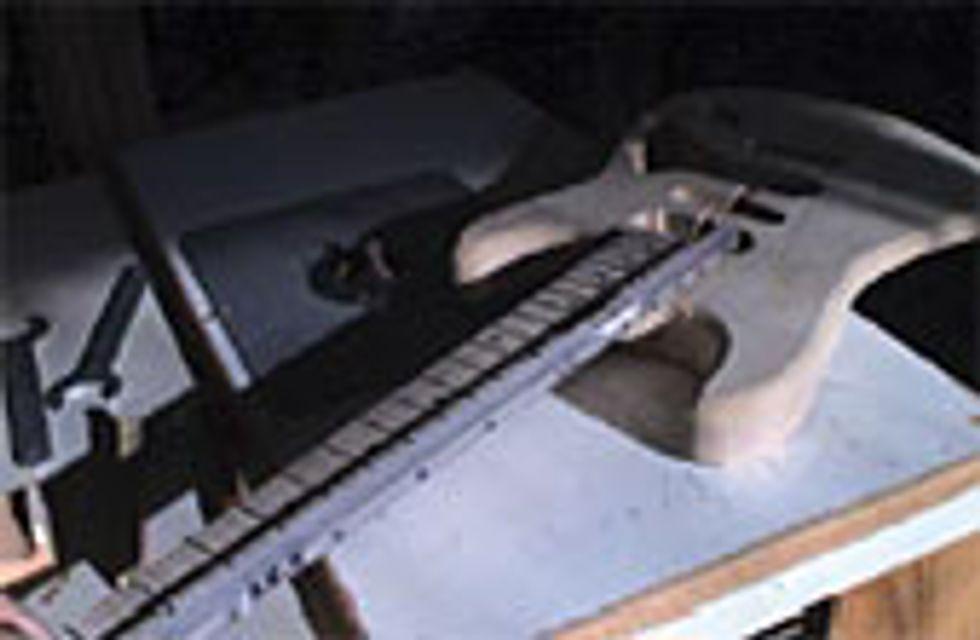
The Fretboard
It’s time to get the fretboard ready for the frets. The most important detail at this point is to ensure you have adequate relief in the neck – this is where truing the fretboard can become a make or break point for some guitars. But before we get too carried away, we need to glue in our inlays and drill for our side dots. I suggest not drilling your side dots until your fretboard has been trued. The inlays you use – typically thin shell materials or thicker clay or plastic dots – often dictate how careful you need to be. Shell inlays require more attention. Glue them in too deeply and you’ll have to sand more, potentially causing fret slot depth problems; not deep enough and you may sand through one when truing or lose its vibrant color. You can use wood glue, epoxy or Krazy glues for the inlay, each offering its own advantages and disadvantages. You can tint epoxy with powder pigments to hide wood voids, plus get fast drying time with 10 to 30 minute glues; wood glues clean up easily but take a little longer to dry.
Once the inlays are in we can get on with truing our fretboard. I wrote an article for the August 2005 issue of Musician’s Hotline [now Premier Guitar] showing various jigs designed to hold a Fender or Gibson-style guitar for fret dressing. The same jigs are used here. The process for truing a fretboard and dressing frets are similar, but prior to fretting is where you finalize the range of rod adjustment you will ultimately have. The main thing to remember here is to avoid over-sanding.
Join us next month when we wrap this baby up!
Gene Baker
Any questions or comments visit
www.finetunedinstruments.com
email me at b3gene@verizon.net
Fine Tuned Instruments LLC, home of his “b3” instruments.